

Hello, and welcome back to another installment of Mod Garage. My homework for this month’s column was to completely disassemble last month’s Harley Benton guitar, and as expected, there were some surprises under the hood.
The first surprise hit me while taking off the factory-installed strings. While doing so, all six string ferrules fell out of the body onto the floor. While it’s not a rare scenario that the ferrules on a Telecaster can be pulled out easily, this was special. It’s not a big problem, because with the strings installed, the string tension will hold them in place, but who wants to search for the string ferrules on the floor every time you need to change the strings—especially on a dark stage floor in the middle of a gig? This is not custom-shop grade, so it was the first issue on my list.
After measuring the diameter of the drilled holes in the body and the ferrules, it was clear why they fell out: The holes are a lot larger than the diameter of the ferrules. It was clear that I can’t glue them in for a better fit, nor use tape to compensate. There were only two real solutions: close the holes in the body with wooden dowels and drill them again, or use different ferrules matching the diameter of the holes in the body. The stock bullet-shaped ferrules are very cheaply made, so I decided it wasn’t worth the work to save them. I ordered a new set of ferrules with a larger diameter than the holes in the body (making an existing hole bigger is much easier and less work than filling it and starting from zero). I picked a standard set of vintage protruding ferrules—the first $12 on our bill.
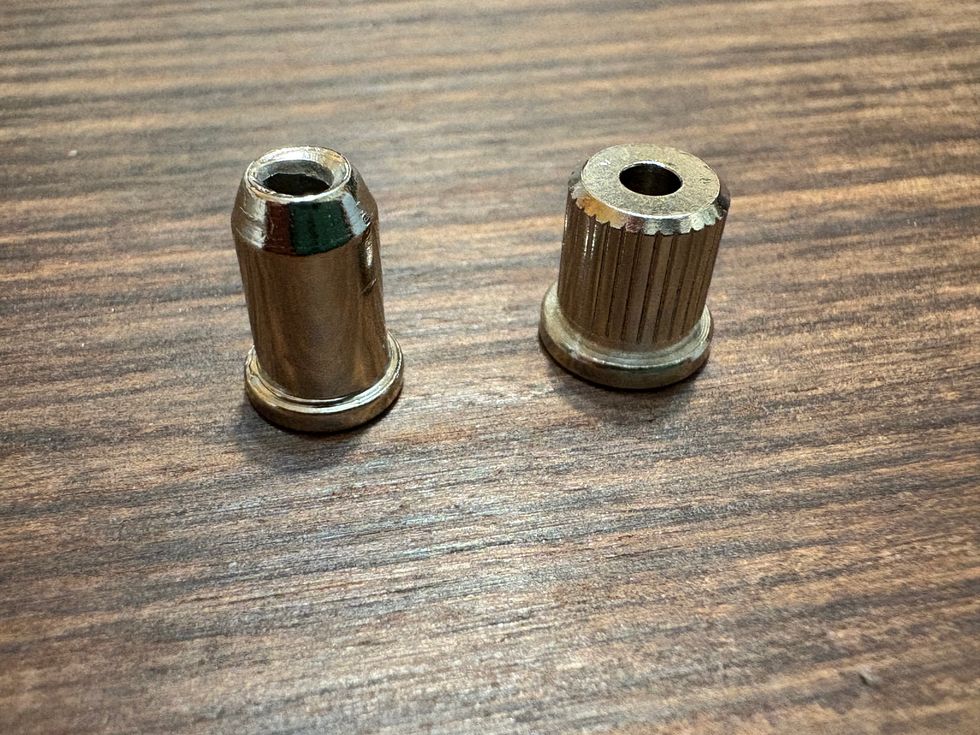
Photo courtesy of SINGLECOIL (https://singlecoil.com)
This wasn’t the best start, but it is what it is! After taking the guitar apart completely, I made a game plan. Visually, I want to keep it mostly vintage looking, but with a modern twist to get the best of both worlds. I decided to age the hardware only slightly to give it a used and worn look, but with no rust or artificial damages. Same with the body and neck—while the neck already has a satin-matte look, the body is very shiny and glossy. I’ll break the shine, giving it a matte and used look but without cracks or damage. This will lend the color a much more pleasing vintage appearance, and it’ll feel much better compared to the high-gloss finish. The complete guitar weighs only 7.2 lbs (3.3kg), which is really lightweight for a Telecaster. I really like light electric guitars, so I’ll attempt to shave off even more weight during this process.
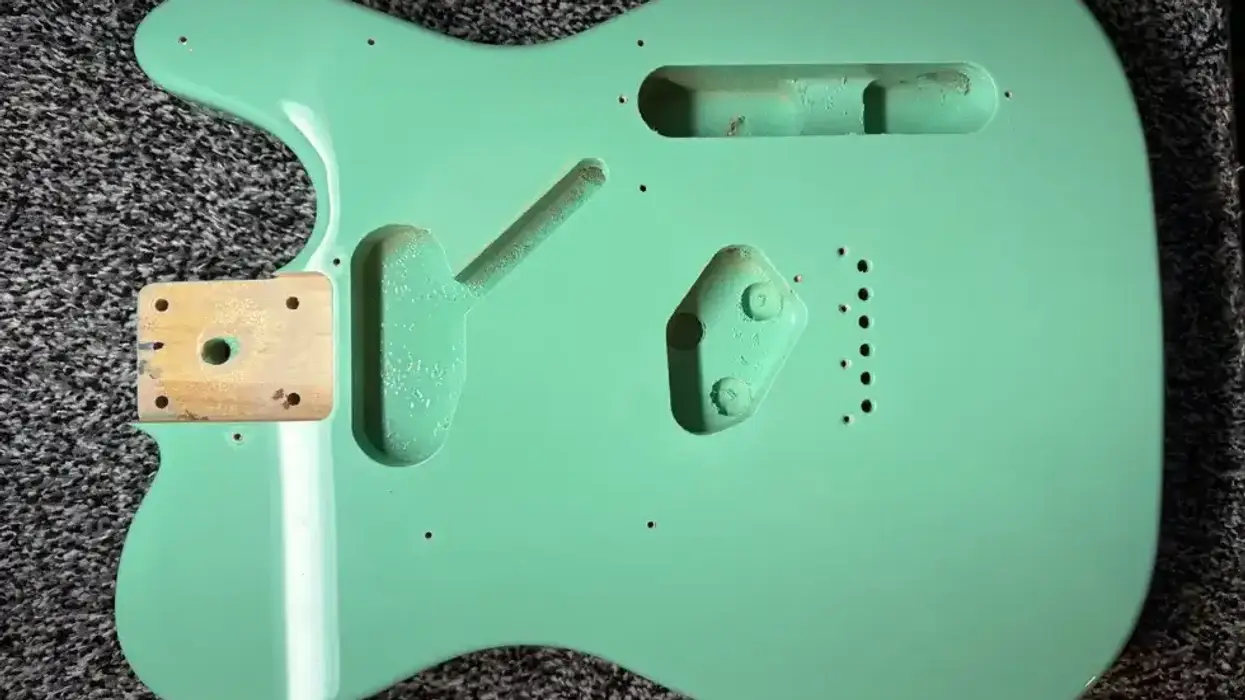
Let’s start with analyzing the body of our guitar to see what we have. It’s easy to see that saving time and cutting costs were principal directives—which is understandable given the price of the guitar. Let’s love it for what it is rather than hating it for what it isn’t. The rough-hewn body is very lightweight and made out of basswood, which is not a traditional “tonewood” for electric guitars. It’s the first choice for carving and woodturning work of all kinds because it’s relatively soft; easy to work with, but solid. From the neck pocket’s vantage point, we can tell that the body isn’t made of one or two pieces of wood, but of many, many more. In the neck pocket alone, I can count four pieces, and I wouldn’t be surprised if the body is made out of 15 pieces or even more, so I think we can call it stave-glued. We can also glean some more information from the neck pocket: It’s not only stave-glued, but also laminated horizontally in several layers, and the paint is ultra-thick—a trait you can notice around every drilled hole on the body.
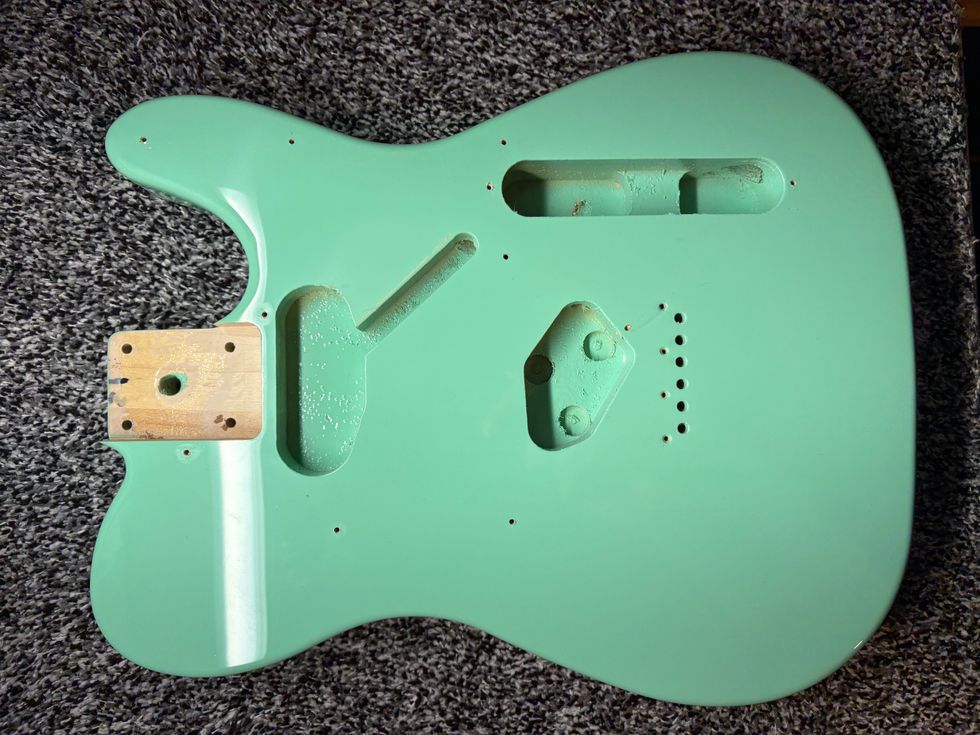
Photo courtesy of SINGLECOIL (https://singlecoil.com)
With these qualities in mind, let’s repeat some common internet guitar knowledge (CIGK) and make some assumptions about this instrument:
- A lightweight electric guitar will have no sustain and a thin sound.
- Basswood isn’t tonewood, so it won’t sound very good.
- It’s a multi-piece body, which will make it sound worse.
- The ultra-thick polyurethane finish kills tone because the wood of the guitar can’t breathe and resonate freely.
According to all this online wisdom, we have the worst guitar one can think of, right? Ignoring all these assumptions, one could argue it’s an excellent body because it’s extremely solidly made (stave-glued and laminated), armored under a thick and glass-like layer of ultra-resilient polyurethane finish, yet still lightweight. By the end of our project, we’ll see what’s fact and what’s fiction, but we have plenty of work to do first.
Here is a list of fixable issues to be addressed:
1. There is a lot of paint in almost every hole in the guitar, often paired with fringed wood fibres from the drilling process.
2. There is a lot of wooden debris, primer, and paint in the neck pocket, as well as a 10mm hole.
3. The depth of the bridge pickup’s cavity is relatively shallow.
4. Inside the electronic compartment there is a massive block of wood.
These will be the first steps to enhance the quality of the body, with the first being the easiest one. You don’t need much for this, just some half-round files in different sizes, a countersink, some old newspaper, and, of course, some time.
I assume they used worn-out, blunt drill bits in the factory, which would explain this mess. They first drilled the holes, with little care for the result, then painted over afterwards, preserving all the fringed wooden fibres under a thick layer of paint. Luckily, this is easy to correct. Cover your workspace with some old newspapers, place the body on it, and clean all the holes with a half-round needle file before using a larger one to clean the hole for the output jack.
This was the meanest one on this guitar—I was really surprised how much stuff came out of it after some passes with the file. After all the holes are cleaned and free of any paint and debris, use a sharp countersink to carefully clean the tops of all the holes. Don’t use any machine for this, just a countersink, your hands, moderate pressure, and two passes for every hole. Because the paint is really thick, it’s easy to chip off some color, so it’s important that your countersink is really sharp and you don’t apply too much pressure.
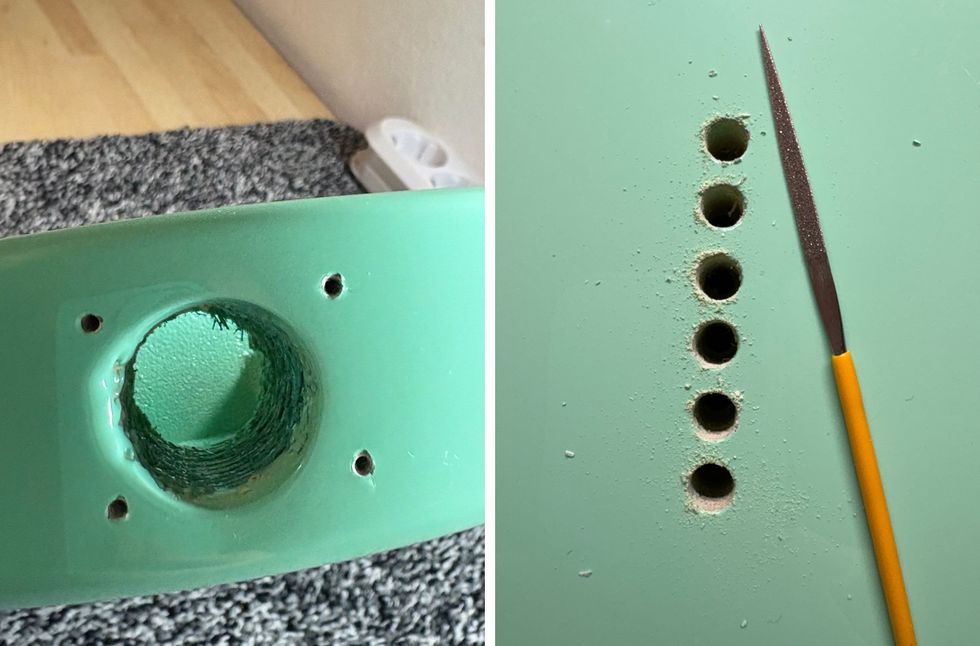
Photo courtesy of SINGLECOIL (https://singlecoil.com)
This was a good start! Next month, we will continue with the second task on our list: cleaning the neck pocket, which is a very important step. Stay tuned, and remember, our $352 budget is reduced to $340 because of the new ferrules I bought.
Until next month ... keep on modding!







![Rig Rundown: The Black Crowes’ Rich Robinson [2026]](https://www.premierguitar.com/media-library/youtube.jpg?id=66952027&width=1245&height=700&quality=70&coordinates=0%2C0%2C0%2C0)