
This is my position onstage for the Tsuyoshi Nagabuchi tour, showing my wedge and the ramp with wedges surrounding it. Every day I run out there at soundcheck to make sure I hear enough drums and guitar over the din of the PA.
In-ears or wedges? Here’s how to get the best from both onstage.
I'm often asked about my thoughts on stage monitoring. With the advent of in-ear monitors, it's now common to see stages devoid of any “side fills" and/or wedge (or “foldback") monitors. On many tours—and certainly in bars and casinos—it's become fairly common to see stages with no guitar or bass amps either. Yet some artists, such as Paul McCartney and Gov't Mule, prefer to do things old school with traditional monitors. Let's look at the pros and cons of both in-ear systems and traditional monitors.
Let's just get this out of the way:
In the early days of rock 'n' roll shows, there were no monitors! Early rockers heard their instruments through guitar and bass amps. Vocals and drums were heard through the main PA system. As rock's popularity exploded, crowds grew larger, girls screamed louder, and it became impossible for both musicians and audiences to hear the music.
The First Foldback?
The first use of foldback monitors may have been when the Beatles performed at Atlanta Stadium in 1965. A local soundman, "Duke" Mewborn of Baker Audio, set up a monitoring system that so impressed the Fab Four, they asked him to go on the road with them. (He declined.) Until then, feedback concerns had largely prevented soundmen from facing monitor systems back towards the band and their microphones. Mr. Mewborn used cardioid mics (which reject sound from the back and the sides) to limit feedback. So began the age of foldback monitors.
And so it was—until the '80s, when the first in-ear systems were developed. These are basically headphones—each musician gets a personal mix, much like in a recording studio.
I've used both in-ears and wedges extensively over the last 25 or so years. I've learned that both approaches have advantages and disadvantages, and I might prefer wedges for one situation and in-ears for another. Sometimes, when starting a tour, I'm given a choice, though sometimes there's no option—you must use the system the tour has decided on.
Working with In-Ears
Let's look at in-ears first. On the plus side, custom-molded in-ears act like earplugs, protecting your hearing (as long as you're careful with levels—more on this later). You get a mix, and it stays consistent no matter where you stand onstage. This makes in-ears a great choice if you move around onstage. If your band is touring with its own monitor console, you can also expect consistency, and you shouldn't need to make many changes from show to show. In-ears isolate you somewhat from the varied acoustical environments you encounter in different rooms.
I remember touring with Chris Cornell in 2009, opening for Lenny Kravitz for three weeks in France. For various reasons we weren't able to do a full soundcheck until two weeks into the tour. But because we carried our own digital console and mics, the sound from gig to gig was basically identical to what we'd experienced in rehearsals. Likewise, when we'd perform at big festivals with multiple bands—often "throw and go" situations where soundchecks aren't an option—we could expect our familiar mix when we hit the stage. This would be next to impossible using traditional wedges. Also, singing is much easier with in-ears. Most musicians don't push their voices as hard and sing in tune better with in-ears.
In-ear monitors can be frustrating for guitarists. Most in-ears isolate you almost completely from ambient stage sound, but we're used to hearing our amps onstage.
On the downside, in-ears can be frustrating for guitarists. Most in-ears isolate you almost completely from ambient stage sound, but we're used to hearing our amps onstage. With in-ears you're almost completely reliant on the monitor engineer, and hearing your close-miked amp is not the same experience as hearing it on a wide-open stage. Also, a consistent mix can actually be a disadvantage at times. Have you ever walked toward the drummer during a song so you could hear a bit more hi-hat and a bit less of yourself? This "self mixing" is impossible with in-ears. Also, in-ears isolate you from the crowd and the other musicians, which can make it difficult to talk to your bandmates mid-performance and leave you feeling disconnected from the live experience.
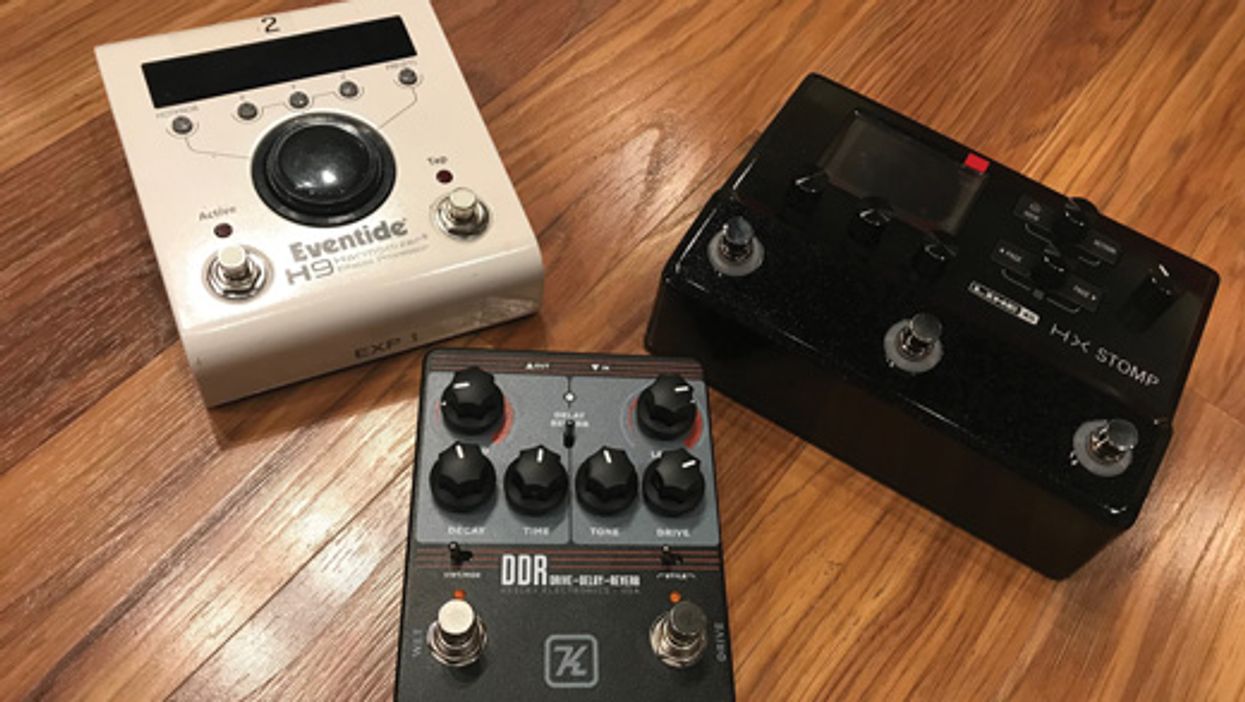
To be happy using in-ears, you need to spend time dialing in a mix—winging it is a bad idea! Working with an experienced monitor engineer is obviously a huge plus. Knowledge of good amp- miking technique is helpful. If possible, set time aside to work with your monitor and FOH engineers. Experiment with a few different mics on your amp in various positions until you get the desired sound in your in-ears (assuming it also works in the PA). Cabinet simulators, such as the Two Notes Torpedo C.A.B., can also be terrific for keeping your in-ear mix consistent from show to show. Using a stereo rig to add a touch of ambience (delay, reverb, or a bit of both) can also make the in-ear experience more natural and enjoyable.
Lastly, be very careful about levels. Using a limiter on your in-ear mix is recommended. (Most in-ear receiver packs have them built-in.) I have tinnitus in my left ear mainly because of repeatedly setting my in-ear level too loud on a past tour.
Working with Foldback Monitors
Using good ol' wedges is actually my preference. The pluses are many: Setup and soundcheck are usually easier. You have less gear to deal with personally, so you can concentrate on playing more. You can hear your amp naturally. You can communicate with the other musicians onstage. And you'll hear the crowd, which tends to make the whole experience more exciting and enjoyable. On the downside, they obviously create more stage volume, which can conflict with the main front-of-house mix. Also, if you move around onstage a lot, it can take a bit of soundchecking to make sure you hear yourself everywhere.
On my current tour with Tsuyoshi Nagabuchi, we have a large ramp that extends off the front of the stage. When I'm all the way at the end, I'm actually in front of the main PA. The sound is quite delayed coming out of the PA, so I have to make sure the wedges all the way down the ramp have plenty of drums and guitars so I can play in time.
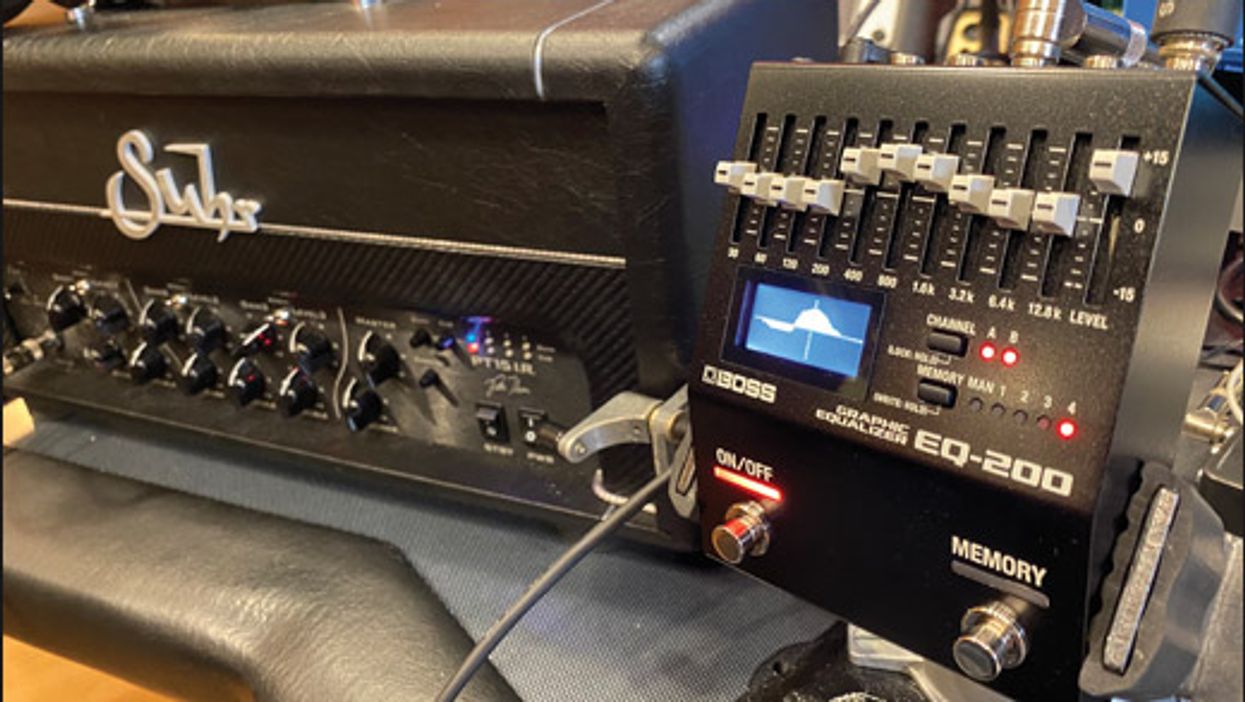
Try to keep the stage volume as low as possible. I recommend learning some EQ basics so you can listen to your wedge at soundcheck, identify issues, and ask for changes in the master EQ if necessary. Generally, cutting frequencies is better than boosting. This contributes to a better- sounding stage. It's great if you can listen to your monitor and say, for example, "Can you cut 400 Hz on the whole mix a bit to clean it up?" Your monitor engineer will appreciate your knowledge, and the FOH engineer will appreciate you keeping things under control onstage.
Both approaches are valid, and if you maintain a flexible attitude, you can make either approach work. Until next month, happy monitoring!
[Updated 10/29/21]
- Quick Hit: Ultimate Ears UE 7 In-Ear Monitors Review - Premier Guitar ›
- Tone Tips: Thicken It Up! - Premier Guitar ›
- Tools for the Task: In-Ear Monitors - Premier Guitar ›
This wonky Zim-Gar was one of many guitars sold by importer Gar-Zim Musical Instruments, operated by Larry Zimmerman and his wife.
The 1960s were strange days indeed for import guitars, like this cleaver-friendly Zim-Gar electric.
Recently I started sharing my work office with a true gem of a guy … one of the nicest fellas I’ve ever come across. If you’ve been following my column here, you might remember my other work mate Dylan, who is always telling me about new, fad-type things (like hot Honey guitars) and trying to convince me to use AI more. (What can I say, he’s a millennial.) But Steve, on the other hand, is about 10 years my senior and is a native New Yorker—Brooklyn actually, from the Canarsie neighborhood. Steve is a retired teacher and spent many years teaching in the Brownsville area of Brooklyn, and man, he has some amazing stories.
Mostly we talk about music and sports (he’s exiled here among us Philadelphia sports fans) and he’s just endlessly interesting to me. He has a huge appetite and can eat a whole pizza. When he talks, he sounds like one of the Ramones and he still has an apartment in Rockaway Beach. We both love Seinfeld and, like George Costanza, Steve knows where all the great bathrooms are across New York City. Since he’s been added to my circle (and is such a mensch), I decided I should work him into a column.
So here’s the connection: Back in the day there were many American importers, dealers, and wholesalers. A lot of them were based in New York, Chicago, and Los Angeles, but I only know of one guitar importer located in Brooklyn: Gar-Zim Musical Instruments. The company was run by Larry Zimmerman and his wife, and the couple had some success importing and selling Japanese guitars and drums. I used to see early Teisco imports with the Zim-Gar badge, which was the brand name of Gar-Zim. I’ve also seen Kawai guitars with the Zim-Gar label, but the Zimmerman’s seemed to sell cheaper and cheaper gear as the ’60s wore on, including the piece you see here.
“This build reminds me of the cutting boards I used to make in wood shop back in my high school days.”
The model name and factory origin of this guitar is a mystery to me, but this build reminds me of the cutting boards I used to make in wood shop back in my high school days. The guitar is just flat across the top and back, with absolutely no contouring or shaping. Its offset body is plywood with a thin veneer on the top and back. From a distance this guitar actually looks kind of nice, but up close you can see a rather crude and clunky instrument that offers little flexibility and playability. The non-adjustable bridge is off center, as is the tremolo. It was really hard to get this guitar playing well, but in the end it was worth it, because the pickups were the saving grace. Another example of gold-foils, these units sound strong and raw. The electronics consist of an on/off switch for each pickup and a volume and tone knob. The tuners are okay, and the headstock design is reminiscent of the Kay “dragon snout” shape of the mid to late ’60s, which is where I would place the birthdate of this one, probably circa 1966. Everything is just so goofy about this build—even the upper strap button is located on the back of the neck. It reminds me of that era when simple wood factories that were making furniture were tasked with building electric guitars, and they simply didn’t know what they were doing. So, you get oddities like this one.
Gar-Zim continued to sell guitars and other musical instruments through the 1970s and possibly into the ’80s. I once even saw a guitar with the label Lim-Gar, which is totally puzzling. I think there should’ve been a Stee-Gar designation for my new buddy Steve-o! Yes, good readers, with guitars and me, there are always just a few degrees of separation.
The Oceans Abyss expands on Electro-Harmonix’s highly acclaimed reverb technology to deliver a truly immersive effects workstation. The pedal is centered around dual reverb engines that are independently programmable with full-stereo algorithms including Hall, Spring, Shimmer and more. Place these reverbs into a customizable signal path with additional FX blocks like Delay, Chorus, Tremolo, or Bit Crusher for a completely unique soundscape building experience.
Electro-Harmonix has paved the way for powerful, accessible reverbs since the release of the original Holy Grail and now we’ve pushed the envelope deeper with the fully-equipped Oceans Abyss. Featuring a customizable signal path with up to 8 effects blocks, the Oceans Abyss can be configured as individual reverb, modulation, EQ, delay, bit crusher, saturation or volume effects, or as countless combinations for incredibly creative effect shaping. From a simple Spring reverb to a lush stereo field featuring stereo hall and shimmer reverbs, chorus, delay, overdrive, and tremolo, you can go from surf to shoegaze instantly, without breaking a sweat.
Deep parameter editing is accessible via the high-visibility OLED display with multiple graphical views and easy-to-read designs. Expression/CV control over nearly every parameter gives artful control of your effects and dynamics. Fully-stereo I/O plus an FX Loop allows for use with any instrument, recording set up, or live rig. 128 programmable presets via onboard footswitching or MIDI ensure perfect recall in all performance situations. MIDI IN/OUT ports with MIDI IN support of PC, CC, and Tempo Clock expand the already immense talents of the Oceans Abyss. Connect with UBS-C to Windows or Mac for effects editing, preset management, and more with the free EHXport™ app (coming soon).
- Two Stereo Reverbs available at once, each fully pannable in the stereo field
- 10 reverb types to choose from: Room, Hall, Spring, Plate, Reverse, Dynamic, Auto-Infinite, Shimmer, Polyphonic, Resonant
- Additional FX blocks: Delay (Digital, Analog and Tape emulations), Tremolo, Chorus, Flanger, Phaser, Graphic EQ, Saturation, Bit Crusher, External FX Loop, Volume
- Create custom signal path routing with up to 8 effects blocks. Two blocks may be re-verb, the rest may be any of the additional FX blocks.
- Infinite reverb sustain with the press of a footswitch
- Stereo Audio I/O
- Stereo FX Loop routing on TRS Jacks
- Dual action footswitches allow for momentary or latching use
- Easily enable or disable tails
- 128 fully customizable presets
- All controls can be saved to presets
- Dive deep into global and preset settings to set up Oceans Abyss for your specific needs
- Illuminated slide pots and buttons
- High-visibility OLED graphical display
- Multiple graphical views: Signal Path, Performance, Settings, Physical, Explorer
- Easy-to-navigate menu system
- Ergonomic NavCoder knob allows rotary and directional navigation through menus
- EXPRESSION / CV input to control nearly any parameter in any FX block
- Footswitch input allows for adding up to three external footswitches, each assigna-ble to a number of functions
- MIDI In and Out. MIDI IN supports PC, CC (over nearly every available parameter), and Tempo Clock
- USB-C port to connect to Windows or Mac and interface with EHXport™ app (coming soon)
- 96kHz / 24-bit sample rate conversion
- Supplied with 9.6VDC / 500mA power supply
Our columnist’s silver-panel Fender Bandmaster.
How this longstanding, classic tube amp design evolved from its introduction in 1953.
I have a silver-panel Bandmaster Reverb that I don’t think I’ve talked about enough in this column. It’s one of the most versatile and flexible amps I own, so I use it for everything. It’s portable, has tube-driven reverb and tremolo, and has a full set of EQ knobs including the critical bright switch, which we discussed the importance of earlier this year (“How to ‘Trebleshoot’ a Vintage Fender Amp,” March 2025). The amp is not only pedal-friendly; the flexible 4-ohm output impedance will handle almost all speaker configurations and sound any way you’d like. Let’s take a deeper look at the Fender Bandmaster amp and walk through its development through the years.
The first Bandmaster was introduced in 1953 as a wide-panel tweed amp with Fender’s 5C7 circuit. This rare combo was loaded with a single 15" Jensen P15N and powered by dual 6L6GC tubes in push-pull configuration to produce a modest 25 watts. The 6L6GCs were cathode biased and along with the 5U4GB rectifier tube contributed to a forgiving sag, early breakup, and a midrange-y voice.
Fender made several changes when they launched that amp’s successor in 1955, the more widely known 5E7 narrow-panel Bandmaster, a well-proven amp that has come back as a reissue model. It was still a dual-channel amp—instrument and microphone—but the newer 5E7 model had a fixed bias and a negative feedback loop, providing a louder, firmer, and cleaner tone. Most importantly, the single 15" speaker was replaced by three 10" speakers, making it very similar to the narrow-panel tweed Bassman, the granddaddy of all Marshall amps. This Bandmaster had three speakers instead of the Bassman’s four, and it delivered 25–30 watts instead of 40. It offered early breakup with a midrange-y, big and full tone.
For those not acquainted with tweed amps, the volume and EQ knobs behave differently than on silver- and black-panel Fender amps. The volume pot can act like a distortion control, while the EQ knobs control the volume, and many players I’ve talked to have not really unlocked this secret. This works because, in these circuits, the volume pot sits right before the preamp tube, which allows it to push the tube into full distortion. Since the EQ pots are located right after and are capable of reducing the volume, you’re able to distort the preamp at low volume settings.
“Things became more standardized in 1964 with the arrival of the black-panel AB763 Bandmaster, an amp I have worked on a lot and appreciate for its robustness, simplicity, and versatility.”
In 1960, a short-lived and rare Bandmaster dressed in brown tolex and a black faceplate appeared with the 5G7 circuit. From here on, all Bandmasters had the modern top-mounted chassis. With this circuit, the Bandmaster started to both look and sound more like a black-panel amp. It kept the 3x10" speakers but got a diode rectifier and bigger transformers resulting in a 45-watt output. Tremolo was introduced for the first time, and both channels were now intended for guitar.
The following year, a blonde 6G7 Bandmaster followed as a smaller amp head paired with a 1x12 extension cabinet. It had the timeless early blonde looks with cream tolex, brown faceplate, oxblood grill cloth, large Fender logo, and white knobs. But halfway into the blonde era, towards 1964, things turned strange and rather confusing. There were suddenly two 12" speakers, black knobs, a wheat-colored grill cloth, a more slim black-panel-style Fender logo, a black faceplate, and all in various combinations close to the transition into ’64.
Things became more standardized in 1964 with the arrival of the black-panel AB763 Bandmaster, an amp I have worked on a lot and appreciate for its robustness, simplicity, and versatility. It offers a pure, clean, scooped black-panel tone that’s somewhere between a Vibrolux Reverb and Pro Reverb, which share the medium-sized 125A6A output transformer and dual 6L6GC tubes. With its medium/high power and flexible 4-ohm output impedance, it can drive all kinds of speaker cabinets—as long as you stay between 2 and 8 ohms, you are safe.
For a short time in 1967–68, there was a transitional Bandmaster with aluminum trim and black-panel innards before the all-new silver-panel Bandmaster Reverb replaced it in 1968. The small-head cabinet had grown in size and, unfortunately, weight to accommodate the reverb tank. The amp got a 5U4GB rectifier tube along with a few general silver-panel changes to the circuit. Several silver-panel models existed with minor differences until a 70-watt beast version came along in 1977 with master volume.
To my own 1968 Bandmaster Reverb, I have done a few adjustments. First, I made a custom baffle to hold two 8" speakers. I installed a pair of WGS G8C speakers that fit perfectly on the baffle board without colliding with the reverb tank or transformers. Sometimes, I use only one of the 8" speakers for bedroom volume levels. Second, I reversed the bias circuitry to standard AB763 specs, making it easier to adjust bias correctly on both power tubes. If you are into sparkling clean and funky Strat sounds, you would love this little 2x8" combo.Axe-wielders Jake Cinninger and Brendan Bayliss take us through their current gear garages.
It’s been just over 10 years since we had legendary South Bend, Indiana, jam band Umphrey’s McGee on Rig Rundown, so when we saw that they were coming to play at Nashville’s Ryman Auditorium in early April, we figured it was time to reconnect.
Guitarists Jake Cinninger and Brendan Bayliss showed PG’s John Bohlinger what pieces of kit they’re digging these days, and how they orchestrate their incredibly broad range of sounds.
Brought to you by D’Addario.
Simply Z Best
Here’s an up-close look at Cinninger’s No. 1, a G&L Comanche. The Z-coil pickups do away with typical single-coil 60-cycle hum issues at high-gain settings. It’s an all-purpose workhorse.
Cinninger replaced the stock trem bar with a Jake Blade, a custom-made replacement patented by Mark Benjamin of RoughGauge LLC. Compared to a regular trem bar, it’s out of the way and allows for more expressive playing.
For strings, Cinninger uses D’Addario .10s, and he swears by his beveled-edge Telefunken 2 mm picks.
Special S
Cinninger says only 50 of these G&L S-styles were made, with remarkable pieces of wood and specially designed pickups. This one cuts closer to a classic, throaty Stratocaster sound, and if a venue has quiet, clean power that won’t present excessive noise issues, it’s more likely to be called into action.
Two by Two
Cinninger’s signal runs to one amp at a time. The Schroeder head, which is used for cleans, was built with military-spec durability by Tim Schroeder in Chicago and is one of 10. Cinninger says it’s got some Dumble qualities, with its clarity, power, consistency, and speed to the speaker, and it connects to a Schroeder cabinet and custom speaker.
The Oldfield Marquis 100-JC, built by Paul Gussler in Charlotte, North Carolina, is the Marshall-flavored side of Cinninger’s rig. It handles dirty signals and is connected to classic Electro-Voice drivers.
Jake Cinninger’s Pedalboard
Cinninger’s board, which he made with his dad, is 25 years old, and it’s constantly changing. His always-on boxes include a Banzai Cold Fusion Overdrive, Fuchs Royal Plush Compressor, and Mesa Boogie Five-Band Graphic EQ, plus a Steel Guitar Black Box tube buffer that adds some “air” in the high end.
On top of those, there’s a Boss TU-3, MXR Smart Gate, Radial Tonebone Hot British, MXR Distortion III, Sarno Earth Drive, TC Electronic Flashback, Boss PS-5, Source Audio Soundblox 2 Multiwave Distortion, Malekko Fuzz, Guyatone MD2, Boss PH-3, Morley Bad Horsie, BBE Mind Bender, and a custom “FuzzBucket” fuzz made by a friend.
Utility units include a Lily P4D, Radial BigShot ABY, and Ebtech Hum Eliminator, plus a 9-channel effects switching system.
Sorry, Mark
Meet Miss Lucy. This is a PRS Mark Tremonti Signature, albeit without Tremonti’s name on the headstock, and tricked out with the Jake Blade. This one runs a bit hotter than Brendan Bayliss’ other PRS guitars, and his tech changes the strings on it—D’Addario XL .010s—every day. Like Cinninger, he digs the Telefunken 2 mm picks.
Also in the stable are another PRS single-cutaway and a double-cut PRS McCarty.
Doubles of the Oldfield
Bayliss runs both a Mesa Boogie Lonestar head and a Gussler-built Oldfield head (which sounds similar to his Lonestar) at the same time. The Mesa runs to a cab with Celestion 12″ speakers.
Brendan Bayliss’ Board
Bayliss’ board also features the Steel Guitar Black Box, a Lily P4D, Radial BigShot ABY, a Boss TU-3, and a Morley 20/20 Bad Horsie wah.
Aside from those, there’s a Keeley Compressor, MXR Custom Badass Modified O.D., Cusack Screamer, MXR Timmy, Cusack Tap-A-Whirl, Audio Blend Edge EQ, Boss OC-5, Boss CE-5, MXR Phase 95, Eventide H9, Stigtronics Delay, and Boss DD-20.