So much has changed in the recording industry over the last decade. On one hand, declining music sales due to illegal downloading have taken their toll on artists and the music biz in general, but on the other hand, advances in technology have made it possible to record great tracks on little more than a laptop computer. There’s never been a better time for the guitarist who wants to record at home! This month, I’m going to show you my studio, where I’ve just finished recording my first solo album, Guitar Nerd. I’ve also recorded guitars here for artists such as Chris Cornell, Peter Cincotti, and others.
To Mic or Not to Mic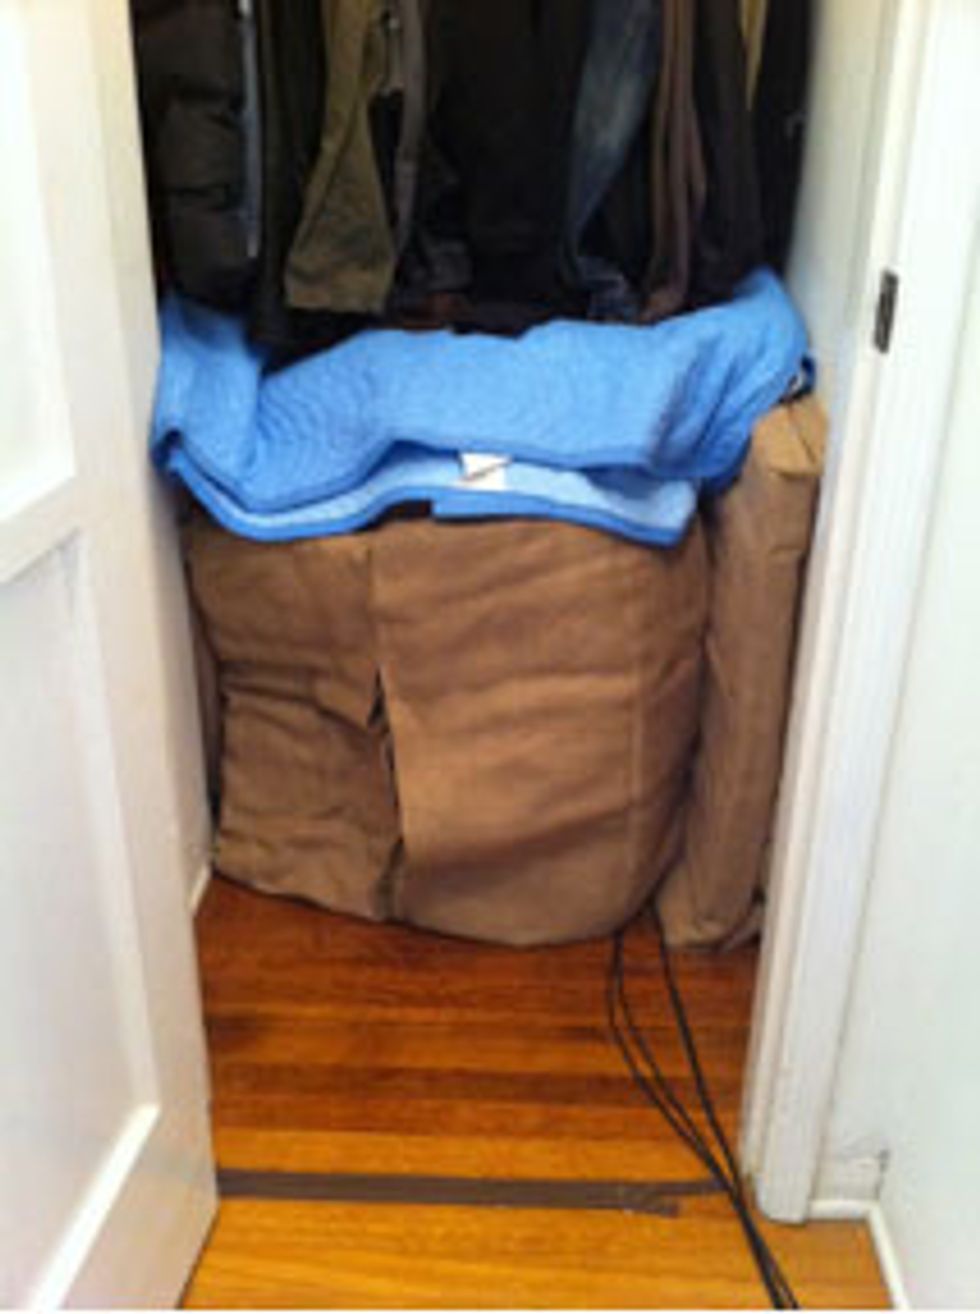 With the advent of digital modeling, as well as load boxes, speaker simulation devices, and impulse response software, it is no longer 100 percent necessary to mic up real speakers to get a “mic’d speaker” sound. However, I decided that while I would incorporate amp and cabinet modeling into my studio, I really wanted to be able to capture air moving. I have a really nice collection of amps, and I’m serious about using them! I picked my current home because it has only one shared wall, and it has a closet that I knew would be perfect for isolating a speaker cabinet in. The closet is quite far from the shared wall, so I can really turn up my amps and it’s almost totally inaudible next door. (I actually tested this, walking next door playing guitar via a wireless unit—my neighbor thought I was nuts).
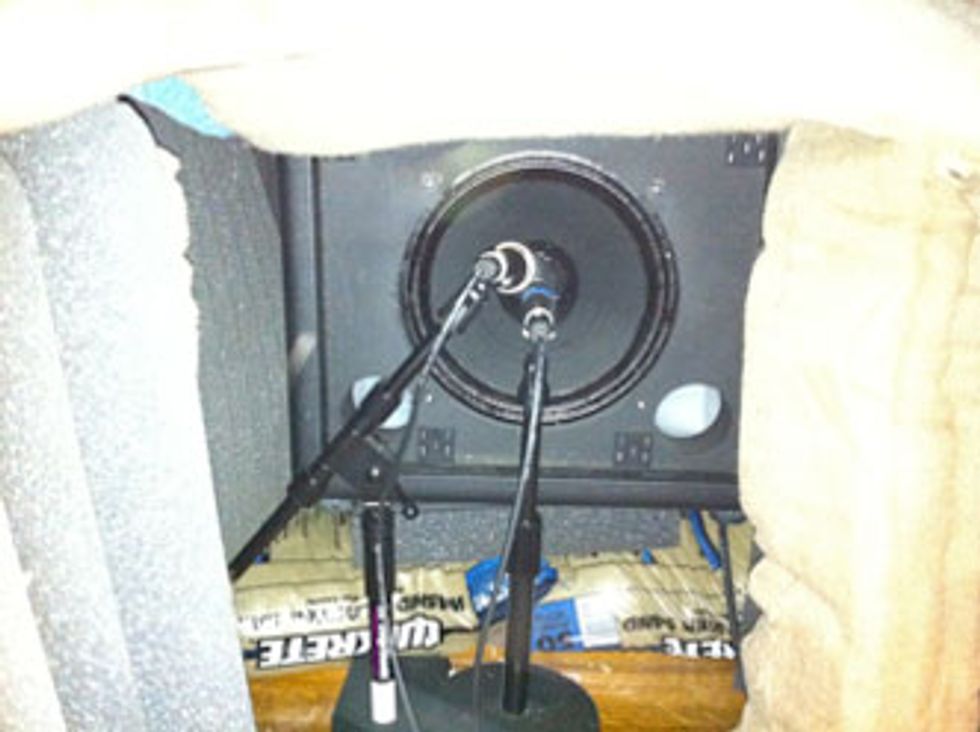
I have a Bogner 1-12” ported cabinet in the closet, loaded with a Scumback M75 speaker. It sits on sandbags that I picked up at the hardware store to isolate it from the floor. It’s surrounded by soft, absorptive material (Auralex panels, AFB mineral wool that I covered in burlap, and packing blankets). This deadens the volume drastically. Also, when you are recording in a less-than-perfect acoustic environment, such as a closet that has lots of parallel walls, making it dead is the name of the game. You can add ambience later, using reverbs with early reflections. My mic’d cab sounds great in this makeshift isolation booth!
It doesn’t look like much, but microphones don’t have eyes! Stick a mic or two on the cab in this closet and surround it with the soft stuff, and it sounds just as good as an iso booth in a professional studio!
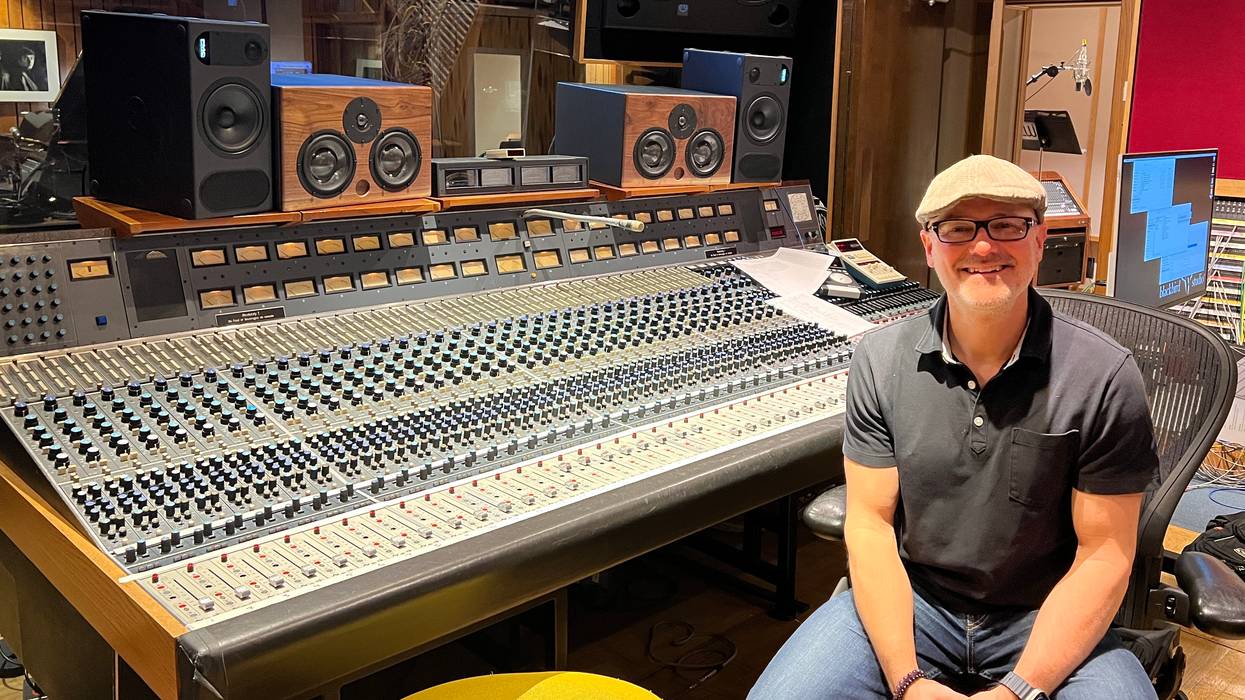
I have quality 35’ mic and speaker cables running from the closet to my main “studio area,” which is really a dining room masquerading as a control room:
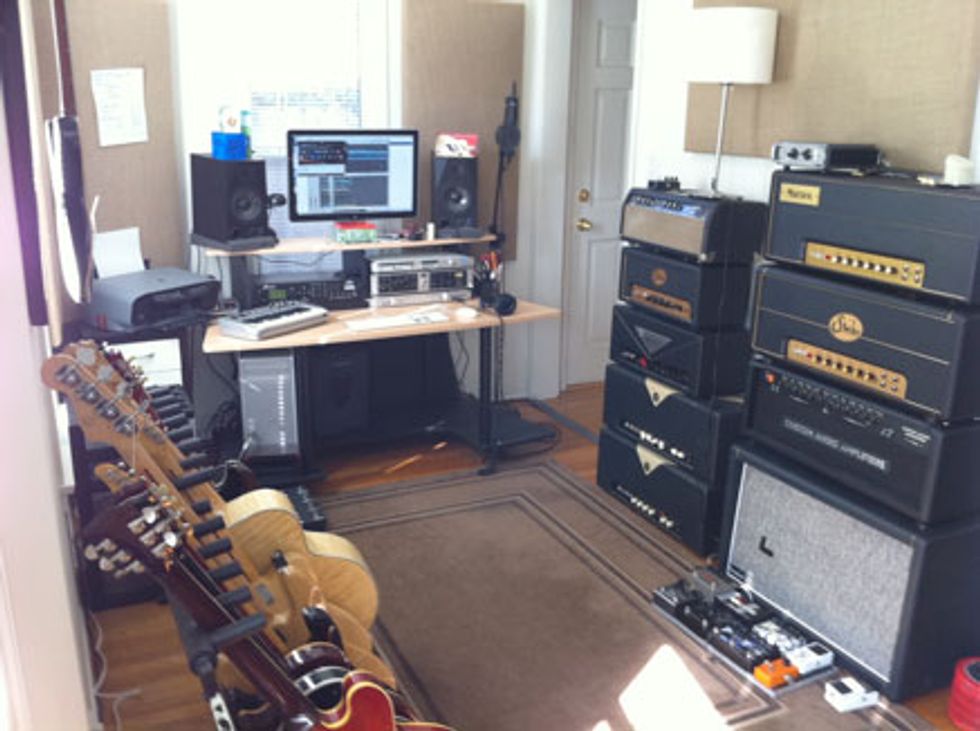
Here I have my studio desk and my amp heads, pedals, and guitars. I can easily plug into any one of the heads and be tracking within minutes. I use a Faustine Phantom attenuator to shave off volume, usually -6 to -10 db. It goes between whatever head I choose and the Bogner cab in the closet. The walls are treated with mineral wool panels, cutting down reflections.
The Recording Chain
My experience on early digital machines like ADATs taught me that when you are working in the digital realm, you really need to focus on your recording chain. This means the mic, mic preamp, and analog-to-digital conversion. Back in the days of analog, the recorder would impart a character on your tracks that was pleasing and forgiving. You could sometimes get away with average mics and preamps because analog recording was sort of like sonic glue, making everything sound punchy and in-your-face. But digital is far from forgiving. Early on, it was borderline harsh, and nowadays, even with higher sample rates and 24 bit recording, it basically sounds neutral. It accurately reflects whatever you throw at it. That’s why using good microphones and quality preamps is so important. They both have a big effect on the end result.
Microphones and Mic Placement
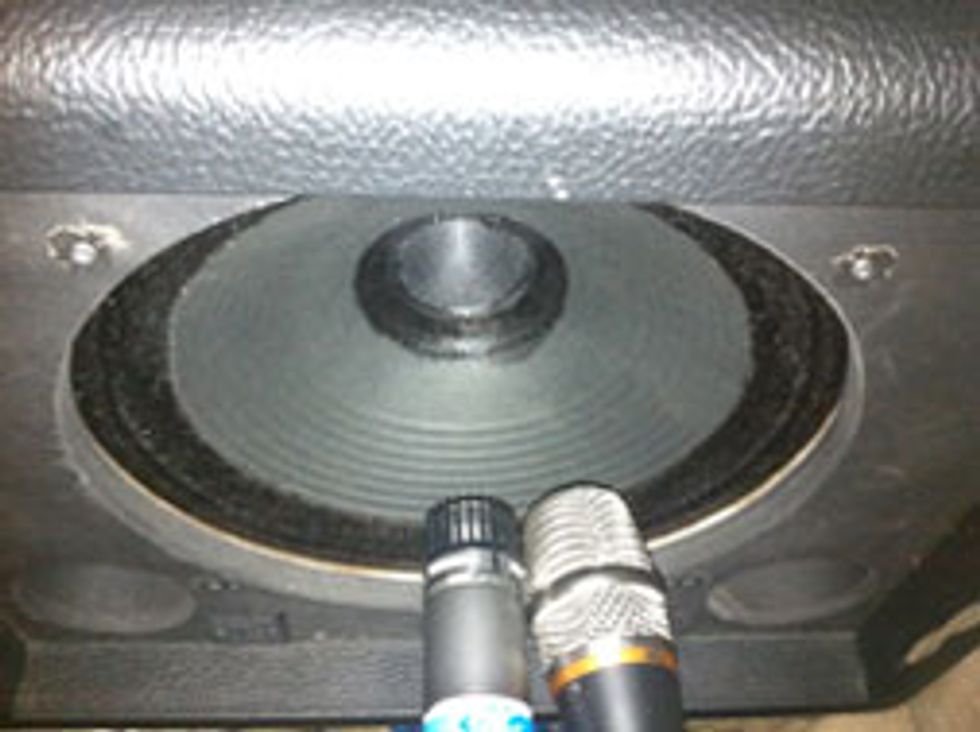 For mics, I usually use a Shure SM57 and either a Sennheiser 421 or a Heil PR20. I place the mics close, usually an inch or two from the speaker, and I often leave the grillecloth off the cabinet so I can position the mics easily. Depending on the sound I’m going for, I’ll have the mics anywhere from dead center on the dustcap to somewhere around where the dustcap meets the speaker cone. I make sure the diaphragms of the mics are equidistant from the speaker, so I don’t have phase issues when blending mics.
Preamps
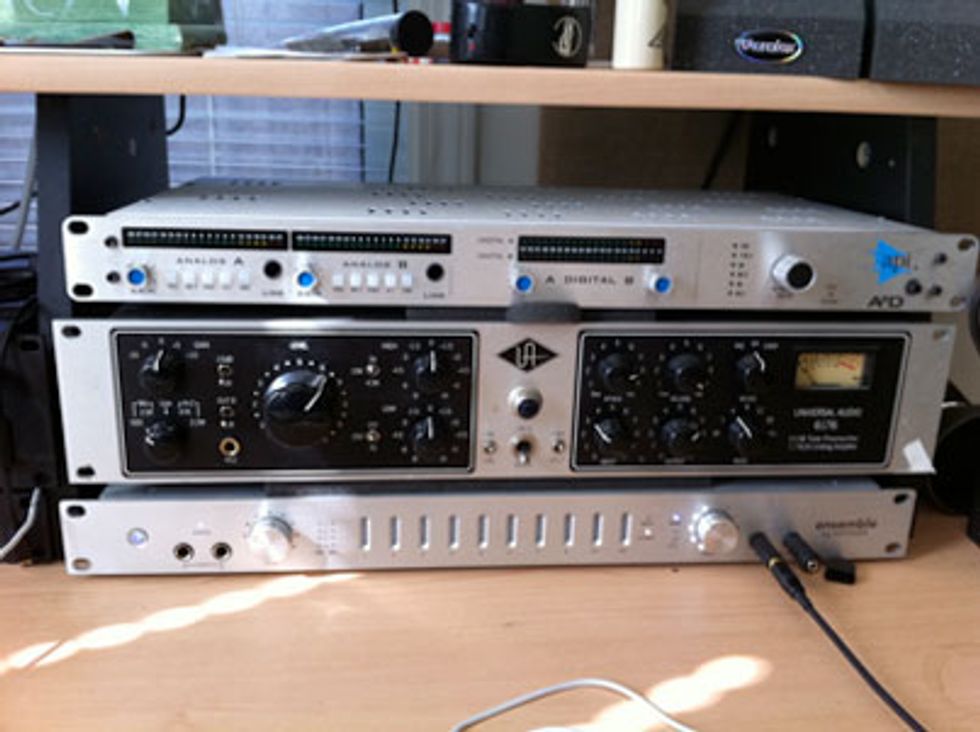
I use an API A2D stereo mic preamp and analog-to-digital converter, as well as a Universal Audio 6176 mic pre/compressor. These two units sound very different. The UA is warm, vintage, and fat, and the API is aggressive, clear, and in-your-face. The API A/D converters also sound markedly different than the ones in my Apogee Ensemble recording interface, giving me another flavor to use when recording. Both the API and UA units also have 1/4” inputs for recording guitars or bass DI Generally I record bass through the API, using a variety of plug-ins for amp simulation.
Recording Interface and Software
For my recording interface, I use the Apogee Ensemble. It’s been rock solid, it sounds great, and I really have no desire to look elsewhere. It’s almost overkill for my needs—it has plenty of inputs and outputs, and I never track more than a few channels at a time.
For software, there are lots of great programs for recording music. I chose Logic, and I’ve grown accustomed to using it and like it very much. Pro Tools is an industry standard, but as computers have become more powerful, native programs like Logic have become increasingly popular. They have all improved over the years, and these companies have taken cues from each other. For example, Logic used to be much better for MIDI sequencing, and Pro Tools used to be much better for recording and editing. But Apple and Digidesign have learned from each other, and you can now perform MIDI and audio recording tasks easily on either program.
I use a variety of plug-ins to sweeten up my tracks, from Waves, TC Electronic, Steven Slate Drums, Line 6, Tube-Tech, and others.
Monitors
Monitors are so important—if you don’t know what you are hearing, how can you track and mix well? I chose the Adam A7 monitors, and I recommend them highly. I also use Sony MDR-7506 headphones.
Recording Acoustic Guitar
I use either a GT55 large diaphragm condenser mic or I’ll sometimes borrow a Neumann KM184 small diaphragm condenser. As a general starting point, I’ll place the mic six inches away from the guitar, usually pointing at where the fingerboard meets the guitar body. This avoids picking up too many boomy lows from the soundhole.
Pete’s Recording Tips
- Track levels nice and hot, but never peaking! There’s nothing worse than a great take ruined by nasty digital clipping.
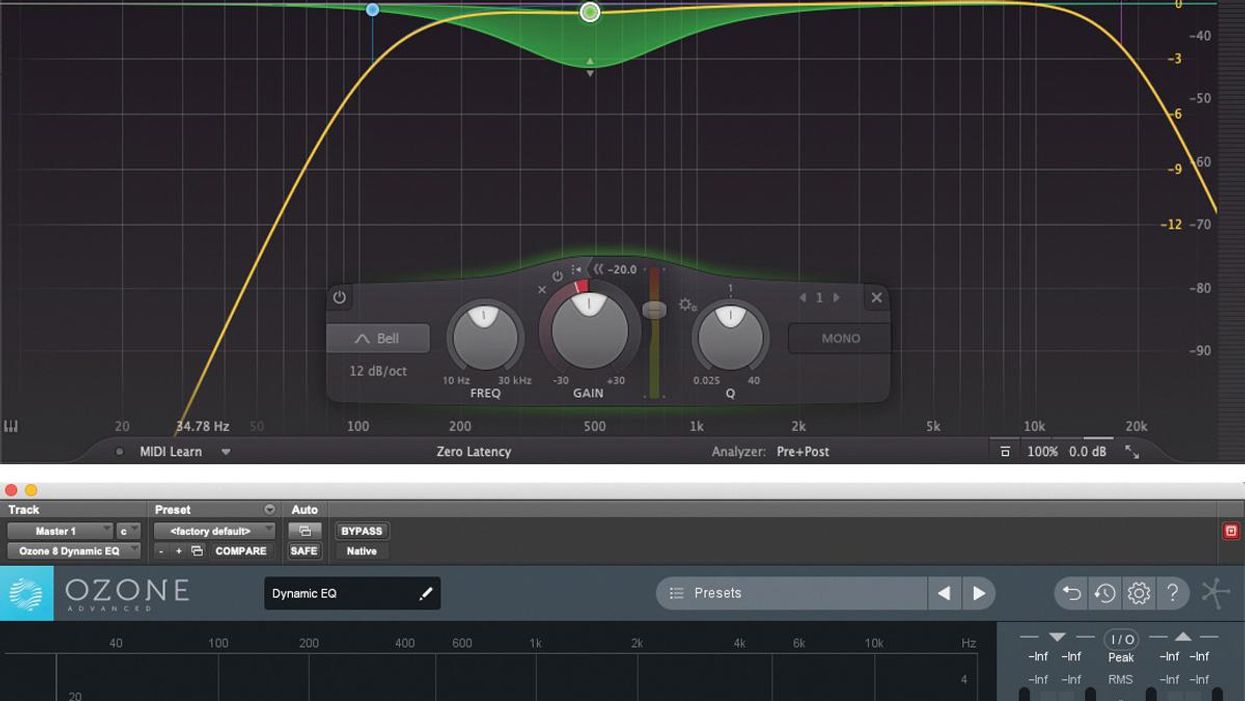
- Watch out for those low mid frequencies! I cut 250Hz out of almost everything. That frequency can be like a blanket over your whole mix!
- As a general rule, subtractive EQ is better then additive EQ. Try cutting lows and low mids before you boost highs to increase the clarity of individual tracks.
- Tune, tune, tune. Tune between takes—tune during takes if possible! The only thing worse than a great take that’s clipping is a great take that’s out of tune.
 Pete Thorn is a Los Angeles-based guitarist, currently touring with Melissa Etheridge. His solo album Guitar Nerd will be out in early 2011.You can read more about his career and music at peterthorn.com.