The fast-acting adhesive can work wonders ... if you know how to handle it safely.
Super glue plays an important role in many types of guitar repair. At our shop, we use it in dozens of ways, but unless you understand its properties and know how to handle it safely, you can wind up in trouble in a matter of seconds. Let’s spend some time exploring super glue and ways to use it effectively in common projects.
Some background.
Super glue is cyanoacrylate, a fast-acting adhesive commonly referred to as CA glue. You’ll find it marketed under various names—Super Glue, Krazy Glue, Gorilla Glue, Hot Stuff, etc.—and it’s widely used in manufacturing, woodworking, medical, dental, forensic, and automotive fields. Super glue is basically an acrylic resin that dries quickly.
Super glue is sold in various thicknesses that range from “water thin” to a thick gel. It’s important to choose the correct thickness for a given project. For example, thin and ultra-thin formulas flow into tiny spaces and dry instantly, which makes them useful for gluing in a string nut or seating loose frets—two applications we’ll examine in a moment.
A medium formula is great for repairing fretboard cracks. Because it’s thicker, it dries a little slower and this gives you a bit more time to work when you’re fixing split wood.
With the consistency of honey, the thick gel formula works as a gap filler. We also use it to repair chips in polyurethane or UV-cured finishes. Thick super glue can take up to five minutes to dry.
Typically super glue is clear, but Stewart-MacDonald also offers it in both black and transparent amber. We often use these colored super glues in the shop for touch-up projects.
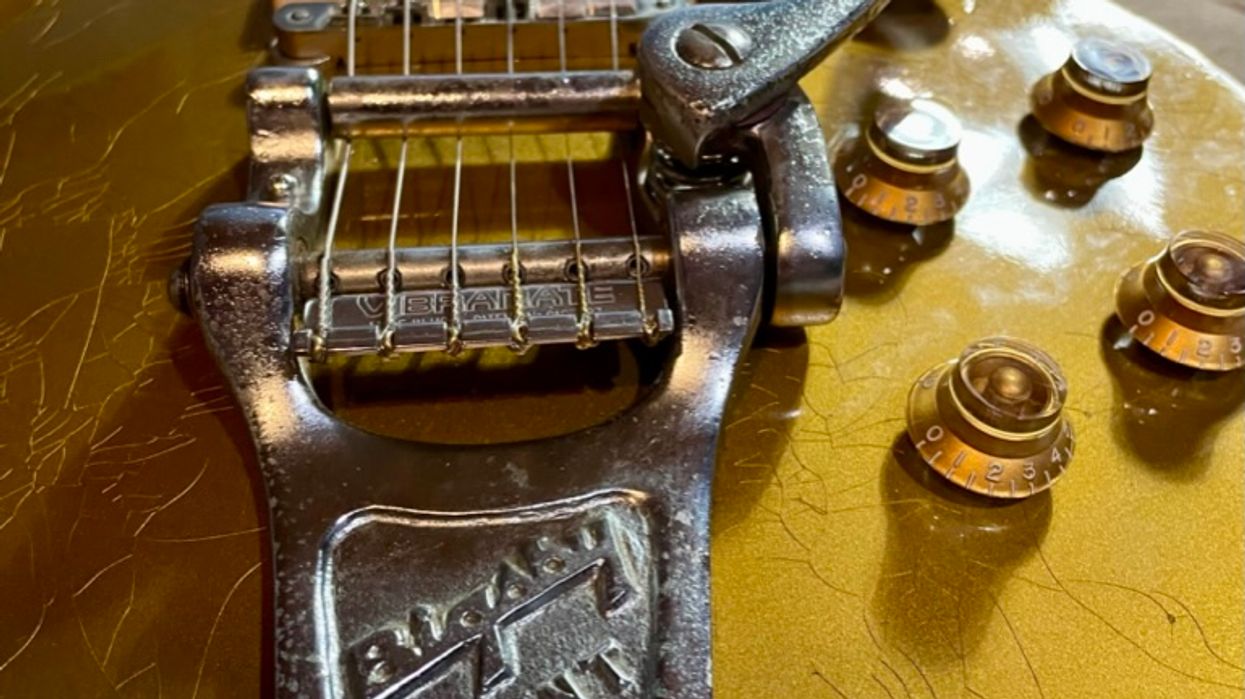
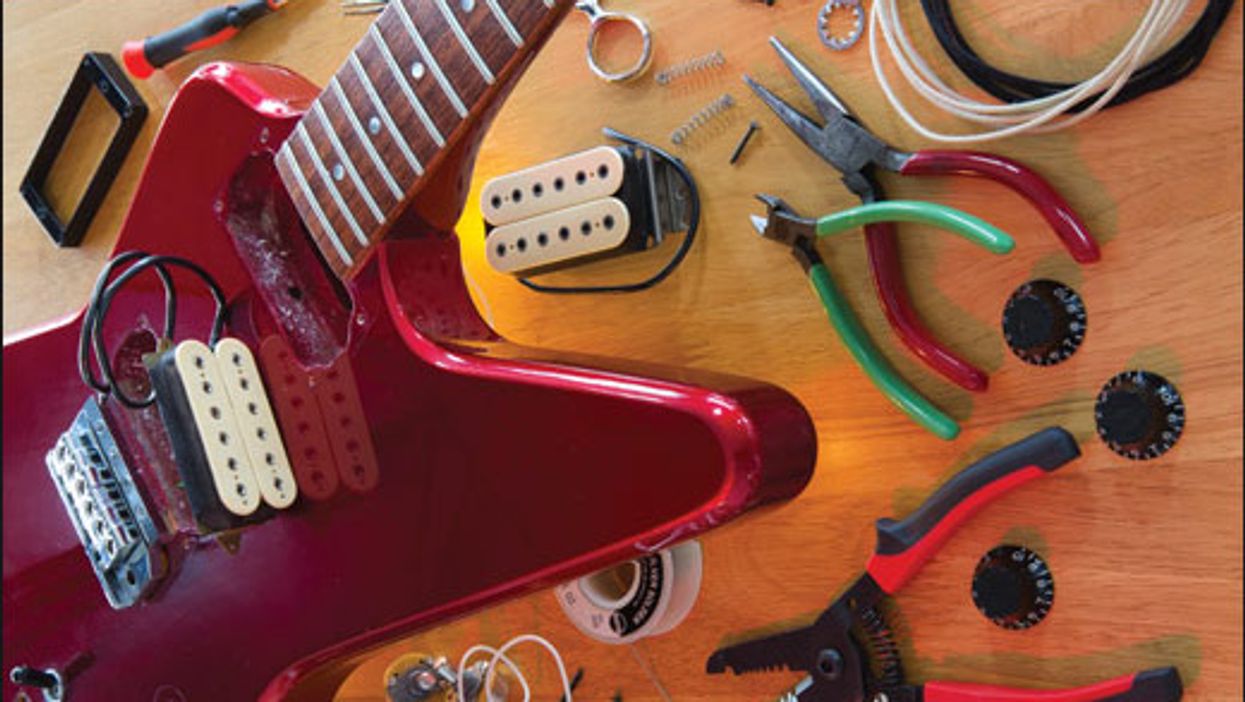
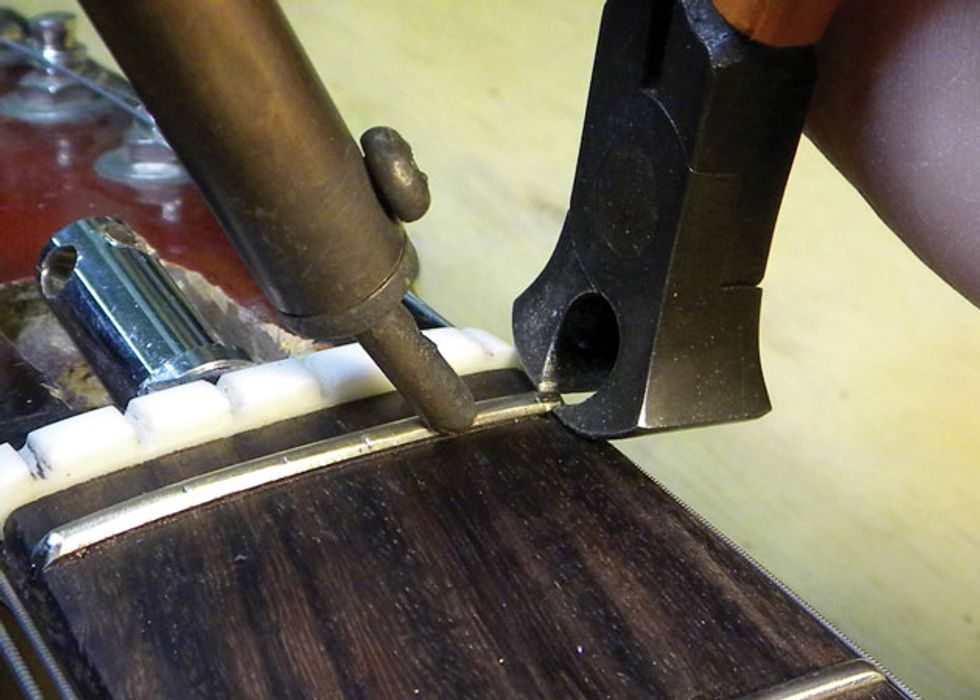
Most super glue manufacturers also sell a spray accelerant that makes drying time nearly instantaneous. Photo 1 shows different types of super glue, as well as spray accelerant and applicator whip tips—small, flexible, hollow extensions that attach to the glue bottle’s nozzle.
Safety first.
When working on a guitar, super glue can be your best friend or worst enemy.
So before we go any further, let’s review the basic rules.
Always wear safety glasses when using super glue. Early in my career I learned the importance of eye protection: After splashing glue in my eyes, I had to dash to the emergency room. Don’t make that mistake.
Never touch your face when you have glue on your fingers. You can remove glue from your fingers using super glue solvent or fingernail polish remover.
Like water, super glue—especially the thin formulas—will accumulate at the lowest elevation, so always position the guitar to prevent the glue from moving away from where you apply it. For example, when touching up the finish on a guitar, make sure that area of the guitar is level. If it’s tilted, the glue will run to the lowest spot and create a mess.
Always have a cotton swab in your hand, ready to remove excess glue. But remember, you have to do this quickly or otherwise the swab can stick to the glue.
A clean applicator tip can make the difference between a job well done and a big mess. Applicator tips make it easy to apply the glue precisely where you want, instead of splashing it all over the guitar, and you can use them as they come or trim them down to whatever size you need. Suppliers like Stewart-MacDonald and All Parts sell applicator tips with their glues. Keep a pack or two on hand so you don’t run out in the middle of a project.
Finally, slow down and pay attention to what you’re gluing. Rushing through a super glue project is a recipe for disaster.
Okay, clear on the rules? Cool—we’re now ready to tackle two projects.
Securing a string nut.
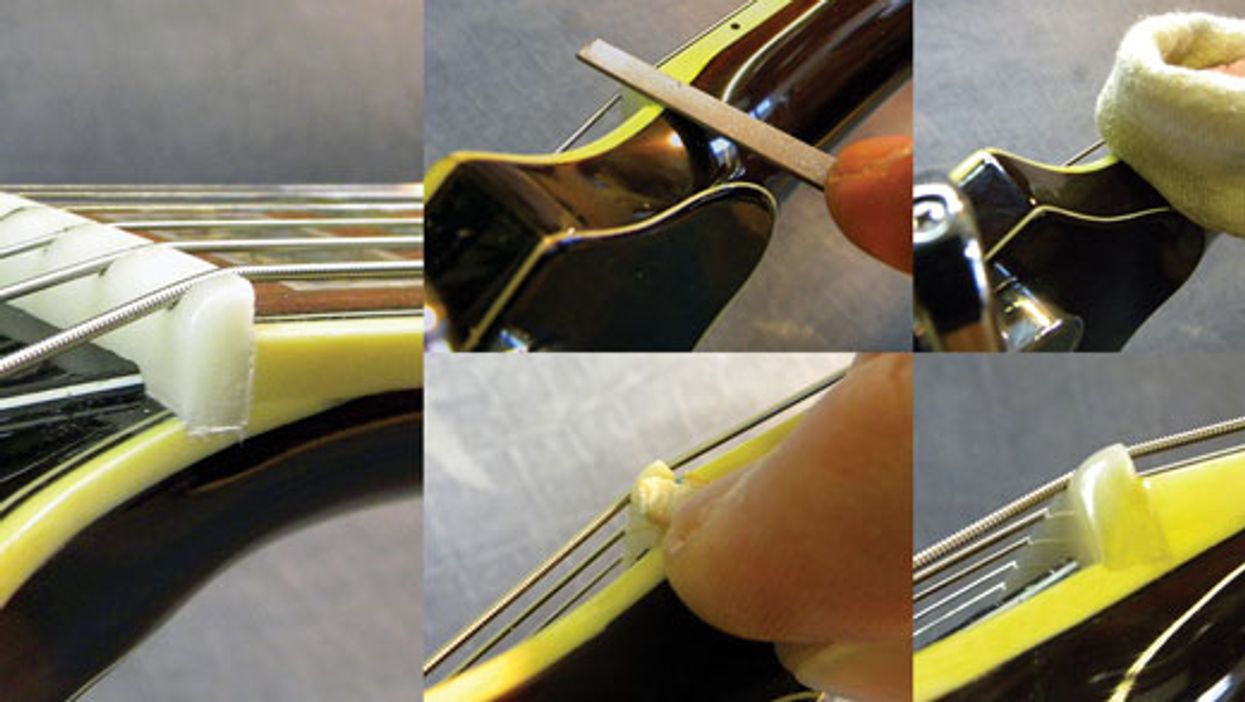
This is one of the most common uses for super glue. Many manufacturers put glue on the bottom of the string nut before setting it in the slot, but I use a different technique. I apply a small amount of ultra-thin or thin formula to the “face” of the nut—the area where it meets the end of the fretboard.
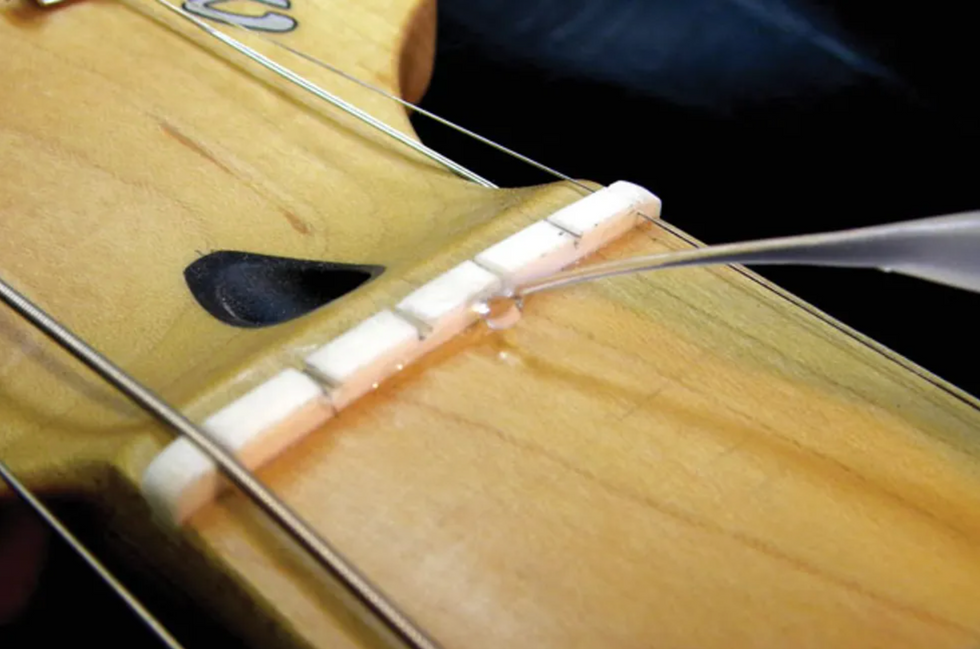
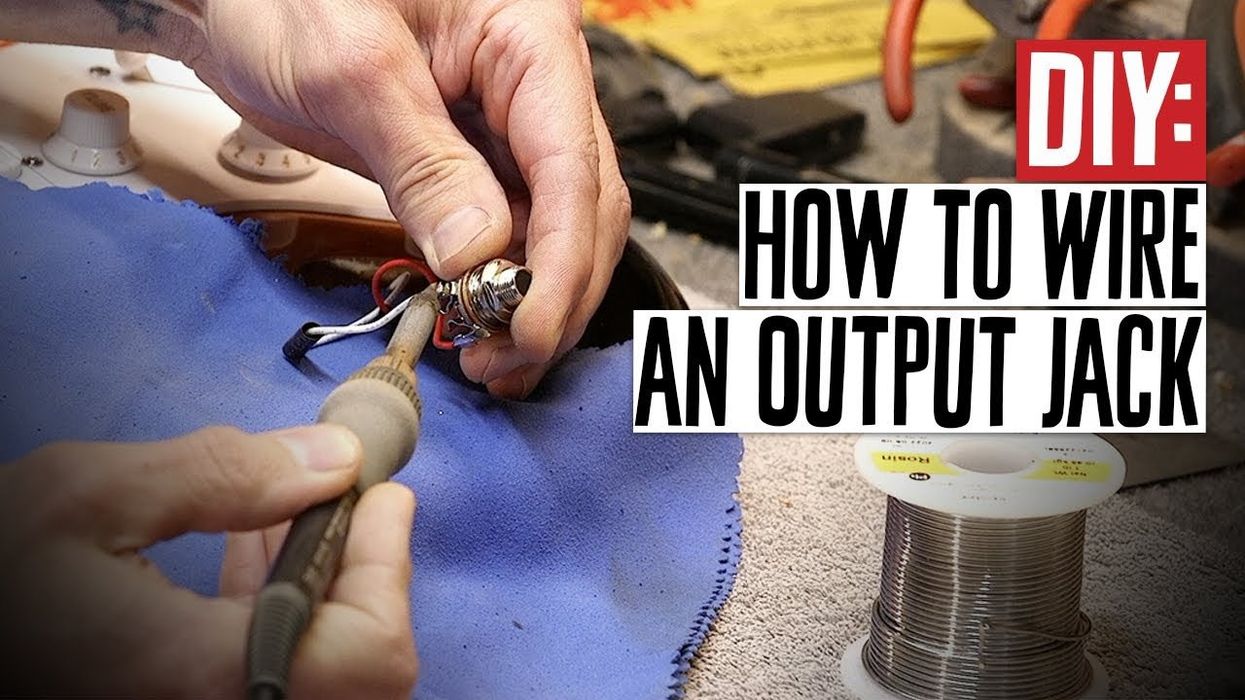
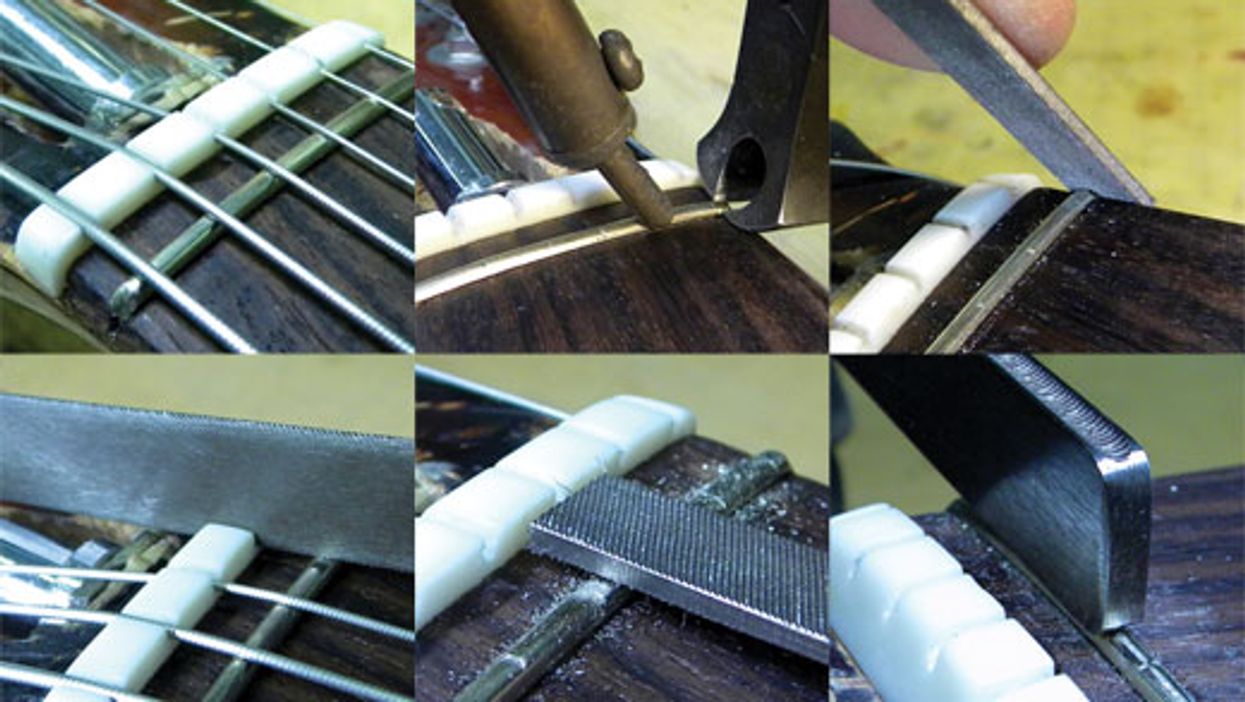
Photo 2
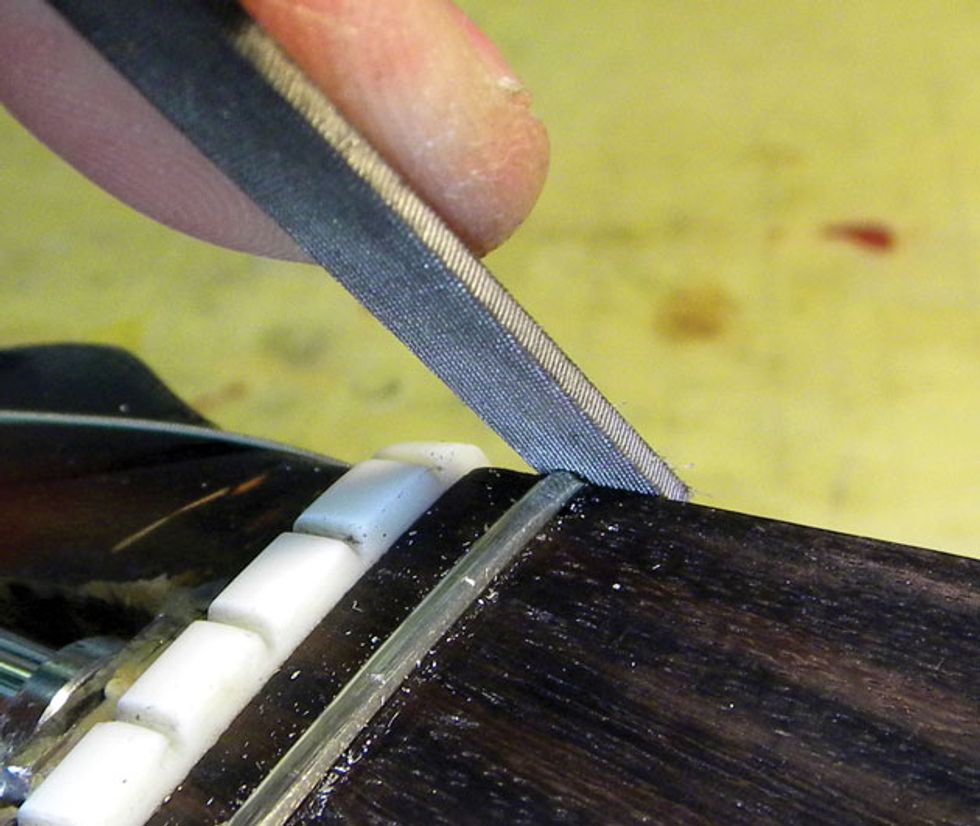
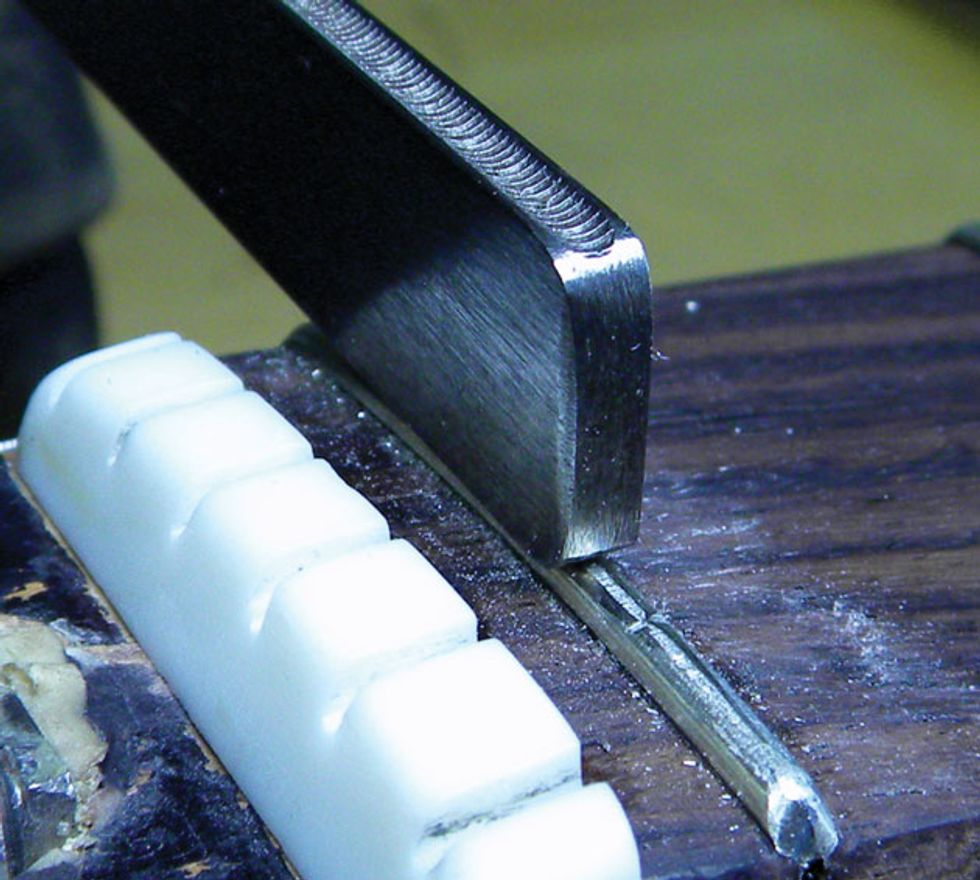
Here’s why: When it’s time to replace the nut, you can more easily remove it and avoid damaging the slot. It’s a way to think ahead to make this project easier for the next tech that has to work on the guitar. If a nut has been glued in from the bottom, removing it can rip pieces of wood out of the slot. Use the 1st and 6th strings to hold down the nut and align it with the fretboard. Then apply one drop of ultra-thin or thin super glue to the face of the nut between the 3rd and 4th strings (Photo 2).
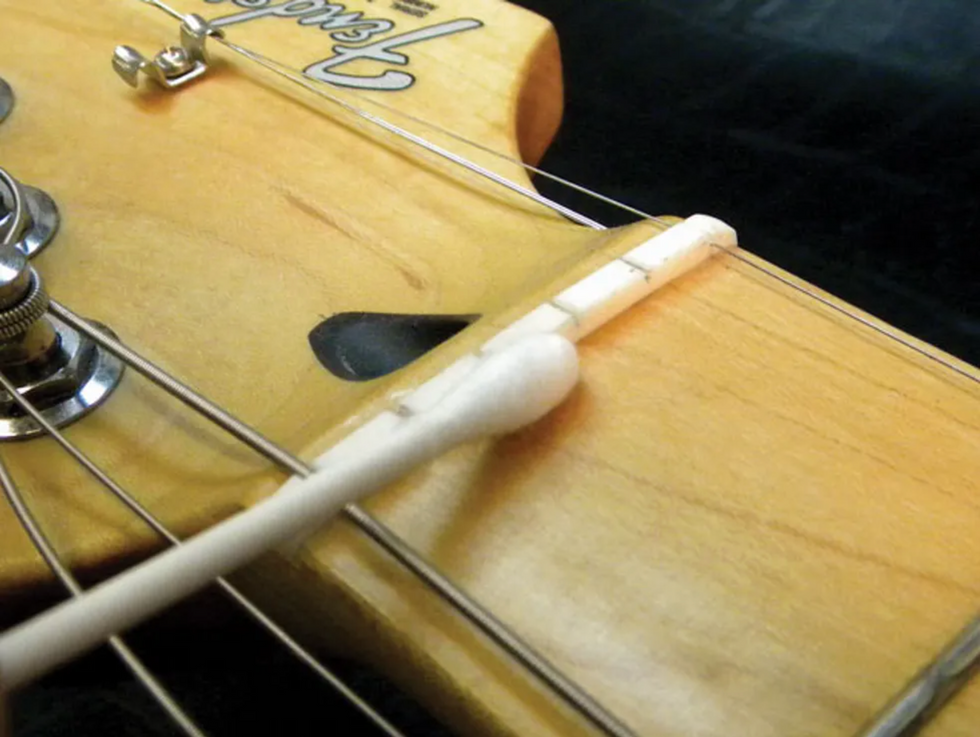
Photo 3
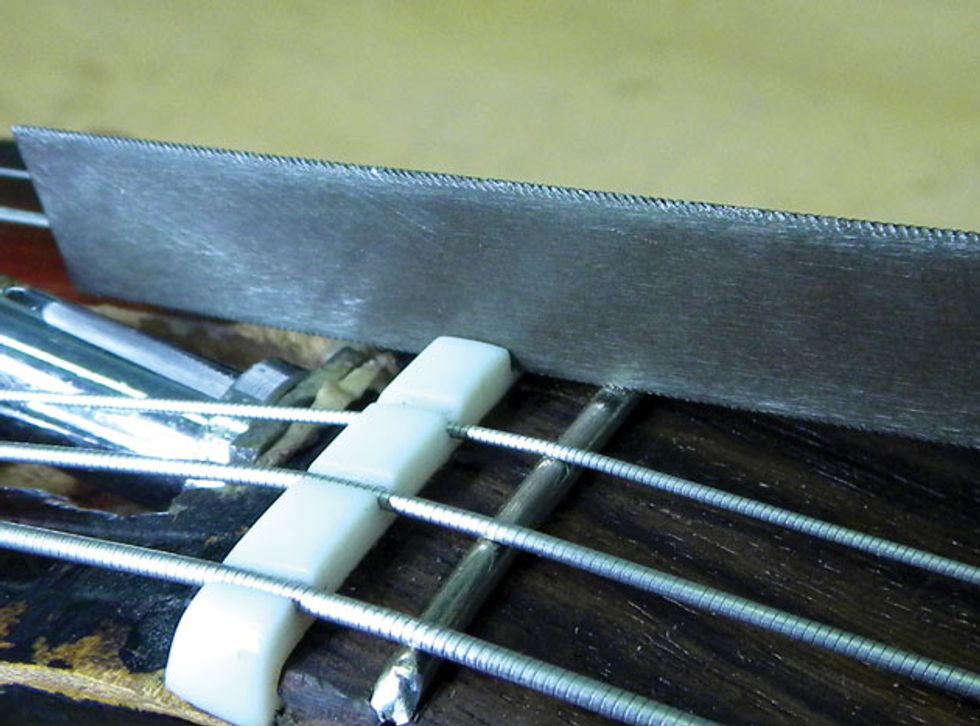
The glue will run along the nut and penetrate the small space between it and the edge of the fretboard. Use a cotton swab to clean up the excess (Photo 3).
Seating a fret.
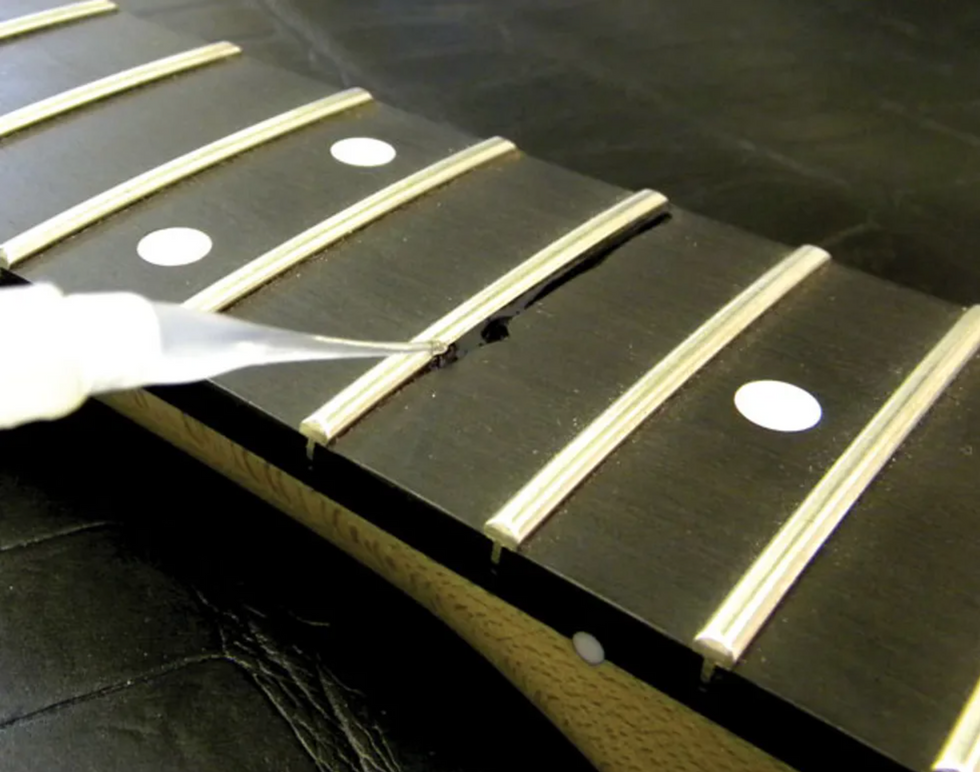
Photo 4
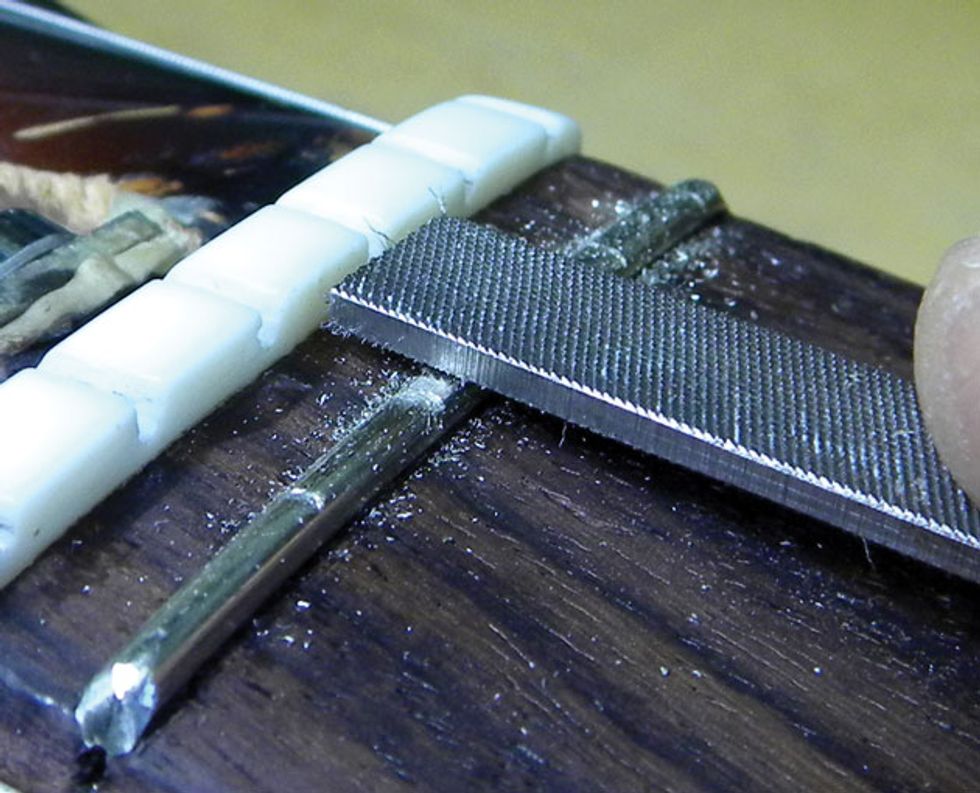
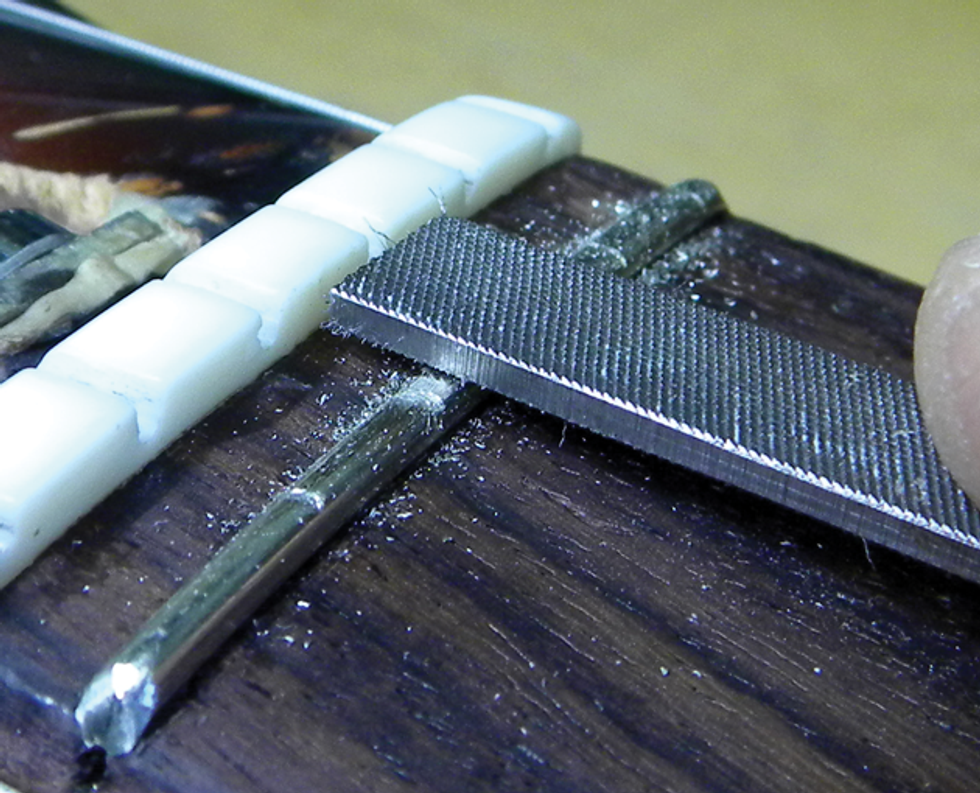
Drastic changes in temperature and humidity can cause frets to become unseated in rosewood or ebony fretboards. When a fret pops up, I gently tap it down with a fretting hammer, and then seal it with ultra-thin super glue (Photo 4).
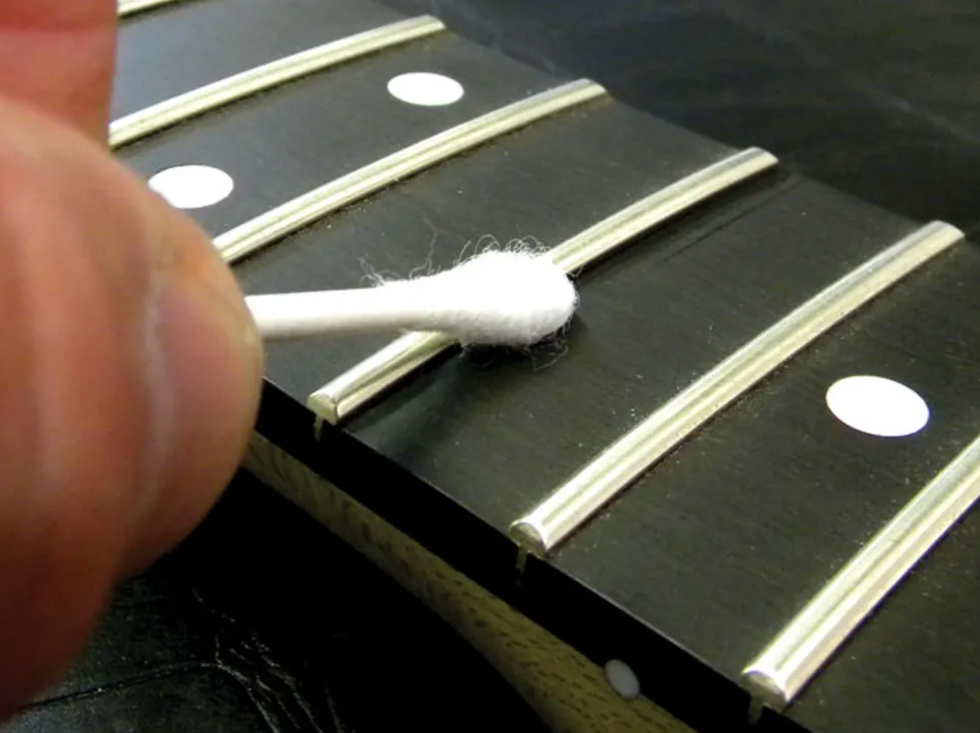
Photo 5
Quickly clean up the excess glue with a cotton swab (Photo 5).
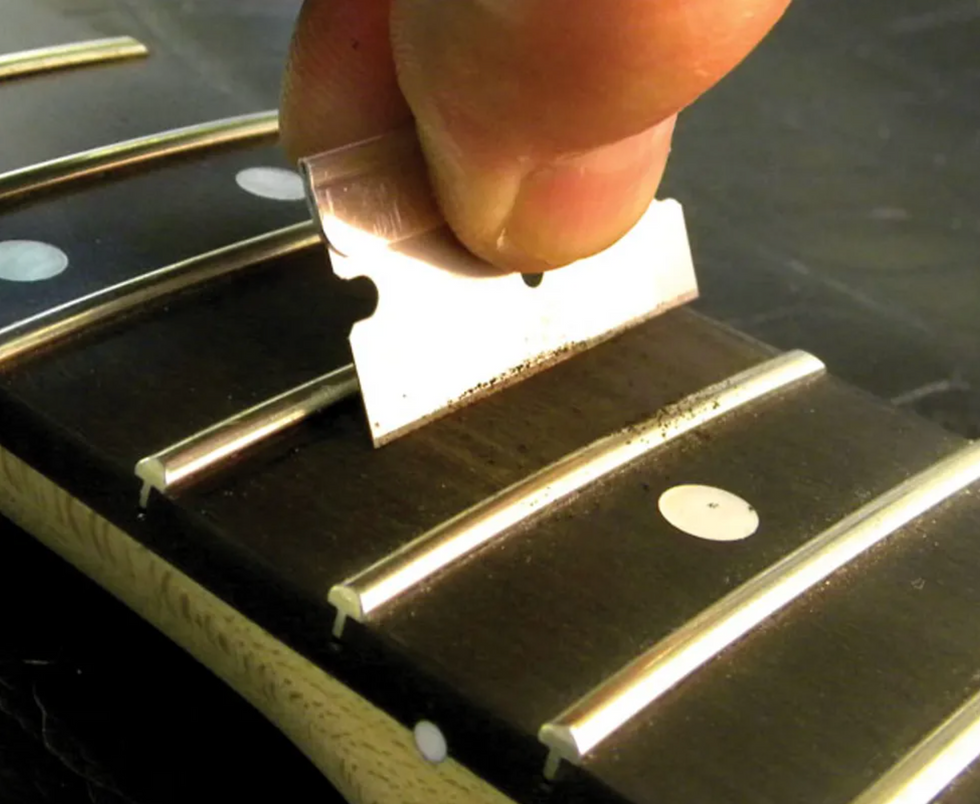
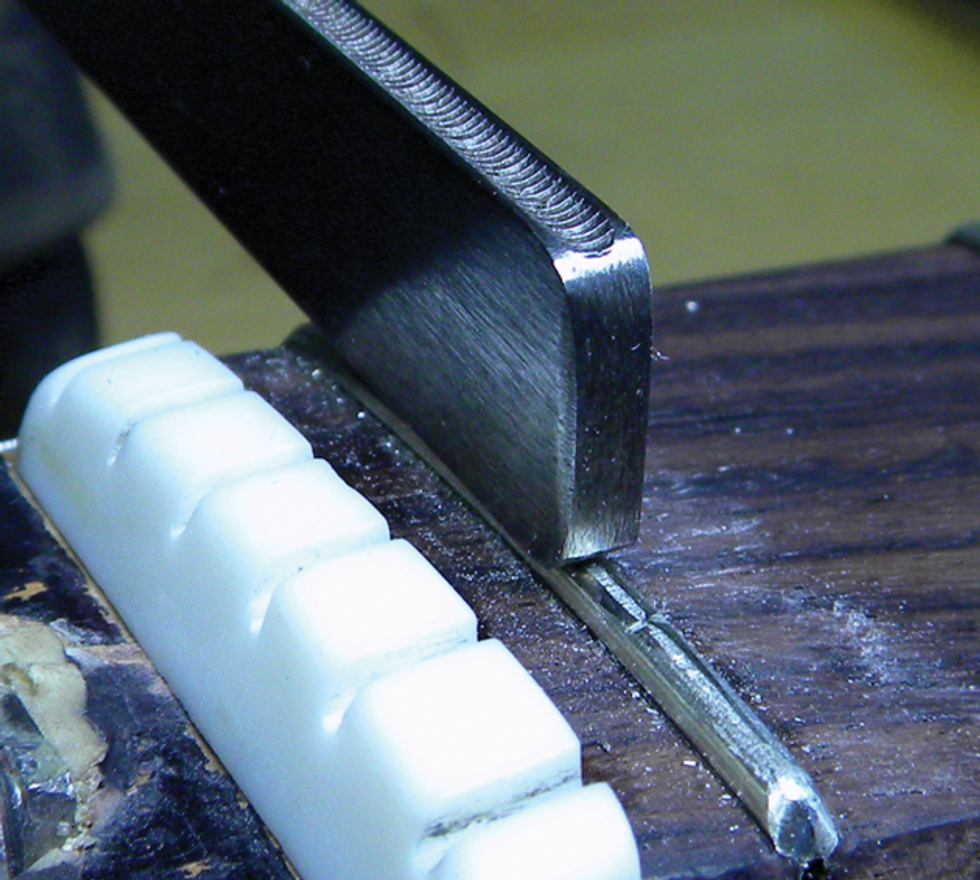
And if that doesn’t do the trick, use a razor blade to gently scrape the dried glue off the fretboard (Photo 6).
You can use super glue for many other guitar repairs, so stay tuned for more projects in an upcoming column.
[Updated 1/25/22]
Nineties-style high-gain heaviness that can be surgically tailored with a powerful EQ.
Excellent variations on high-gain modern distortion tones. Powerful EQ.
Not many low- or mid-gain sounds here.
$199
JHS Hard Drive
jhspedals.com
JHS makes many great and varied overdrive stomps. Their Pack Rat is a staple on one of my boards, and I can personally attest to the quality of their builds. The new Hard Drive has been in the works since as far back as 2016, when Josh Scott and his staff were finishing off workdays by jamming on ’90s hard rock riffs.
During these sessions, Scott’s go-to pedal was the Ibanez SM7 Smash Box. He realized that JHS had never offered anything along those lines, conferred with his then lead engineer, Cliff Smith, and the wheels were set in motion. Over several years of design, the Hard Drive evolved from an SM7 homage to a unique, original circuit.
JHS’ Hardest to Date
The Hard Drive’s control panel is streamlined, consisting of knobs for volume, mid frequency, drive, bass, middle, and treble. Driven by cascading gain stages, the Hard Drive can cop a wide range of modern distorted tones. Even at the lowest drive settings, the Hard Drive simmers, delivering massive bottom end on muted power chords. Nudging the drive up very slightly transforms the Hard Drive into a roaring Marshall JCM 900. And if you bring the drive all the way up, you’re in for all out chaos. Even with an amp set just louder than bedroom levels, the Hard Drive, with its volume at just 11 o’clock, is very loud and in-your-face. You don’t have to work hard to imagine how this could sound and feel like multiple stacks raging at Madison Square Garden in the context of a recorded track.
Even at the lowest drive settings, the Hard Drive simmers, delivering massive bottom end.
Zoning the Frequencies
Unlike some heavy pedals that concern themselves with mega-gain and little else, the Hard Drive’s EQ controls are very effective and powerful. Moving the treble knob from 11 o’clock to 1 o’clock changes the pedal’s tone and response characteristics completely, opening up and transforming the naturally relatively dark sound of my Fender Super Sonic amp. Turning the treble knob all the way off with the bass and mid knobs at noon gives me a vocal lead tone that’s creamy, warm, and still immediate and responsive.
The middle and mid frequency controls work in tandem. The mid control itself works as a cut or boost. The mid frequency control, however, lets you choose the specific frequency you cut or boost. I found these controls invaluable for sculpting tones that could leverage the copious gain without being abrasive. Meanwhile, adding more high midrange lends clarity to complex chords.
The Verdict
The Hard Drive is an unapologetically heavy pedal—if you’re looking for a dirt box that can double as a clean boost, well, the Hard Drive is not that. It’s meant to slay with gain, and it performs this task well and with a vengeance. There are countless dirt boxes on the market that deliver hot rodded, ’80s-style brown sound. Fewer cater to the subsequent generations of high-gain players that used the ’80s as a mere jumping-off point. The Hard Drive is very much voiced for this strain of heavy music. If that’s your jam, the Hard Drive is hard to beat.
Tailored for Yngwie Malmsteen's signature sound, the MXR Yngwie Malmsteen Overdrive is designd to offer simple controls for maximum impact.
Working closely alongside Yngwie, the MXR design team created a circuit that delivers clarity, expressive dynamics, and rich harmonics—all perfectly tailored for his light-speed arpeggios, expressive vibrato, and big, bold riffs. The control setup is simple, with just Level and Gain knobs.
"Want to sound like Yngwie? Crank both knobs to the max."
“This pedal is the culmination of 45+ years developing a sound that’s perfect in every possible way,” Yngwie says. “I present to you: the MXR Yngwie Malmsteen Overdrive. Prepare to be amazed.”
MXR Yngwie Malmsteen Overdrive highlights:
- Perfectly tailored for Yngwie Malmsteen's signature sound and style
- Simple control setup tuned for maximum impact
- Boost every nuance with superior clarity, expressive dynamics, and rich harmonics
- Dig into light-speed arpeggios, expressive vibrato, and big, bold riffs
The MXR Yngwie Malmsteen Overdrive is available now at $129.99 street/$185.70 MSRP from your favorite retailer.
For more information, please visit jimdunlop.com.
Featuring dual-engine processing, dynamic room modeling, and classic mic/speaker pairings, this pedal delivers complete album-ready tones for rock and metal players.
Built on powerful dual‑engine processing and world‑class UAD modeling, ANTI 1992 High Gain Amp gives guitarists the unmistakable sound of an original "block letter" Peavey 5150 amplifier* – the notorious 120‑watt tube amp monster that fueled more than three decades of modern metal music, from Thrash and Death Metal, to Grunge, Black Metal, and more.
"With UAFX Dream, Ruby, Woodrow, and Lion amp emulators, we recreated four of the most famous guitar amps ever made," says UA Sr. Product Manager Tore Mogensen. "Now with ANTI, we're giving rock and metal players an authentic emulation of this punishing high gain amp – with the exact mic/speaker pairings and boost/noise gate effects that were responsible for some of the most groundbreaking modern metal tones ever captured."
Key Features:
- A complete emulation of the early '90s 120‑watt tone monster that defined new genres of modern metal
- Powerful UAFX dual-engine delivers the most authentic emulation of the amp ever placed in a stompbox
- Complete album‑ready sounds with built‑in noise gate, TS‑style overdrive, and TC‑style preamp boost
- Groundbreaking Dynamic Room Modeling derived from UA's award-winning OX Amp Top Box
- Six classic mic/speaker pairings used on decades of iconic metal and hard rock records
- Professional presets designed by the guitarists of Tetrarch, Jeff Loomis, and The Black Dahlia Murder
- UAFX mobile app lets you access hidden amp tweaks and mods, choose overdrive/boost, tweak noise gate, recall and archive your presets, download artist presets, and more
- Timeless UA design and craftsmanship, built to last decades
For more information, please visit uaudio.com.
- YouTube
The Memphis-born avant-funk bassist keeps it simple on the road with a signature 5-string, a tried-and-true stack, and just four stomps.
MonoNeon, aka Dywane Thomas Jr., came up learning the bass from his father in Memphis, Tennessee, but for some reason, he decided to flip his dad’s 4-string bass around and play it with the string order inverted—E string closest to the ground and the G on top. That’s how MonoNeon still plays today, coming up through a rich, inspiring gauntlet of family and community traditions. “I guess my whole style came from just being around my grandma at an early age,” says Thomas.His path has led him to collaborate with dozens of artists, including Nas, Ne-Yo, Mac Miller, and even Prince, and MonoNeon’s solo output is dizzying—trying to count up his solo releases isn’t an easy feat. Premier Guitar’s Chris Kies caught up with the bassist before his show at Nashville’s Exit/In, where he got the scoop on his signature 5-string, Ampeg rig, and simple stomp layout, as well as some choice stories about influences, his brain-melting playing style, and how Prince changed his rig.
Brought to you by D’Addario.
Orange You Glad to See Me?
This Fender MonoNeon Jazz Bass V was created after a rep messaged Thomas on Instagram to set up the signature model, over which Thomas had complete creative control. Naturally, the bass is finished in neon yellow urethane with a neon orange headstock and pickguard, and the roasted maple neck has a 10"–14" compound radius. It’s loaded with custom-wound Fireball 5-string Bass humbuckers and an active, 18V preamp complete with 3-band EQ controls. Thomas’ own has been spruced up with some custom tape jobs, too. All of MonoNeon's connections are handled by Sorry Cables.
Fade to Black
MonoNeon’s Ampeg SVT stack isn’t a choice of passion. “That’s what they had for me, so I just plugged in,” he says. “That’s what I have on my rider. As long as it has good headroom and the cones don’t break up, I’m cool.”
Box Art
MonoNeon’s bass isn’t the only piece of kit treated to custom color jobs. Almost all of his stomps have been zhuzhed up with his eye-popping palette.
Thomas had used a pitch-shifting DigiTech Whammy for a while, but after working with Paisley Park royalty, the pedal became a bigger part of his playing. “When I started playing with Prince, he put the Whammy on my pedalboard,” Thomas explains. “After he passed, I realized how special that moment was.”
Alongside the Whammy, MonoNeon runs a Fairfield Circuitry Randy’s Revenge (for any time he wants to “feel weird”), a literal Fart Pedal (in case the ring mod isn’t weird enough, we guess), and a JAM Pedals Red Muck covers fuzz and dirt needs. A CIOKS SOL powers the whole affair.
Shop MonoNeon's Rig
Fender MonoNeon Jazz Bass V
Ampeg SVT
DigiTech Whammy
CIOKS SOL