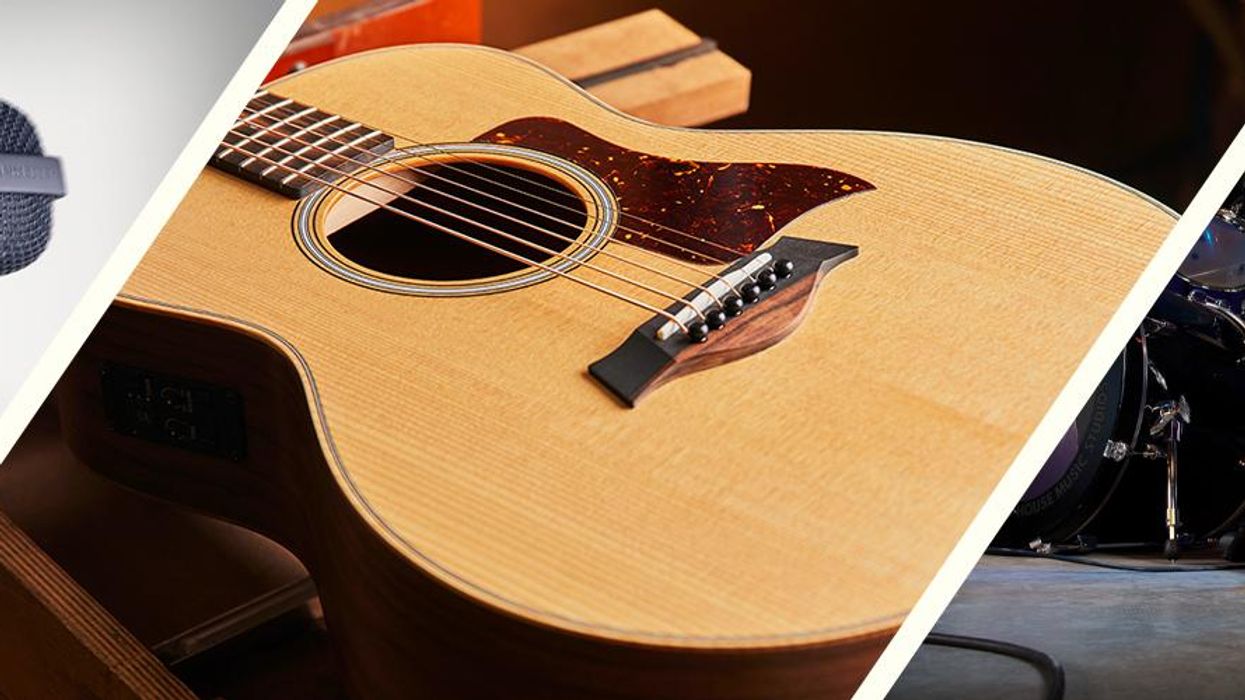
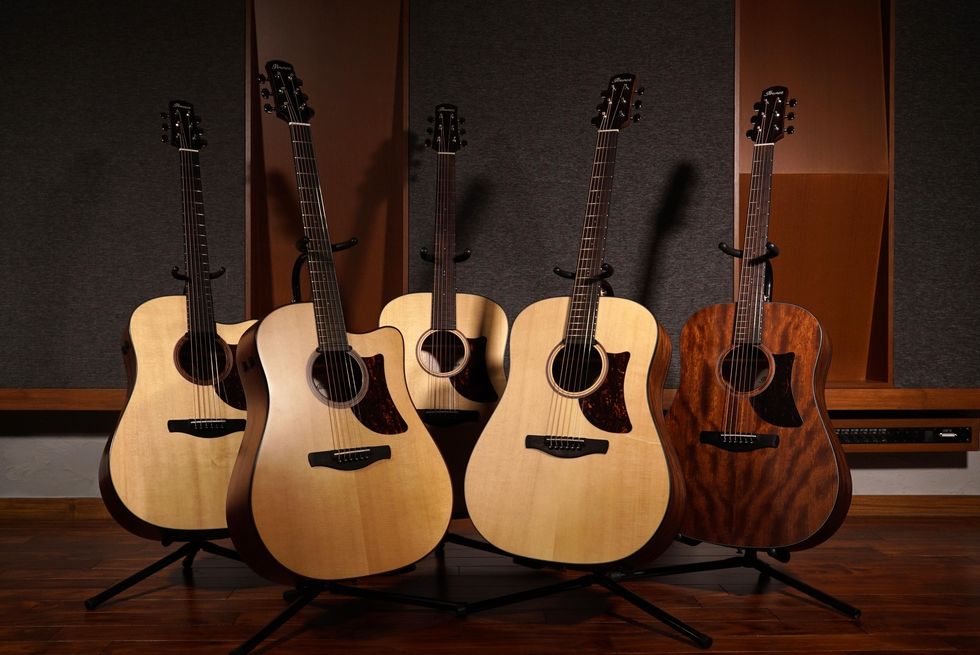
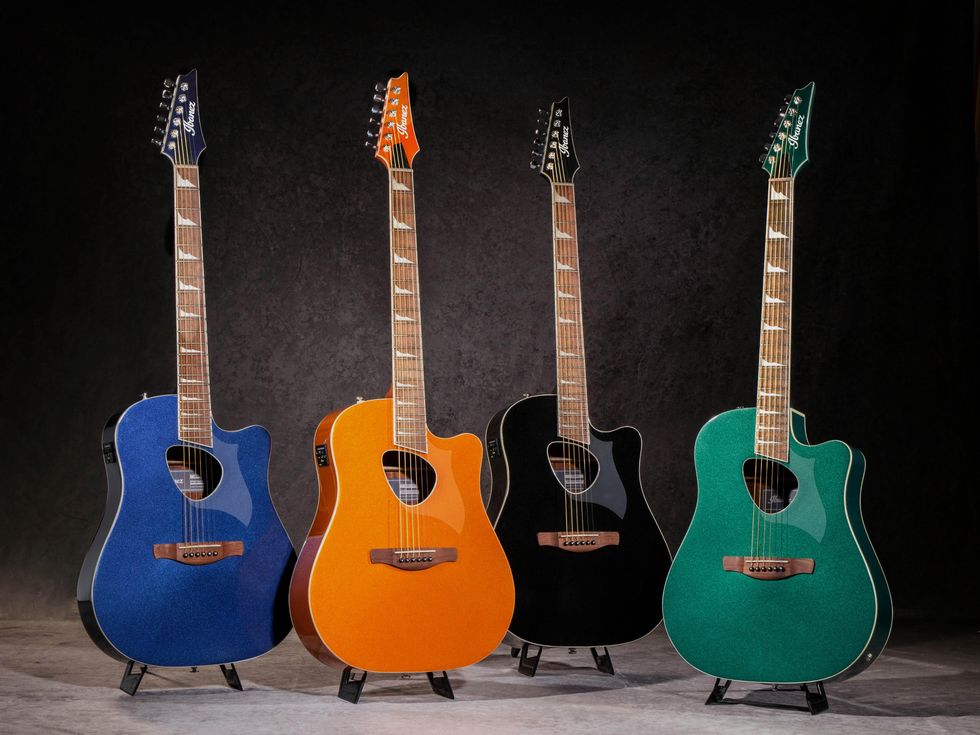
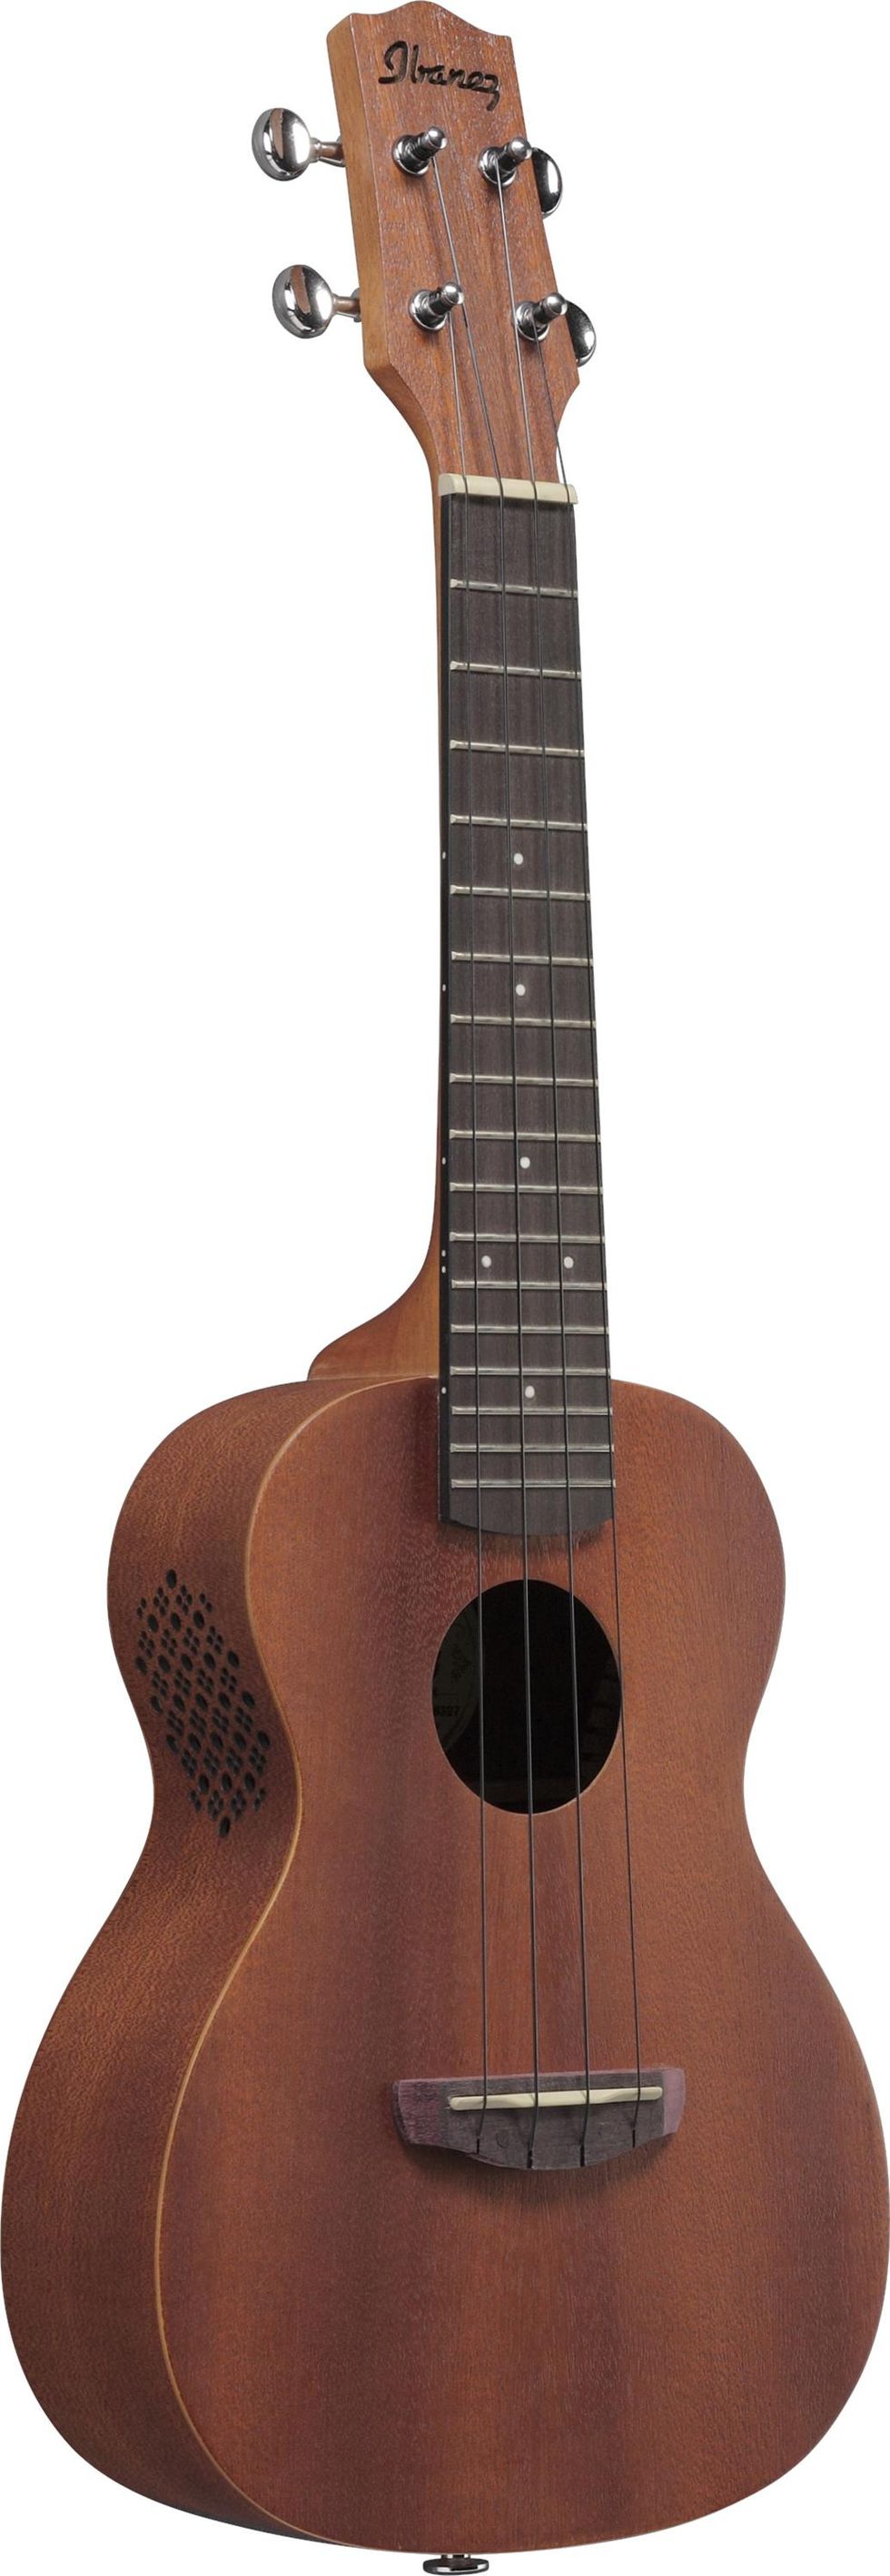
Don't miss the latest and greatest gear finds for your acoustic!
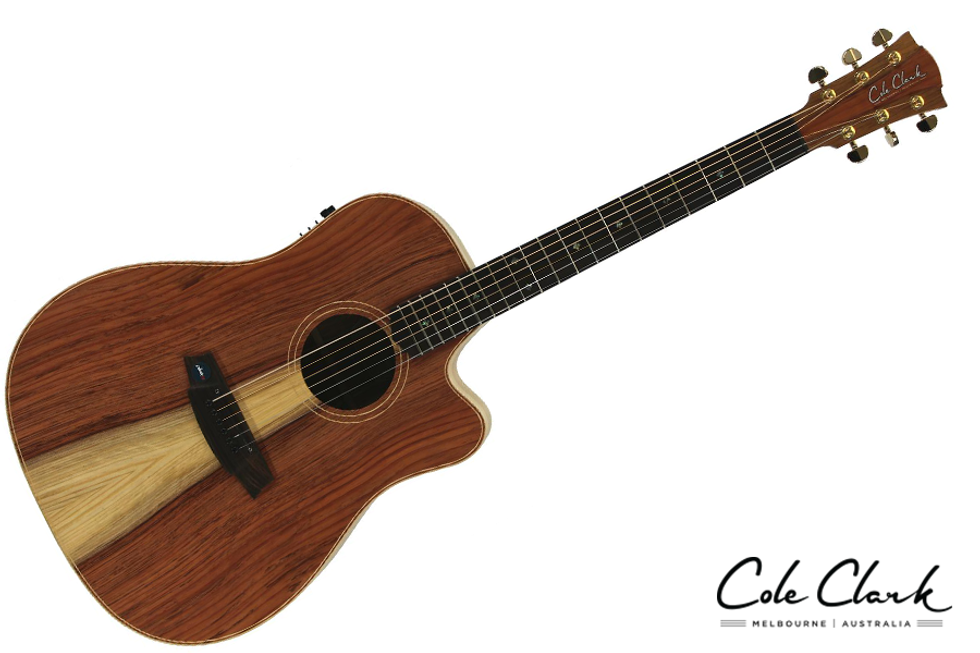
Cole Clark Guitars CCFL2ECRDBL
The Cole Clark CCFL2ECRDBL Acoustic-Electric Guitar is designed for the guitarist who demands the highest standards in an instrument. The 2 Series FL Dreadnought guitar is the go-to choice for every player looking to have ultimate control of both the acoustic and plugged-in performance environments, with Cole Clark's signature 3-way pickup system and beautiful, sustainably-sourced, natural Redwood and Blackwood timbers.
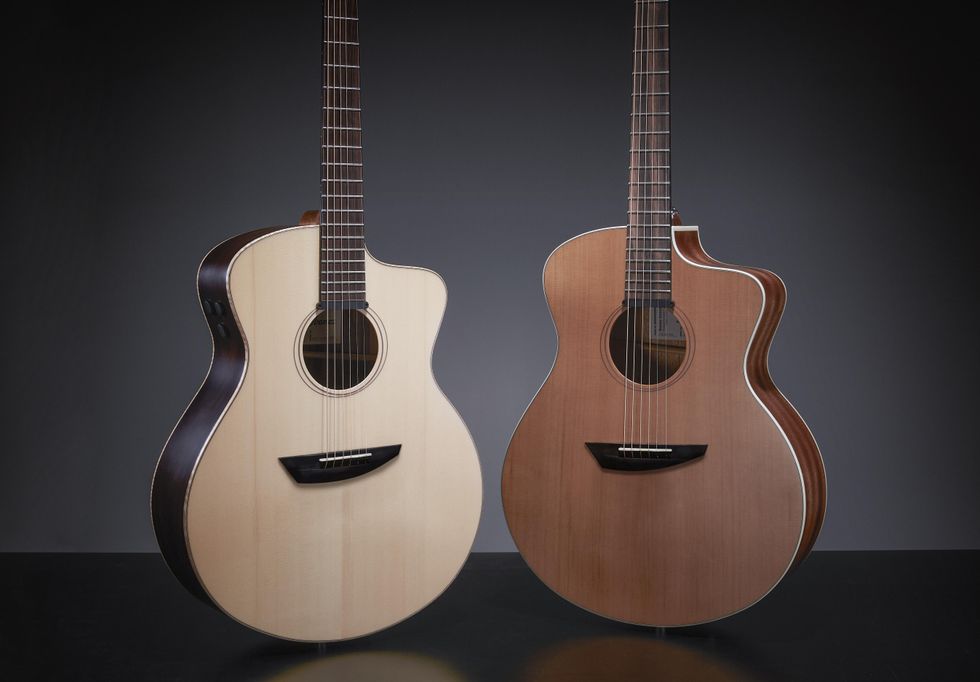
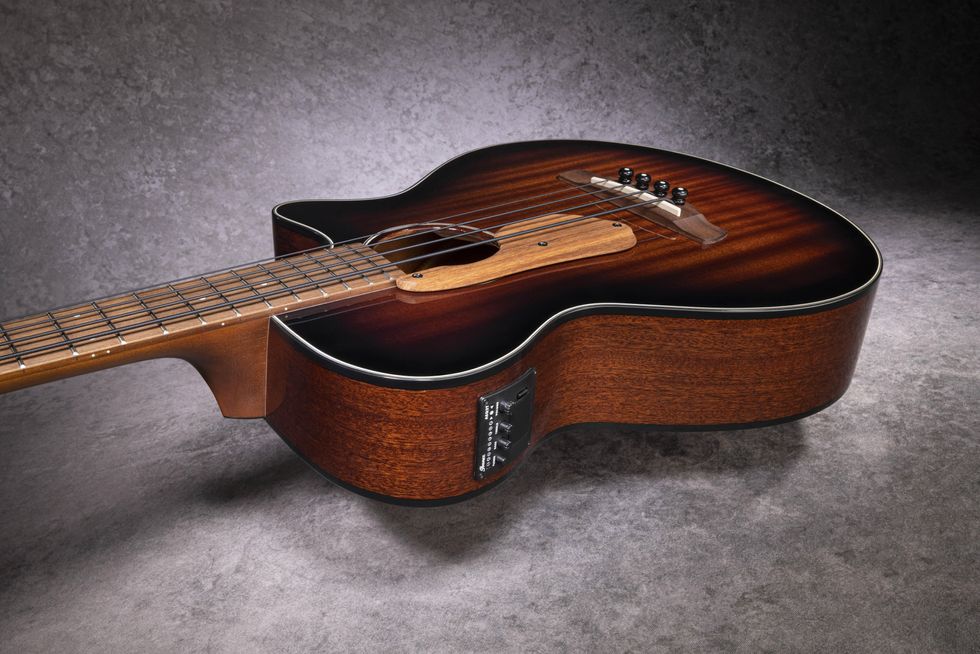
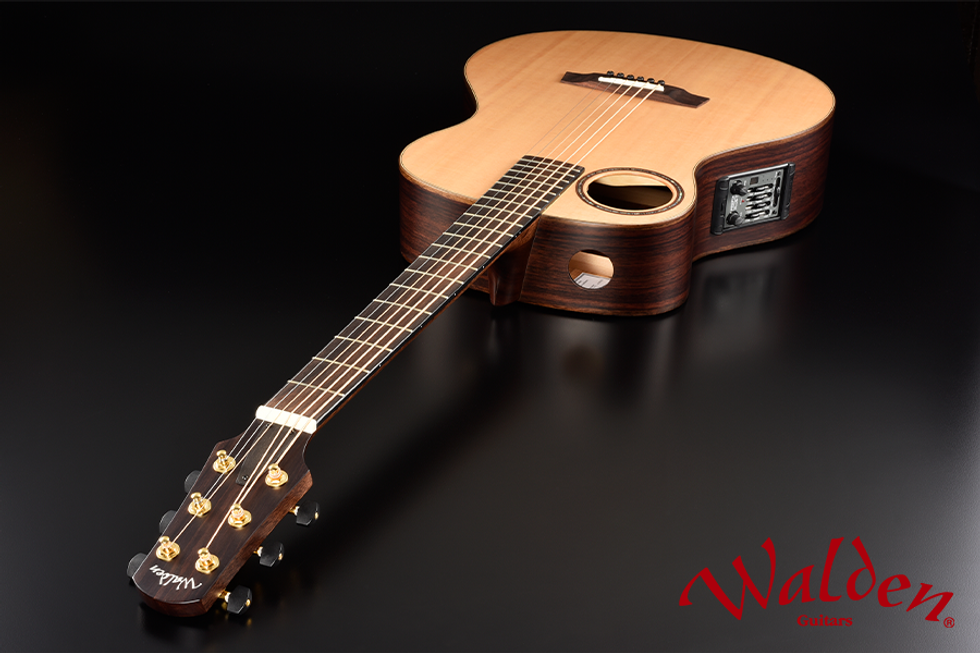
Walden Guitars B1E Baritone
"I love this thing, I can't put it down. It's kind of like having a piano in your lap, you got all the low end for bass lines, and you got chords that you can strum on top, even alternating simple bass lines. There's all kinds of fun you can have with this thing!" ~ Sean Harkness, NYC
Typically tuned to B, the Baritone provides a clear low end response perfect for soloists, singer-songwriters, percussive finger-style players, or guitarists who crave a walking bass line while comping chords.
With its offset soundhole, side-port, and solid Sitka spruce top with innovative low-mass bracing, the Walden B1E sounds sonically excellent while incorporating the more comfortable Grand Auditorium body shape. A graphite reinforced Mahogany neck contribute to stability and its 27″ scale length and 1-13/16″ nut width contribute to the B1E Baritone's transparent playability.
Click here to watch videos
Click here for more information
Click here to follow Walden Guitars on Instagram
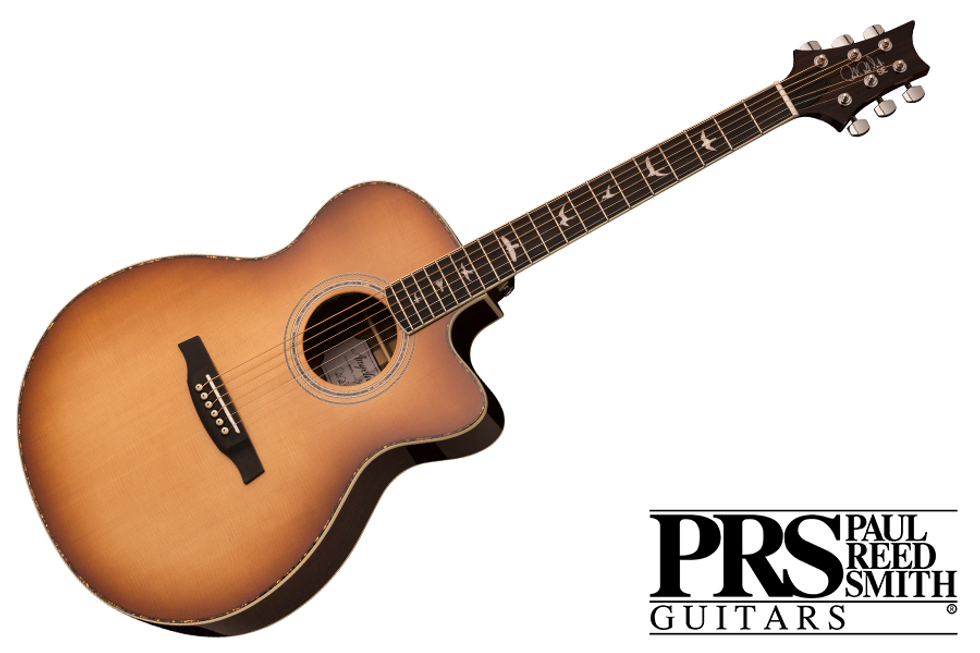
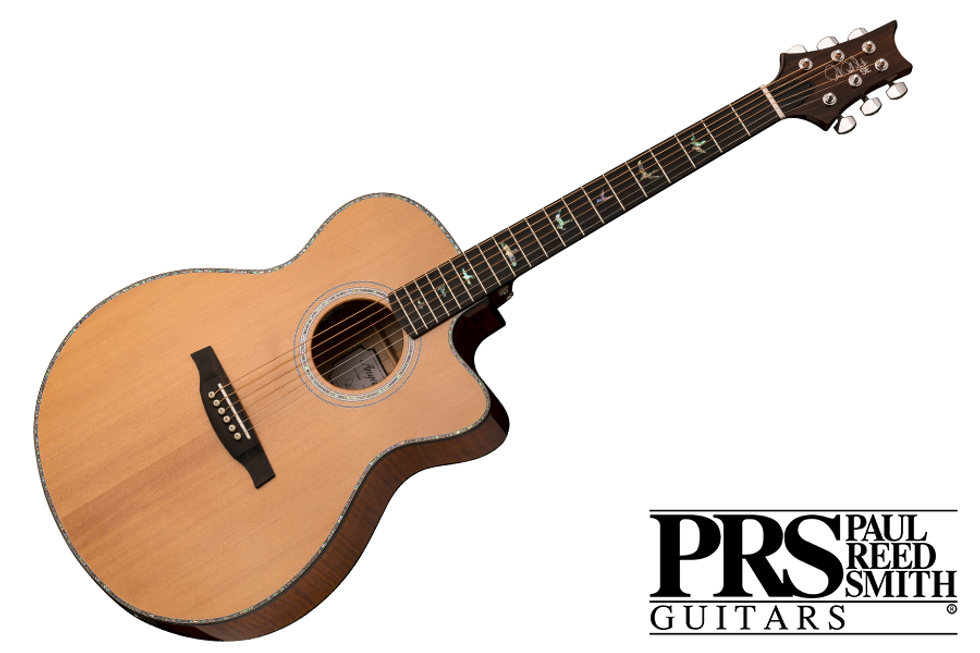
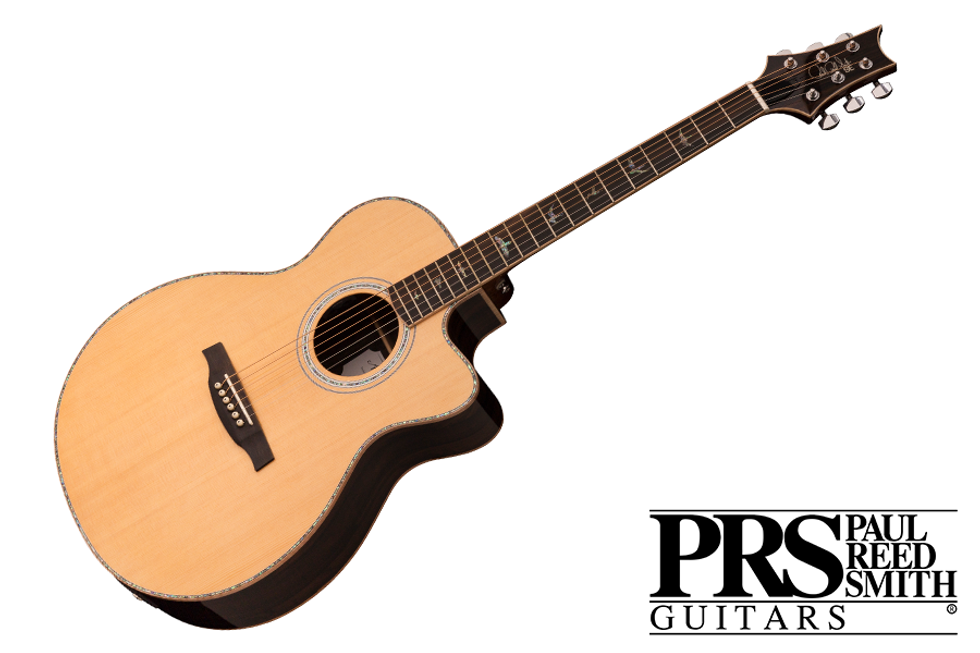
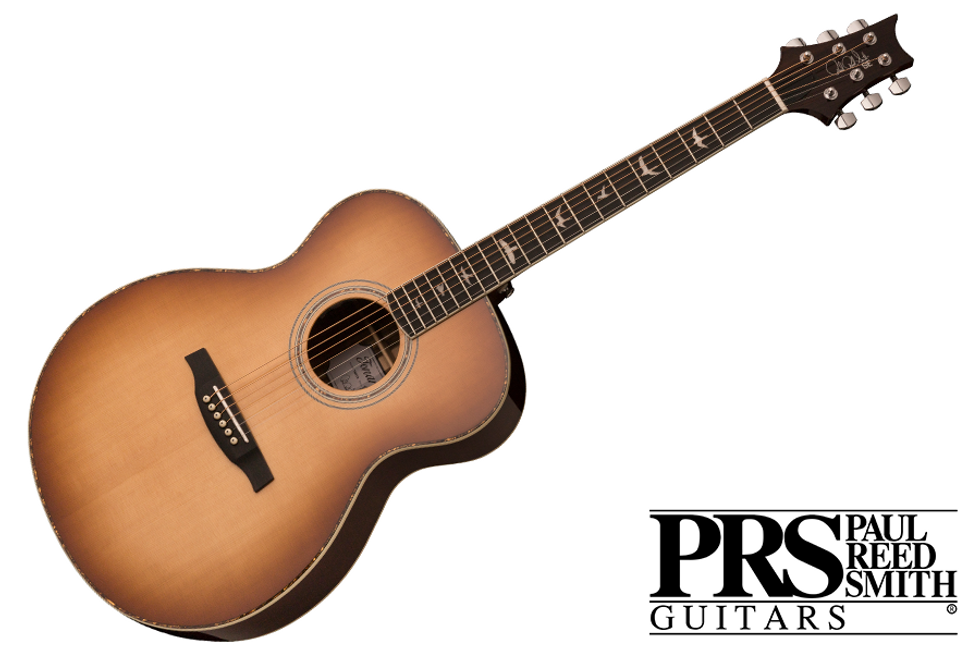
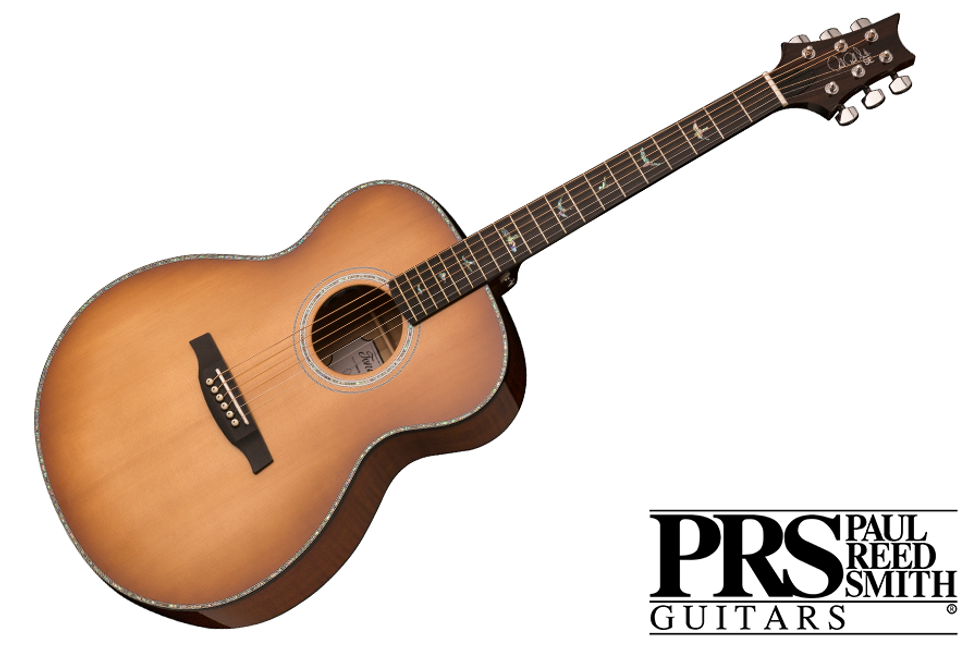
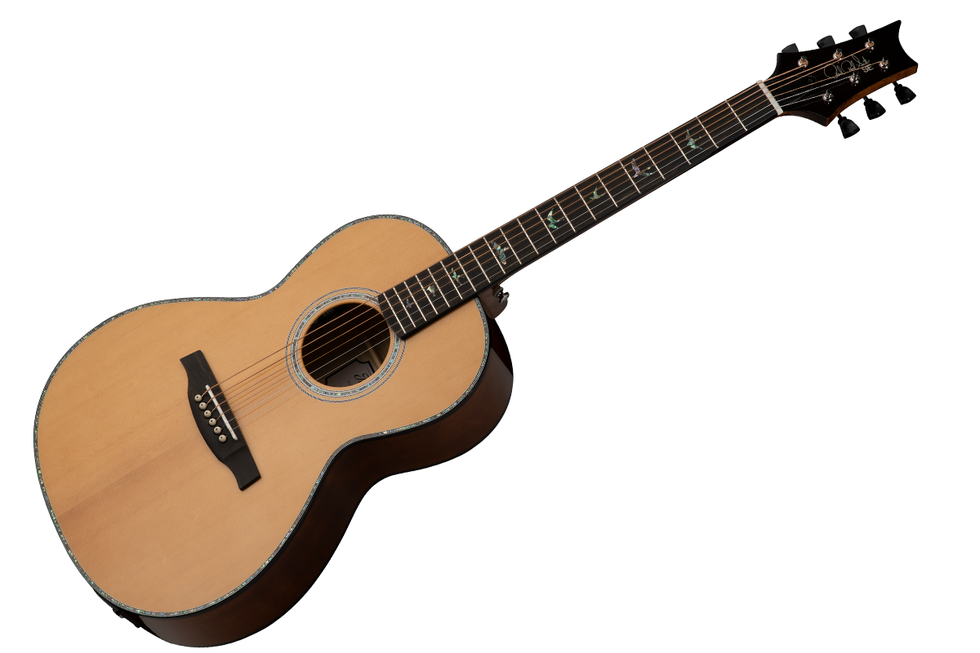
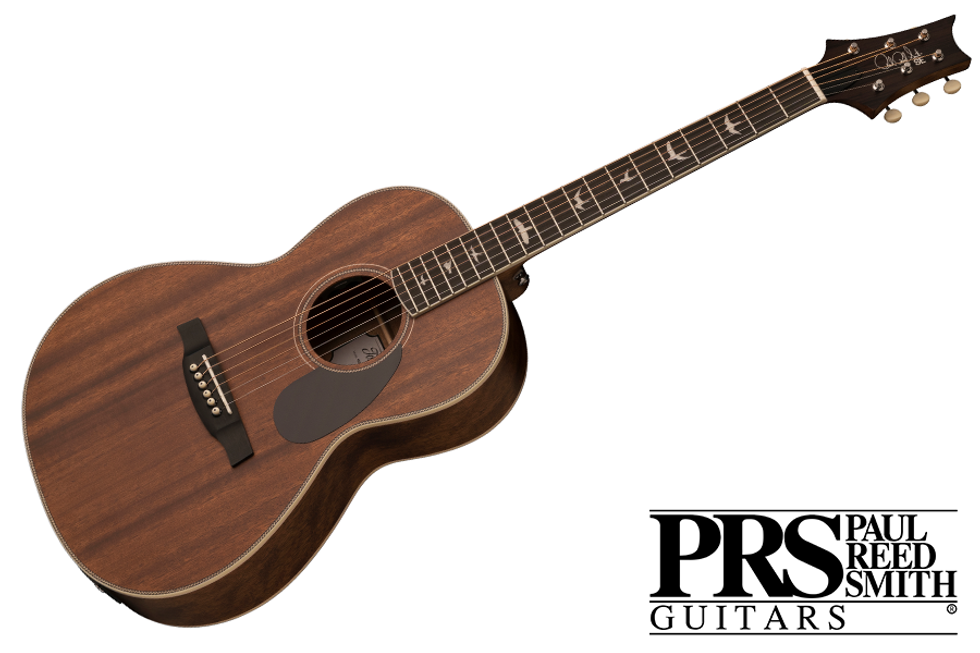
PRS SE P20E
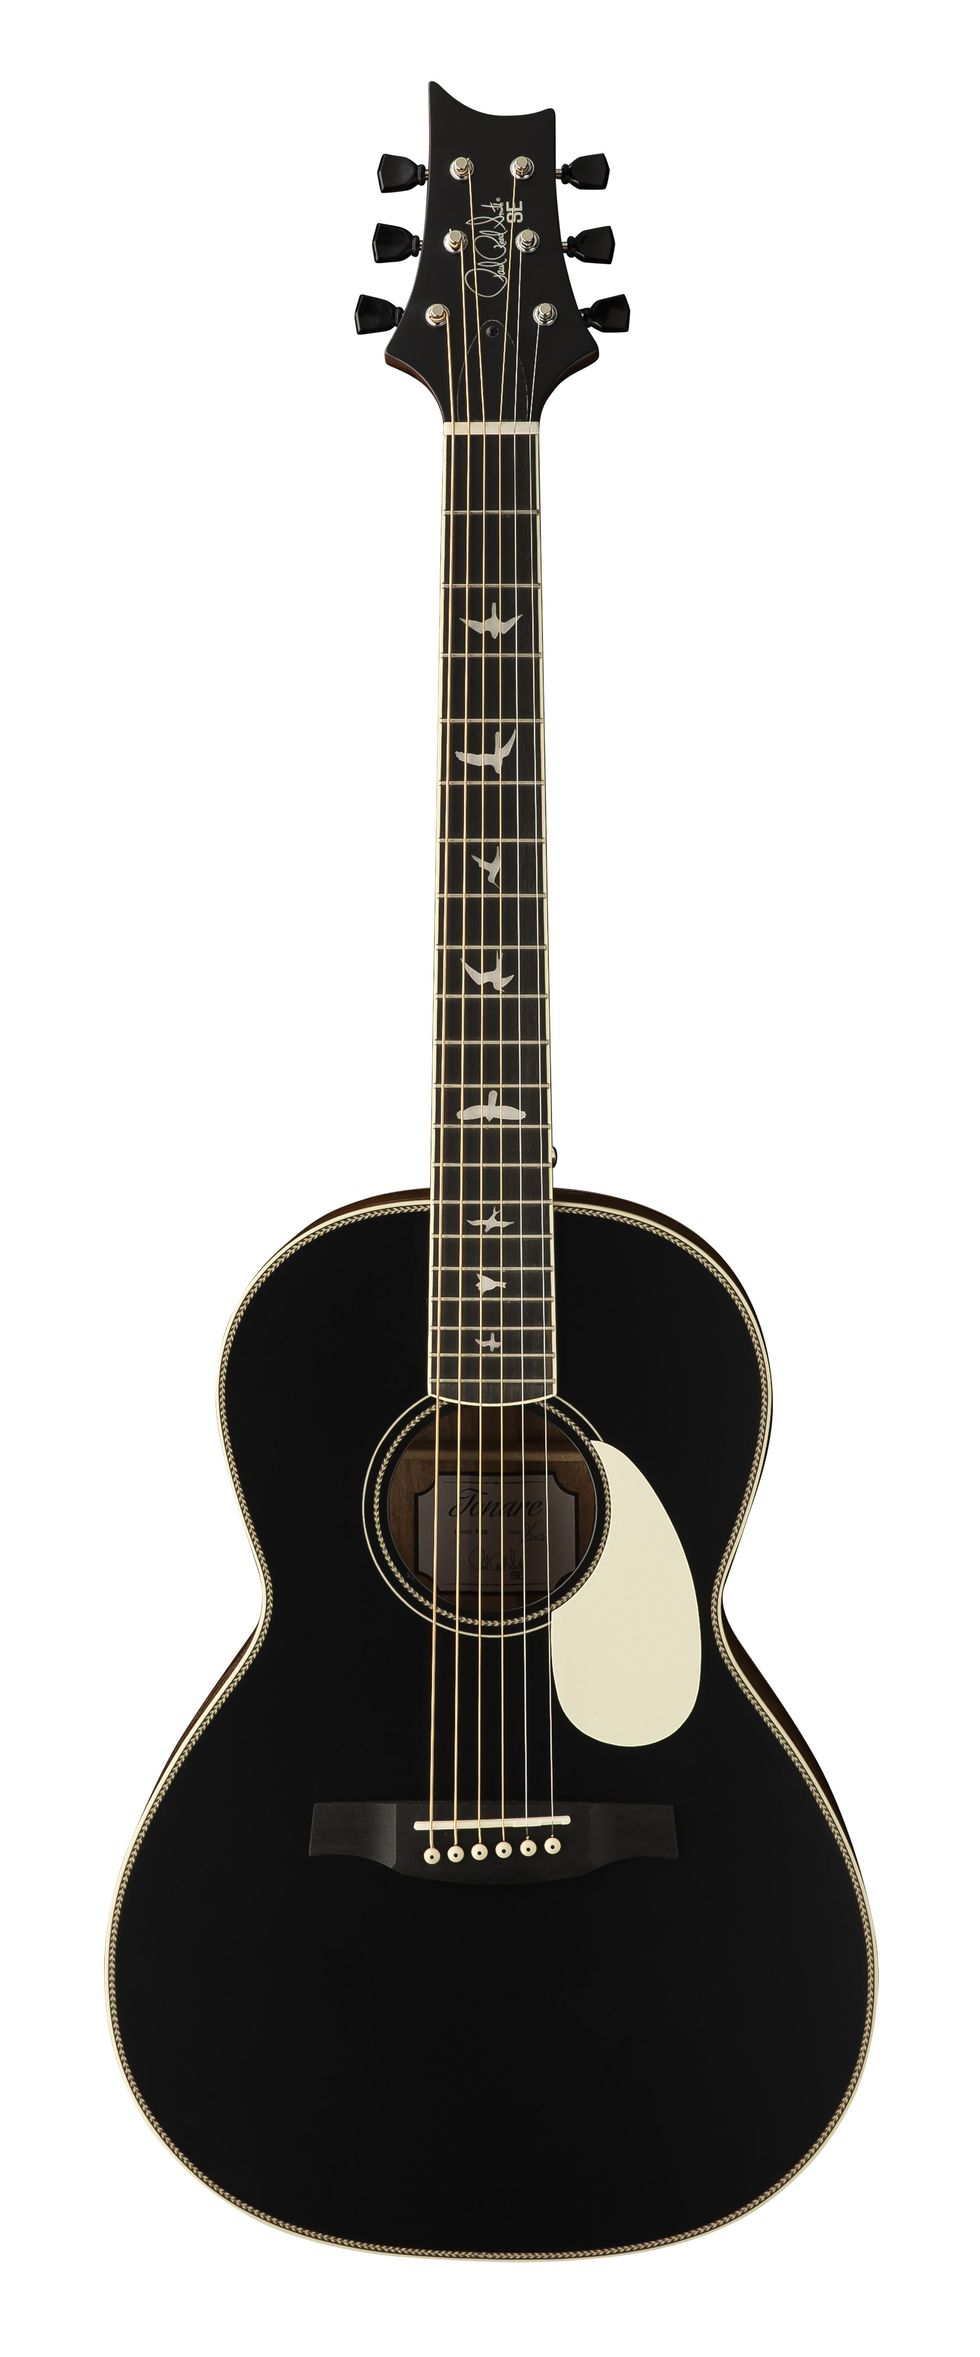
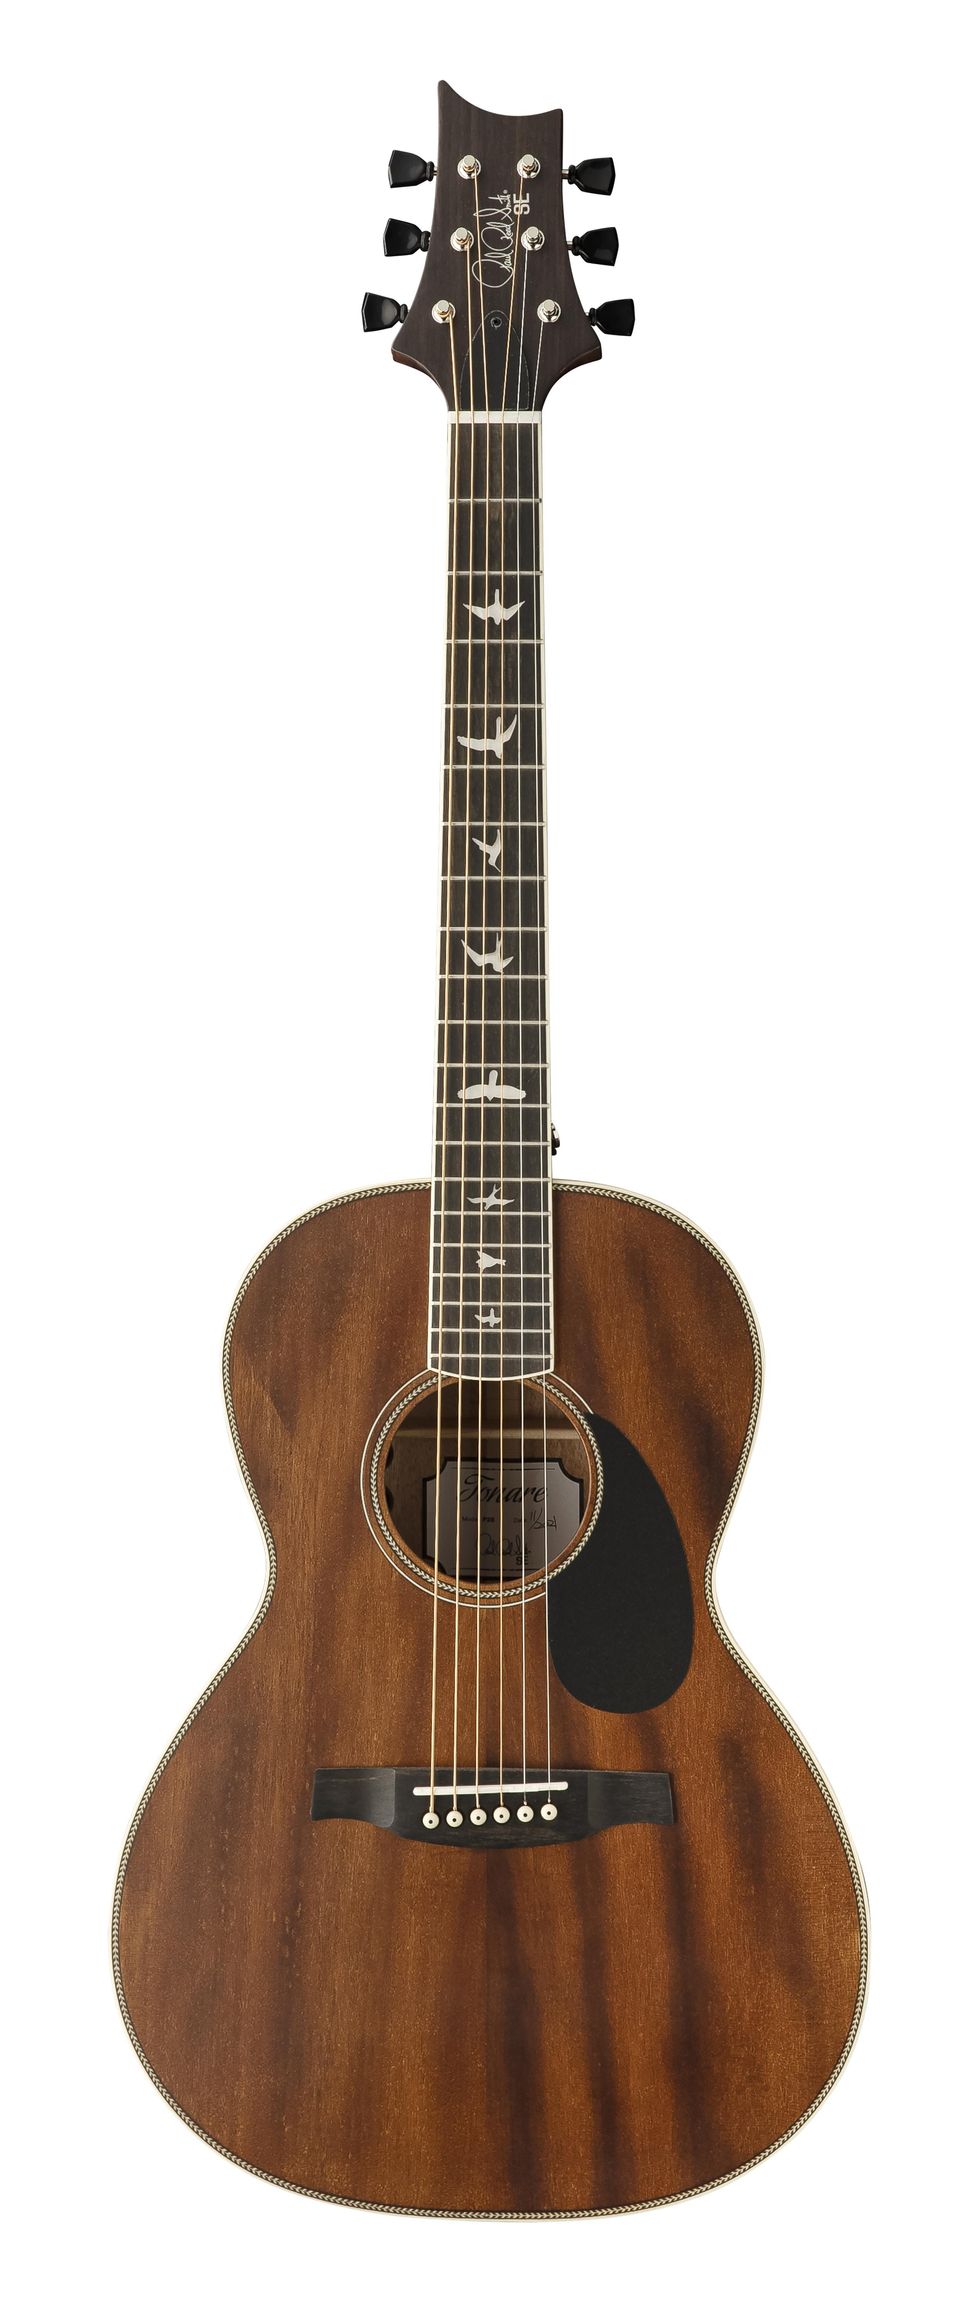
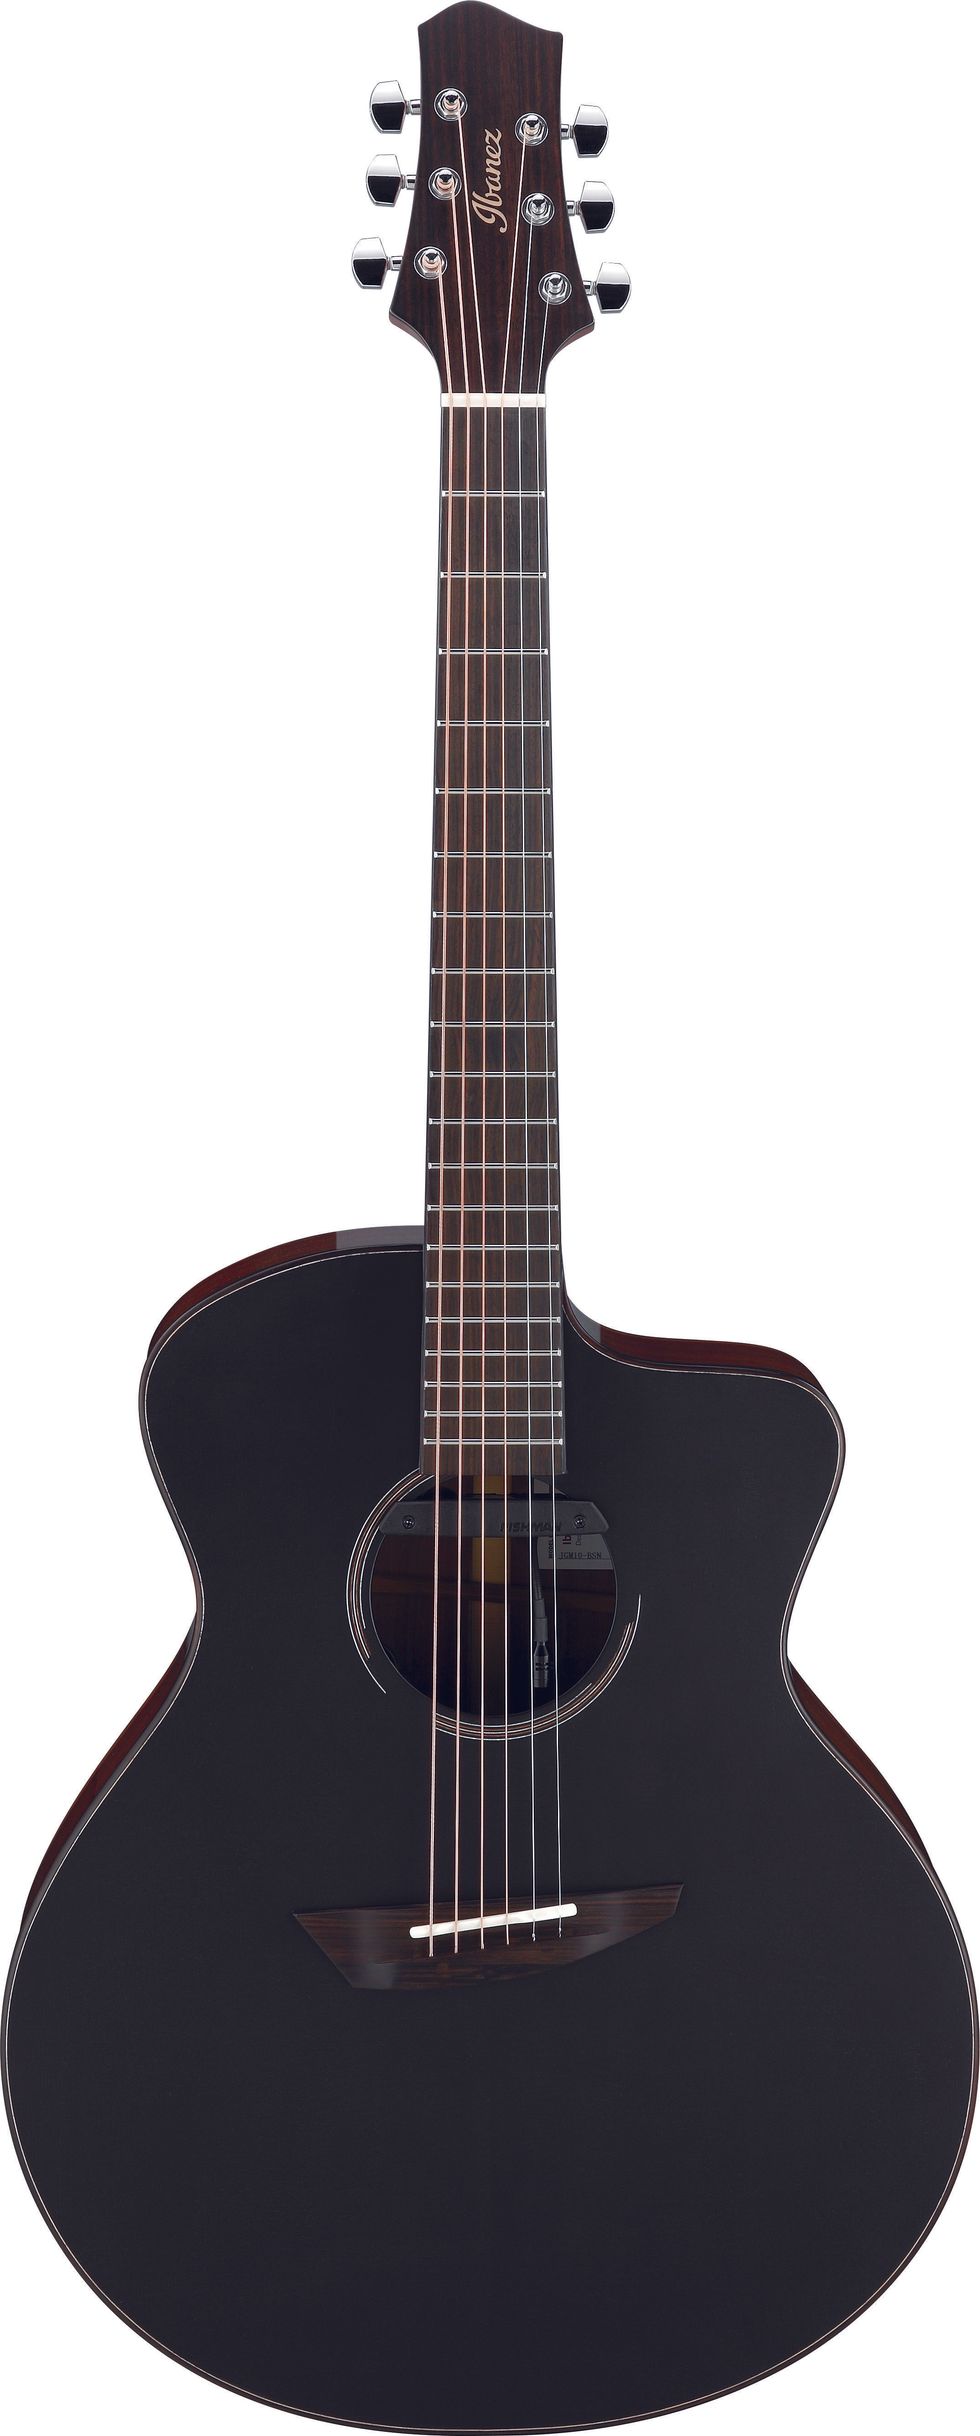
The PRS SE P20E is a parlor-sized acoustic with a big voice. Features include all-mahogany construction and PRS hybrid "X"/Classical bracing, which allows the top to freely vibrate, the SE P20E projects with even, bold tone. Its smaller size makes playing for hours fun and comfortable and allows for more convenient transport.
Plug in the Fishman GT1 pickup system, and it delivers dynamic, organic tone. This electronics system features an undersaddle pickup and soundhole mounted preamp with easy-to-access volume and tone controls, which essentially transforms what some may consider a "couch guitar" into a workhorse stage instrument.
Available in three satin finishes with herringbone rosettes and accents. Other high-quality features include a solid mahogany top, ebony fretboard and bridge, and bone nut and saddle. Gig bag included.
Click here to learn more
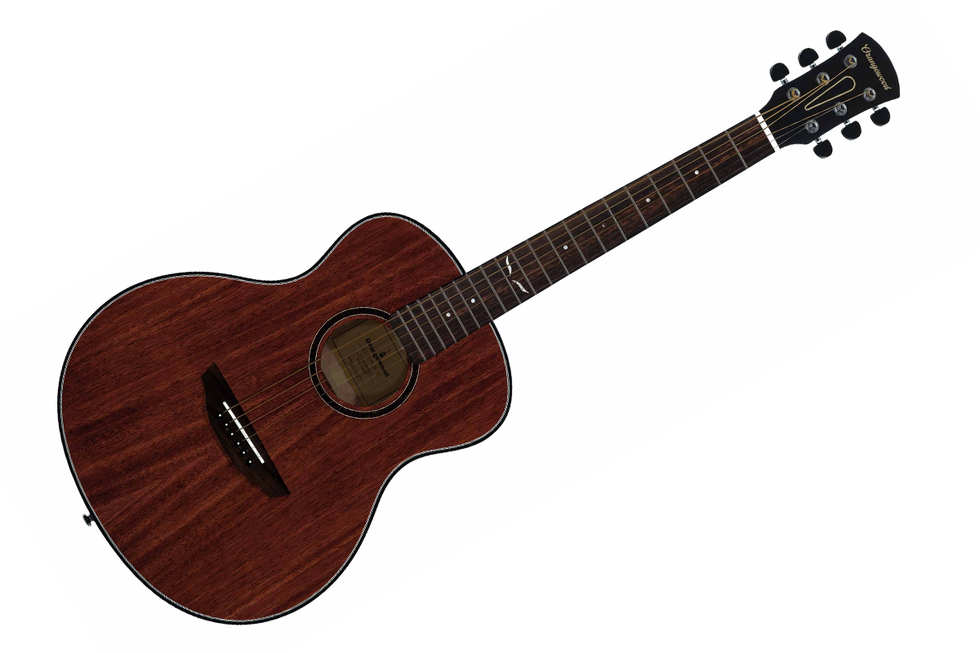
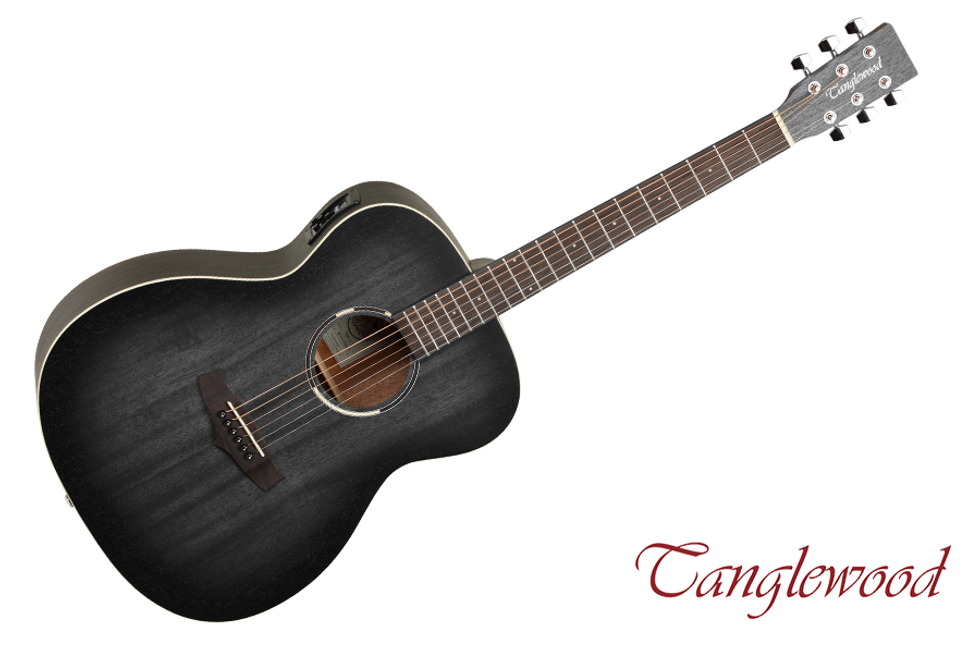
Tanglewood Guitars TWBBOE
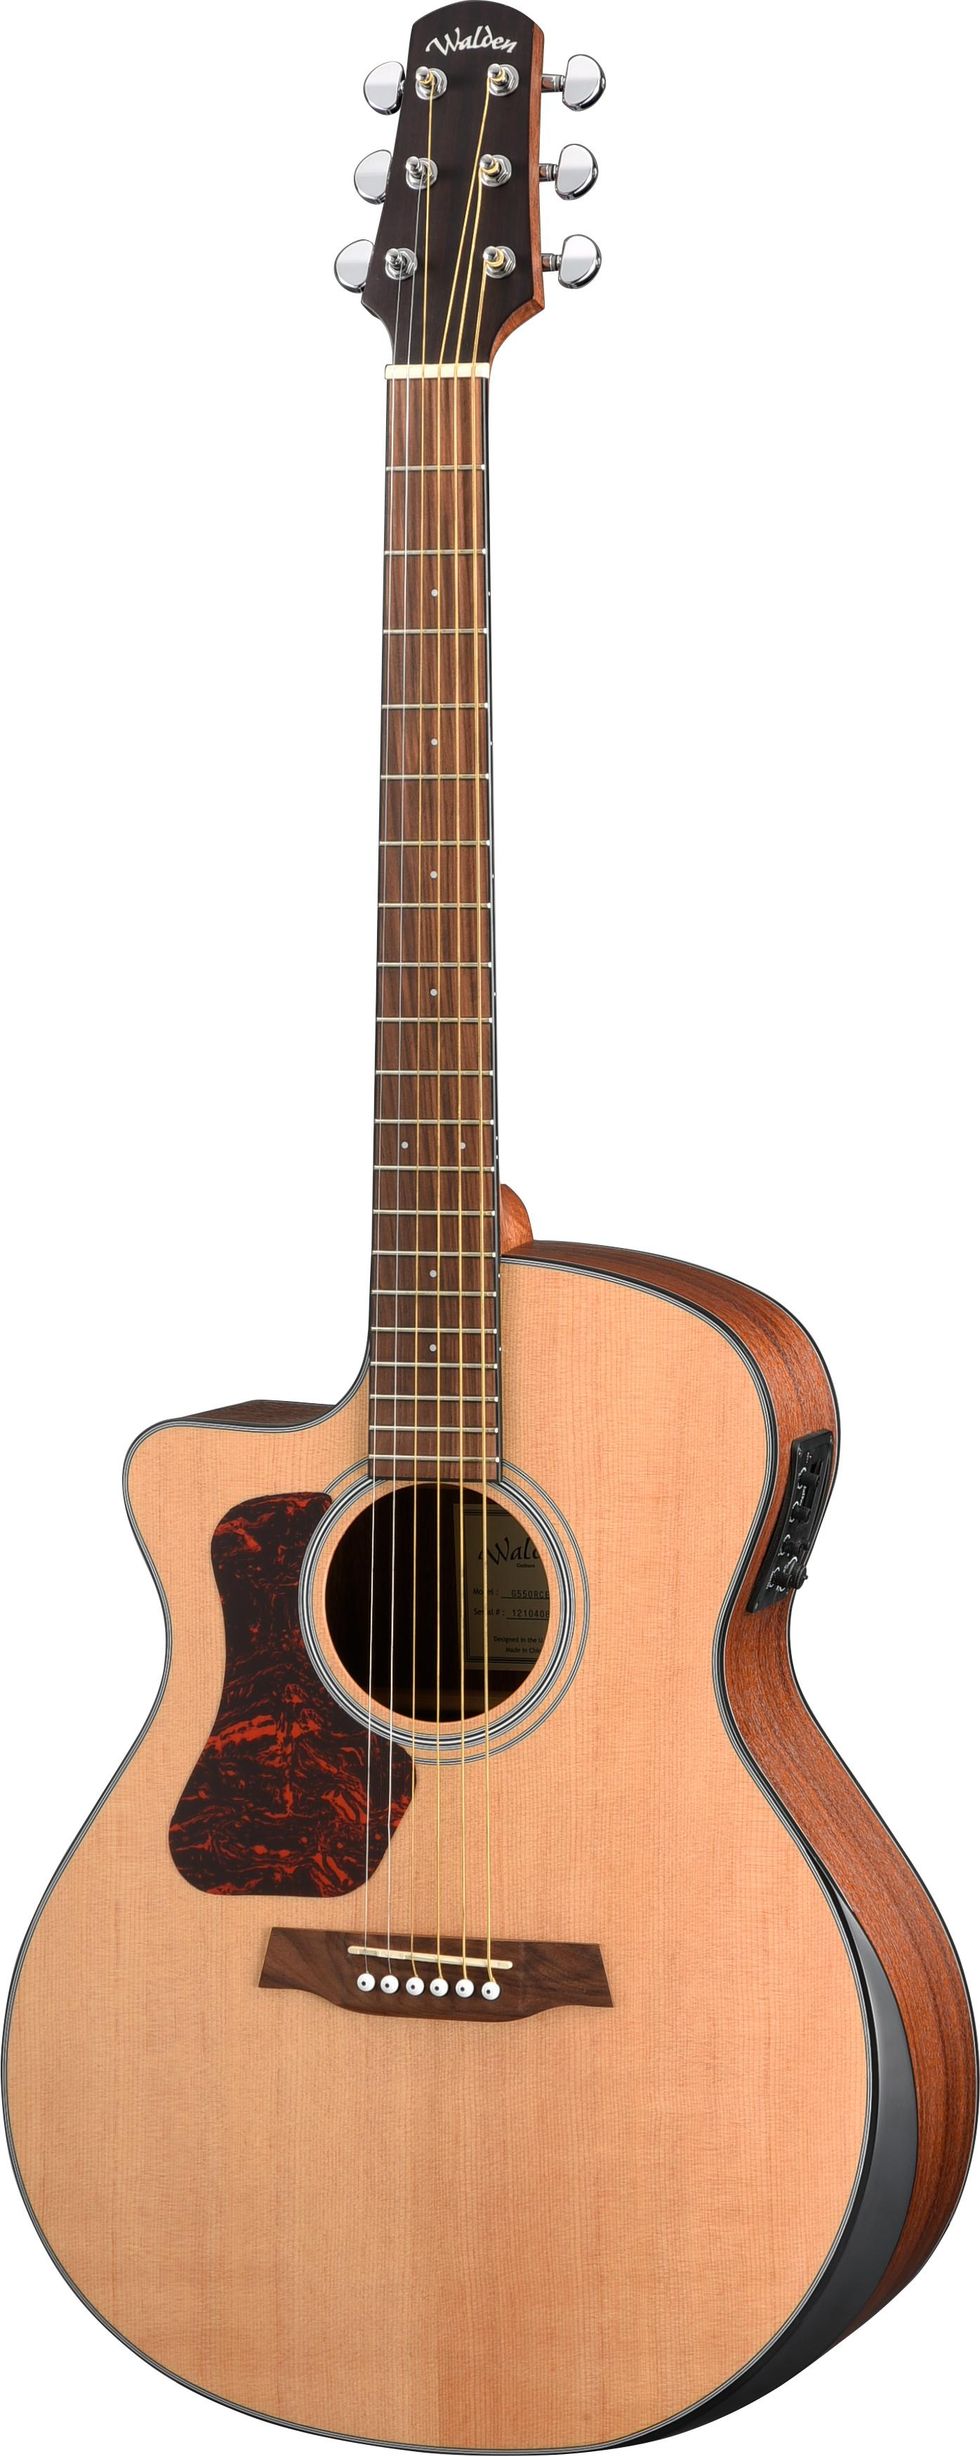
Inspired by the guitars made in the 1930s, the Tanglewood Blackbird series evoke traditional values, yet offer the benefits a guitar manufactured in the modern era. These guitars feature hand-selected tone woods and a unique bracing pattern. The Blackbird Orchestra electro-acoustic guitar is carefully braced to environments, with Cole Clark's signature 3-way pickup system and beautiful, sustainably-sourced, natural Redwood and Blackwood timbers.
Click here to learn more
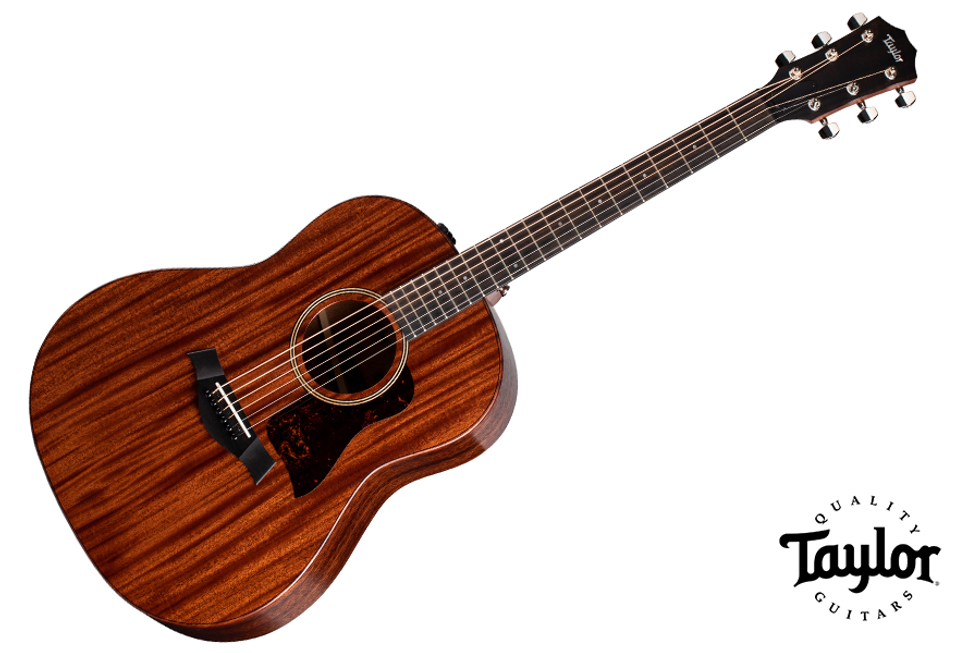
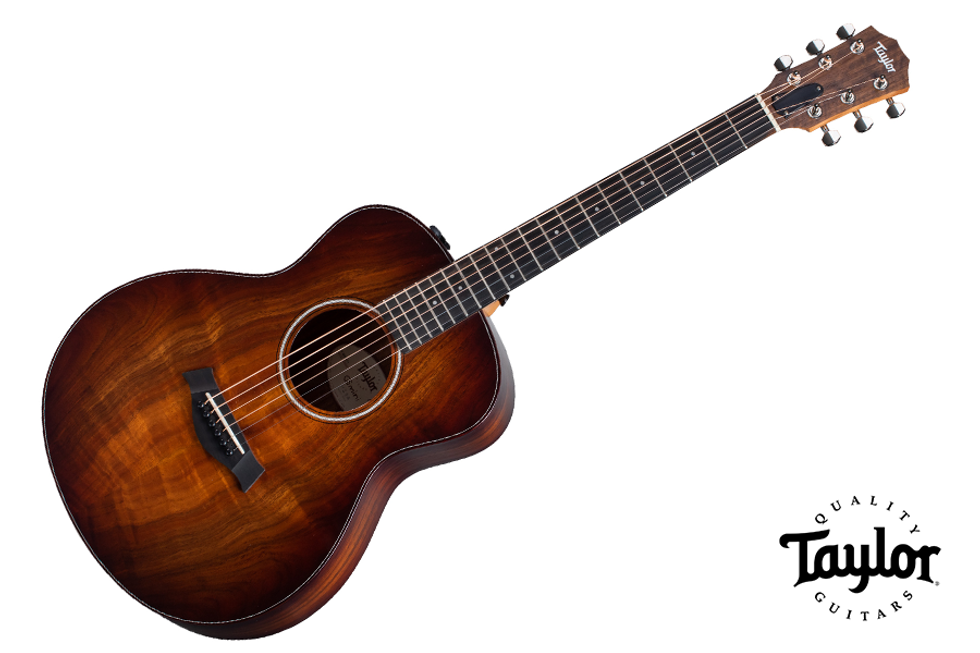
Taylor Guitars GS Mini-e Koa Plus
Taylor's popular, compact GS Mini has brought countless hours of guitar-playing joy to musicians of all stripes, and the GS Mini-e Koa Plus takes the fun to a new level with elevated aesthetic details. Back and sides of layered Hawaiian koa pair with a solid koa top for a punchy, bold sound with surprising power and volume for a small-bodied guitar with a scale length of 23-½ inches, while the 1-11/16-inch nut width makes forming chords a breeze. A dusky edgeburst accentuates koa's natural grain and luster around the top, back and sides, while other notable features include nickel tuners, a three-ring rosette, and a genuine West African ebony fretboard. It includes onboard ES2 electronics and Taylor's new AeroCase®, a soft yet sturdy case with all the protection of a hardshell case at one-third the weight.
Click here to learn more
Shubb CAPO ROYALE C1G
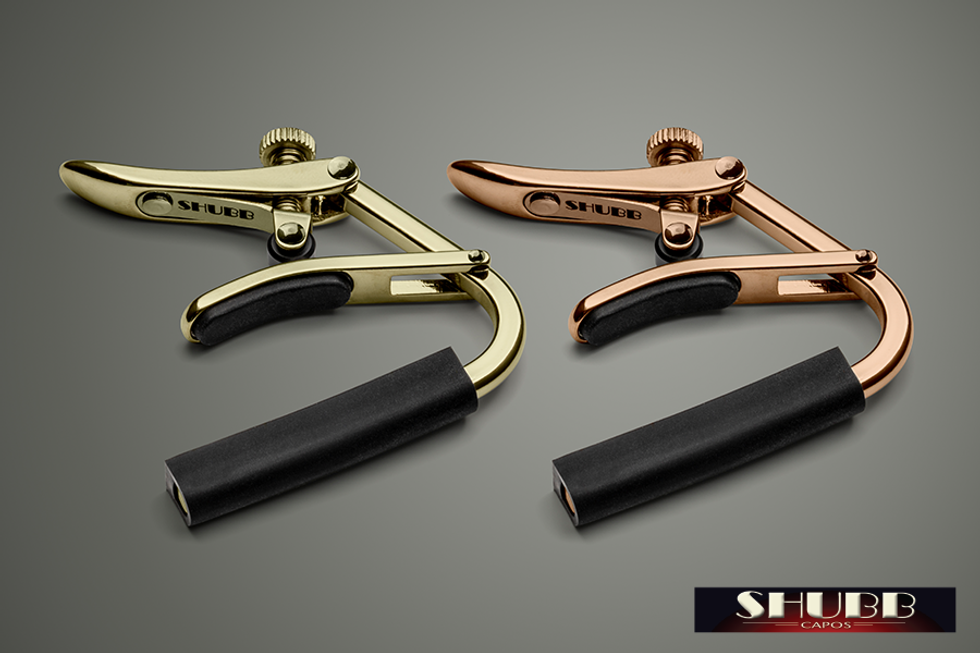
Adding to the company's line of premium capos, Shubb has introduced the new Capo Royale Series, featuring durable gold finishes that deliver long-lasting beauty.
Available in two lustrous finishes – Gold and Rose Gold – the Capo Royale Series brings a distinctive visual flair to Shubb's famed capo design, revered since 1980 for its ability to provide flawlessly clean fretting while keeping the instrument in tune.
For many years Shubb has received requests for a gold plated Shubb Capo. While gold is undeniably beautiful, it is not at all durable; it will wear off far too easily and quickly. It is also famously expensive. Now, Shubb has developed a high-tech technique for creating a gold-toned titanium finish. It possesses all the beauty of real gold, but is as durable as any metal finish in the world.
Click here to watch videos
Click here to learn more
Click here to follow Shubb on Facebook
Guild F-240E
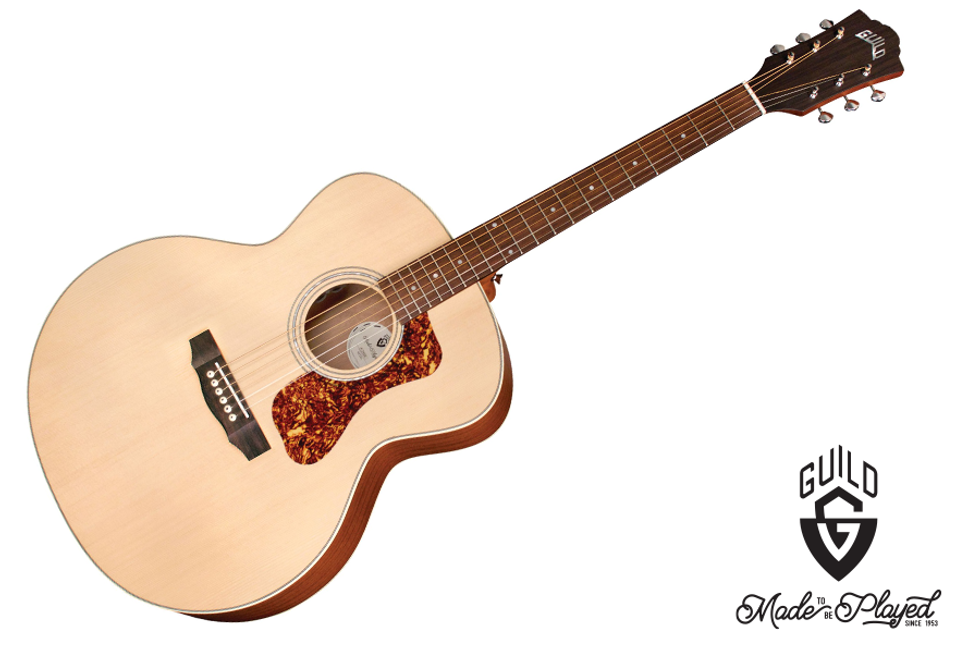
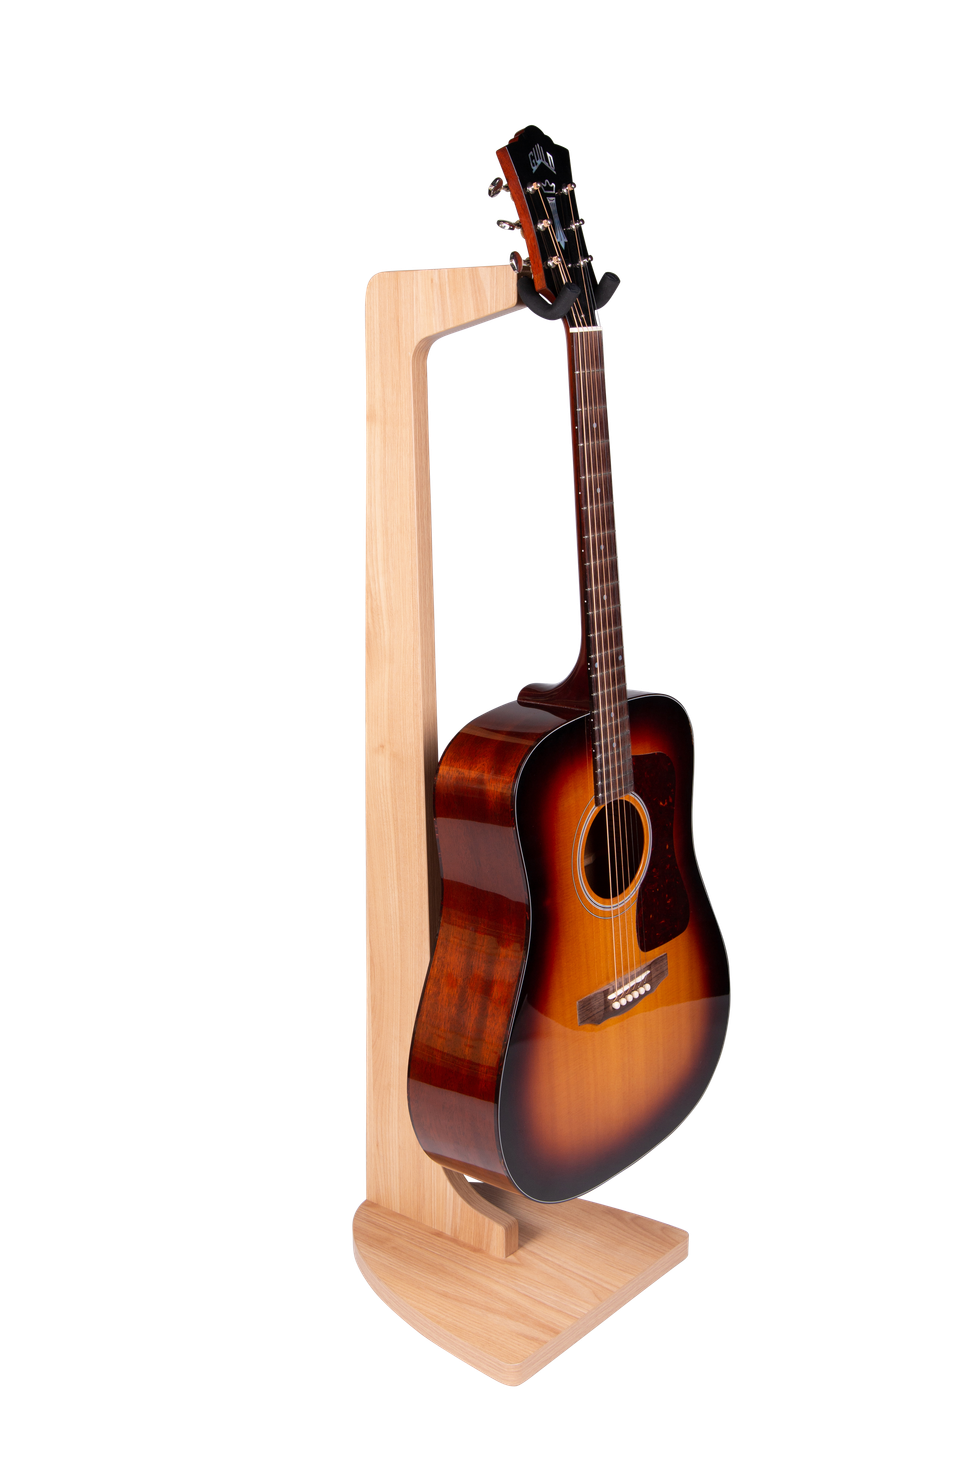
Guild's most affordable jumbo yet! The F-240E is a tone cannon at a player's price. Built with a solid spruce top, mahogany sides, and an arched mahogany back, the full-bodied and powerful voice of this Guild Jumbo provides guitarists with historically-Guild acoustic tone and voicing. Guild's signature arched back design allows for enhanced volume and projection, long sustain, and a lush, full sound. The F-240E features Guild's Fishman-designed AP-1 electronics, a pau ferro fingerboard and bridge, bone nut and saddle, mother-of-pearl rosette, period-correct tortoiseshell pickguard, and a satin polyurethane finish.
Click here to see videos
Click here to learn more
Click here to follow Guild Guitars on Instagram
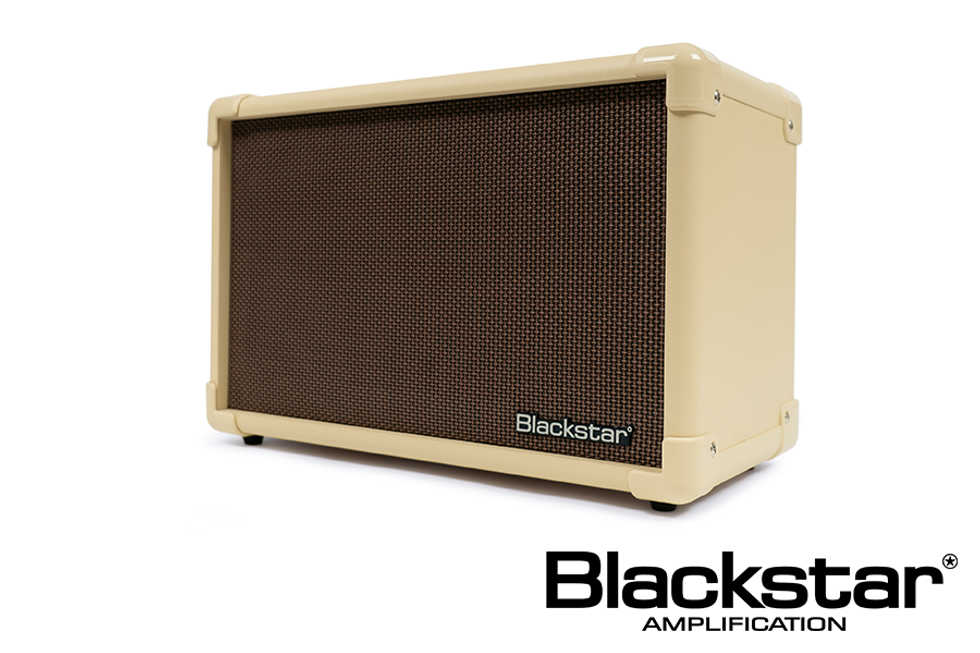
Blackstar Amplification ACOUSTIC:CORE30
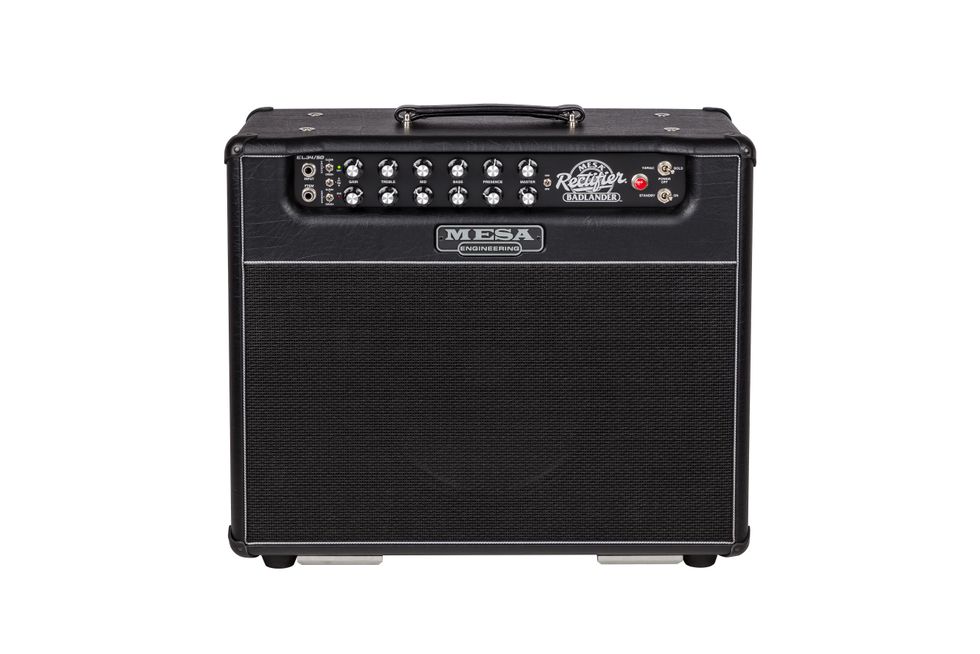
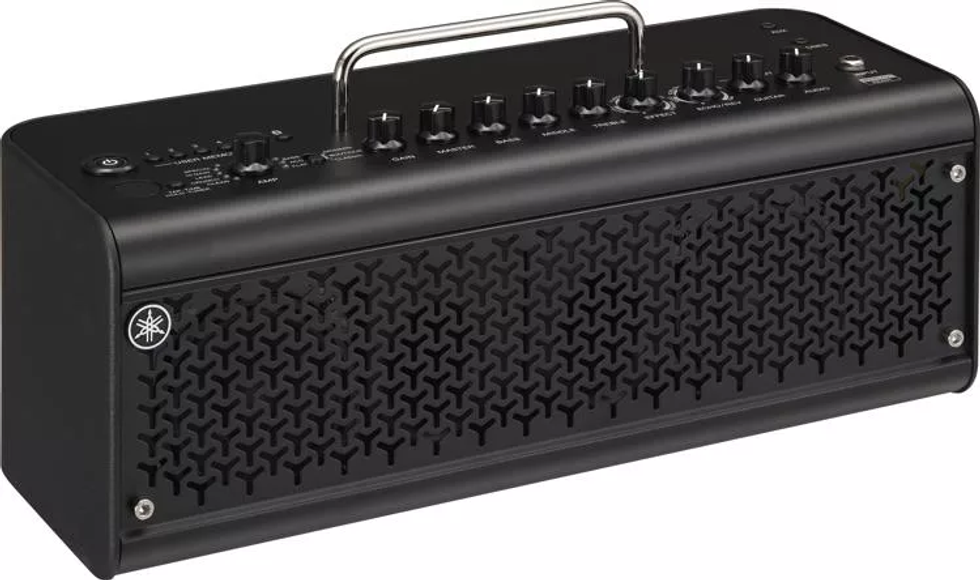
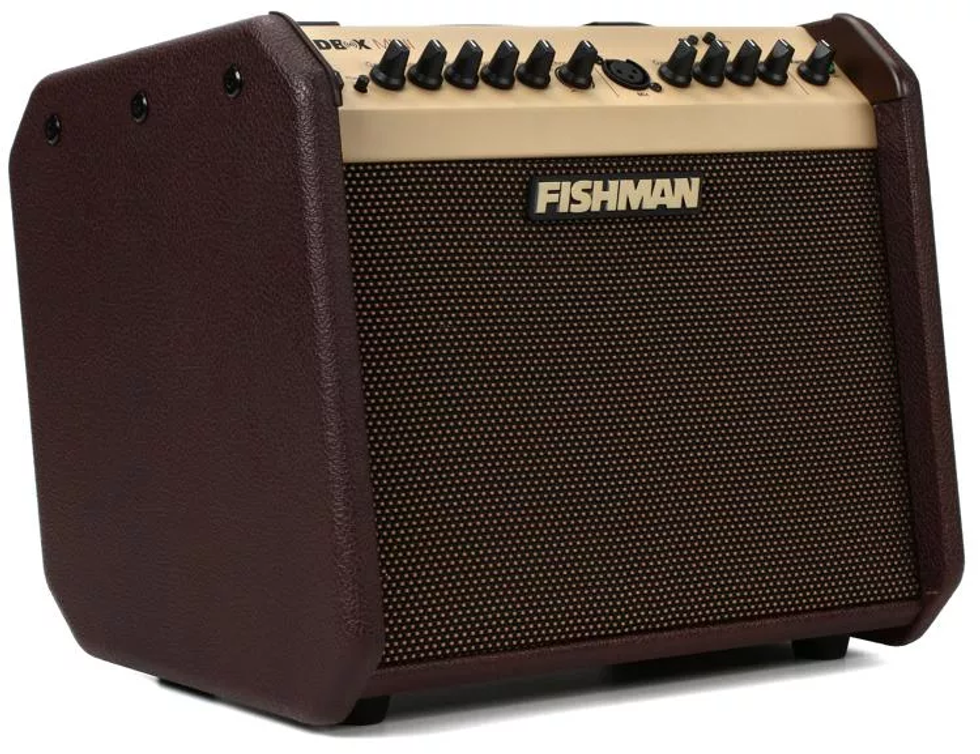
The Blackstar ACOUSTIC:CORE 30 was designed to give singer/songwriters the ability to get a professional sound without any sound engineering expertise, then share it via live streaming or recording, or live performance. All in a compact easily portable combo with the option of battery power. This take-anywhere acoustic amp is designed for the way you play today: streaming, recording, practice or live.
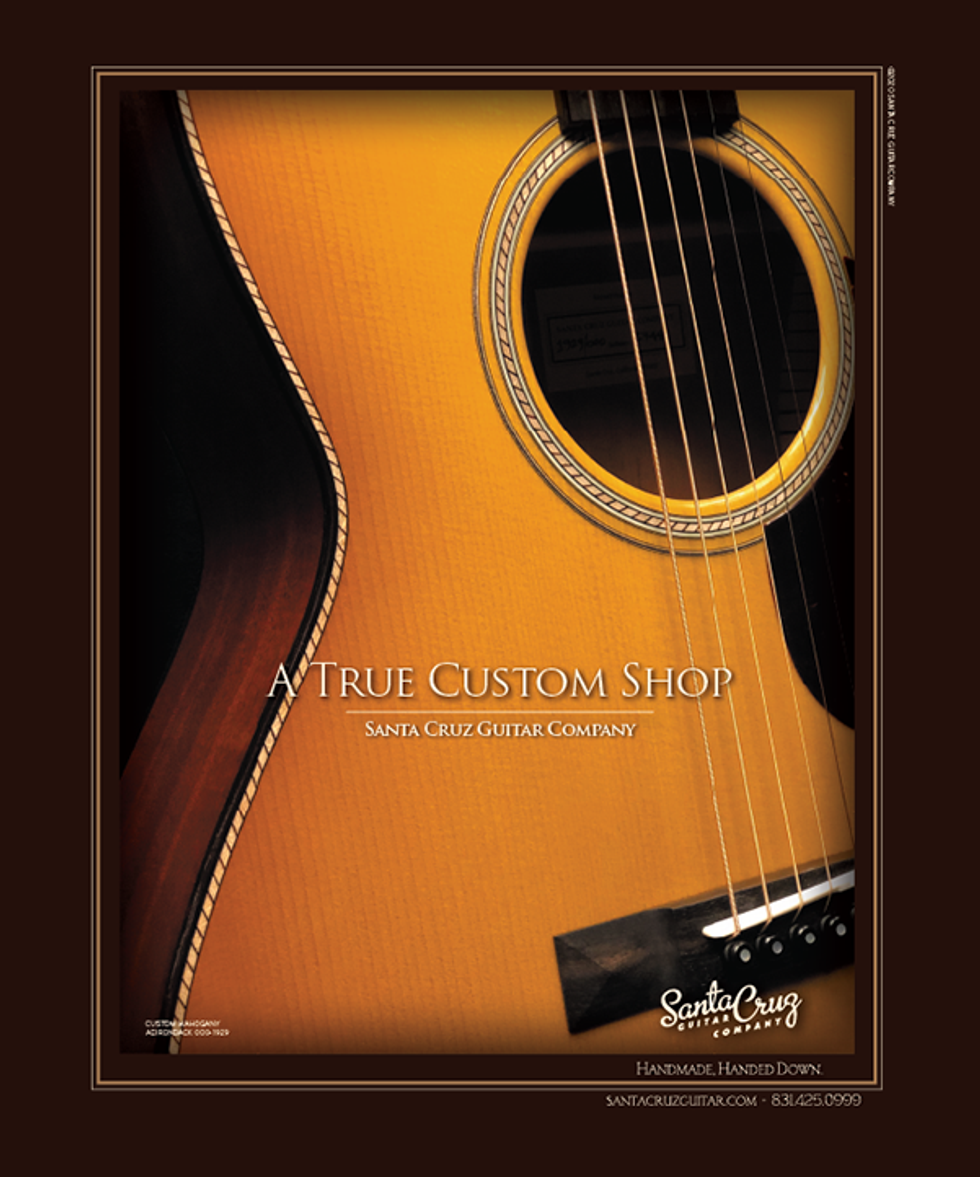
Santa Cruz Guitar Company: A True Custom Shop
Santa Cruz Guitar Company has made it even easier to order the custom acoustic you've always wanted. They invite you to email them directly at scgc@santacruzguitar.com to be walked through the design process, where they will take the time needed to answer all your questions about models, tonewoods, structural options and aesthetics to ensure you will receive the heirloom acoustic that is right for you.
Levy's Hemp Vegan Guitar Straps
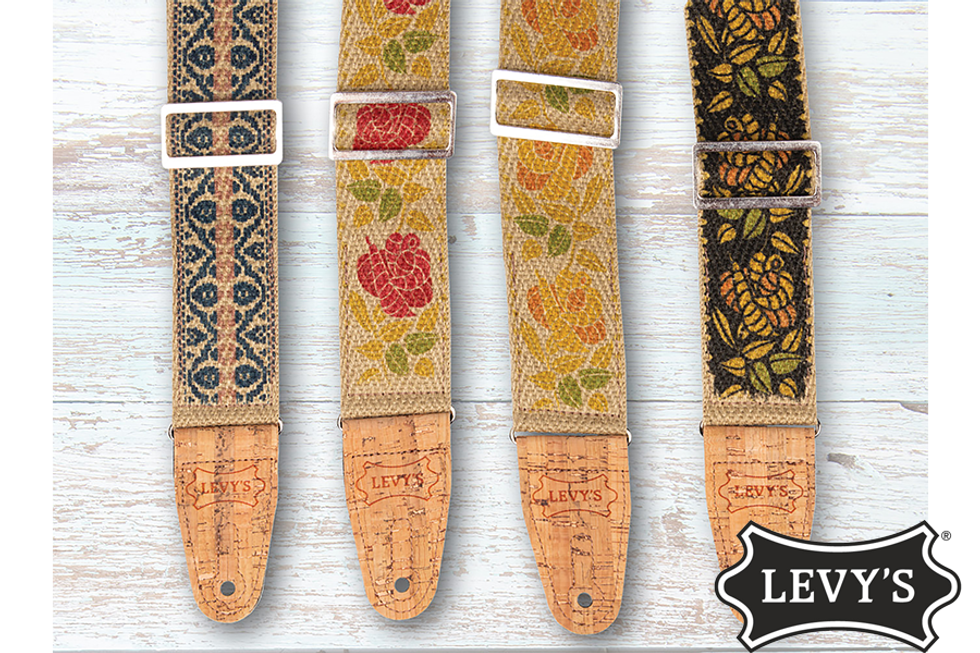
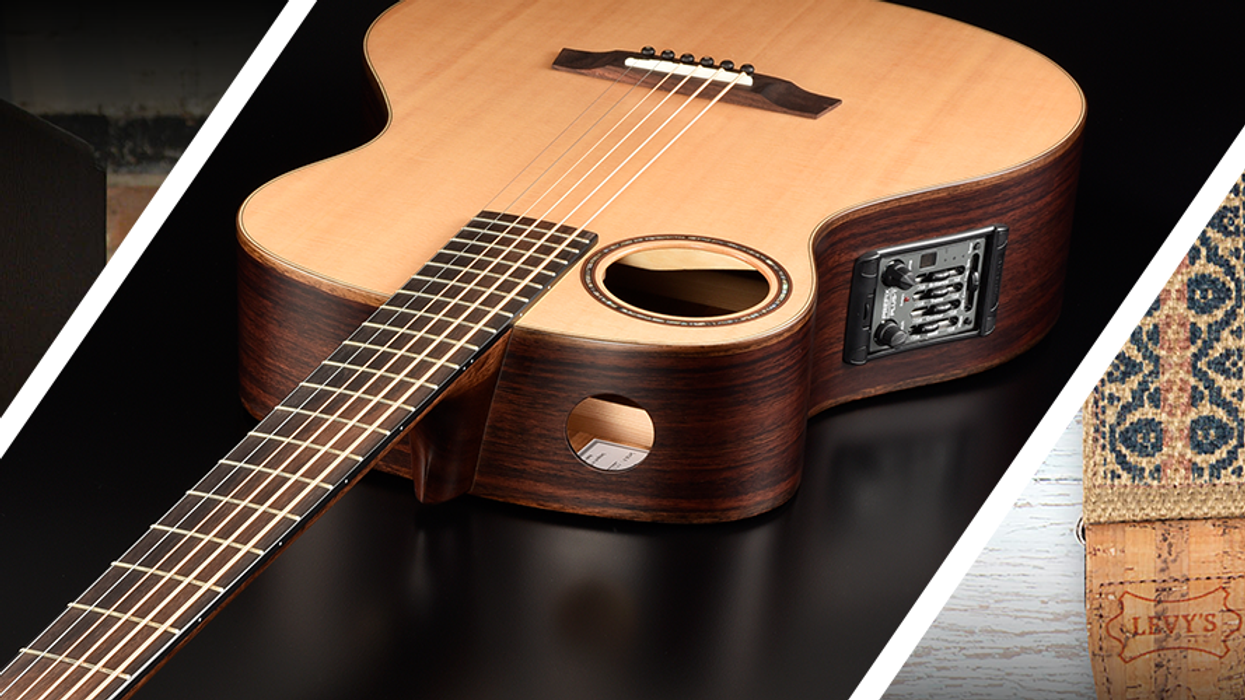
The New MH8P Series Vegan Hemp Series guitar straps by Levy's come in four new beautiful motifs and measure 2"/51mm in width. These organic straps are cruelty-free using sustainable materials and extend from 37"/940mm to 62"/1572mm via silver-colored tri-glide sliding adjustment. Natural hemp webbing and durable 2-ply cork ends safely support your instrument, along with pinhole stitching on both ends to prevent stretching. To address the issue of pick dropping encountered by almost every gigging guitarist, the MH8P Series comes equipped with a convenient 2.5"/64mm inside pocket to provide quick access to extra picks. Hand-crafted in Novia Scotia.
Click here to learn more
Click here to follow Levy's Leathers on Instagram
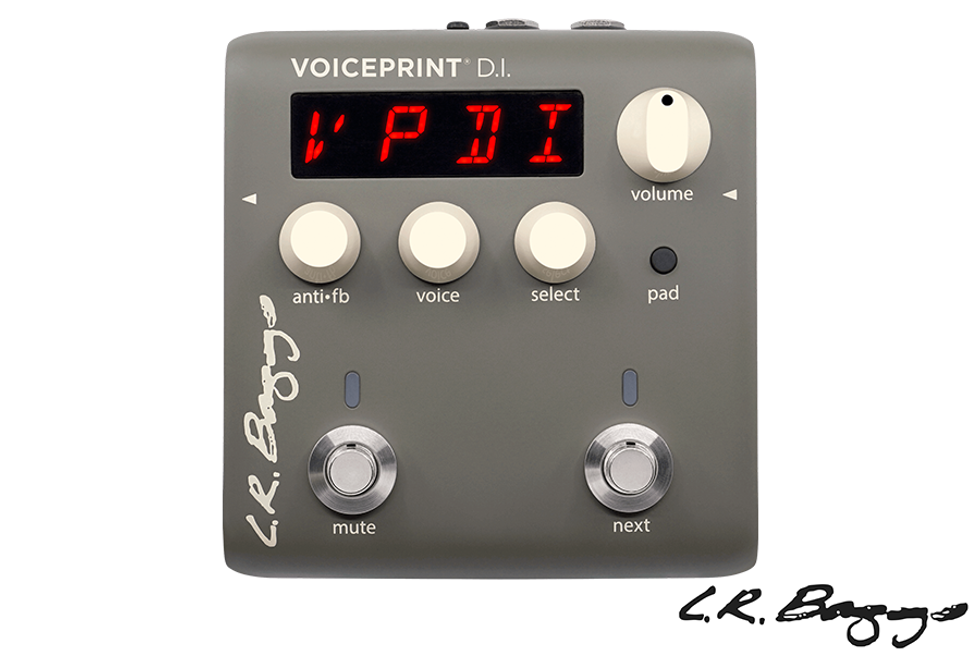
LR Baggs Voiceprint DI
The product of nearly 3 years of intensive research and collaboration with a team of PhDs, LR Baggs is thrilled to introduce Voiceprint DI, the next breakthrough chapter in acoustic amplification. Voiceprint DI measures the acoustic response of your guitar by leveraging the processing power of your iPhone® to accurately capture your guitar's one-of-a-kind voice. A Voiceprint is created, transforming your pickup into the most authentic sound we have engineered in our 40+ years.
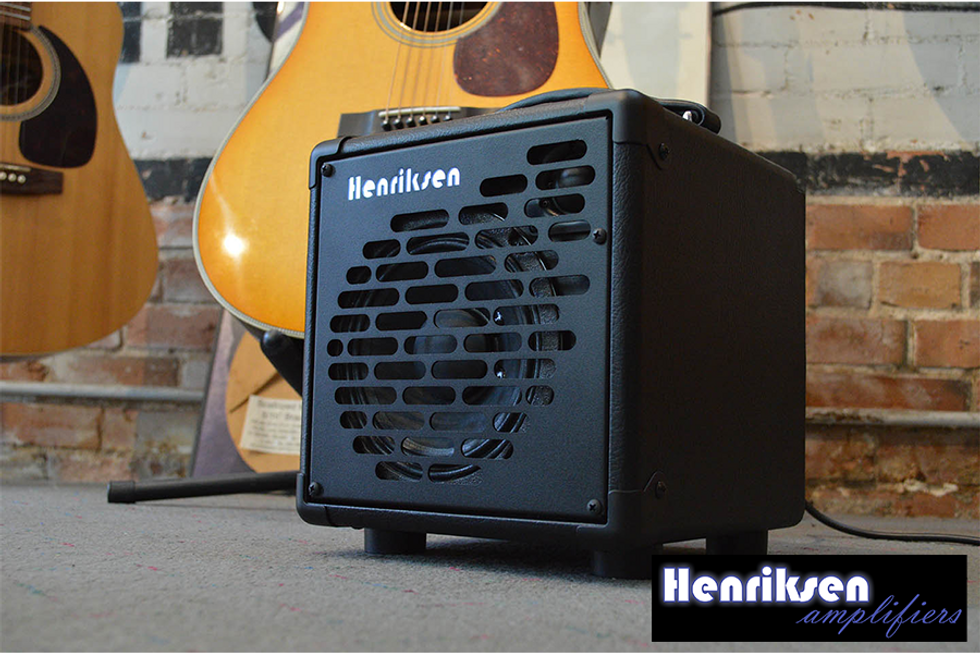
Henriksen Amps The Bud
Raise your hand if you only own one guitar… that's what we thought. But do you need a different amplifier for each one? The Bud from Henriksen is no ordinary amplifier; it sounds just as amazing with your acoustic guitars as it does with your electric guitars, regardless of style. The Bud is just 13 lbs and 9"x9"x9" but packs 120 watts of power and a pro-grade feature set that you can truly gig with, record, teach, or just practice.
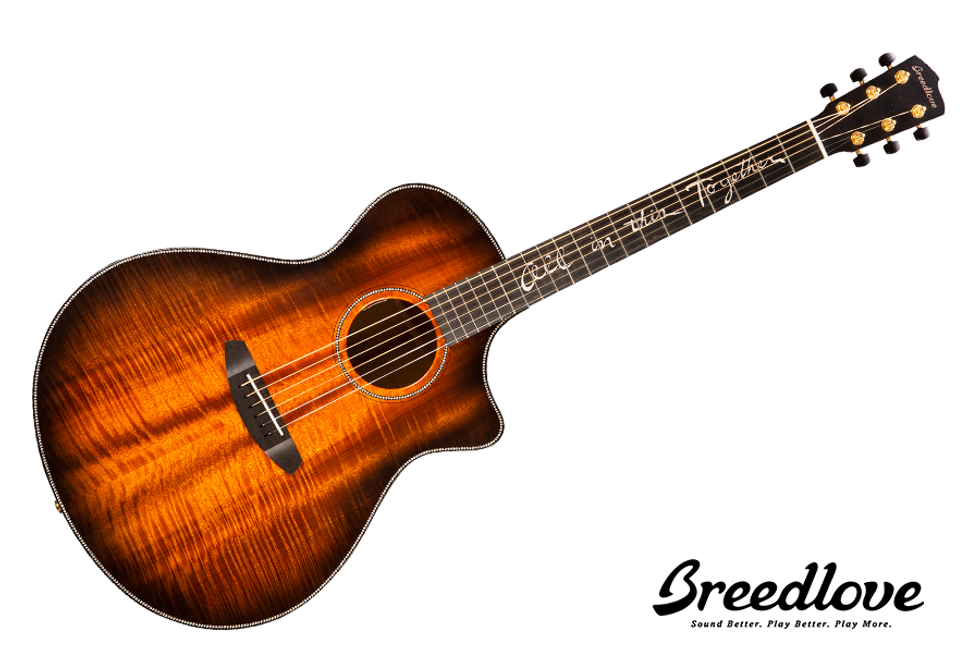
Breedlove Guitars Jeff Bridges’ Signature Oregon Concerto Bourbon CE
Powerful and responsive like a dreadnought, tonally the acoustic electric Breedlove Jeff Bridges' Signature Model emphasizes the unique qualities of myrtlewood, with a deep rosewood-like bass, the fundamental clarity of mahogany and the enchanting shimmer of koa. The Breedlove Jeff Bridges signature "All in this Together" project benefits Amazon Conservation Team, which works in partnership with indigenous colleagues to protect rainforests.
NUX Stageman II (AC-80) Battery-Powered Acoustic Guitar Amplifier
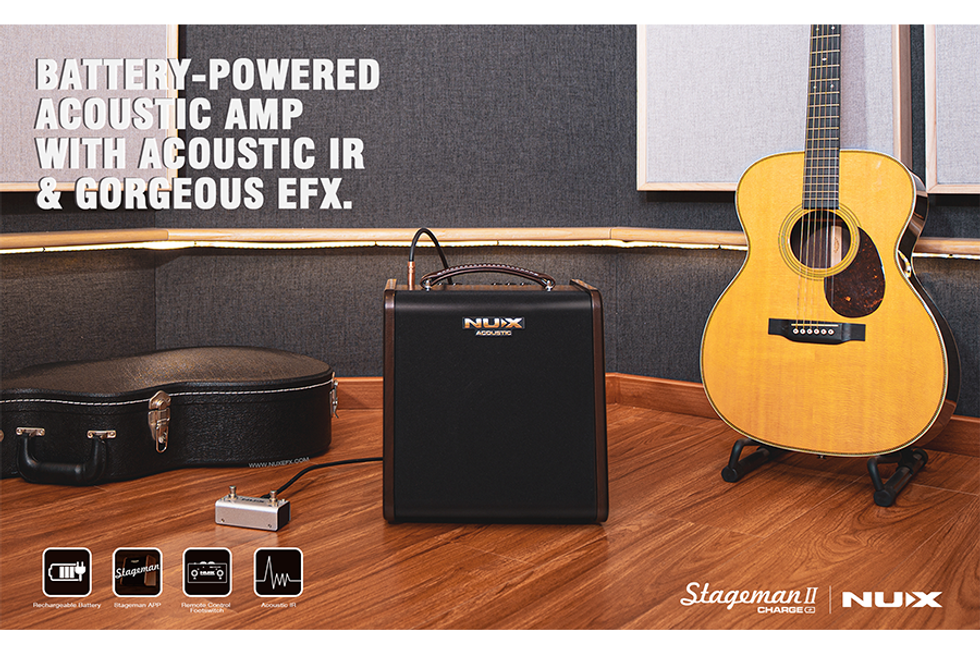
NUX Stageman II Battery-Powered Acoustic Guitar Amplifier features a pure analog preamp with NUX's iconic Core-Image post-effects. It has specific EQ scenes for finger-style as well as strum-style in channel 1, and you can engage built-in Acoustic IRs with a dedicated mobile APP. Acoustic IR is the new trend to make your acoustic sound as natural as micing. Stageman II keeps Drum & Loop, you can control by the original NUX NMP-2 foot-controller. And the built-in rechargeable battery can let you busk on the street for 4 hours.
Highlights:
- 80-watt rich warm sound acoustic amp with 6.5" premium speaker and 1" tweeter
- Rechargeable battery for 4.5 hours outdoor performing
- Built-in Acoustic Impulse Response
- 2 independent channels with routing adjustable post-effects
- Mobile APP for editing and control
- Drum & Loop (60s phrase loop)
- Bluetooth Audio Stream
Click here to learn more
Click here for audio clips
Click here for video
Click here to follow NUX on Instagram
The legendary Louisville rockers brought tons of vintage tone tools on the road this year.
My Morning Jacket’s Is, their 10th album, released on March 21, and as we reported in our feature on the band in our May print issue, it showcased a band exercising their classic strengths as well as newfound vision and curiosity. Helmed by superstar producer Brendan O’Brien, Is finds MMJ at their anthemic, psychedelic best.
We caught up with Carl Broemel for a Rig Rundown back in 2015, but on this year’s tour, PG’s John Bohlinger checked in with all three axemen—Jim James, Broemel, and bassist Tom Blankenship—to hear about their road rigs. In Broemel’s estimation, they’re lazy—they just like to bring everything.
Brought to you by D’Addario.
Three's a Crowd
This gorgeous Gibson Jimi Hendrix 1967 SG Custom, aged by Murphy Labs, initially had three humbuckers, but James kept hitting his pick on the middle pickup, so it got the yank—as did the hefty bridge and Maestro Vibrola system, which were replaced with a simple stopbar tailpiece.
Mirror Image
James picked up this 1998 Gibson Flying V right around when My Morning Jacket got started. He traced and ordered the flashy mirror pickguard himself. It’s got Gibson pickups, though James isn’t sure of the models.
Jim James' Jimmy
James plucked this one-of-a-kind from Scott Baxendale’s collection of restored vintage guitars. He guesses it’s either an old Kay or Harmony guitar, but the decorations, including the custom plastic headstock plaque, make exact identification difficult. But it was clear this one was meant for James, since it has his name on it.
Elsewhere backstage is James’ Epiphone Jim James ES-335, a custom shop Fender Telecaster and Strat, a 1967 Gretsch Chet Atkins Country Gentleman, and a Gibson Barney Kessel.
Make Love, Not War
James loves repurposing old military equipment for creative, peaceful purposes, which is how this old radar system came to be a part of his live amplification kit. Along with the old tech, James runs two 3 Monkeys Orangutan heads through a 3 Monkeys cab.
Jim James' Pedalboard
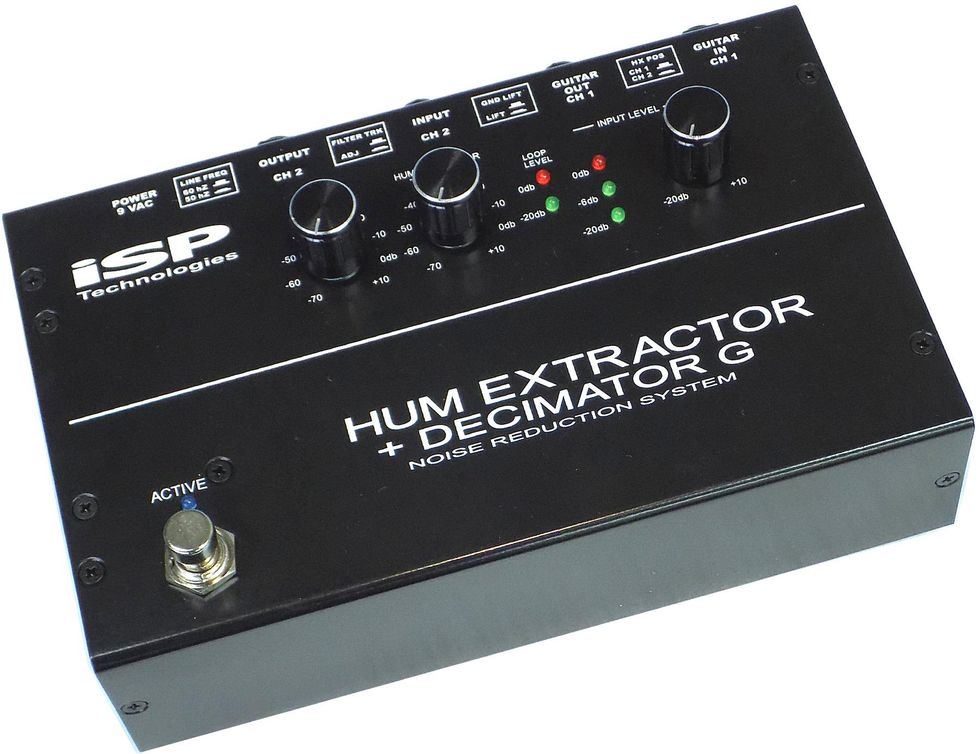
James’ board is built around a pair of GigRig QuarterMaster switching systems, which lets him navigate the stomps you see here: a Devi Ever US Fuzz, Boss BD-2w, SoloDallas Schaffer Boost, Boss OC-2, EarthQuaker Devices Spatial Delivery, Strymon blueSky, EQD Ghost Echo, Malekko Spring Chicken, ISP Deci-Mate, Electro-Harmonix Mel9, UA Starlight Echo Station, and UA Astra Modulation Machine. A D’Addario Chromatic Pedal Tuner duo keep things on pitch, a Strymon Zuma and Ojai pair handle the power, and a Radial SGI-44 line driver maintains clarity.
Arts and Crafts Night
One night while a bit tipsy, Broemel took out his paint pens and set to work on this Gibson Les Paul Standard Faded, resulting in this masterpiece. He also removed the pickup selector switch; even though the neck pickup remains, it never gets used.
Relic By Broemel
This 1988 Les Paul Standard predates the band, and Broemel has given it its aged finish over the years—on one occasion, it fell out of a truck. It’s been treated to a Seymour Duncan pickup upgrade and occasional refrets when required.
Carl's Creston
This Creston Lea offset has two Novak lipstick pickups in the neck, with a switch to engage just one or both, plus a low-end roll-off control. It’s finished in the same blue-black color as Broemel’s house and sports a basil leaf on the headstock in tribute to Broemel’s son, Basil.
Also in the wardrobe are a shiny new Duesenberg tuned to open G, and a custom shop Fender Telecaster with a fattened neck and Bigsby to swing it closer to Broemel’s beloved LPs.
Milk Route
Broemel routes his GFI Ultra pedal steel, which is tuned to E9, through a board which includes a Milkman The Amp, which is projected through the speaker of a Fender Princeton Reissue combo. Operated with another GigRig QuarterMaster, the board also includes an Eventide H9, Moog MF Delay, Fender The Pelt, MXR Phase 90, EHX Nano POG, Xotic Effects EP Booster, Source Audio C4, and a Peterson StroboStomp HD.
Side-Carr
This time out, Broemel is running two Carr Slant 6V heads in stereo.
Carl Broemel's Pedalboard
Broemel commissioned XAct Tone Solutions to build this double-decker board, which depends on a GigRig G3S switching system. From top to bottom (literally), it includes a Boss TU-3, Durham Electronics Sex Drive, JAM Pedals Tubedreamer, Source Audio Spectrum, JAM Retrovibe, MXR Phase 100, Fender The Pelt, Origin Effects SlideRIG, 29 Pedals EUNA, two Eventide H9s, Kingsley Harlot V3, JAM Delay Llama, Merix LVX, Hologram Chroma Console, and EHX POGIII. A wah and Mission Engineering expression pedal sit on the left side, while a Lehle volume pedal and Gamechanger Audio Plus hold down the right edge.
Utility units include two SGI TX interfaces, two Strymon Ojais and a Strymon Zuma, and a Cioks Crux.
More From the Creston Crew
Blankenship, too, has brought along a few guitars from Lea, including these Precision-bass and Jazz-bass models. The dark-sparkle P-style rocks with GHS flatwound strings, while the natural-finish J-style has roundwounds.
Emperor's New Groove
Blankenship just got these brand-new Emperor cabinets, through which he cranks his Mesa Boogie WD-800 Subway heads.
Tom Blankenship’s Pedalboard
Like James, Blankenship uses a GigRig QuarterMaster to jump between his effects. After his Boss TU-3, that includes an Origin Effects Cali76, DigiTech Whammy Ricochet, Pepers’ Pedals Humongous Fuzz, MXR Bass Octave Deluxe, Tronographic Rusty Box, and EHX Bassballs Nano. A Voodoo Labs Pedal Power 2 Plus lights things up, and a Radial SGI TX keeps the signal squeaky clean.
Shop My Morning Jacket's Rig
EarthQuaker Devices host Echo Reverb Pedal
ISP Technologies DECI-MATE Micro Noise Reduction Pedal
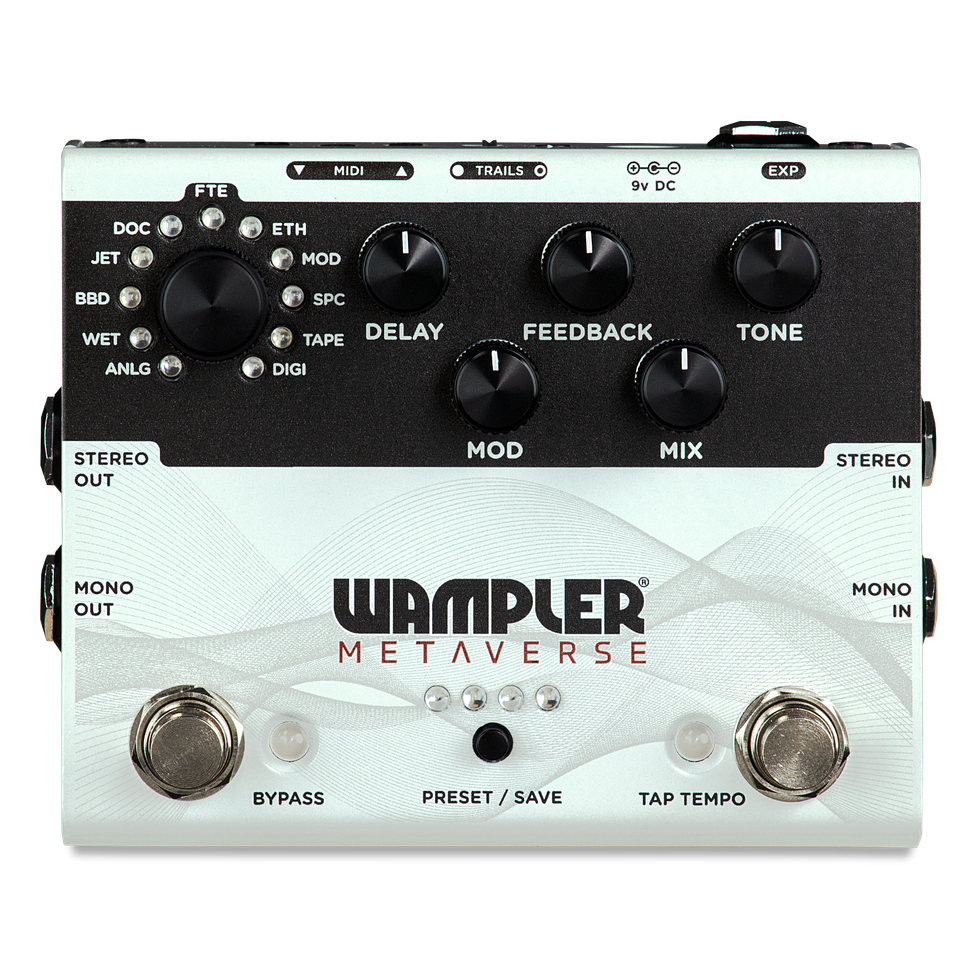
Electro-Harmonix Mel9 Tape Replay Machine Pedal
EarthQuaker Devices Spatial Delivery Envelope Filter Pedal
Universal Audio UAFX Starlight Echo Station Delay Pedal
Universal Audio UAFX Astra Modulation Machine Pedal
Fender Custom Shop Stratocaster
Fender introduces the Stories Collection Mike Campbell Red Dog Telecaster, paying tribute to the iconic guitarist's heavily modified instrument. Featuring two signature humbuckers, a custom single coil bridge pickup, Bigsby tremolo, and a unique "Destruct" circuit, this Telecaster allows players to channel Campbell's legendary tone and style.
Today, Fender Musical Instruments Corporation (FMIC) and the Fender Custom Shop (FCS) introduce the newest member of the ‘Stories Collection’ family—a series of instruments that pays tribute to iconic Fender guitars and basses that have been uniquely modified by the legendary artists who played them. Mike Campbell, the tasteful and versatile player who is responsible for some of Tom Petty and the Heartbreakers’ most memorable riffs, has teamed up with Fender and the Custom Shop to develop the Stories Collection Mike Campbell signature guitars - the Red Dog Telecaster and FCS Limited Edition Masterbuilt 1972 “Red Dog“ Telecaster—two reproductions of Campbell’s stunning and heavily modified Telecaster that gives players the opportunity to create their own sonic identity through the framework of one of rock and pop’s greatest guitar players.
“Telecasters are the heart and soul of rock and roll music and this one is a beautiful instrument,” said Mike Campbell. “I could tell The Red Dog was special as soon as I picked it up. It felt like it was in the right place at just the right time. The humbuckers give it so much power and such a wide variety of tones while the destruct button really sets it apart from just about any other tele.”
The tale of the Red Dog Telecaster began when one of Campbell’s former students living in Florida offered to sell him a guitar. However, after seeing the guitar in question, it became clear that this was no standard instrument pulled from the rack. Campbell was presented with a bright red Tele equipped with humbuckers in the neck and middle position, a Bigsby tremolo and, perhaps the guitar’s most idiosyncratic flourish, an onboard electronic boost dubbed the “destruct” circuit. As any other lifelong guitar devotee would, Campbell bought this glorious Frankenstein of an instrument without a moment’s hesitation. The Red Dog was subsequently used most memorably on the Heartbreaker’s track “Refugee” and is prominently featured in the song’s music video. All throughout his storied career playing with Tom Petty, as a session guitarist, alongside Fleetwood Mac and touring the world with his solo act The Dirty Knobs, this singular Telecaster has been inextricably linked to Campbell’s career and legacy as one of rock and roll’s finest players.
The Stories Collection Mike Campbell Red Dog Telecaster offers the same level of craftsmanship and sonic capability at a more accessible price point. The two signature Mike Campbell humbuckers in the neck and middle position bring a low-end growl and high octane output that sets it apart from other Telecaster guitars. However, the custom single coil bridge pickup delivers the caliber of twang that people worldwide associate exclusively with Tele guitars. A Bigsby B5F tremolo allows players to extenuate riffs and solos with an additional level of flourish and attitude. Perhaps the Red Dog’s most exciting feature lies beneath the surface—the “Destruct” circuit. With the push of a sleek silver button on the control plate, an added 34 dB of gain can be activated for complete tonal dominance.
“It’s our mission to honor the legacy and sonic character that Mike Campbell has infused into every note played on his beloved ‘Red Dog’ Telecaster®,” said Justin Norvell, Executive Vice President of Fender Products. “Every scratch, modification, and battle scar tells a story, and with these meticulously crafted recreations, we’re giving players everywhere the chance to channel that same timeless energy and write their own musical history.”
While the Red Dog Telecaster came into his hands already modified, its custom features were universal and powerful enough to elevate Campbell’s personal playing style and the same can be said for Fender’s painstakingly detailed and powerfully crafted recreations. The FCS Limited Edition Masterbuilt 1972 “Red Dog” Telecaster is a jaw dropping representation of the instrument as it exists today—dings, paint chips, dents and all by FCS’s Senior Masterbuilder Dennis Galuska. Outfitted with vintage replica Arcane, Inc. pickups and signature “Destruct” boost circuit wired by Analogman, this custom Telecaster can achieve the same biting jangle heard on “Refugee.” Features include a flat sawn maple neck with custom Oval “C” back shape, 7.25” radius fingerboard, 21 vintage upgrade frets, 5-way pickup sector and vintage style Jazzmaster bridge with threaded saddles.
“The ‘Red Dog’ Telecaster® is a testament to how a heavily modified instrument can be both deeply personal and universally cherished,” said Chase Paul, Director of Product Development - Fender Custom Shop. “There’s an undeniable magic in an instrument that evolves alongside its player, and every modification on this guitar serves a purpose, working together to create something greater than the sum of its parts. Dennis Galuszka and the Custom Shop dedicated countless hours to faithfully recreating every detail, bringing players and fans as close to Mike’s legendary Tele® as possible.”
Stories Collection Mike Campbell Red Dog Telecaster® ($3,499.99) Revered for his tasty rhythms and fiery leads, Mike Campbell is responsible for many of the iconic hooks from the Tom Petty and the Heartbreakers catalog. For decades now his faithful Fender guitars have been at the heart of his trusted formula for award-winning tone.Campbell bought what became known as the “Red Dog” from a former guitar student in Florida, complete with Bigsby tremolo and a powerful onboard boost, known as the “Destruct” circuit. Mike’s iconic 1972 Red Dog Telecaster is featured on the Damn the Torpedoes track “Refugee” and can be seen in the accompanying music video. The Stories Collection Mike Campbell “Red Dog” Telecaster features an Heirloom™ nitrocellulose lacquer “Red Dog Red” finish, 1-piece maple neck with 7.25” radius fingerboard and 21 vintage-style frets as well as an onboard “Destruct” boost circuit. The custom Mike Campbell Red Dog pickup set features two vintage-style humbuckers and a single-coil Telecaster bridge pickup, Bigsby B5F tremolo and a custom Red Dog neck plate. Custom accessories include a vintage-style case, strap, picks and certificate of authenticity.
Unique, versatile and utterly original, The Mike Campbell “Red Dog” Telecaster pays tribute to a veteran Heartbreaker with a serious knack for writing extraordinary songs and delivering catchy, captivating and magnificent guitar parts.
Fender Custom Shop Limited Edition Masterbuilt Mike Campbell 1972 “Red Dog” Telecaster® ($20,000.00) With raw, powerful riffs and explosive leads, Mike Campbell firmly established himself as one of the greatest guitarists and songwriters in music history—and throughout his accomplished career, Fender guitars played in integral role in his creative expression. One of his most noteworthy instruments was his modified three-pickup Telecaster that would come to be known as the “Red Dog.” Fender Custom Shop Senior Masterbuilder Dennis Galuszka partnered with Mike to recreate this incredible guitar. From beautifully faded red metallic finish to the worn and Bigsby B5 vibrato tailpiece, every nick, ding and scratch was meticulously replicated to bring this tribute guitar to life. Loaded with vintage replica Arcane, Inc. pickups and a “Destruct” boost circuit wired by Analogman, this Tele plays, sounds and feels just like the guitar heard on “Refugee.” Its two-piece select alder body and custom-shaped, one-piece maple neck feature a well-loved Relic® lacquer finish, while the hardware is aged to look like it’s been played for the last five decades. Wonderfully unique and with a storied past, the Limited Edition Masterbuilt Mike Campbell 1972 “Red Dog” Telecaster is a fitting homage to such an incredibly captivating and inspiring musician. Other premium features include flat sawn maple neck with custom Oval “C” back-shape, 7.25” (184.1 mm) radius, 21 vintage upgrade (45085) frets, 5-way switch, 3-ply parchment pickguard, vintage-style Jazzmaster® bridge with threaded steel saddles, vintage-style “F”-stamped tuning machines, bone nut, two American Vintage ‘65+ string trees with nylon spacers, deluxe hardshell case, strap and certificate of authenticity.
For more information, please visit fender.com.
Fender Stories Collection Mike Campbell Red Dog Telecaster Electric Guitar - Red Dog Red
Stories Collection Mike Campbell Red Dog Tele, MapAn easy guide to re-anchoring a loose tuning machine, restoring a “lost” input jack, refinishing dinged frets, and staunching a dinged surface. Result: no repair fees!
Pardon my French, but I’m about to misethe hell out of some en scenein this article about do-it-yourself guitar repair. Buckle-vous up.
The Guitarist is in the middle of double-tracking a solo. It’s not quite right. Creative juices are flowing, but at any moment, the gate could slam shut. Their social media feed is stagnant, and the algorithm thirsts for content. The studio is 80 bucks an hour. That new boutique fuzz pedal would sound great on this track, surely? It would, of course, as these things are the cure for all problems, but it rests just out of reach.
Desperate for a solution, the Guitarist rests their perfect new guitar against the warm tube amp–only for a moment … but a horrible amplified bwaang from wood, string, and concrete’s violent meeting breaks the temporary silence as gravity muscles potential into the kinetic. The Guitarist breathes a defeated “aw, man,” like a loosened balloon farting hopelessly across an empty room. The gate closes, juices no longer loose, locked, impenetrable by any transistor-based effect. And it’s time to assess the damage.”
I bet you saw yourself in the opening scene of Twenty-Four-and-Three-Quarter-Inches of Woe, which may be the title of the screenplay I just started to write, most likely due to the fact that you’ve made a similarly boneheaded mistake with your instrument.
Unfortunately, my storytelling skills didn’t save a nice new Epiphone Casino from sliding off my amp, meeting the floor, and earning some damage on the way down. Yeah, that’s a true story, and I’m sure something similar has happened to you as well. It can happen to anyone who plays guitar for long enough, but there’s no need for despair yet.
If you’ve been victimized by gravity like I have, as long as the damage isn’t major, you can fix a lot of things yourself. I’ll use my felled Casino as an example. It suffered a loosened tuner, an input jack that fell inside the guitar, a damaged fret, and a few dents in the finish. While I work, I’ll provide some suggestions for supplies and tools to keep in your home repair kit, just in case you ever need them.
Tools for the Tasks
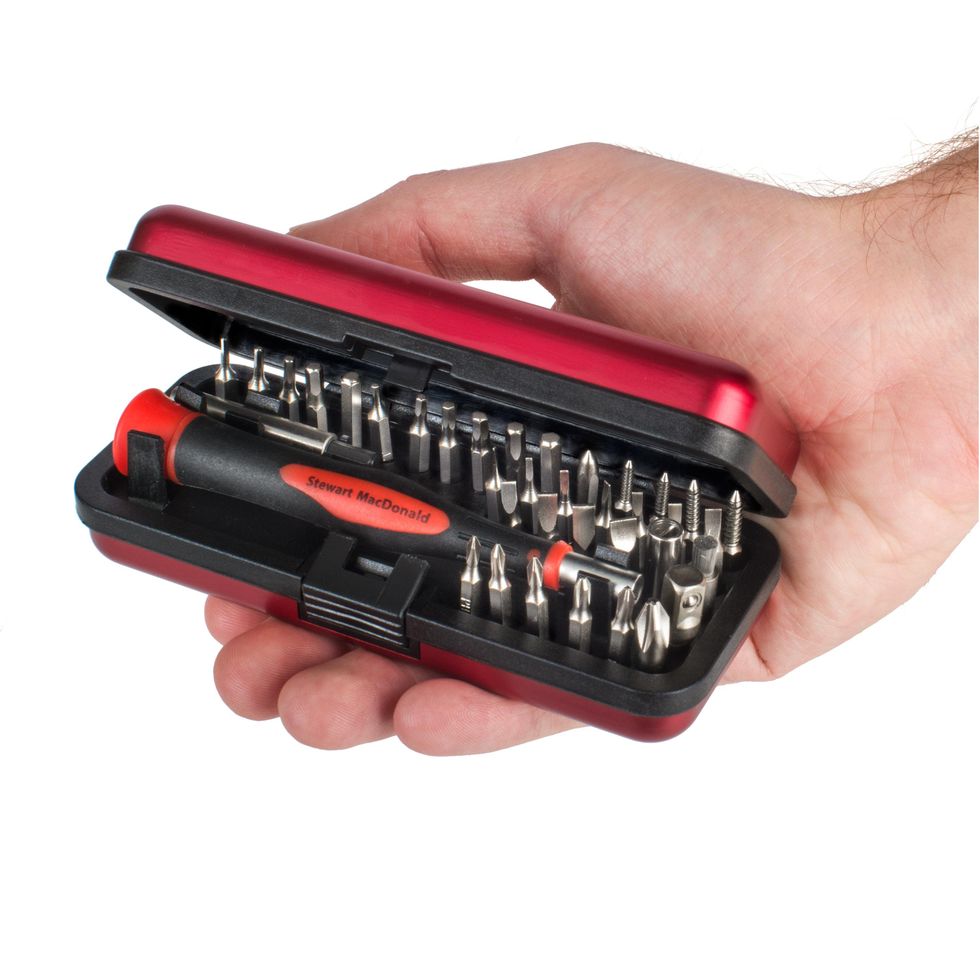
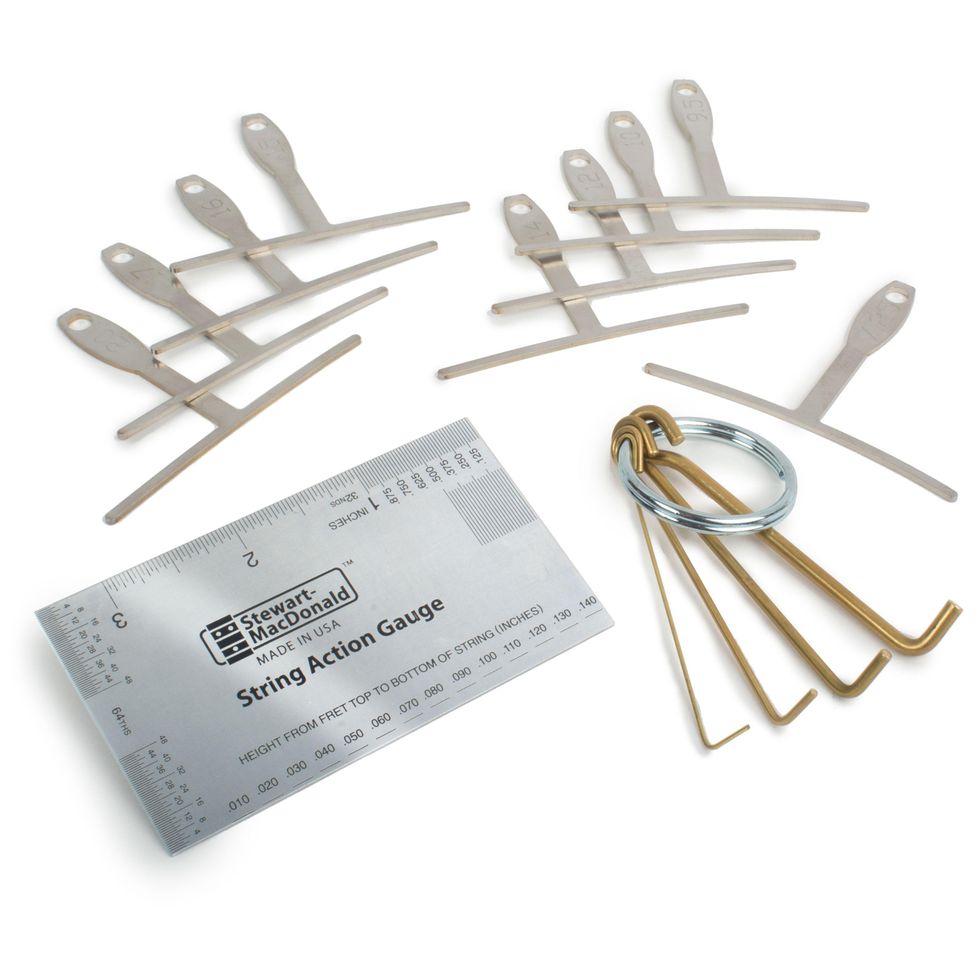
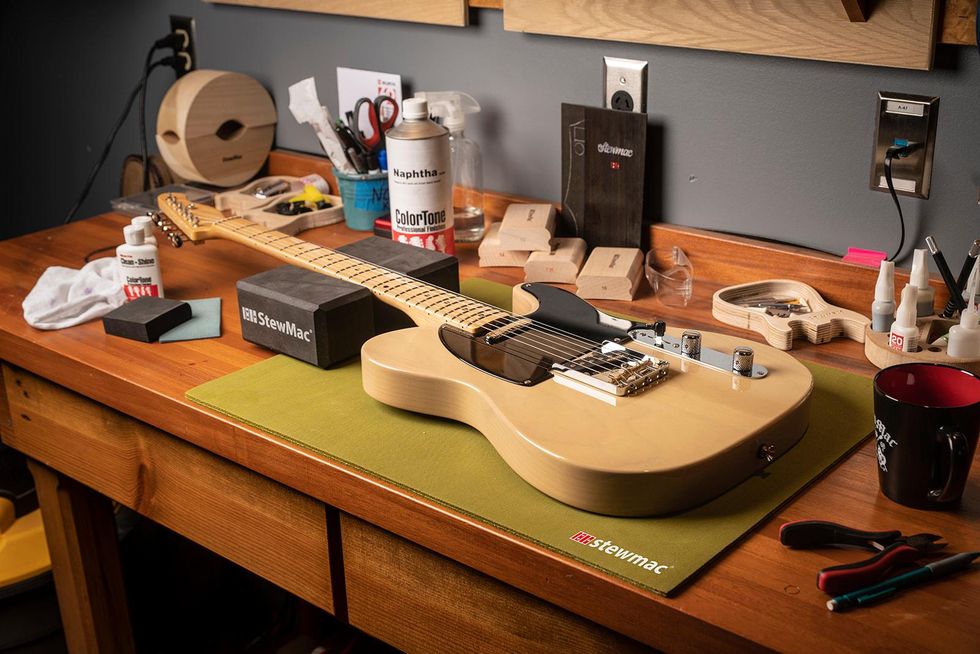
We ordered all of the tools we used in these repairs, excluding the painter’s tape and the toothpicks, which we picked up during lunch at Jack’s Bar-B-Que, from StewMac.
The essentials:
• ESP Multi Spanner
• Archtop Guitar Helping Hand
• Guitar Tech Screwdriver Set
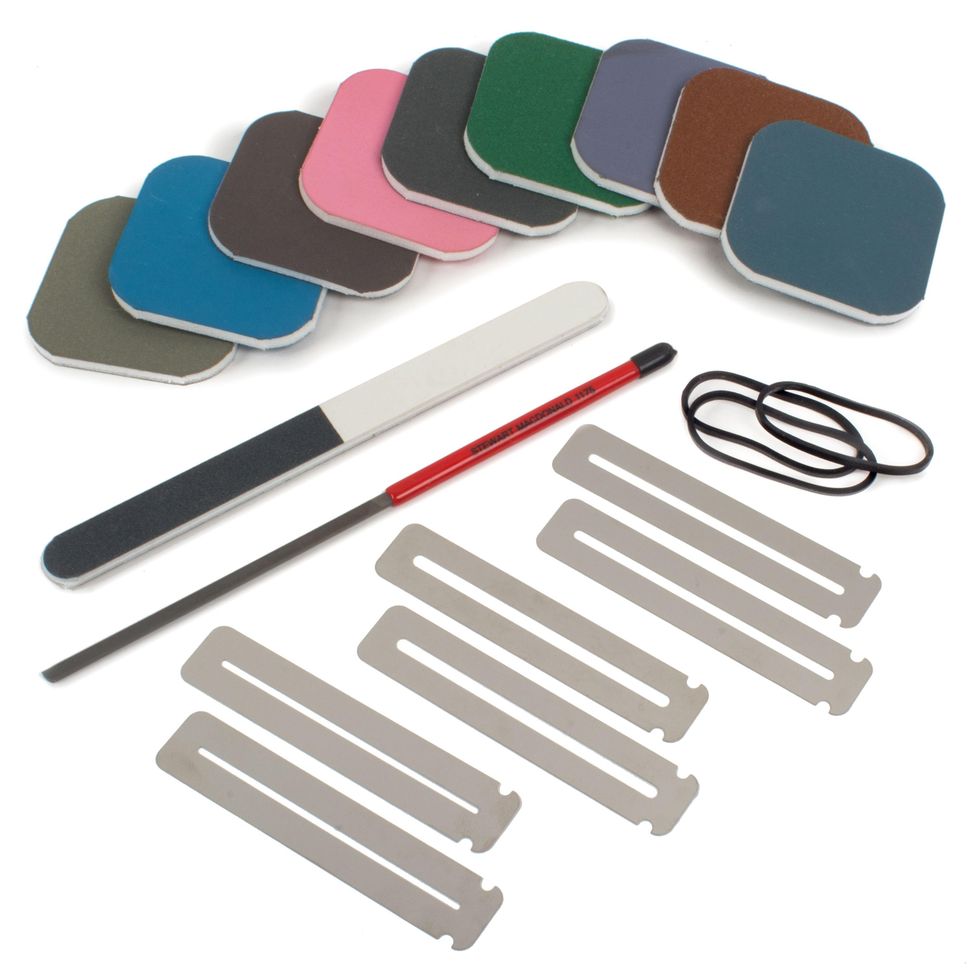
• 3 Corner Fret Dressing Files
• Ultra Thin Master Glue
• GluBoost Fill n’ Finish
• Rectangular Sanding Kit
Can’t Tune It like That
First, let’s take care of the loose tuner, since it’s currently in no shape to reliably hold string tension. The tumble knocked it sideways, which loosened the screws holding in the key, which caused the wood around the screws to strip. It’s alarming to see, but this is a very simple fix.
Add to Repair Kit: Round toothpicks, water-thin CA glue, glue applicator tips, safety goggles
[Note: For the unfamiliar, CA is short for cyanoacrylate. It’s commonly referred to as “Super Glue,” but since that is a brand name, not the generic, I’ll refer to it here as “CA glue.”]
First, remove the tuner by backing the screws out, then pull the tuner from the headstock. My Casino’s tuning keys use a press-in bushing to hold the post straight in the headstock, so no further disassembly is required. However, if you experience this issue with a guitar with more modern-styled tuning keys, you’ll need to use an appropriately sized wrench or socket to remove the screw-in bushing before removing the key.
Next, break a toothpick in half, insert the thicker end into the hole where your mounting screw used to be. Break it off flush with the surface, and repeat the process with the other hole.
Safety goggles on: It’s CA glue time. Trust me, you do not want to squirt this stuff into your eye. Fit an applicator tip to the glue bottle and practice your squeeze on a scrap piece of paper or wood, far away from anything you don’t want glued to your guitar or yourself. This stuff is magic—it will bond things you never intended if you aren’t careful.
All you need is a very small drop, so practice until you can confidently flow out just a small controlled amount. Once you’ve mastered that, drop a small amount of water-thin CA glue into each filled hole. It will soak through the toothpick into the surrounding wood just enough for this quick fix. Let it cure for at least 15 minutes, but longer is even better.
Pop the tuner back in and drive the screws straight into the toothpick-filled holes. The screw will compress the toothpick into the existing wood and create new threads strong enough to hold your tuner in place.
Congratulations! You fixed it well enough to at least make it through a session. I’ve done this on several guitars that lasted years with no issues, so you should be confident in your work.
Hit the Road, Jack
Look, there’s no way to sugarcoat this. Fishing an output jack out of a hollowbody guitar is a pain. You can do this. All you need is patience and a few handy gadgets.
Add to Repair Kit: flashlight, multi-spanner, small drywall anchor, “helping hand,” small screwdriver
Your first task is to locate the jack inside the guitar. Odds are it didn’t fall far away from where it needs to be, since it’s probably wired to one of your control potentiometers. Use your flashlight to shine some light inside the f-hole to help find it.
I found mine wedged against the treble side of the rim, a little farther away than I can reach with my fingers. This is not zesty. I am unhappy but equipped and determined.
The tool I described as a “helping hand” becomes useful here. It’s essentially just a bent hook at the end of a handle made out of pliable heavy wire. Several guitar parts suppliers sell something similar. I got mine from StewMac for a reasonable price, but if you want to be thrifty about it, there’s no reason why you can’t cut and bend a wire coat hanger.
Take a few deep breaths, and working through the f-hole, use the hook end of your helping hand to gently pull the output jack back toward where it was mounted. Bend the helping hand however needed to reach the jack as easily as possible.
I managed to pull the jack back enough to put a small screwdriver through the jack’s mounting hole and then through the jack itself. That screwdriver will act as a guide while I lift the jack back into place with the helping hand.
You should expect this will take several attempts. Try not to get frustrated. With enough patience, you’ll be able to get the jack back where it belongs. Once you have the jack in place, carefully thread the washer and nut back onto the jack. It shouldn’t take much effort to thread it back on. Just be careful not to cross-thread the nut.
Now that the nut is threaded on enough so it won’t fall back in, the challenge is to tighten it without twisting the jack itself to avoid breaking any wires. I’ve seen and used a few different methods to accomplish this, but I came across one recently that I really like.
This is where you’ll use your drywall anchor. Get one small enough to fit inside the jack without using too much force, then tighten the screw in the anchor so that it spreads to fit tightly inside the jack. This will hold it steady enough to tighten the nut with a multi-spanner tool or an appropriately-sized wrench.
I like a multi-spanner for this job, because it’s always the right size and is slim enough to not be clumsy for operations like this. Like the helping hand, lots of suppliers sell something similar using different names. Mine is made by ESP and also arrived in my StewMac tool box. I use it all the time for all sorts of tasks.
Once the nut is tightened, unscrew the drywall anchor, remove it, and test the jack for sound by plugging your guitar into an amp. A positive result should be obvious at this point, but if you don’t hear any signal, or an excessive consistent buzz, get in touch with your local repair tech.
Got a Dent In My Fret, Man
Honestly, face-first is probably the best way a guitar like my Casino could have hit the ground. The damage could’ve been far worse. Check any forum for endless complaints about Gibson/Epiphone headstock breaks. But I do need to address some damage to a fret caused during the fall.
The issue here is that plain steel electric guitar strings—like your G, B, and E strings—are considerably harder than most frets (my stainless steel fret contingency, put your hands down and let me finish), so it’s possible for a string to leave a small sharp dent in a fret if you hit it with enough force. This specific issue might go unnoticed until it’s time to bend a note at that fret, then you’ll feel and hear the string catch it. No good.
Before we get started: Having allof your frets carefully levelled, recrowned, and polished is alwaysa better solution than partially levelling just a few frets. But considering the entire premise we’ve constructed, which is a situation where we just want the guitar back in action relatively quickly, a partial fret level on the upper frets is perfectly fine as long as it’s done carefully.
Add to Repair Kit: Crowning file (three-corner or rounded), assortment of sandpaper (400 grit to 800 should be fine), 0000 extra-fine steel wool (optional), fretboard conditioner, permanent marker.
First thing we need to do is identify which frets need the work. Let’s say you have a nick in your 17th fret on the treble side under the B string. The goal is to bring the height of that damaged fret and all the frets past it down until the nick disappears. After that, remove the strings before you begin working.
To accomplish this, mark the damaged frets and all frets past it with a permanent marker. A trusty black Sharpie works great for this, but any darker color works fine. For this repair, we only need to work on the treble side of the frets, so that’s all you need to focus on. Also, use some blue painter’s marking tape to protect the area of the guitar near where you will be working. Small slips of a file or sandpaper can cause some nasty injuries to the guitar’s surface.
Next, level the damaged fret and all frets past it (moving toward the bridge) with something stiff enough to not flex under pressure. I keep an old credit card—a nice sturdy one—with a bit of 400-grit sandpaper glued to one side along the shorter edge, 800 grit on the other side. Start with the 400 and work your way down, being careful not to use too much pressure. Let the sandpaper do the work.
You’ll notice the ink is removed as you sand. The way to make sure you’re keeping everything level is to stop frequently and observe the new clean areas on top of each fret. Each one should be about the same width.
This will take a while. A 400-grit sandpaper does not remove material quickly, 800 grit even less so. I’m suggesting this technique because working slowly makes it more difficult to get yourself in trouble. Several suppliers sell mini files for spot leveling, but I don’t recommend starting there because they remove fret material pretty aggressively.
Eventually you’ll notice the little divot in your 17th fret is almost gone. Now’s time to switch to 800 grit to finish the job. You guessed correctly: This will take even longer, but it’ll leave a nice finish without removing any more material than necessary.
Great! Now you have five flat-topped frets. That won’t sound very good, so now you need to re-crown them, giving them a rounded profile to match the other frets. I like to use a 3-corner file to slowly round over each side of the fret, working from the fretboard up, but if you feel like dropping some serious flow on a specialized crowning file, this job can be a lot easier. Be sure to get the marker back out, ink up each fret, and stop filing when just a tiny sliver of ink is left on top of each fret.
Use a piece of 800 grit paper to remove any file marks and smooth out each fret. If you have finer grits, you could work your way up to 1200 or so, but don’t go too hard or you could undo your work. You just want the frets clean and smooth. At this point, I like the way frets feel after a quick buff with 0000 steel wool, but the mess left behind does rightfully deter a lot of repair techs. If you opt in for this, be sure to tape off your pickups and consider finding a second location for this step.
Work in some fretboard conditioner if you like (skip it if you have a maple or synthetic board; no need for that here), put some new strings on, and check your work. Play every note on these frets, to make sure they ring out without any buzzes. It may not look perfect, but as long as the guitar sounds good, you’re okay until it’s time for a full level/crown/polish job.
Not Finished Until It’s, Uh, Finished
Now for the last souvenir from my Casino’s short journey to the floor. I noticed a few spots along the rim of the guitar where the finish was damaged. Specifically, it looks like the guitar hit something with an edge on the way down hard enough to put a couple of jagged dents in it, right along the binding.
Funny, that’s actually what binding is intended for–protecting edges and corners from damage. Anyway, we need to discuss a few things about guitar finishes.
For the purpose of this article, I’m only going to discuss repairs to the clear coat, since that’s where my damage is. Most guitars now are finished using polyurethane or lacquer for the top clear-coat layer.
Speaking verygenerally, lacquer finishes are softer and less durable, which makes hiding repairs a lot easier if you have the skills and patience. Polyurethane finishes are hard and tough in every way: hard to damage and tough to hide repairs regardless of skills or patience.
I happen to know that my formerly mint-condition Casino has a polyurethane finish, which means I’m going to lower my expectations with this repair. Instead of trying to make it look like it never happened, which will take a lot of work, I’ll just try to keep it from getting worse over time, which will take considerably less work.
It also means I won’t be discussing how to repair lacquer finishes, which is a bit more in-depth, requires a lot more patience and practice, and is therefore not really recommended for the average DIY’er—at least not in the scope of this piece. So if your guitar has a lacquer finish, I don’t think this part applies. Let someone else take care of it, or maybe skip this part and learn to love your guitar as is. The latter is still an admirable move.
Add to Repair Kit: Nothing! You already have what you need from the previous repairs. Feel good about that.
Since the damage is a pronounced dent with sharp edges in the clear coat, all I really need to do is seal it with an appropriate material. And the material appropriate for repairing polyurethane finishes is—you guessed it—CA glue, because it dries hard, clear, and quickly, much like polyurethane.
Step one: Use painter’s masking tape around the area of the damage, just in case the glue runs when applied. Step two: Put glue on the dented finish. CA glue will fill in all the small cracks within the damage and seal the existing finish. Be careful; use the smallest-drop-possible technique you perfected when fixing the tuning peg, and give it plenty of time to dry.
That’s it. That’s all I need to keep the finish from continuing to chip the more I play it. Yes, I saved the easiest one for last, as a little treat.
Obviously, this isn’t a particularly beautiful repair, so I could go above and beyond by using thicker CA glue—for example, GluBoost Fill n’ Finish—to fill it in completely, sand it level, and polish the area back to the original mirror gloss. Dan Erlewine has a few excellent YouTube videos outlining this exact method that are easy to find, and I encourage you to try if you’re so inclined. But for my purposes, this will do.
Accidents will happen if you’re actually playing your guitar, but they’re no cause for panic when they do. Even though the guitar isn’t perfect anymore, it’s perfectly playable, and I can get by with it for now. I broke it, so I fixed it, which is something I hope you feel empowered to do should you break yours.
Next time, I’ll use a good guitar stand.