
Q: What is your current home-recording setup?
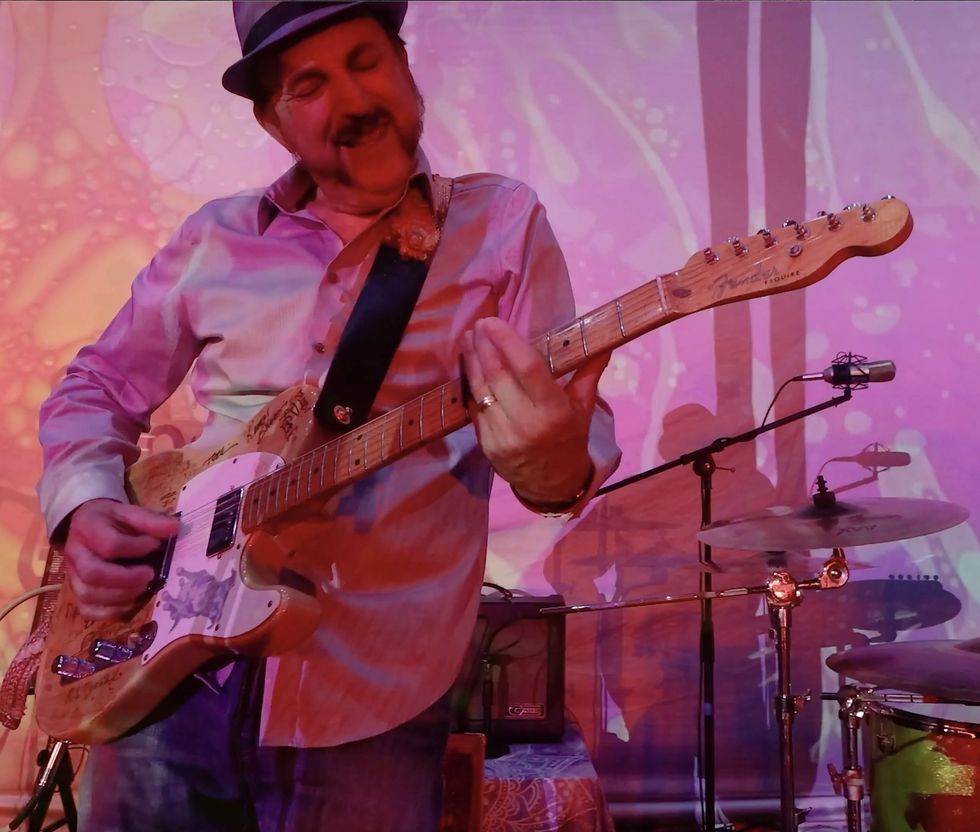
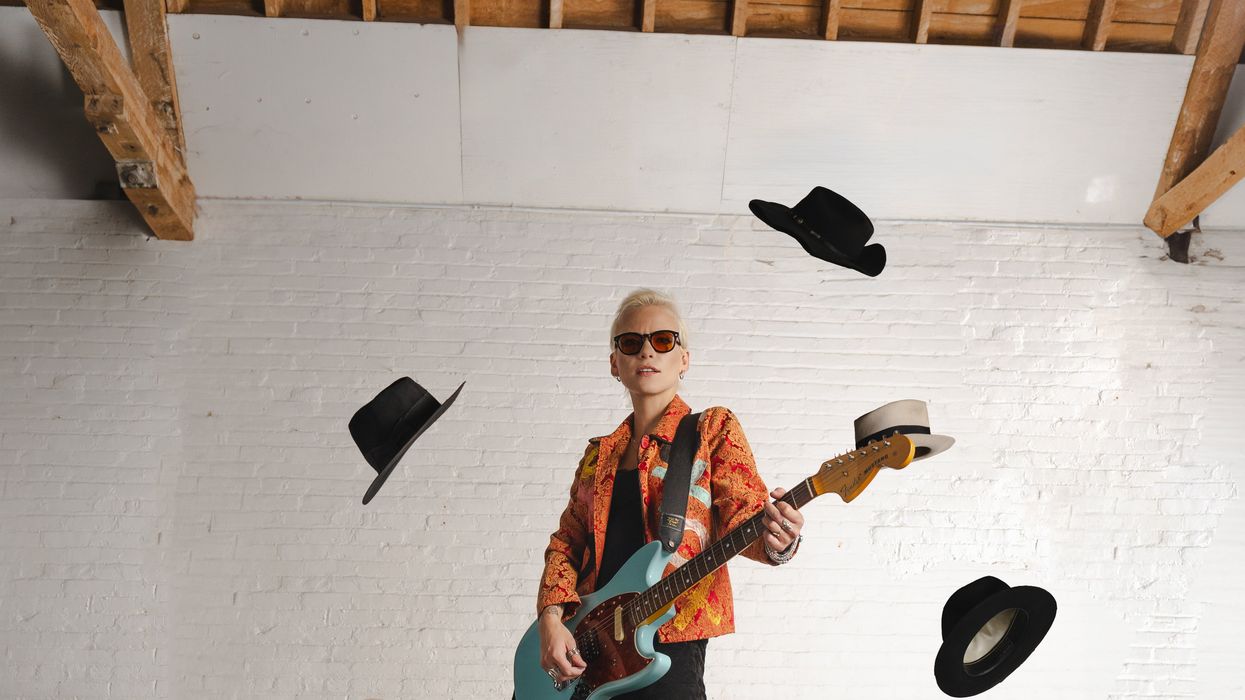
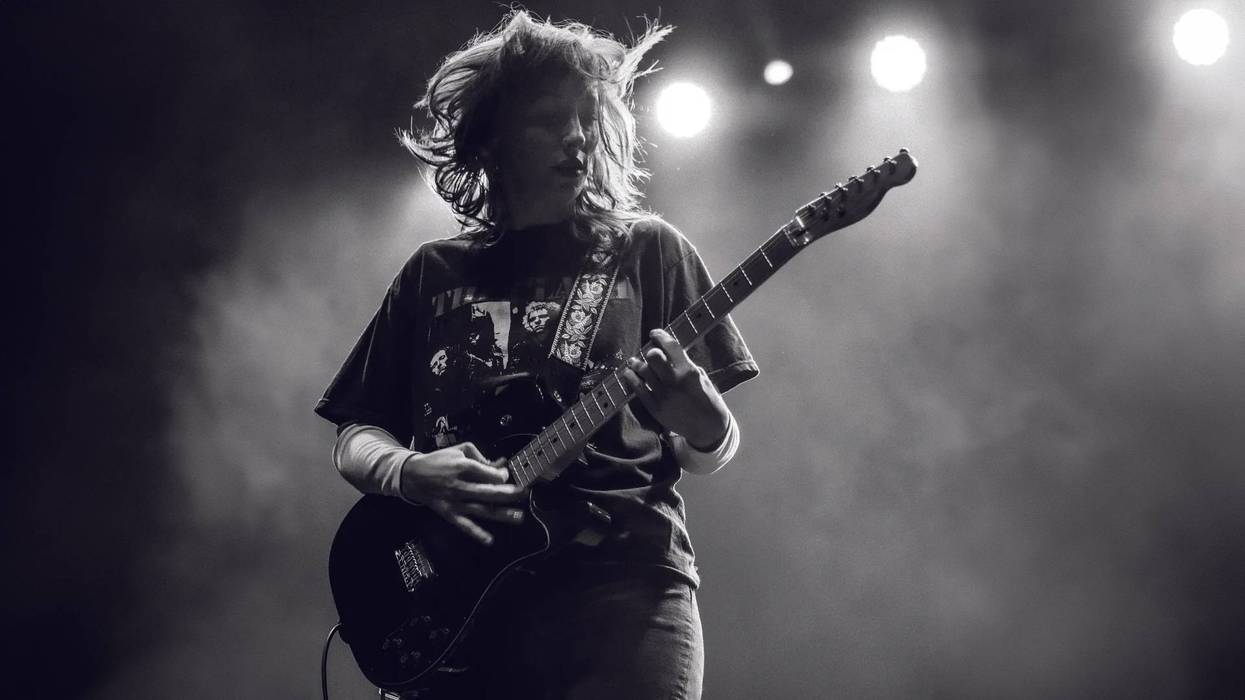
Chris Greatti — Guitarist/Producer
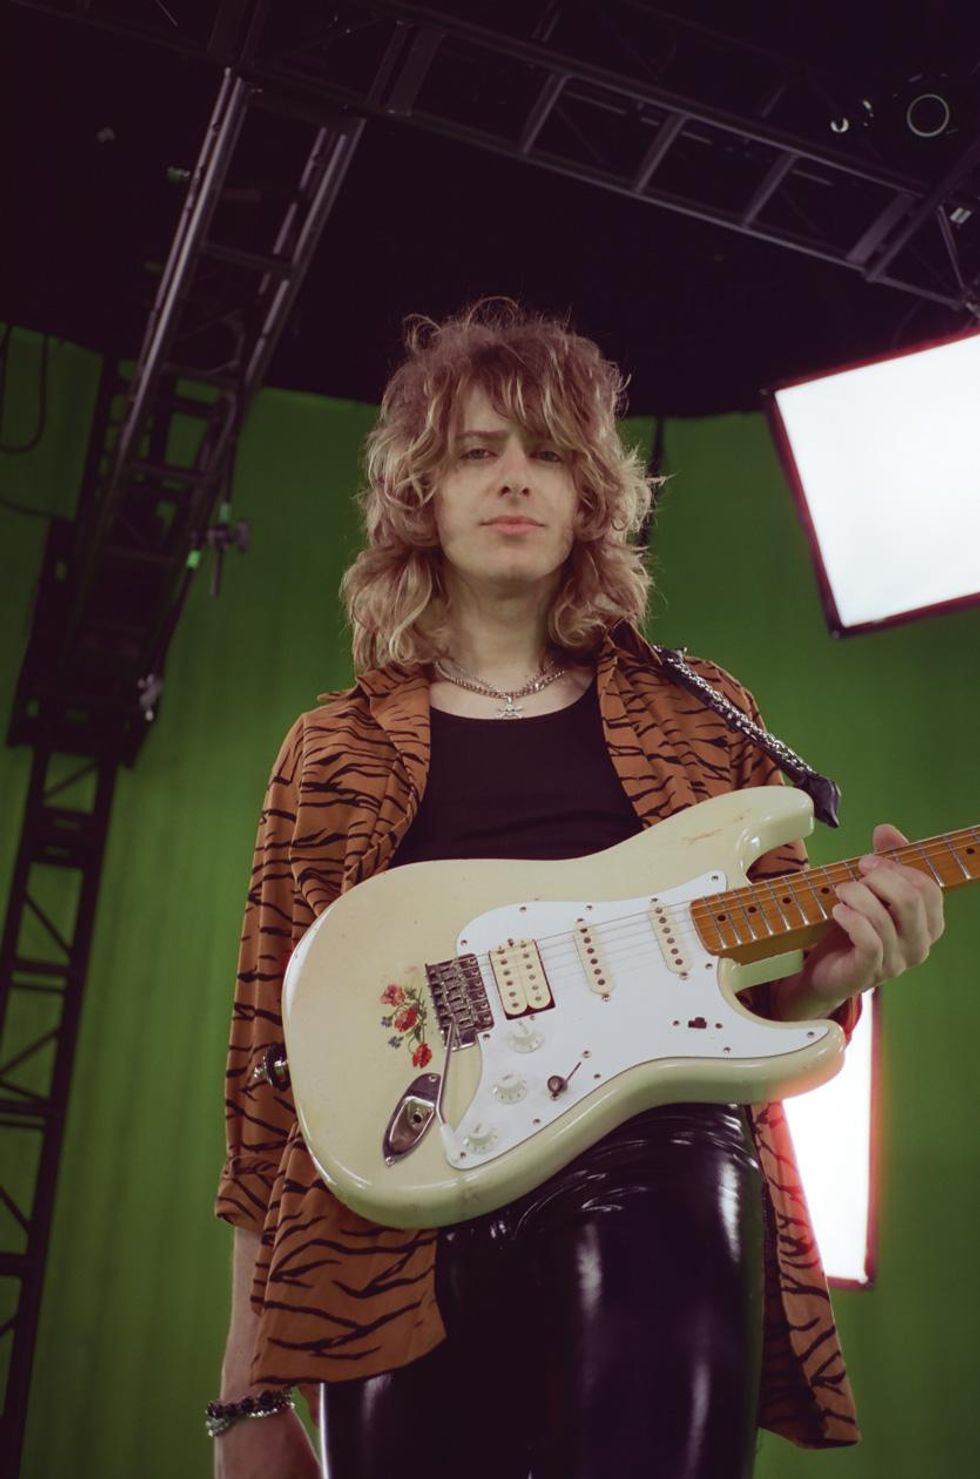
Photo by Gianennio Salucci
A: I do all my sessions at my house in L.A., so it's fully set up to track any instrument quickly while still retaining a super casual vibe. I just got the Adam A77X monitors (which I'm loving). The vocal chain is a Peluso 22 251 mic into a Universal Audio LA-610 pre/comp into an Apollo x8p. As for guitars: 2020 Fender Ultra Jazzmaster (which I use on everything), Gibson '61 reissue SG, my custom Carbonetti Strat-style, Gibson Firebird and Hummingbird, some old Silvertone acoustics, etc. The amp situation du jour is a Kemper (for quickness) with a Dumble preset from Top Jimi. The pedalboard features some classics from MXR, EarthQuaker, and Strymon. I prefer my Fender P bass with flats. The synth setup just got upgraded, too: Moog Sub 37, Roland Juno-106, Mellotron M4000D, and some terrible toy Yamahas. Lastly, and arguably most importantly, I just bought seven sunset lamps and they're improving my life drastically.
Current Obsession:
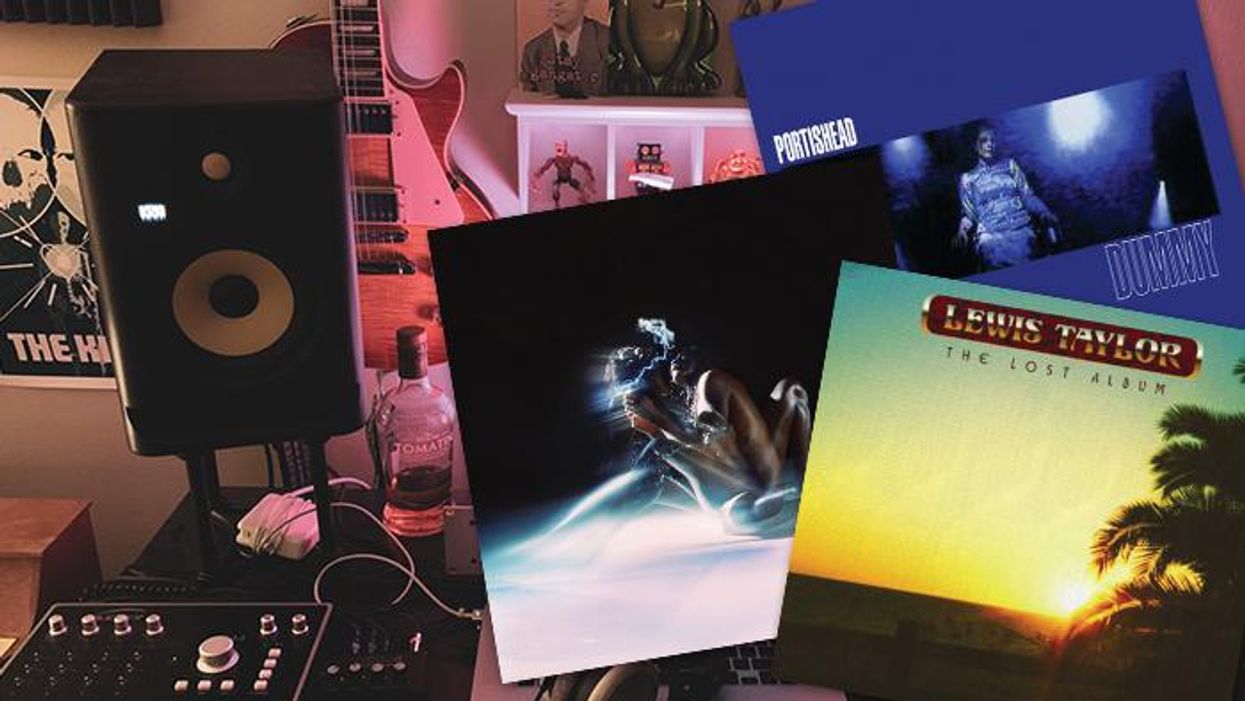
Caroline Polachek, Lewis Taylor's Lost Album, Teenage Fanclub, Portishead's Dummy, Yves Tumor, perpetually a little Lady Gaga, and Van Halen. I've been getting back into the Strokes, too. Their guitar parts are always so creative and they're insanely tight and unique as a band. But to be honest, I've been crazy busy this year producing albums for Yungblud and Palaye Royale (not simultaneously, but in quick succession) and have mainly been in the headspace for those projects, deliberately trying not to take in too many outside influences.
Portishead - Wandering Star (Official Video)
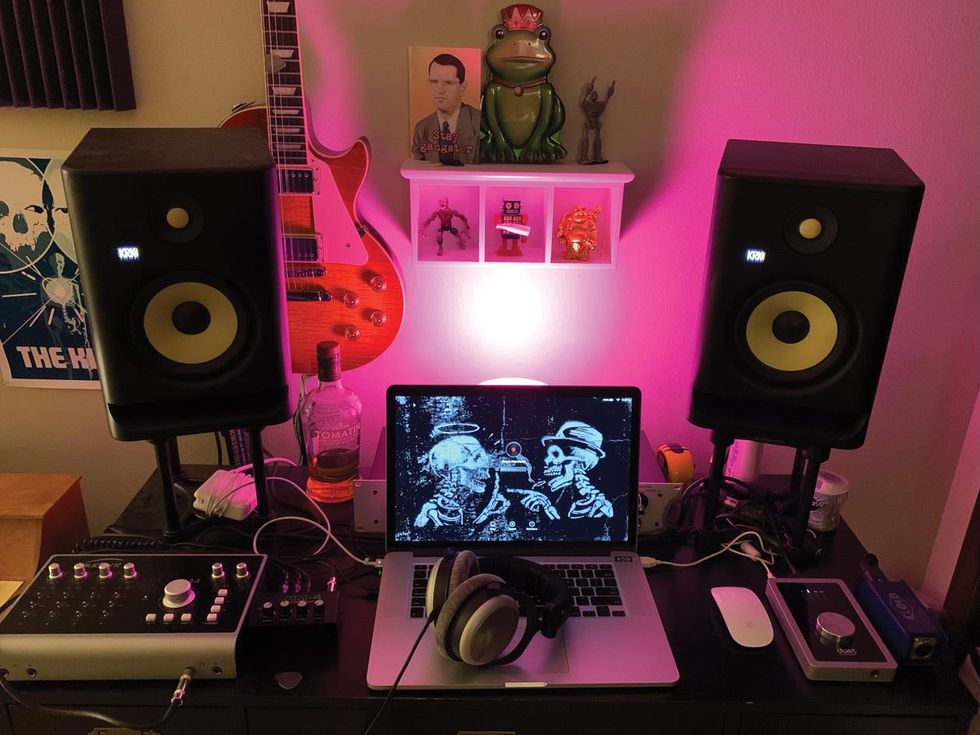
Daniel LeSaux - Reader of the Month
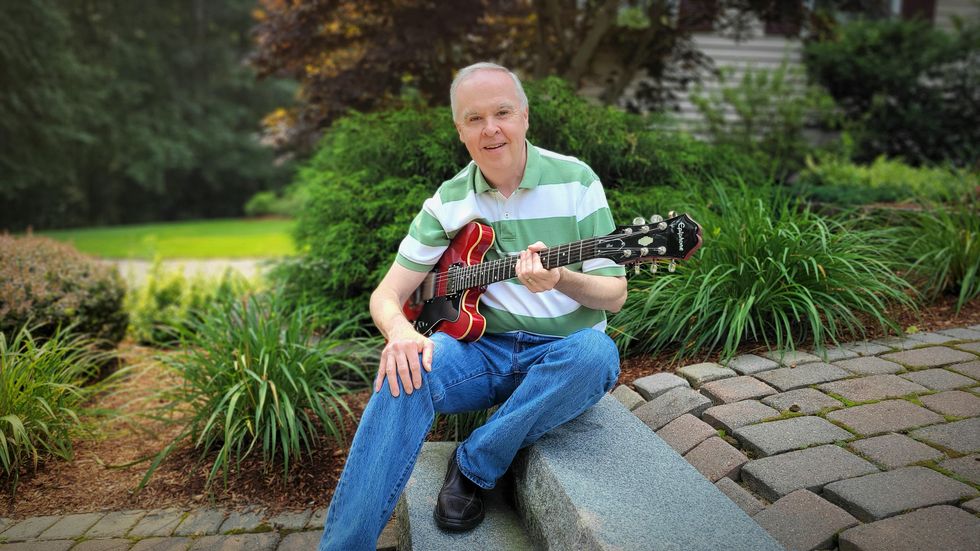
Daniel LeSaux
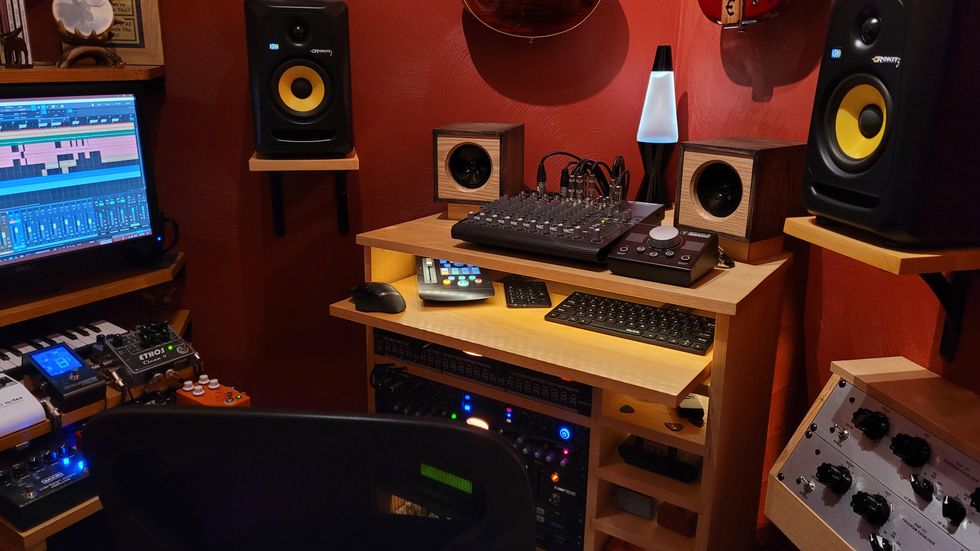
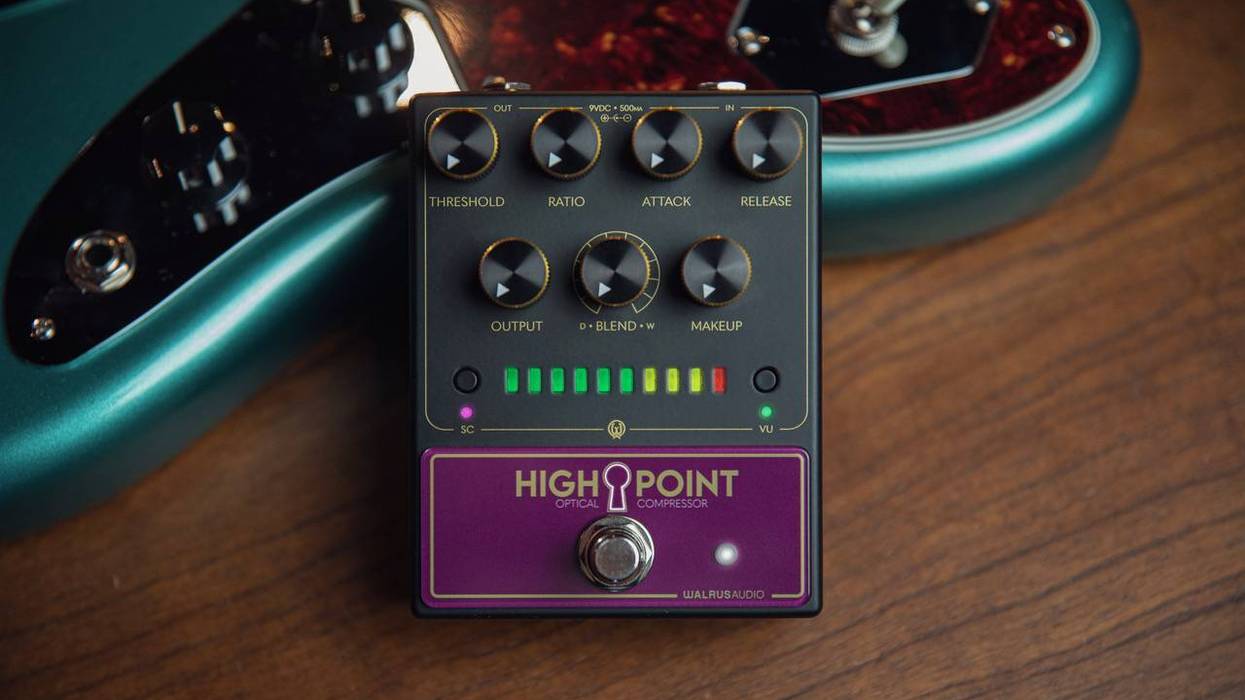
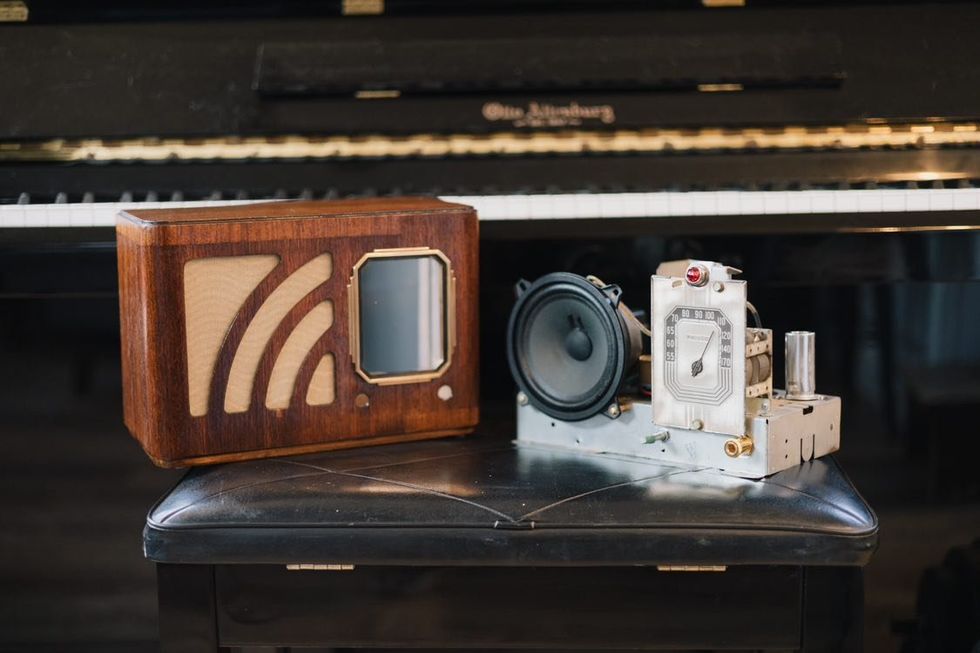
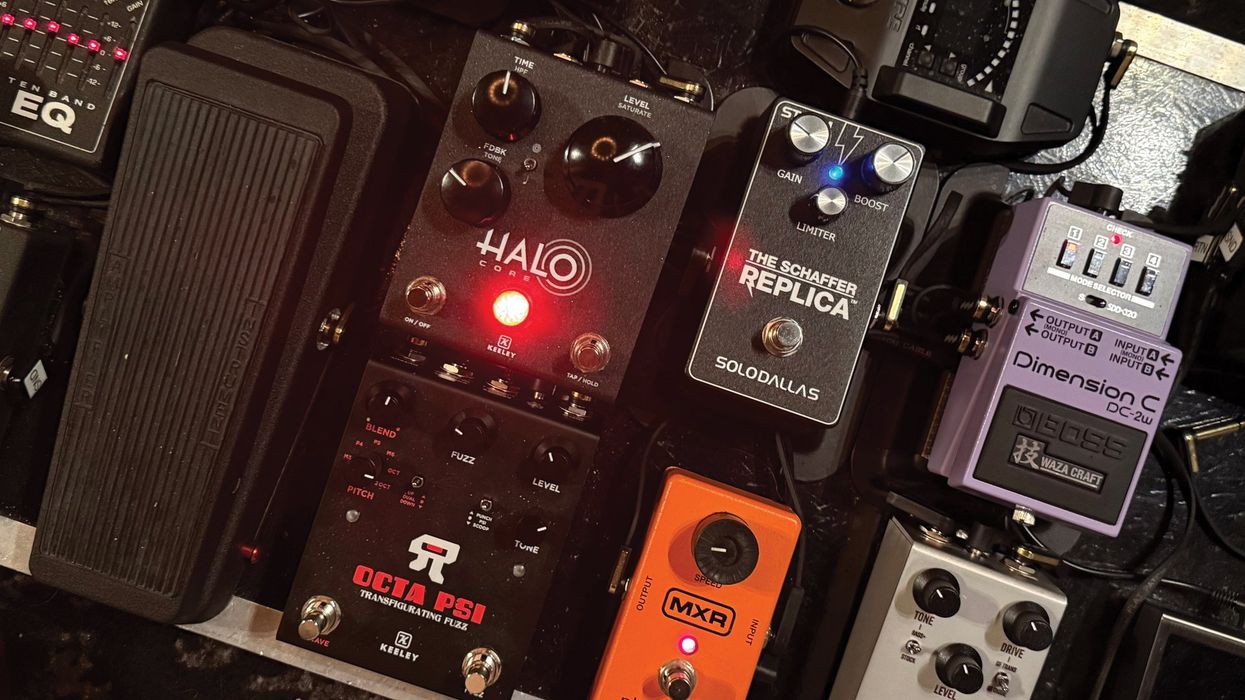
A: My recording setup is small, but I was able to pack a lot into a tiny space. I built my own cabinets to maximize the use of the room. My pedalboard is at lap level to make tweaking easier. My studio is called "Moose Tracks," a nod to the state of New Hampshire, where I live. In my digital workstation I use a PreSonus Studio One with a PreSonus 1824c interface and a PreSonus FaderPort II. I have KRK Rokit 5 monitors, KRK KNS 8400 headphones, a Mackie Micro Series 1202-VLZ Mixer, and a Mackie Big Knob Passive Monitor Controller. My outboard effects include: Klark Teknik EQP-KT Passive Tube Equalizer, Klark Teknik 76-KT FET Peak Limiter, Klark Teknik KT-2A Opto Electrical Tube Leveling Amplifier, PreSonus Studio Channel strip, and a Samson S-Patch 48-Point Patchbay. I have way too many pedals to list!
Current Obsession:
I've been chasing the perfect on-the-verge-of-breakup clean tone, similar to the tone Larry Carlton has been using in his recent releases. That tone is so alive and expressive. It takes high gain and a gentle touch to achieve it. And as soon as you dig in a little bit, the notes explode! It allows so much tonal variation depending on the pick attack, the pick angle, and whether you use upstrokes or downstrokes. It also makes it easy to switch from rhythm to lead just by varying the pick attack. To get that tone, I'm playing a stock Epiphone Dot using a blend of both pickups into a Custom Tones Ethos Clean II running into a Two Notes C.A.B. M+ with a 1x12 Electro-Voice open back cabinet sim. I have an MXR Carbon Copy in the FX loop and an MXR M300 as a send on the Mackie board. I'm currently working on an album of original tunes using this setup.
Rig Rundown - Larry Carlton
John Bohlinger - Nashville Correspondent
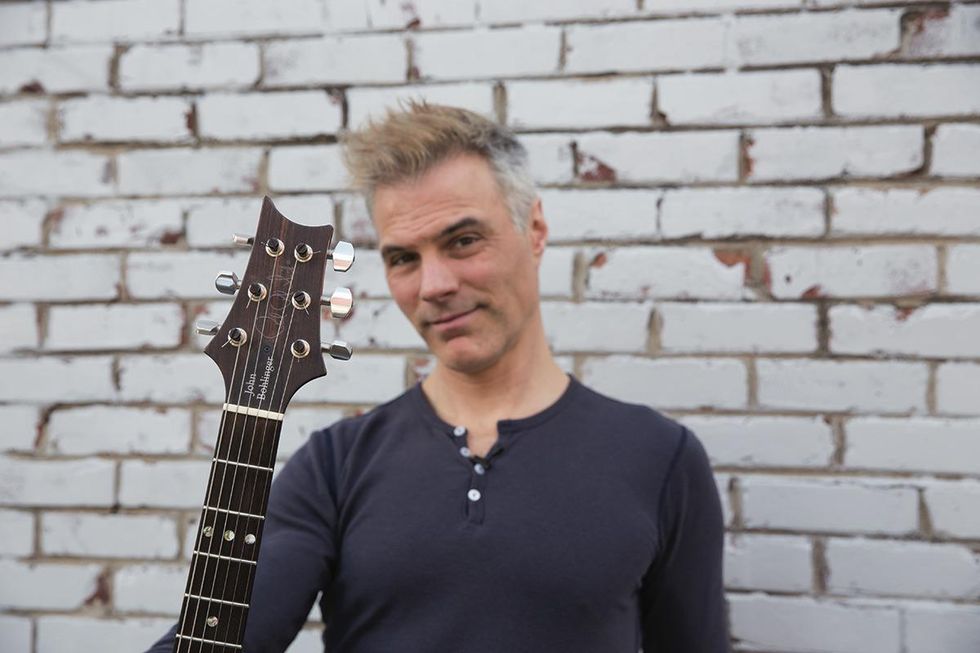
John Bohlinger
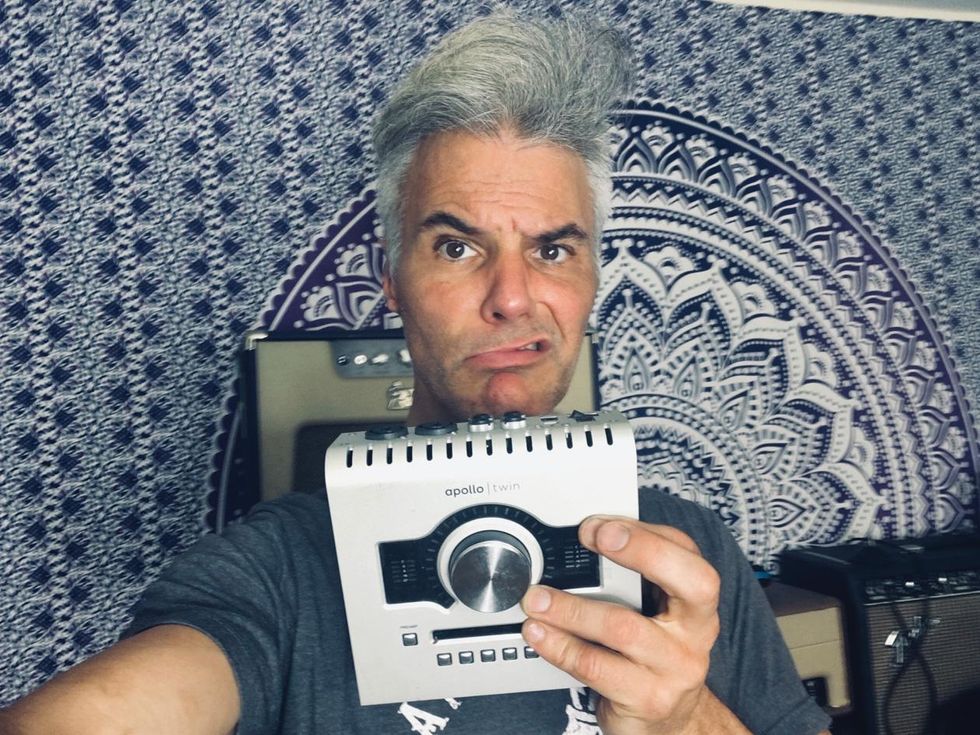
A: I've laid down all my dough on recording rigs four times in my life. A few years back when the Mac tower that drove my Digi 002 died, I shifted from my Pro Tools rig to a streamlined Universal Audio Apollo Twin/Logic combo. Although the old system was primitive, I knew it well, could work fast, and get decent results. After this last change, I feel like I'm relearning the rig every time I turn it on.
Current Obsession
Letting go.
Shawn Hammond - Chief Content Officer
Shawn Hammond
A: To track myself (guitar, vocals, keys) and Connor, my drummer, live together, I use a 4-input Audient iD44 and a 2-input Apogee Duet feeding GarageBand. Guitars (and keys, which go through my guitar rig) are miked with a Royer R-121 (sometimes also with an SM57). A Shure KSM32 large-diaphragm condenser is the drum overhead, a Rode M2 dynamic is on snare, and an Audix D6 is on kick. For bass, I often go direct into a Warm Audio WA-2A tube compressor, in addition to miking the amp with the Audix. For vocals, I use a Shure SM7B. Monitors are a pair of KRK Rokit 7 G4s.
Current Obsession:
Using all the aforementioned stuff—and getting back to gigging!


 Boyd Holbrook is a fan of “Dueling Banjos.”Photo by Leo Jacob