
We’re living in a golden era of music gear, with no exception for effects pedals, pedalboards, and their various add-ons. We have more pedal companies than ever to choose from, and they offer a plethora of sizes for almost any player’s needs. The options range from mini flatboards that hold a modest handful of pedals, to monstrous, multi-tier pedalboards that invoke comparisons to spaceships.
For this discussion, we’re going to focus on the small-to-medium-sized pedalboards. Let’s think six to 12 pedals. To narrow the scope even further, I’d like to focus on placement of audio jacks on a pedal, and how it directly pertains to pedalboard planning, frustration, and real-estate optimization.
“When we see popular mini pedals, like the TC Electronic Ditto or Xotic EP Booster, two main factors come to mind: simplicity and space-saving.”
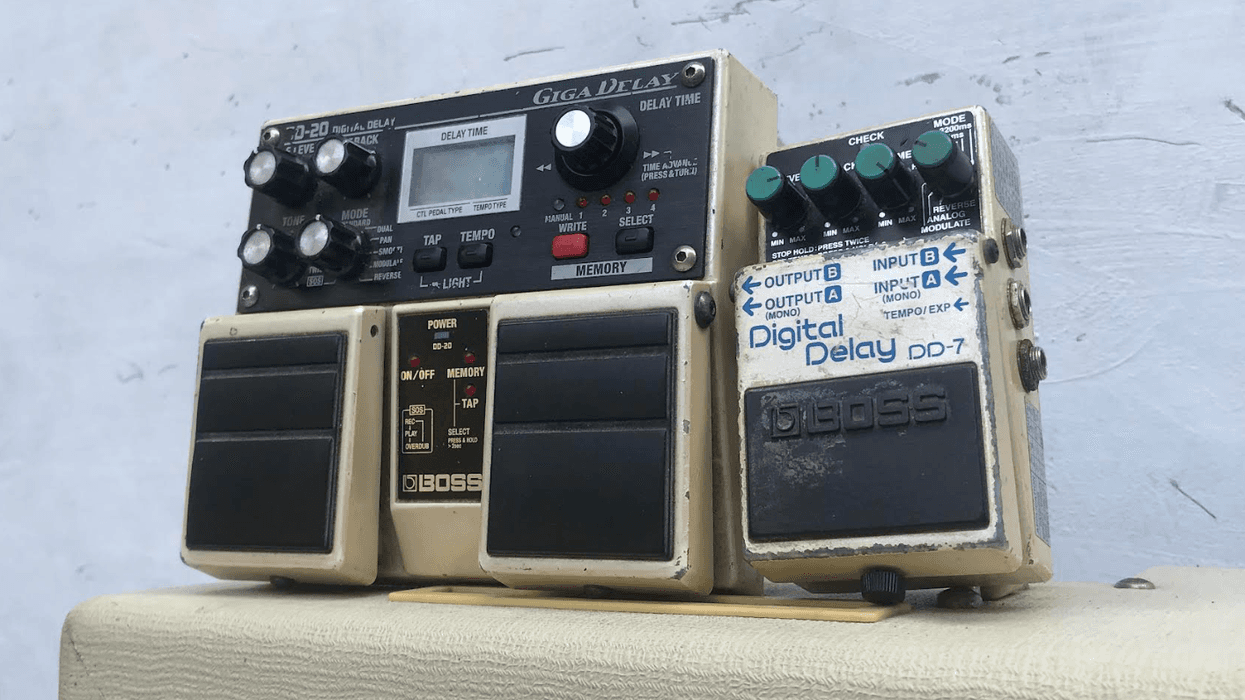
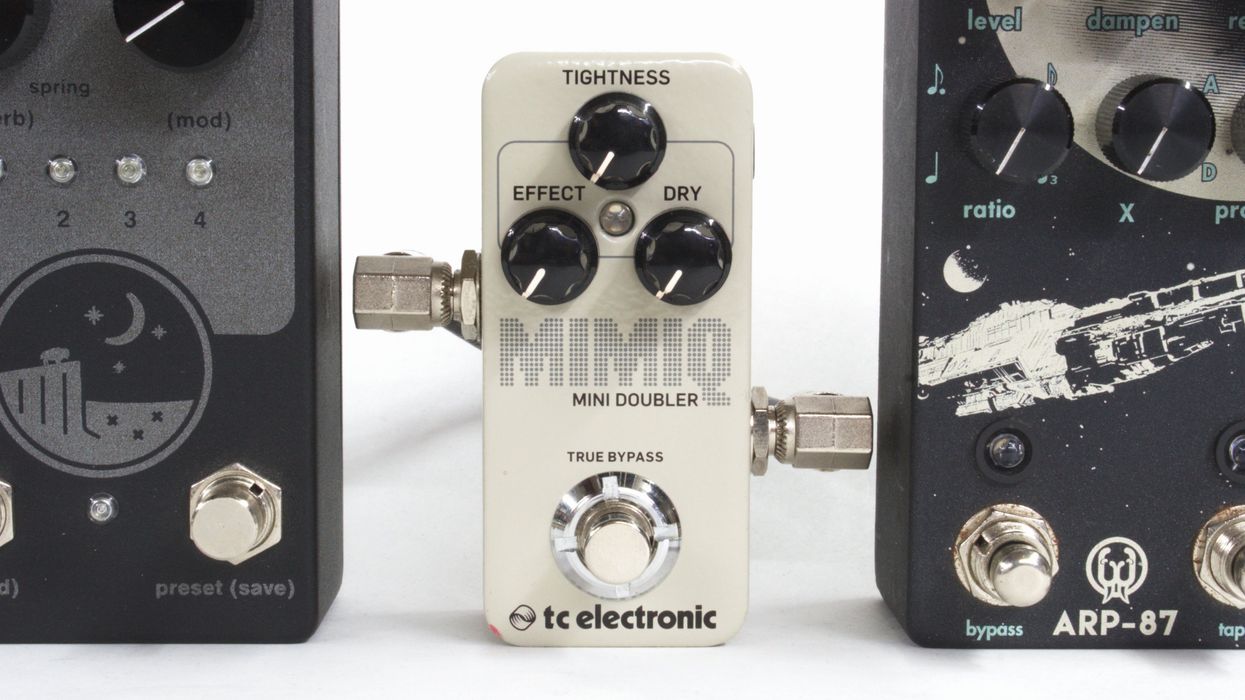
Audio jack placement can be an often-overlooked aspect of pedalboard planning—even more so once patch cable plugs are mated with those audio jacks. Here, we’ve reached the part of the topic that often comes to a fork. The features that usually cause this split are enclosure size and their jack locations. In this column, we’re going to look at two types of pedals: small, A-sized pedals with side-mounted jacks, and medium, 125B-sized pedals with top-mounted jacks.

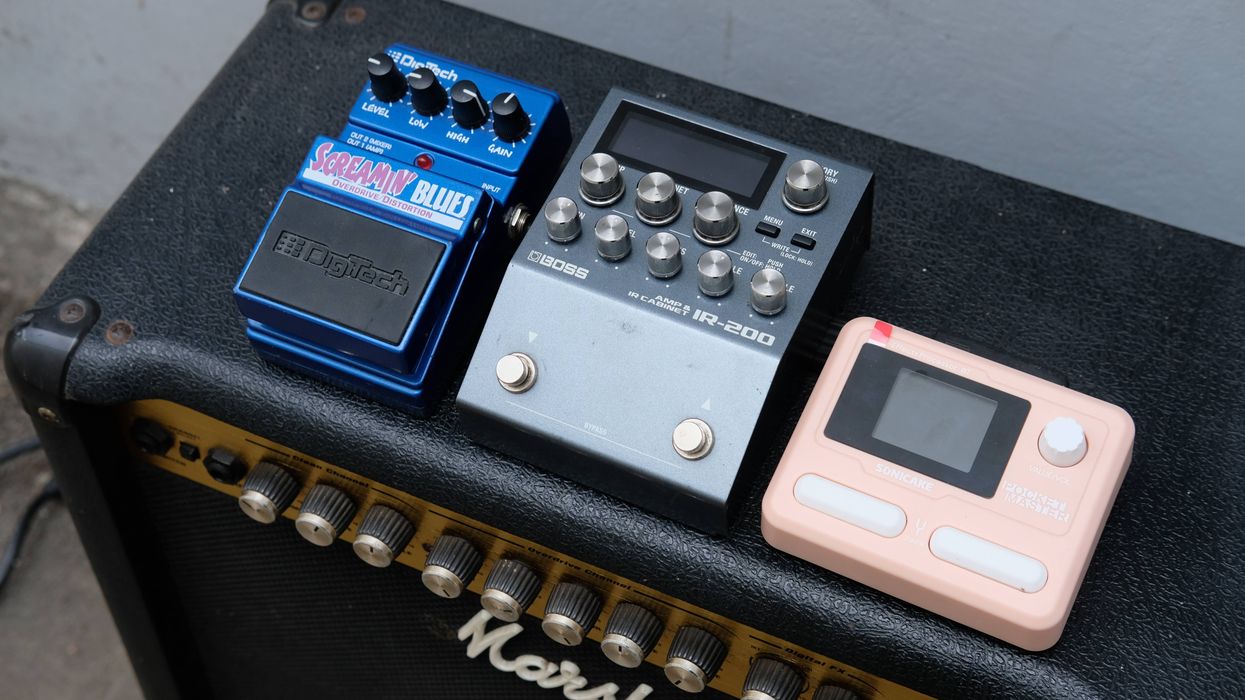
Photo 2: The same two pedals from Photo 1 flanking a 125B pedal with top-mounted jacks.
When we see popular mini pedals, like the TC Electronic Ditto or Xotic EP Booster, two main factors come to mind: simplicity and space-saving. While the former is a demonstrable fact, I can’t say the same about the latter, especially now that more and more companies are retooling their 125B pedals to feature top-mounted jacks.
In Photo 1, I’ve set up two pedals with top-mounted jacks on either side of a mini pedal. I specifically chose a mini pedal that has three knobs because a lot of major companies offer minis with more than just one knob. In Photo 2, I kept the two outer pedals in the exact same spot, and simply swapped in a top-mounted 125B pedal. As we can see, there was no struggle to fit the EarthQuaker Devices Organizer, and no space was saved with the mini.
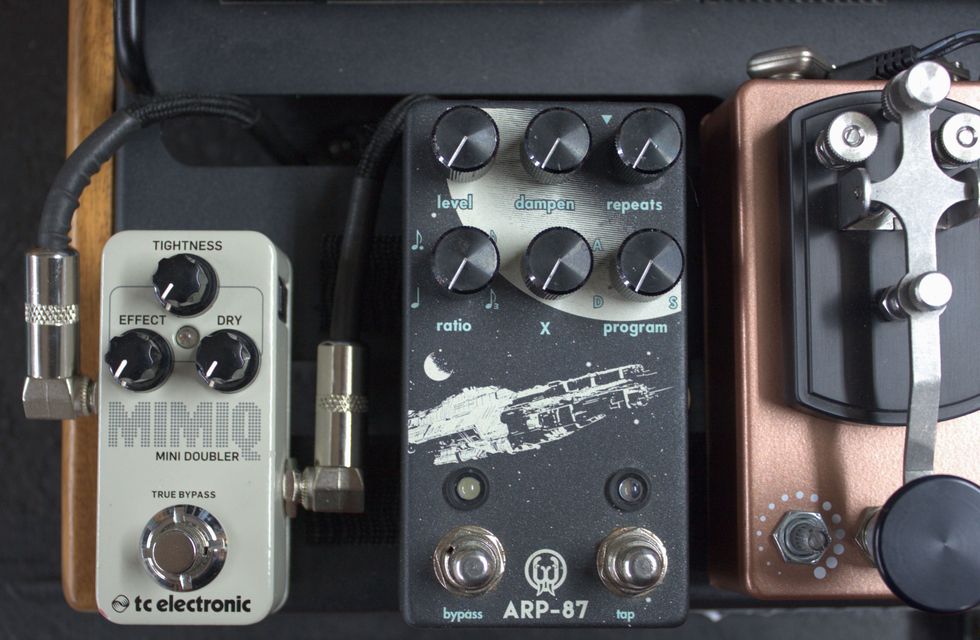
Photo 3: A configuration with a mini pedal with side-mounted jacks on the left end.
This led me to think, “Could I squeeze a little more space out of a board by putting a mini at the edge of it and having the plug hang over the side?” See Photo 3 for this example. Naturally, this led me to place the Organizer in the exact same spot. As we can see in Photo 4, no space has been saved. The fact is, it’s rare to find a scenario where the mini pedal works as a space-saving asset, unless you have a Rainger FX mini pedal that features top-mounted jacks. Well played, David Rainger. Well played.
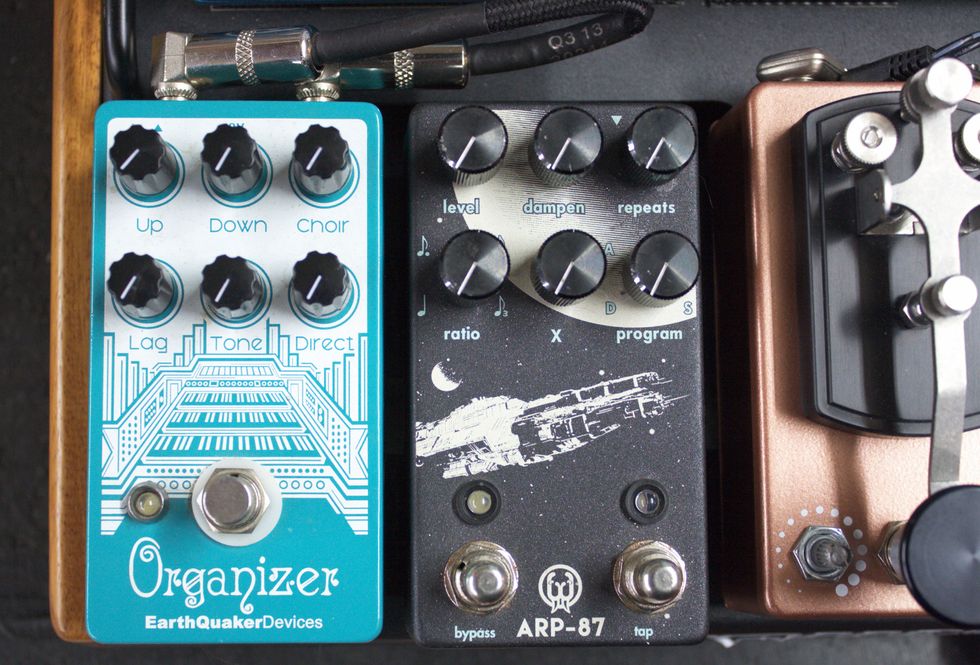
Photo 4: A configuration with the 125B pedal with top-mounted jacks on the beginning of the pedal queue.
Does this mean that mini pedals are useless? Of course not! If a mini pedal inspires you and helps you to be creative, then it’s a great choice for you. But keep in mind that this inspiration and creative process probably didn’t have anything to do with saving space. How many inspiring recordings out there feature a large-box Big Muff Pi, Uni-Vibe, Echorec, and so on?
There are three situations where mini pedals come to mind as a go-to solution. The first is where a mini buffer or an always-on pedal can be easily tucked away on the underside of a pedalboard. Mini pedals tend to be lower-profile than 125B-sized pedals, and therefore will have easier clearance off the ground when attached under a pedalboard. Additionally, mini pedals are lightweight, which means they’re less likely to peel free from the bottom of your board.
The second scenario calls back to the idea of simplicity—ironically, when pairing with a more complex signal path involving pedals that feature an external effects loop. This feature, commonly found in reverb and delay pedals, allows the user to place an external effect into only the decay or repeated note of the pedal. This auxiliary feature is found in our Triplegraph pedal, and allows the user to momentarily interject an external effect into the signal path. So when it comes to using the effects loop, we’ve noticed that players typically prefer to use a simple, mini-sized pedal with a set-and-forget interface.
The last scenario would be having several mini pedals that all have perfectly staggered jacks, and can be snuggled up against each other in a row to save space. However, doing this will place the footswitches of each pedal so close together that accurately pressing individual footswitches may prove to be cumbersome and offset any joys of space-saving. But that’s a topic for another day.