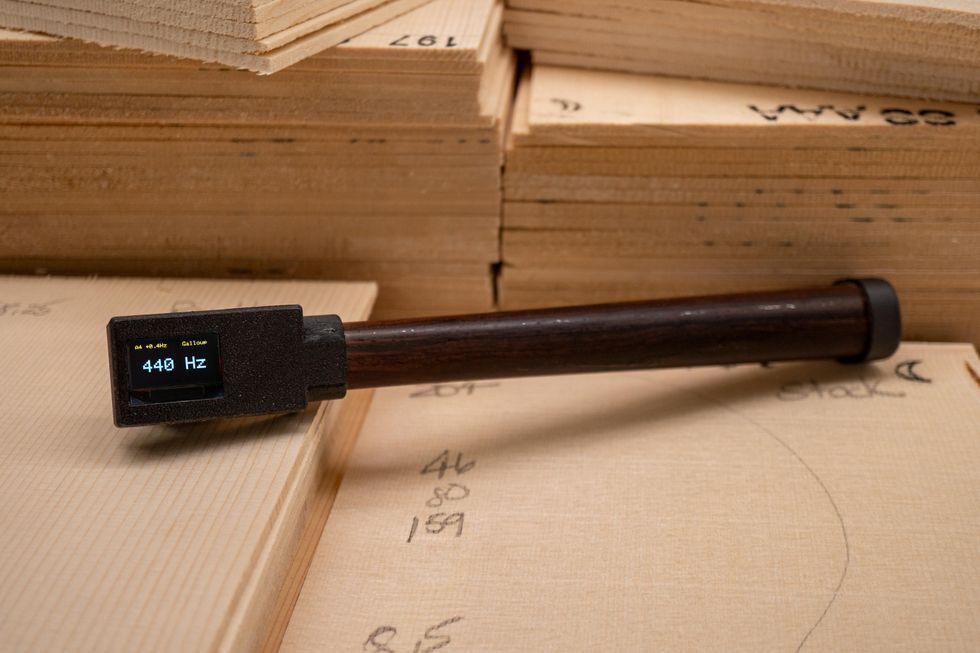

We’ve all been there. On the day of a big gig or a fun jam with friends, you open your case to find that your guitar has “nautilus action” (meaning that you could get a pretty good workout from trying to play the thing). Or just the opposite, it’s buzzing like crazy. With wood being wood—and the fact that the guitar has about 180 pounds of force applied to it when it’s strung with mediums and tuned to standard pitch—your action will change. And sometimes the change is not so subtle.
So what do you do if your local repairman isn’t open for business that day? Start by sighting down the neck to check the relief. There should be a slight forward bow to the neck. I won’t go into too much detail on measuring relief, but know that if your action came up suddenly and there appears to be a lot of bow in your neck, it’s okay to give the truss rod a tweak to straighten the neck a bit.
But don’t go too far: Be sure to leave a bit of relief. If you stop short of completely flattening the neck, you will not do any damage. About the only way that you could damage anything would be to tighten the rod until you strip out the nut, but you’re likely to create a back bow and an unplayable low action long before you reach that point.
Here’s a tip: It’s always a good idea to know what the relief looks like when your guitar is performing well. That way you’ll know what you need to do to get it right when there’s a problem.
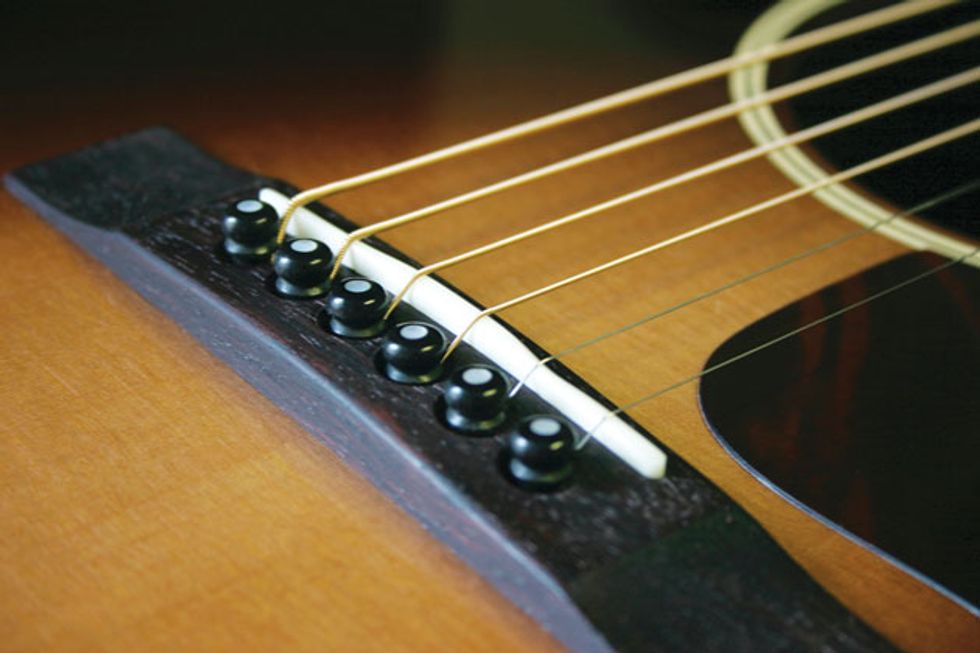
You can also lower the action by sanding a bit from the bottom of the saddle. The way to know how much to take off is to remove twice as much from the bottom of the saddle as you wish to lower the action at the 12th fret. For example: If your action is reading 8/64" from the top of the 12th fret to the bottom of the 6th string and you wish to get to 6/64", you will need to remove 4/64" from the bottom of the saddle. Note: Make sure to keep the bottom of the saddle as flat as possible when doing this.
You can raise the action at the saddle with the old tried-and-true method of adding a credit-card shim, at least as a temporary fix. You’ll want to remove the shim later on and install a new saddle to achieve the best possible tone and volume. You’re not likely to damage the guitar by doing this and it could get you out of a jam. At the very worst, you might have to buy a new saddle (and need to make a call for a new credit card).
If you find that your action is too low at the nut because you’re getting buzzing on open strings, you might have to get a qualified repairperson for the job. But if you’re the adventurous type, you could try making a new nut, or filling and re-filing the slots. You’re unlikely to cause any real damage. Just make sure to take care if you use Super Glue or the like on the job, as it tends to get everywhere you don’t want it to go. (And there’s always that risk of gluing your fingers together!)
Some people want to do self-repairs in the area of finish, but these repairs are usually best left to the professionals. For some reason, it seems to be in vogue for folks to buy a matte-finished guitar and then try to buff it to a polished-finish shine. I don’t recommend this. The chances that anyone—professional or amateur—would be able to buff down just past the outer matte-finish coats and get to the gloss-finish coats underneath without going through the finish entirely in quite a few places are nil.
You should be able to do minor handbuffing of scratches and such using a soft cloth and products like Novus scratch remover. During cleaning, you can also use naphtha as a mild solvent without fear of harming the finish. It’s very good for cleaning off substances that polishes won’t. You may want to do an out of the way test area first, but I am unaware of any finish that naphtha will dissolve. Then finish off the job with a good polish by hand. We use the Resolution polish from Beard Guitars.
As for your fretboard and bridge, you can easily clean them using 0000-grade steel wool and finishing up with fretboard oil or plain lemon oil.
It’s a great idea to learn some basic do-it-yourself setup and cleanup chores on your instrument. But just as important is to know which jobs you should not undertake.