My last few columns have focused on mastering—or, at the least, the low-budget DIY version of this complex and subtle craft. In January 2018's "DIY Mastering Tools," we looked at home recording tools that can provide a finishing touch for your mixes, with an emphasis on multi-band compression. In February 2018's "The Match Game," we looked at match EQ—a way to compare the sonic spectrum of your mix with other recordings. Now we turn to one of the most powerful but potentially destructive mastering techniques: limiting/maximizing.
Limiting and maximizing are related to compression. (See my November 2014 column "Dances With Compressors" to review the basics.) Like compression, limiting is generally used to make recordings sound louder—ironically, by making parts of the sound quieter. Lowering the level of the loudest peaks permits an overall increase in volume before hitting the non-negotiable ceiling of digital audio.
Round off, chop off, or expand? Limiting is simply an extreme form of compression. If compression rounds off the loudest portion of a recording, limiting amputates it. In other words, limiting is high-ratio compression. (Yes, you can usually use a hardware or software compressor as a limiter.) Most DAWs include both compression and limiting plug-ins, and there are scads of third-party options, often modeled after popular analog devices.
Maximizing has no precise definition. Some say it’s merely a sexy marketing term for limiting. No single company owns the term, and many use it. But generally speaking, it implies a “smarter,” more musically sensitive version of limiting.
Venus de Maximizer. Consider the three variations of Venus de Milo (Image 1). The first is an unaltered photo depicting the statue’s actual proportions—think of that as a recording with no limiting applied. In this Greek statue metaphor, size equals volume. So if Venus were a recording, we’d size her up so that the top of her head just reaches maximum loudness before distortion. In digital, that’s 0 dB, represented by the red bar. (That process is called normalization.)
The second image depicts Venus through a limiter. If we scrunch down the top of her figure (representing the loudest sections of the recording), we can increase her size/volume. But ouch! She’s grotesque and hard to look at, just as a crudely limited recording sounds grotesque and hard to listen to. It’s volume at the cost of naturalism.
The third image is the maximized Venus. Here, we’re not simply compacting the top portion—the compression is distributed across the figure. Yes, this distorts the natural proportions. But she doesn’t appear as disfigured as in the second image. If anything, she’s closer to average human proportions. (That is, with a body height 7.5 times as great as the height of the head alone.) Sometimes artfully applied maximizing sounds more natural than natural.
Pump it up. Okay, enough with the sculpture metaphor. Let’s hear what these processes might do to a recording. Clip 1 is a brief solo guitar recording. I’d applied some compression in the mix, but added no limiting after the fact.
Clip 2 features a limiter setting of -2 dB. That means only the loudest note attacks have been squished. It’s a fairly subtle setting that sounds reasonably naturalistic.
Clip 3 features the same limiter plug-in at a far more aggressive -15 dB setting. It’s an unpleasant effect, with ugly popping on the note attacks and weird distortion.
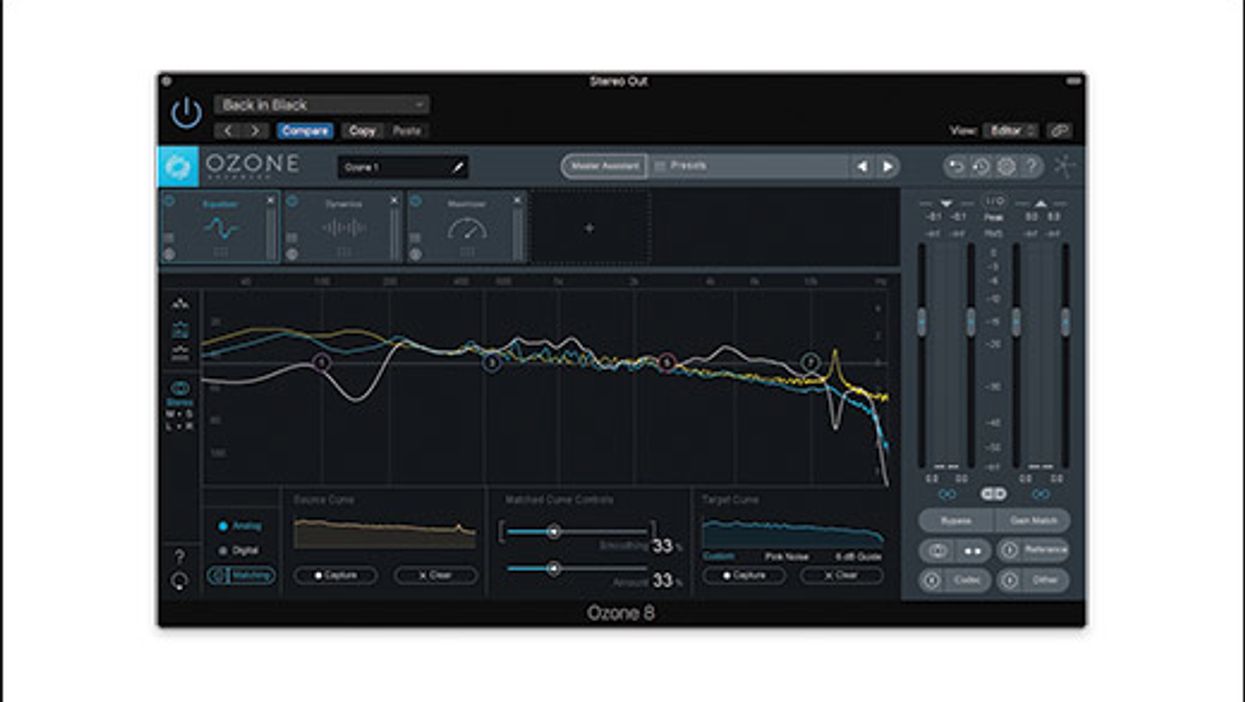
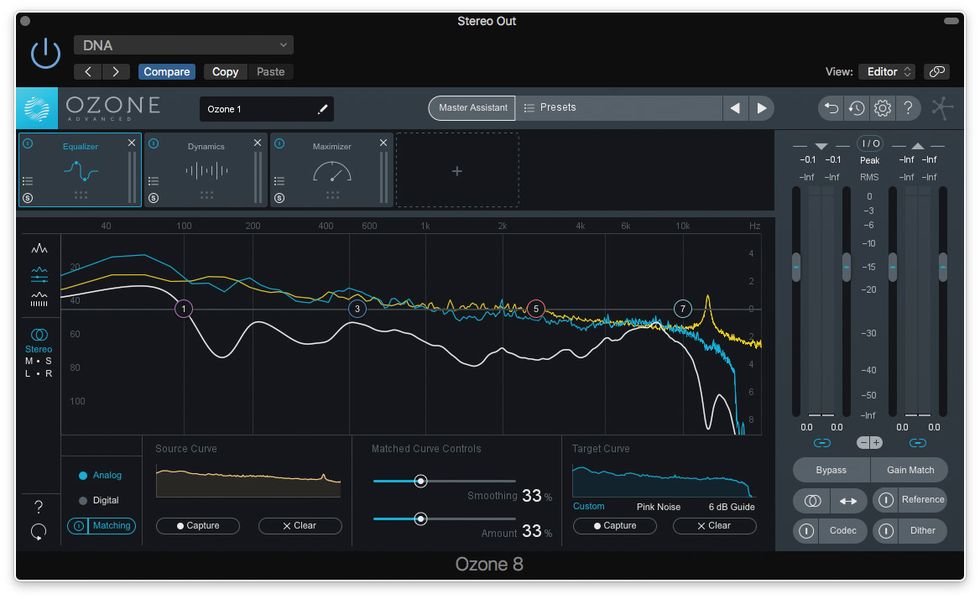
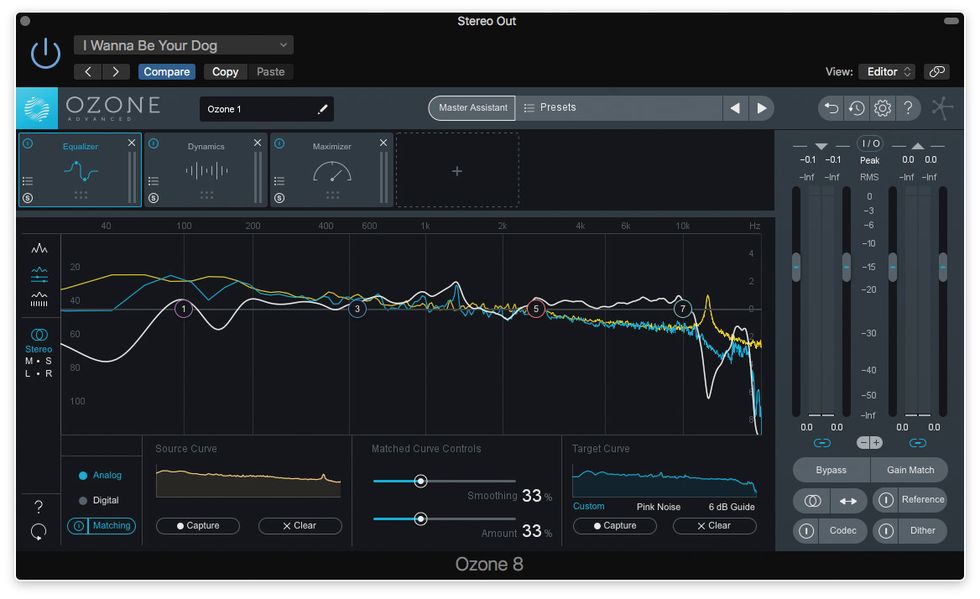
For the next two clips, I’ve substituted the Maximizer plug-in from Ozone 8, iZotope’s suite of mastering plug-ins. Clip 4 features a maximizer setting of -3 dB.
It’s louder and punchier than Clip 1, but it still sounds like a real guitar. But the overly heavy -10 dB setting in Clip 5 introduces all sorts of nasty artifacts.
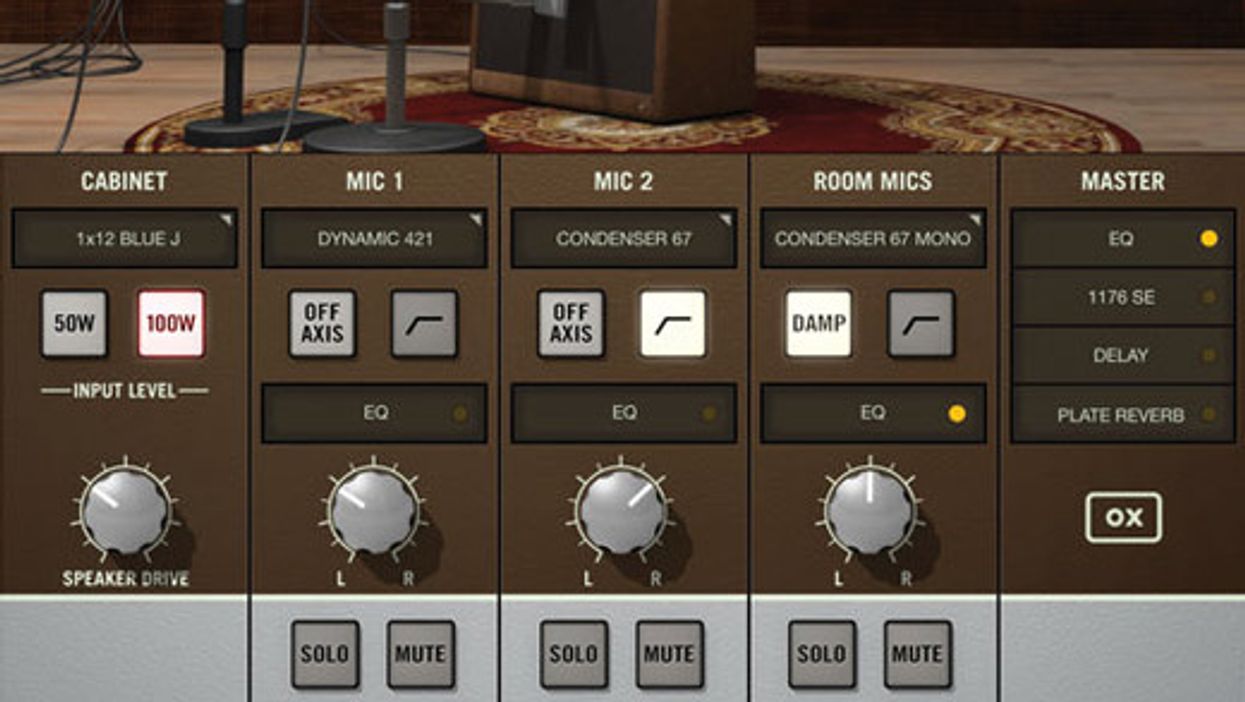
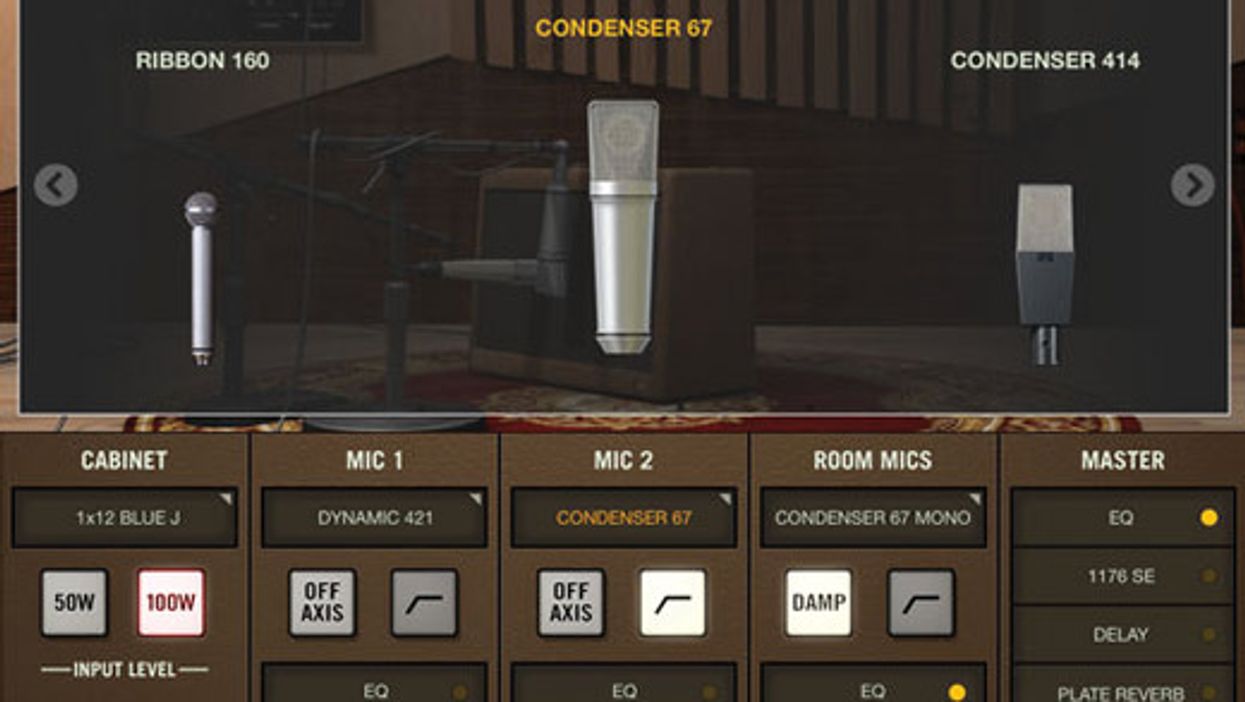
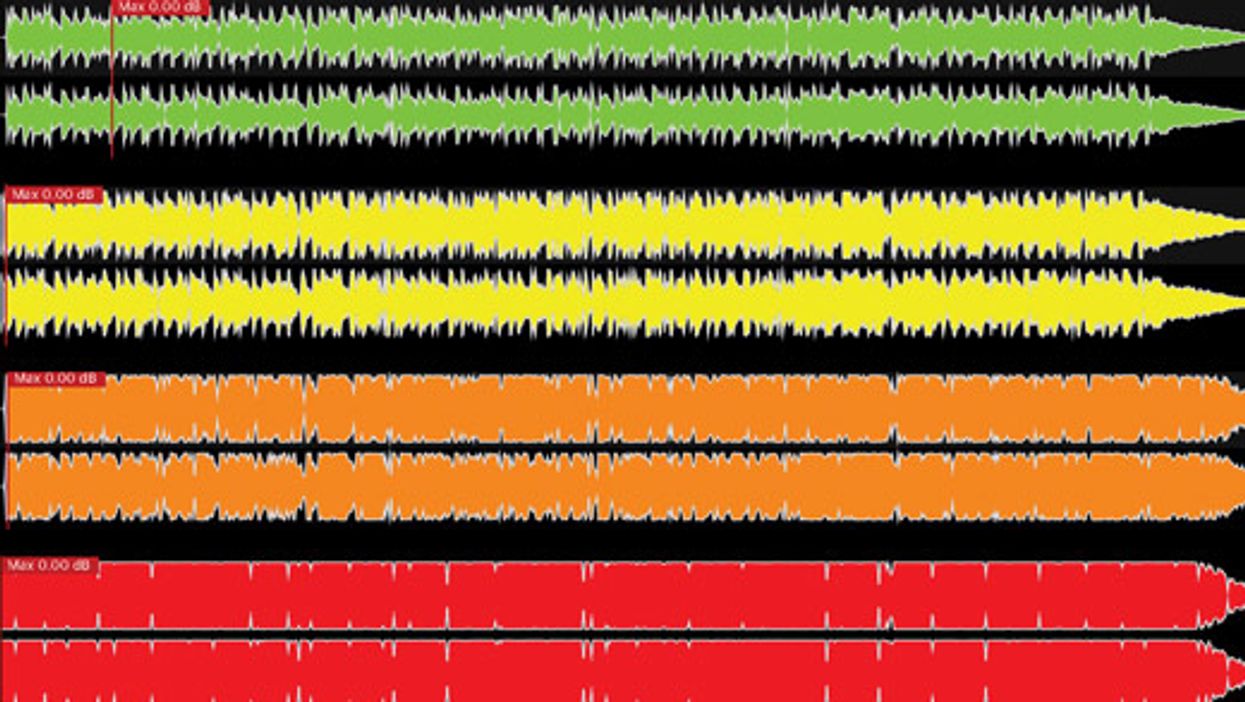
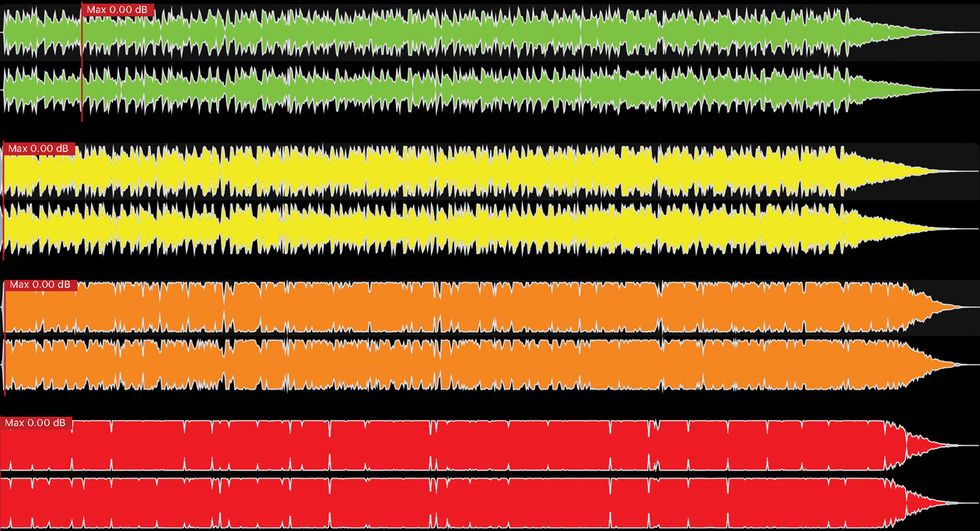
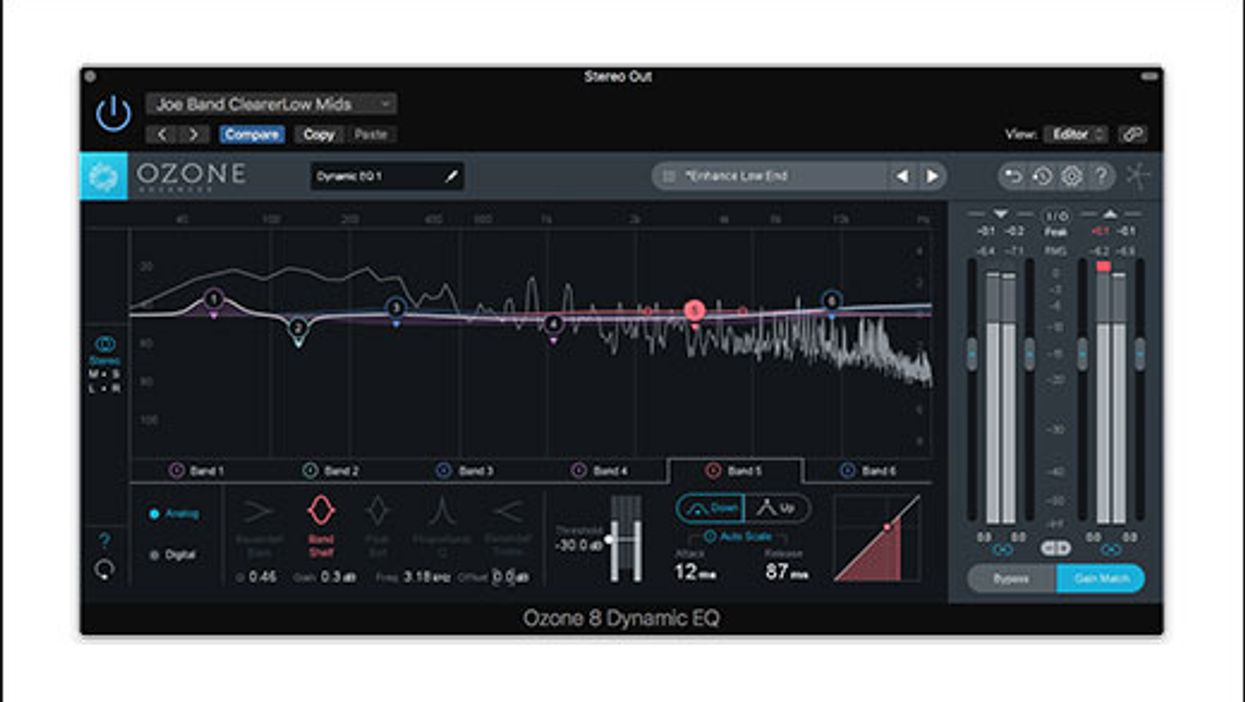
Check out these screenshots from the Ozone Maximizer plug-in in Image 2.
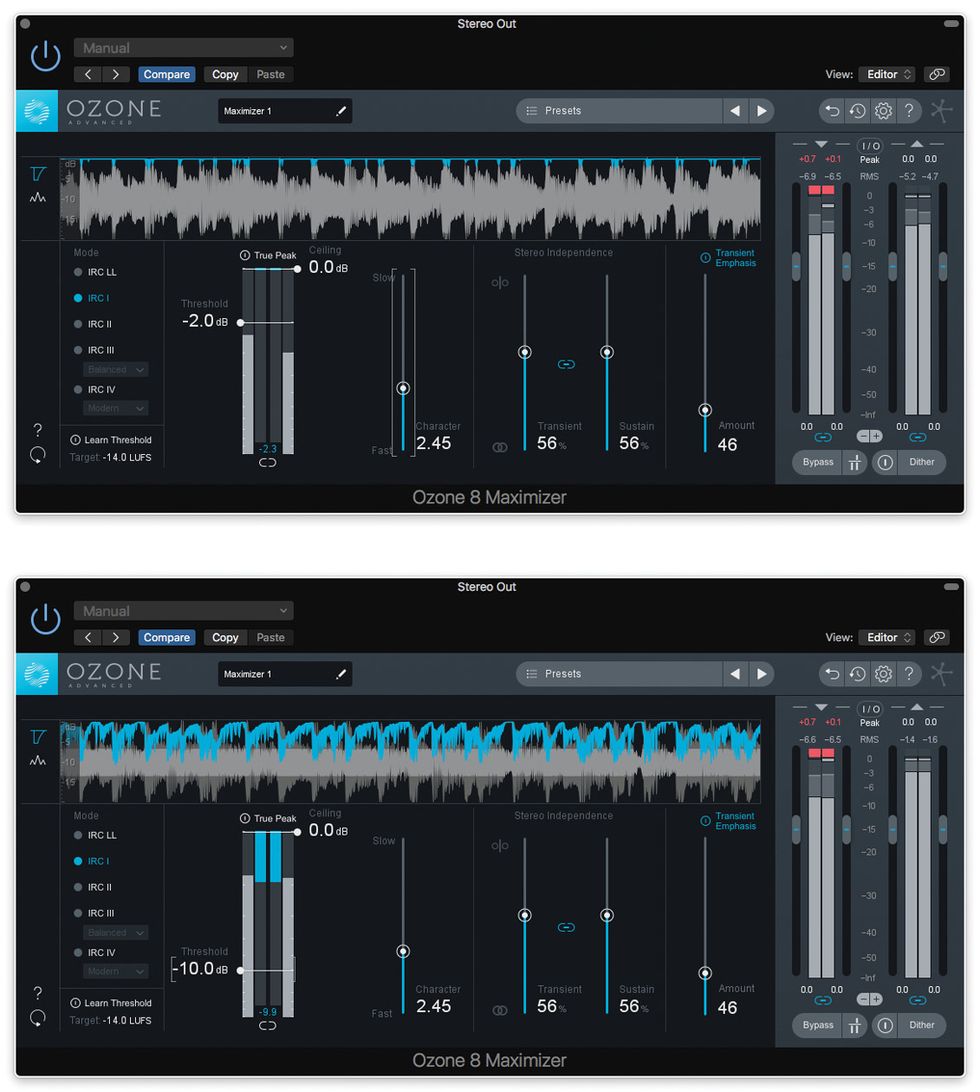
The upper screenshot shows the light -3 dB setting. The portion of the waveform in blue depicts the degree of amplitude reduction. Only the loudest note attacks are affected, and those only slightly. Meanwhile, the heavy setting alters the audio to an extreme degree.
Strike up the band. The next five clips follow the same procedures, but with a full-band track. Clip 6 has no limiting.
Clip 7 uses light limiting, while Clip 8 is heavily limited.
There’s a light maximizer setting in Clip 9.
And an extreme one in Clip 10.
Use with moderation. The moral is pretty obvious: A little limiting or maximizing can make a track feel more engaging and energetic, but too much makes it flat and ugly. But even if you know that, it’s easy to lose perspective while applying these techniques—especially it you’re performing homespun mastering right after a long mixing session. Plus, your ego is on the line: Of course you want your music to be as loud and proud as possible! It’s often wise to make several mixes, applying settings of varying strengths, and revisit them later with fresh ears. It might also be a good idea to compare your work to commercial recordings.
Or maybe that’s not such a good idea. When listeners complain about how crappy many modern recordings sound, it often has to do with excessive limiting. And that’s a topic we’ll take up very soon.