A few months ago, I began discussing the payoffs of bass-player amp knowledge by addressing the importance of matching your cabs to your amp’s rating. This month, we’ll take a look at a few more key elements in getting to know your bass amp and keeping it happy.
Ditch Those Cheesy Cables!
On two separate occasions, friends have complained to me of a faulty effects pedal. In one case, the pedal kept cutting out. In the other instance, the effects loop was putting out only a weak effected sound. In both cases, though, the problem was a cheesy cord. We spend tons of money on a decent instrument, a feature-packed amp, and some awesome sounding cabs—and then sometimes scrimp on the cables we need to connect everything together. Ditch those cheesy cables; spend a bit of extra money and buy some cables you can rely on. That doesn’t have to mean top-of-the-line, magically blessed boutique wires (although they are nice!), but just something with a brand name and decent strain relief at the ends.
While you’re at it, be sure you know your instrument cables from your speaker cables. Although many bass amps have gone to the ultra-dependable Speakon plug for speaker connections, many of us are still turning to cables with 1/4" plugs on both ends for speaker connections as well as for hooking up guitars and effects. The problem is, speaker cables and guitar cables do their specific jobs well, but are pretty crummy for the opposite use. There are two ways to tell which kind of cable you have. The first way just involves literacy: read the cable’s jacket for a label as either instrument or speaker cable. The second way is to look under the hood by unscrewing the plug’s cover. If you see two separate insulated wires side by side, it’s a speaker cable. If there’s one thin wire emerging from a braided shield, you’ve got an instrument cable.
A Tricky Balancing Act…
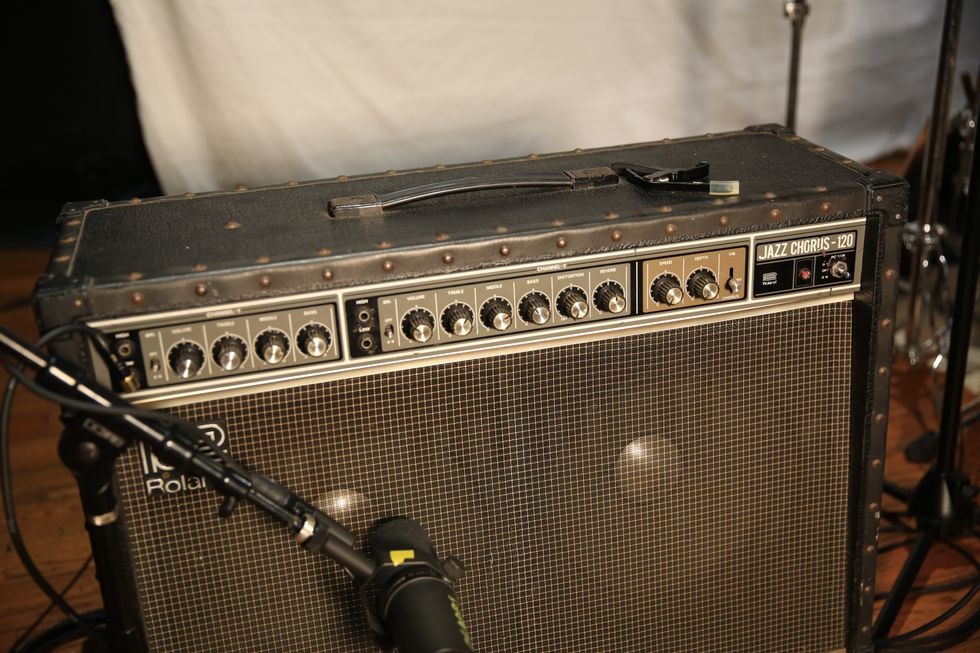
The key words here are gain staging: the way you balance the levels of all the settings on your bass amp. In the old-school days of tube bass amps, the plan was easy—max the master and then dial your channel gain for the best clean sound. Or, turn down the master and push the channel level to add some dirt to your sound. Guitarists playing through tube amps still do this. But for a solid-state bass amp, maxing out the master (which nearly every bass amp has) just adds hiss and noise to your sound. To set the level on most bass amps, start with the tone controls all set flat and the Master around noon. Next, bring up the input Gain. Usually somewhere between 10 o’clock and 1 o’clock works pretty well, and many amps have an LED that flashes when an input goes into clipping. On bass, input clipping is not a good thing, because it introduces ugly distortion at a point in the amp where you don’t want it. Generally, you bring up the input level until the clip light flashes on the loudest or lowest notes and then turn it down just a bit.
Once set for a particular bass, you’ll leave the channel input alone. That’s where the Master control comes into play—setting your actual volume. By using this approach to gain staging, you’ll get the cleanest, most solid bass sound. Internal and external effects can then add any grit or distortion you may want.
Moderate that EQ!
Your amp’s EQ controls are also part of gain staging. Sometimes you push up the Bass tone control to get more oomph, but then you lose clarity, so the Midrange gets turned up… and then the Treble, to bring back the edge. Essentially, you’ve just moved one gain stage of the amp, possibly adding noise, distortion and volume that you didn’t really want. When you’re having trouble cutting through the mix of the band, there’s a temptation to boost the Bass. In many rooms, though, that’s just a “mud” knob that sends everybody else to their Volume control without actually improving the definition of your notes. Instead, when you’re not able to hear yourself well enough, reach for a Midrange control. Although reading owner’s manuals is passé, it’s good to look up the center point of the midrange knob—ideally, you’ll want a control set around 500–800Hz.
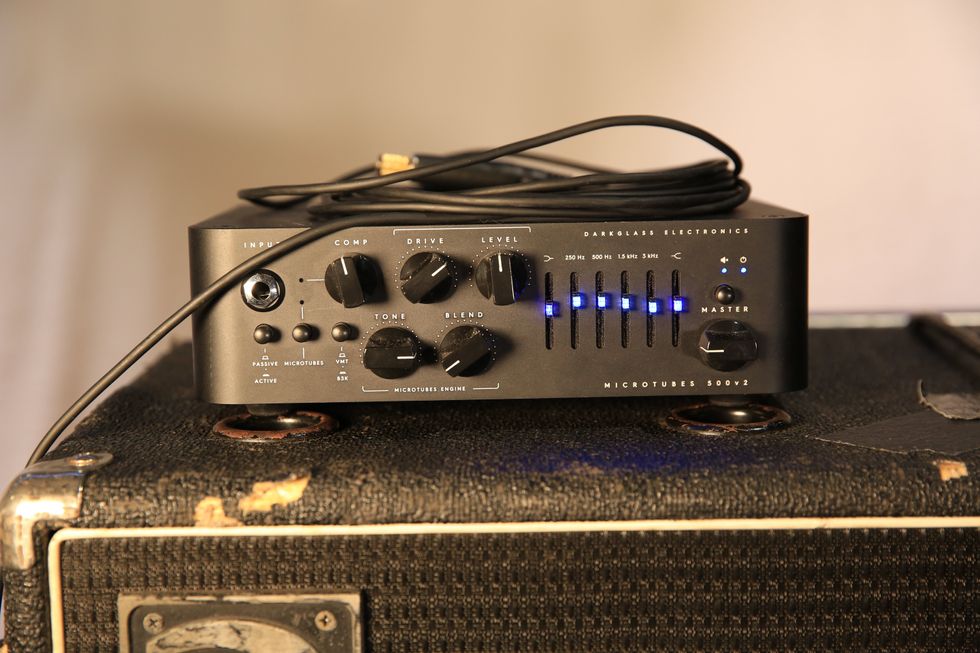
A graphic EQ control can do the same thing, but avoid just spiking up one slider. Instead, find a slider in the 500–800 range and raise that as a center of a smooth curve up and down. What you’ve done is created a frown shape on your graphic EQ. Many players automatically go to the opposite, the smiley face EQ that scoops out the middle frequencies while boosting the boom-and-clank parts of your tonal range. For most settings, this produces a tone that sounds powerful on its own but disappears in the mix. When that happens, it’s back to the Master Volume for yet more volume, and then audio stew gets even uglier. In all, use EQ in moderation. Think of it like seasoning on a meal: use too much, or the wrong kind, and the end product is not very tasty.
So there you have it, some of the key aspects of really getting to know your bass amp. Give these ideas a try. And read your owner’s manual to learn the specs of the inputs, outputs, and controls. You’ll be surprised by how much you can improve your sound.
Dan Berkowitz
Dan is a professor by day and a bass player when the sun goes down. He plays both electric and upright bass in blues, jazz and pit settings.



![Rig Rundown: AFI [2025]](https://www.premierguitar.com/media-library/youtube.jpg?id=62064741&width=1245&height=700&quality=70&coordinates=0%2C0%2C0%2C0)
 Shop Scott's Rig
