
Rick Holmstrom says he spends “a lot of time not listening to guitar. I like trying to imagine the guitar taking the place of saxophone, Ahmad Jamal’s piano, or Mose Allison’s piano. Like Billie Holiday, who does those weird little micro bends that the great singers do—how can you get a feeling like that on the guitar?”
For Holmstrom, the answer is a style that blurs the lines between traditional blues—the genre where he’s invested most of his nearly 40-year career—and a place on the edge of the envelope, where chromatic lines, finger-crafted imitations of slide, microtonal bends, and a devout belief in the unerring power of the groove telegraph his vision. Those elements plus his clean and spanky and typically Tele-driven tone have made him Mavis Staples’ music director since 2007 and caught the ear of Ry Cooder. His ability to conjure the spirit of Mavis’ late dad, Pops Staples, on her renditions of Staple Singers classics is uncanny, yet still retains Holmstrom’s distinctive flavor.
While his resume most certainly slants toward the old-school—he’s toured with harmonica aces William Clarke, Johnny Dyer, and Rod Piazza, and recorded with Jimmy Rogers, Billy Boy Arnold, and Booker T. Jones—he’s also added spectral playing to the R.L. Burnside space-straddling classic Wish I Was in Heaven Sitting Down and recorded a solo album in 2002, Hydraulic Groove, that seamlessly wedded funk, trip-hop, ambient electronics, and roots music. In a less conservative place than the blues market, it would’ve been widely heralded as the masterpiece cognoscenti know it to be.
Bubbles - Rick Holmstrom
Now, he’s got a new instrumental album called Get It! that’s a funky and emotive showcase for his style; chasing down his passion for the almighty groove but doing so along his distinctive path where bends get weird (“Weeping Tana”), melodies swing hard (“Robyn’s Romp”), the great spirits of the genre are summoned (“King Freddie”), the strains of Morocco echo (“Taghazout”), and hip-hop-sample-worthy rhythm tracks (“Kronky Tonk”) do some heavy lifting.
Holmstrom’s journey started as a kid in Fairbanks, Alaska. His father, a local DJ, exposed Holmstrom to the blues, soul, and R&B that would define his career. No doubt the Staple Singers’ hits like “I’ll Take You There” and “Freedom Highway,” both part of Mavis’ live sets today, were on heavy rotation.
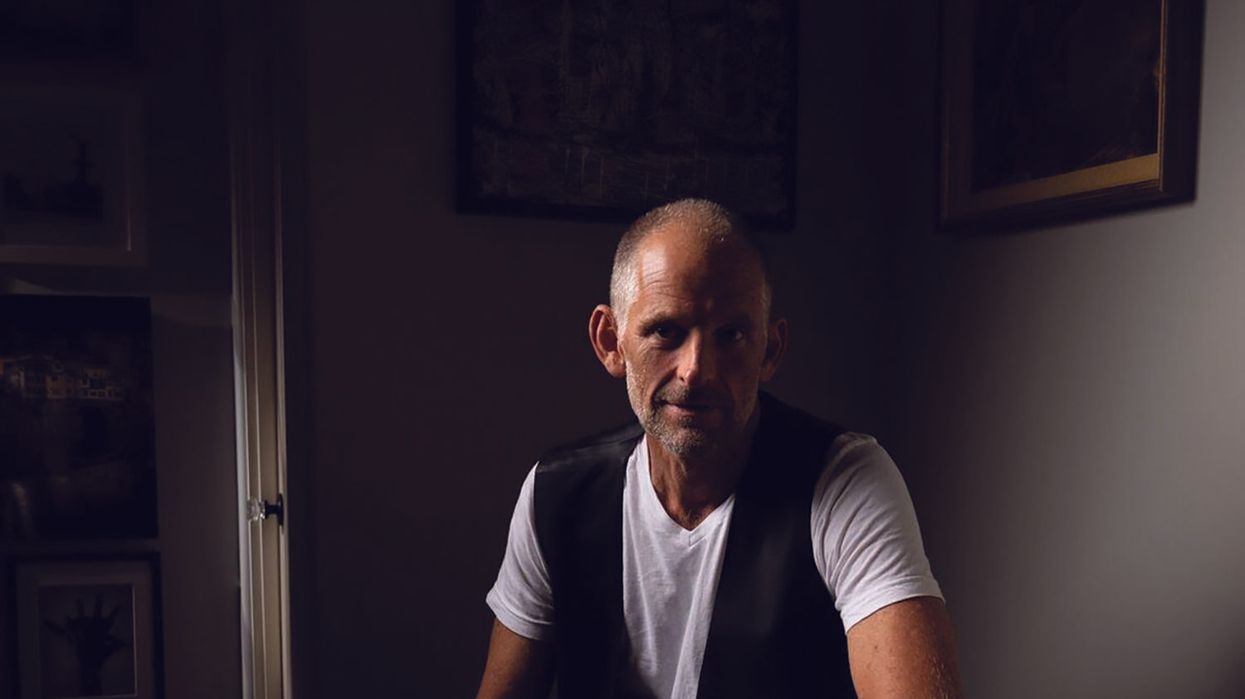
“Let’s get past all this existential, post-apocalyptic doom and have a funky good time.”
Cooder played a role in his arrival as Mavis’ musical right hand. “My band opened up for Mavis on the Santa Monica Pier,” he relates. “We get off the stage, and the promotor says, ‘Her band is stuck at LAX, but Mavis is here. Can you back her for a few songs?’ We didn’t really know her songs, but we played three or four.
“As I was walking off the stage, a guy with yellow glasses tapped me on the shoulder, and it was Ry Cooder. Ry was producing a record of Mavis’, and he liked the way we played with her. He kept telling Mavis, I guess during the session, ‘I really dug that band that played with you.’ Then our first gig with her, unbelievably, was The Tonight Show. [Laughs.]”
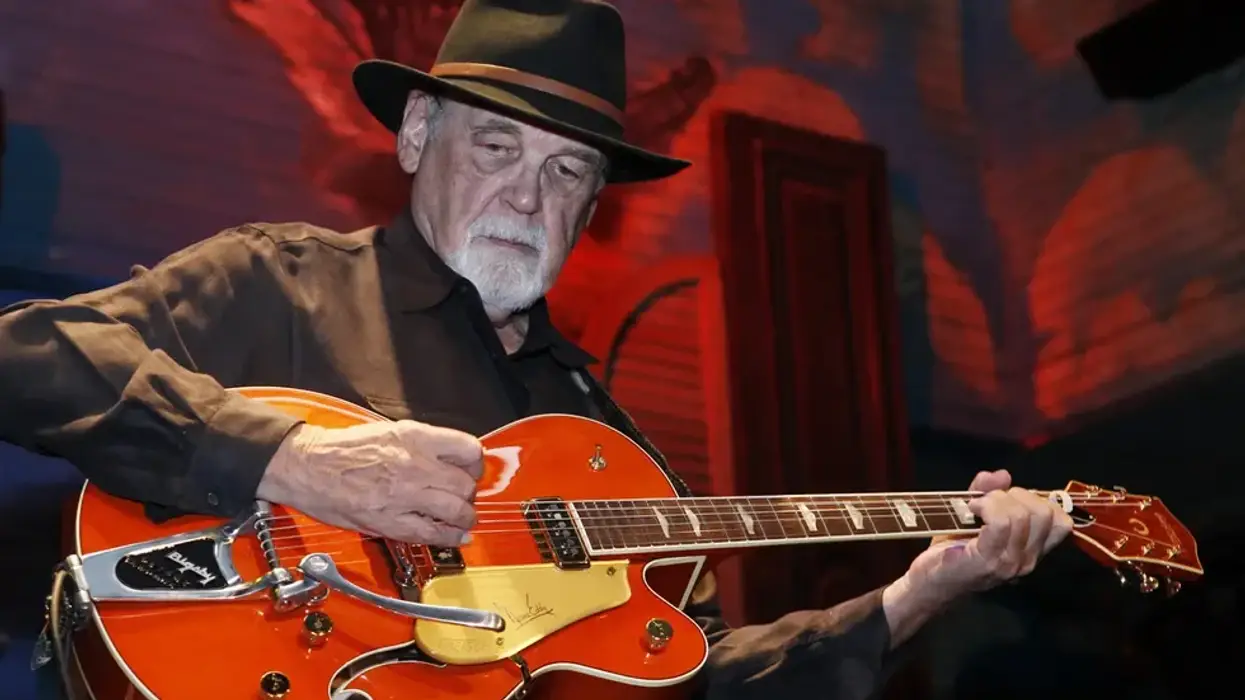
“The album is all my ’53 Tele except for two songs,” Holmstrom says. “It’s the variety of sounds you can get out of them. ‘All About My Girl’—that’s the neck pickup. It sounds like it could be a hollowbody. The middle is pure Stax or Motown, and then the bridge is whatever you want.”
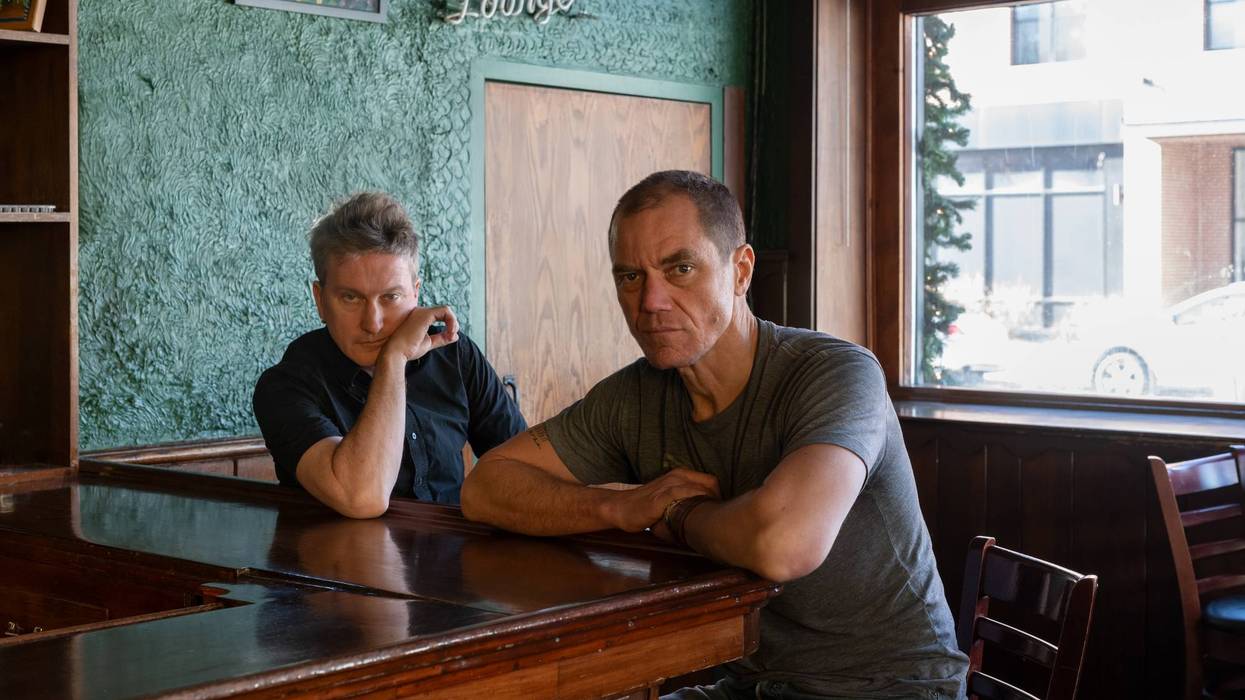
Photo by Brad Elligood
Holmstrom’s individuality is even more surprising considering he cut his teeth during the 1980s blues explosion. While he was digging on Chicago, New Orleans, Stax, and Motown, everyone else was fixated on a particular player out of Austin, Texas. “I didn’t want anything to do with Stevie Ray Vaughan,” he says. “And that’s no diss at all. He’s a really great guitar player. But when he came out, I was like 12 years old. Playing was still an option for me. Then he came along, and it was almost enough to give up guitar.
“All you had to do was look around and see all these guys that were copying him. Everybody had a Strat, a hat, some boots, and a Super Reverb,” he explains. “So, I got a big hollowbody with a single P-90 and no cutaway and tried to learn saxophone and big band horn-section melodies.”
In forging his own way, Holmstrom sidestepped the blues-shred of those years. Preferring to let his parts breathe, he fills that space with … nothing. Check out his solo on “Looky Here” from Get It! The guy sometimes drops out for a full measure. He even ends the solo by basically not playing at all for the last two bars. Not surprisingly, it wasn’t a guitarist who inspired this restraint.
Looky Here
When Rick Holmstrom was writing his new album, Get It!, the songs started with him developing melodies by singing them, then transposing them to guitar.
“Years ago, we were playing in Boston with Mavis,” Holmstrom recalls. “We got there a night early, and Ahmad Jamal was playing. He would break down a melody and only use two of the notes. It draws you in because you’re not hearing all the notes that could be there. Your brain is allowed to imagine the rest. That was a life-changing gig for me.”
Like his playing, Holmstrom’s songwriting is also decidedly non-guitar-centric. Instead of plugging in, turning up, and going for it, he says he listens. “When I’m making up songs or getting a groove going, I’ll hum or sing to myself,” he says. “Then I'll think, ‘Where does this melody go next?’ I’m not playing the guitar at that point. I’m humming it and singing it to myself. ‘Does that flow? Okay, now let’s go back and learn that on guitar.’”
Of course, the contemporary zeitgeist—not just a quest for melody—also played a role on the creation of Get It!Rick Holmstrom’s Gear
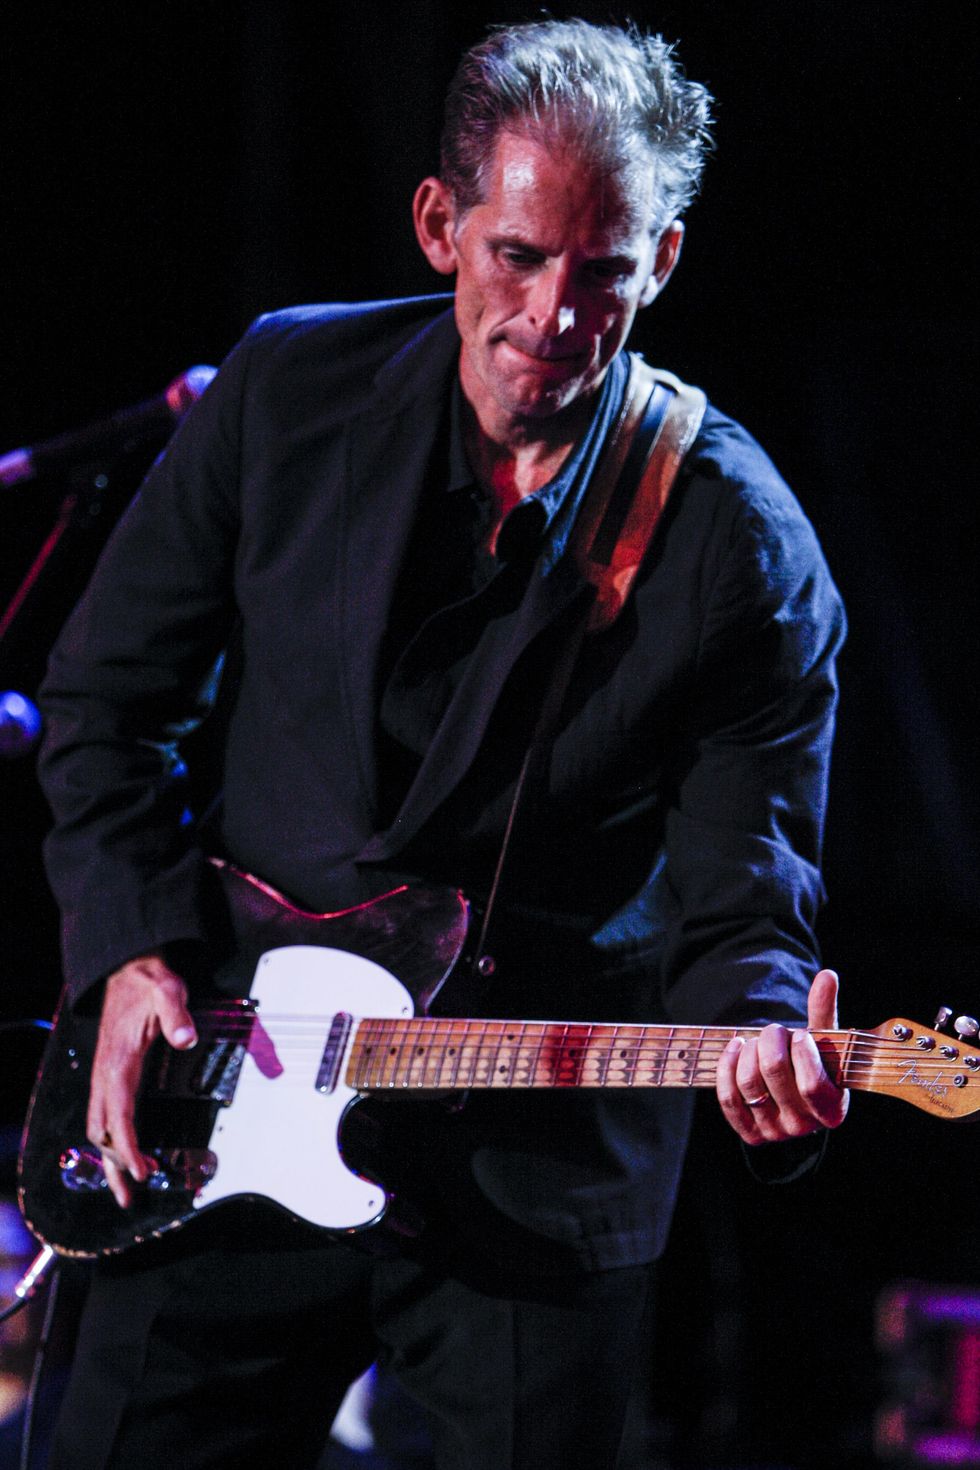
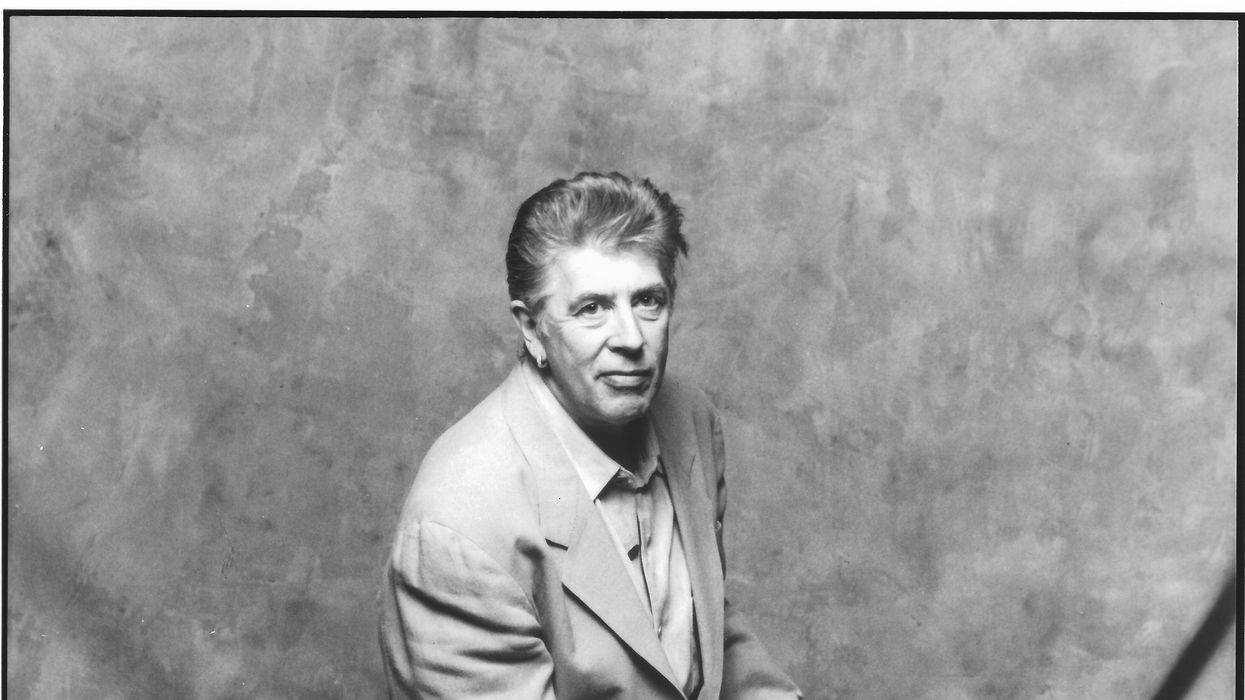
Holmstrom primarily picks with his fingers but will revert to a pick for some solos to achieve a sharper attack and a more gain-colored tone.
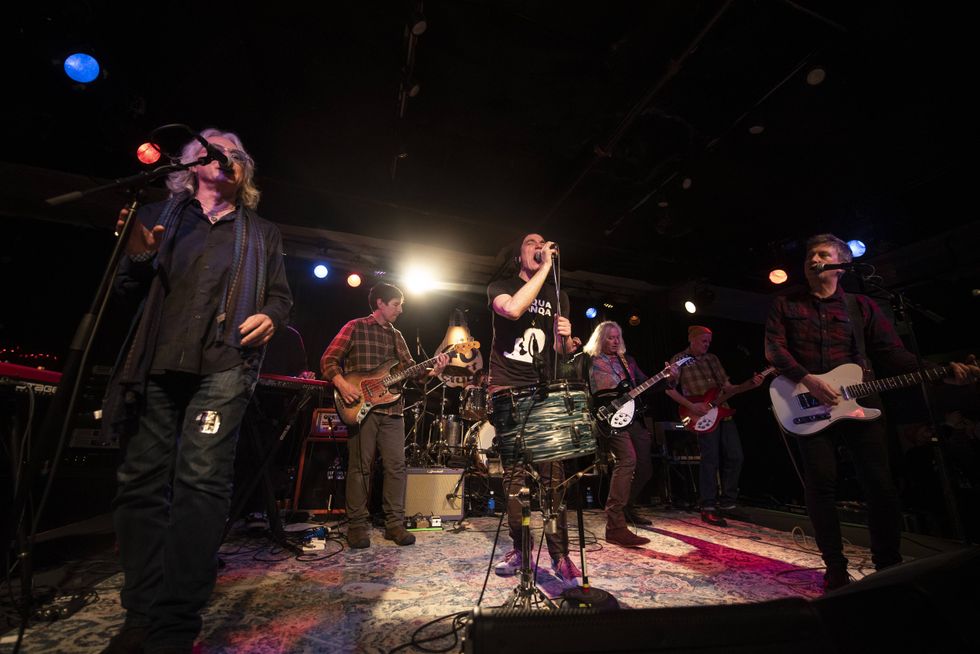
Photo by Joseph A. Rosen
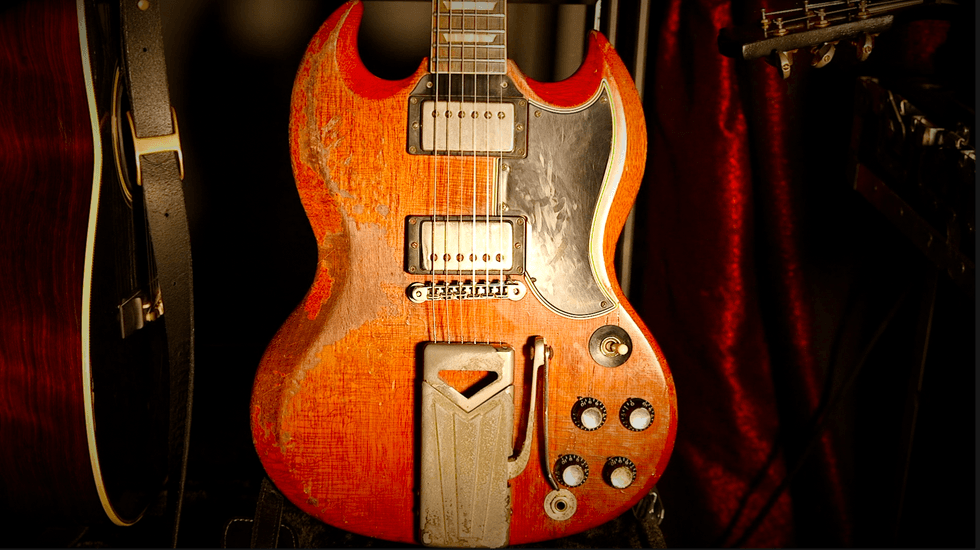
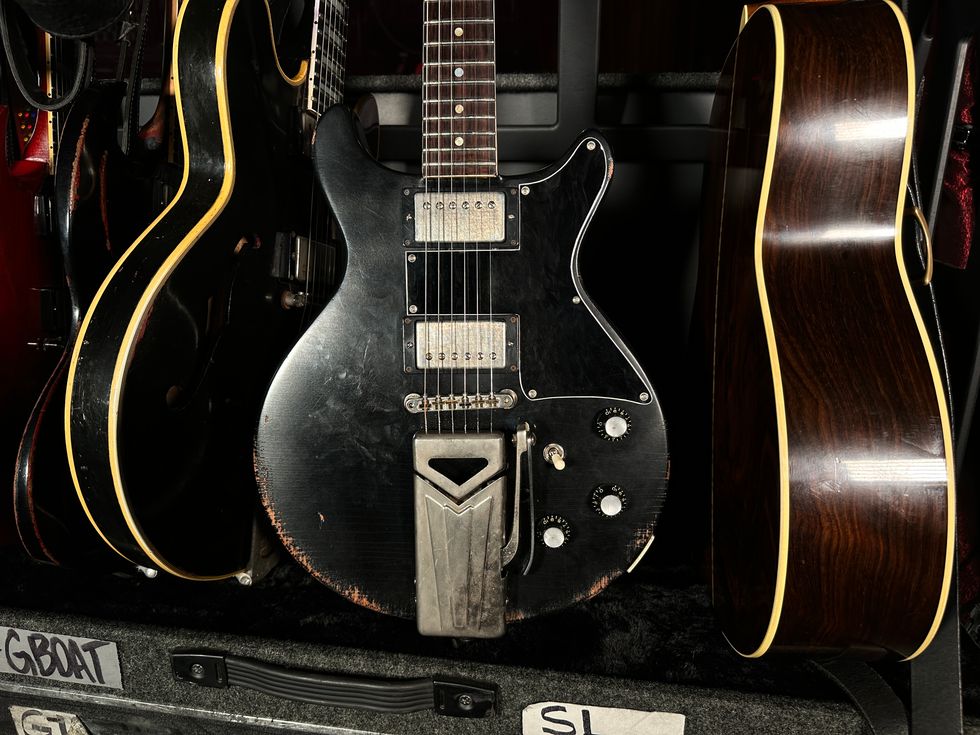
Guitars
- 1953 Fender Telecaster with Ron Ellis neck pickup and ’50s Fender lap-steel bridge pickup
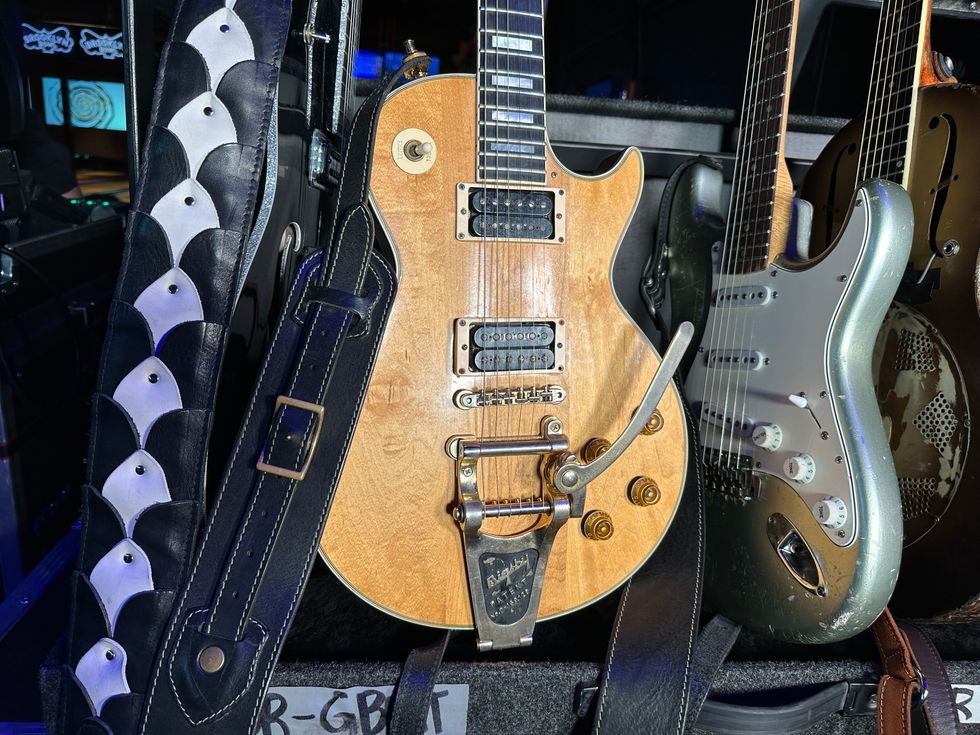
- 1955 Les Paul Special with phase switching
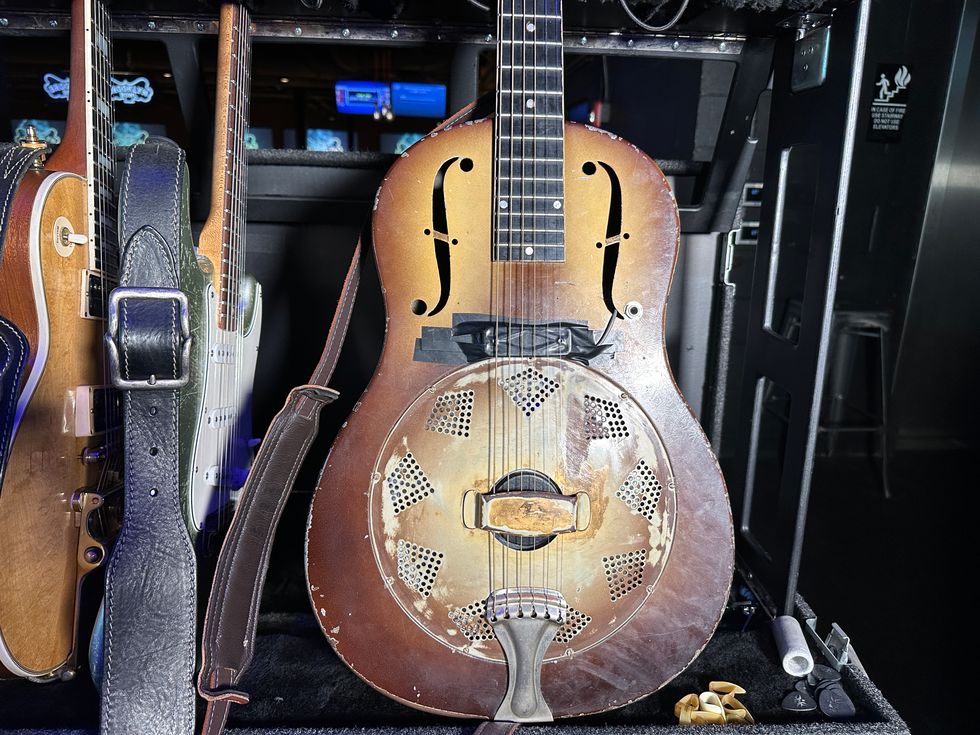
- 1940s Gibson ES-150
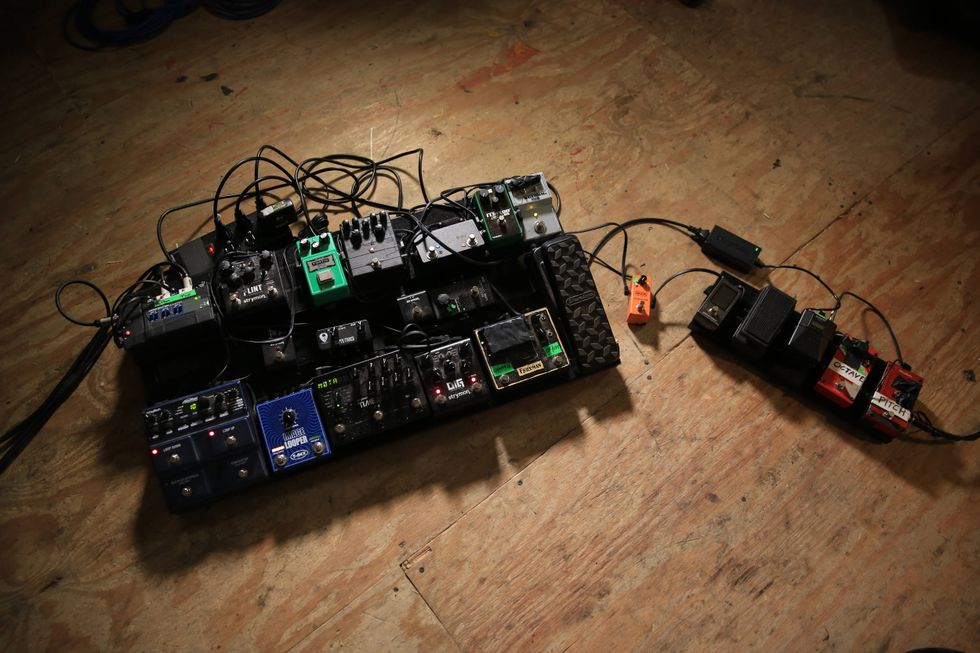
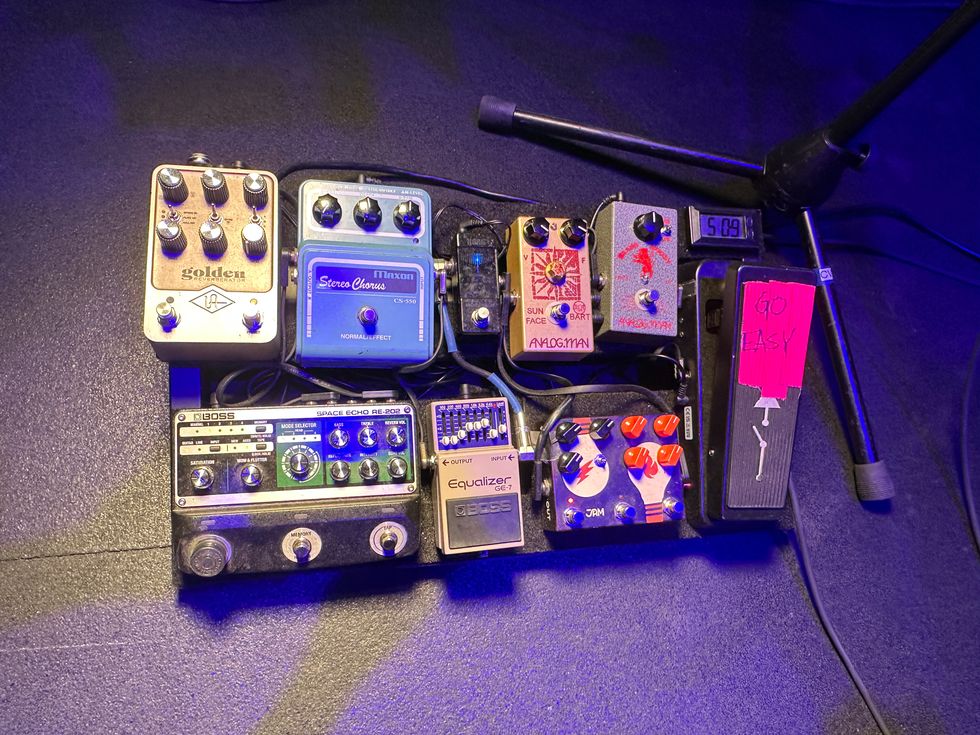
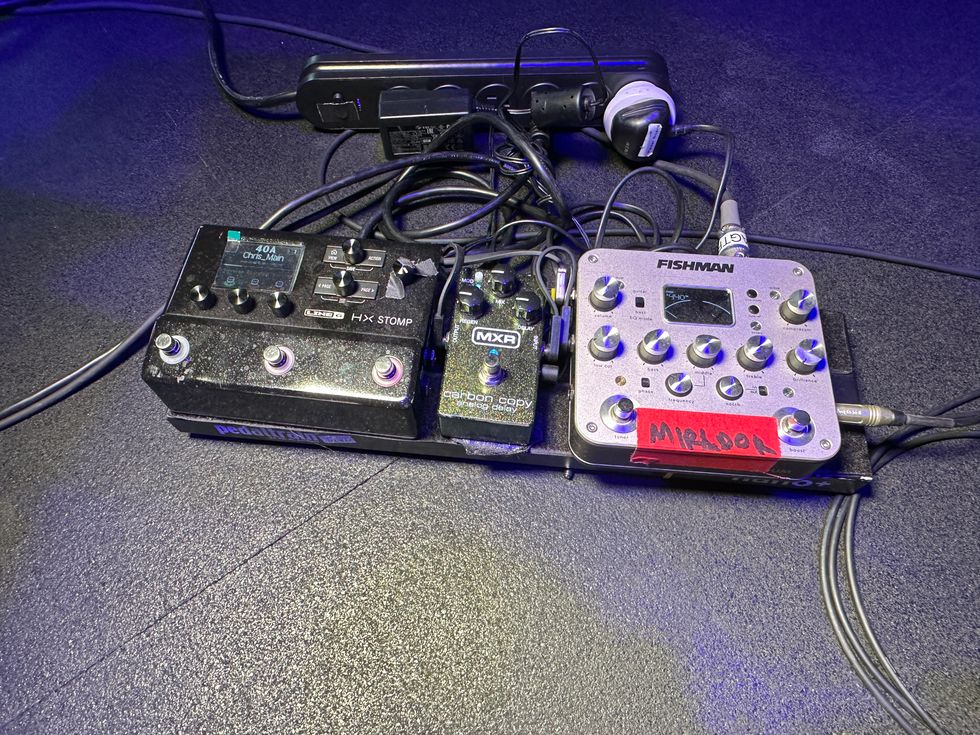
Effects
- SIB Electronics Echodrive
- ’60s Fender Reverb Tank
- Milkman The Amp (used as a preamp for the rented AC15 when touring)
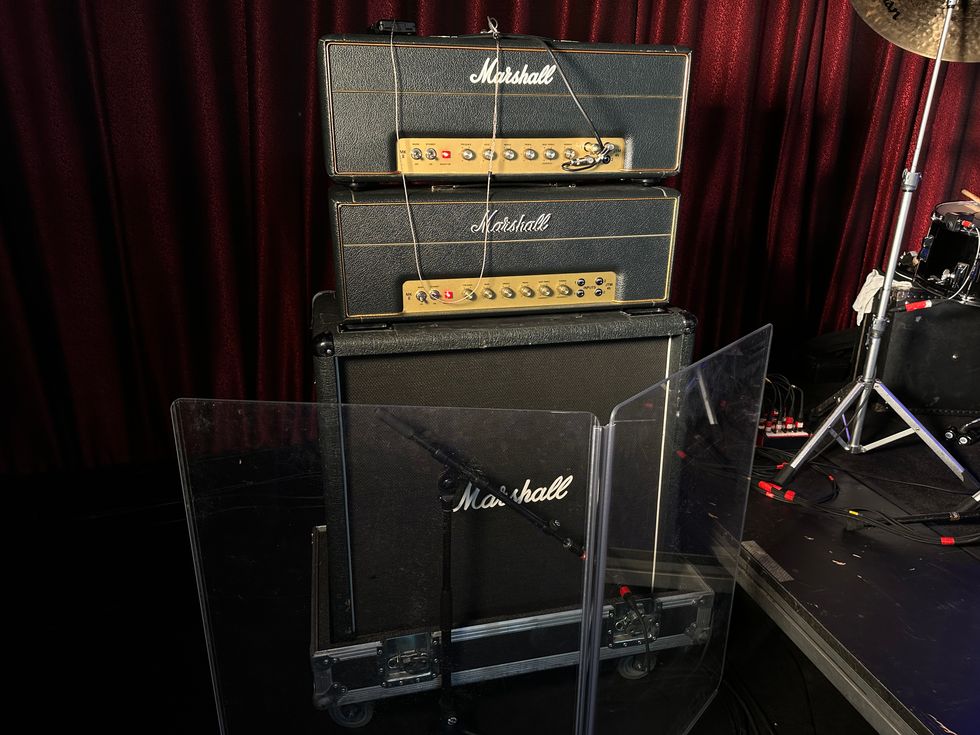
Amps
- 1950s Valco-made 1x10 Bronson combo modded to tweed Tremolux specs (with 6V6 tubes)
- Fender silver-panel Vibrolux (with 6V6 tubes)
- Vox AC15 (rented backline when touring, with EL84 tubes)
Strings
- Dunlop (.011–.050)
“It was January ’21 and my previous record, See That Light, hadn’t even come out. Then the insurrection happened, and it started to drive me nuts,” he says. “I’m watching MSNBC and reading The Times and stuff, and it was really bugging me. The only thing I could figure to do was get creative and get my mind off it. I booked a session and started making drum loops of grooves that I thought might work.”
While the world’s events have led some artists to exercise their struggles via dark, introspective works, Holmstrom went the other way. Get It! is all about having a good time, feeling free, and reminding us of a simpler, joyful way of looking at the world. “I wanted this record to be something you might put on when you get your friends together or when you’re having a barbecue,” he says. “Let’s get past all this existential, post-apocalyptic doom and have a funky good time.”
“I’ve gotten to the point where I hate guitar pedals.”
While the album is crammed with great blues, songs like “Surfer Chuck” and “Taghazout” play with ’60s surf rock, sultry Middle Eastern motifs, and whatever else caught Holmstrom’s fancy. “FunkE3,“ in particular, with its percolating Meters-style groove and stylistic shifts, shows how far Holmstrom and crew can go.
That one had been hanging around a while. “We did a tour years ago with Mavis, where Joan Osborne opened, and we also backed Joan,” Holmstrom relates. “One of our background vocalists said, ‘Man, why don’t you walk her off with an instrumental, and then, boom, go right into the Mavis set?’ So ‘FunkE3’ is the song I started working on and ended it up being that [transitional] song a lot of nights.”
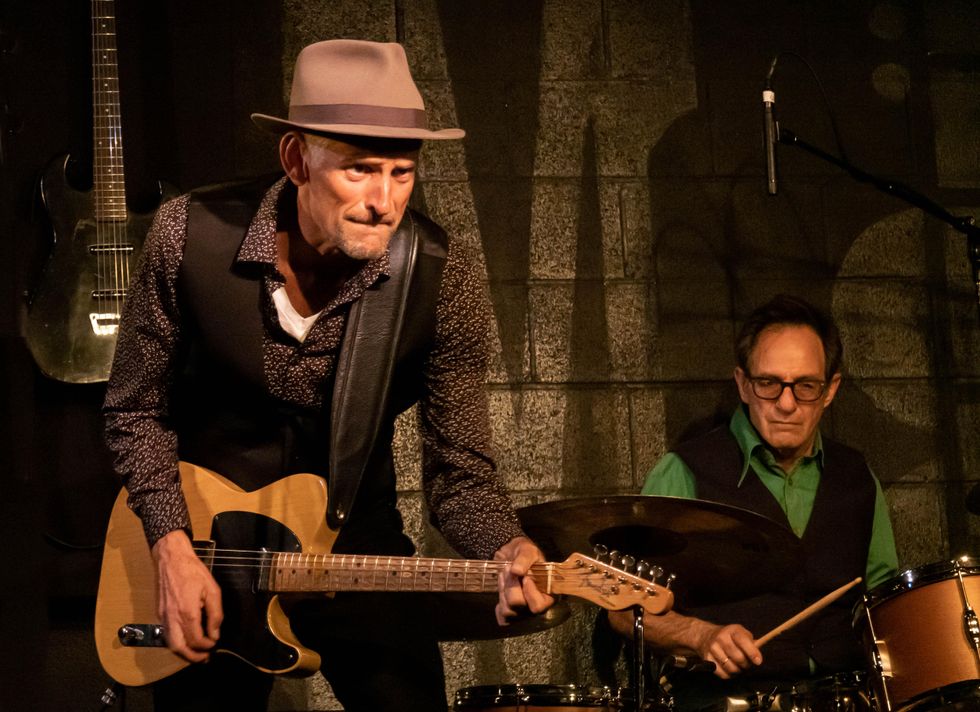
Even with a wide breadth of styles on Get It!, the album’s sound and production are the secret behind its gleefully old-school character. Inspired by classic ’50s and ’60s blues albums, the musicians tracked together, in the moment, without overthinking. “I was always trying to make things sound like Chess Records in the ’50s—like that Little Walter, Muddy Waters kind of thing,” Holmstrom says. “You can tell it’s three instruments really close to each other, with some bleed.” The other two musicians in the room were Steve Mugalian on drums and Gregory Boaz on bass.
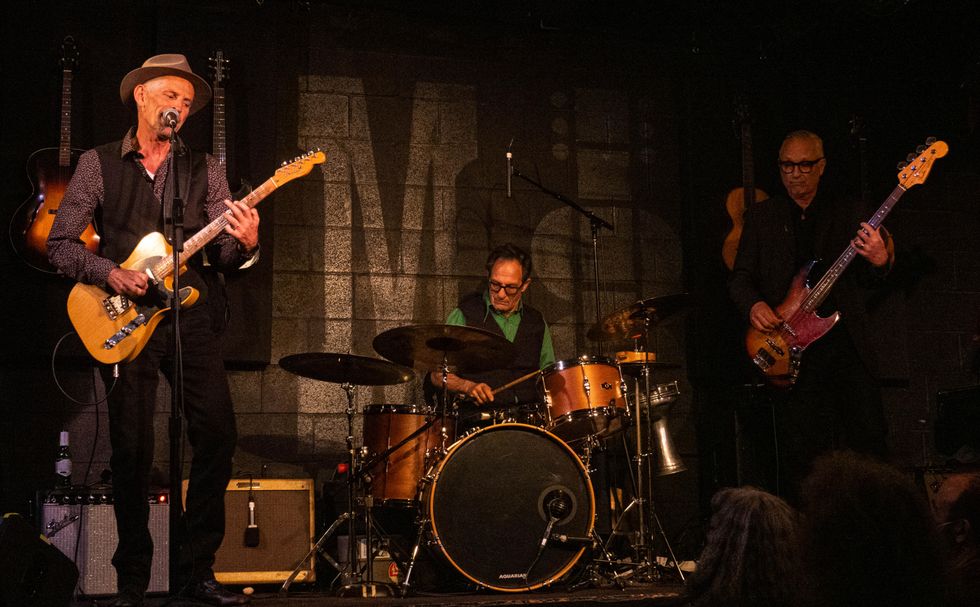
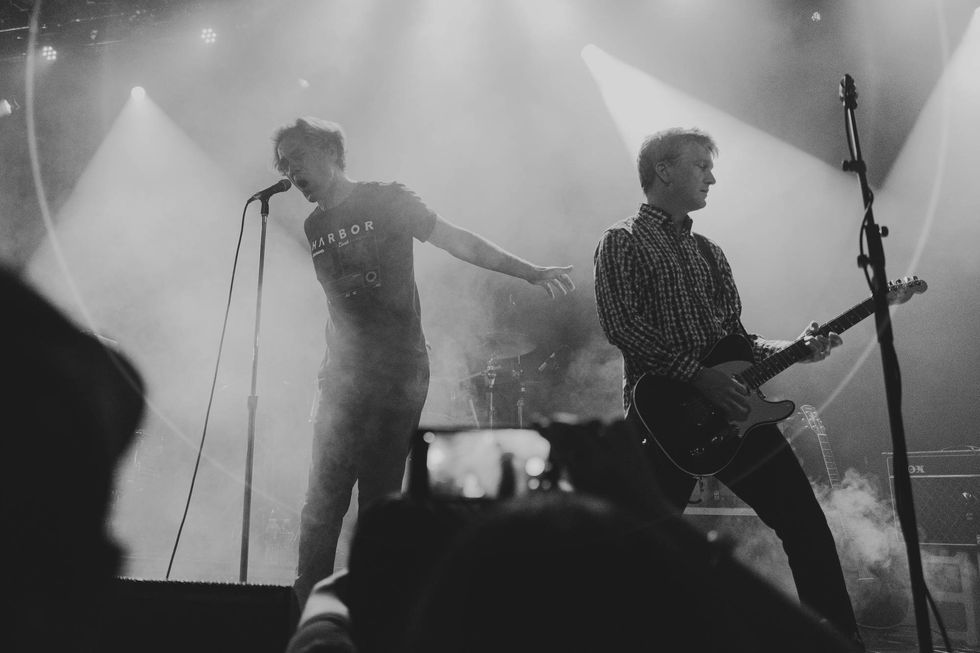
Rick Holmstrom’s band on Get It! are also his touring partners: drummer Steve Mugalian and bassist Gregory Boaz.
Photo by Brad Elligood
Holmstrom’s commitment to tradition also permeates his guitar sound. From beginning to end, he smothers the album with vintage-style amp tones from a small combo with a split pedigree. “I used a very tiny guitar amp called a Bronson. It’s a weird Valco-made amp from the ’50s. I had a buddy of mine turn it into, like, a mid-’50s tweed Tremolux. It’s a great-sounding, magical little amp.”
Despite the wide range of gain used throughout the new album, the Bronson’s onboard tremolo, a tube-driven SIB Electronics Echodrive delay, and a 1960s Fender Reverb Tank are all the effects Holmstrom used. Even that may have bordered on too much for him.
“I’ve gotten to the point where I hate guitar pedals,” he says. “I absolutely hate them. Ideally, I would love to plug straight into an amp. No 9-volt power, no wall warts, no skinny little power cables that are going to break right before the gig. I would rather use my hands.”
“I was always trying to make things sound like Chess Records in the ’50s—like that Little Walter, Muddy Waters kind of thing.”
So how does he get all his sounds? Like everything else, the old-school way. “I turn the volume of my guitar down and pick a lot with my fingers. Then, if I turn the volume on the guitar all the way up and pick with a pick, it’s pretty gain-y.”
Not surprisingly, Holmstrom also prefers vintage guitars. Save for a couple of tunes, the entire album was recorded with only one of them. “The album is all my ’53 Tele except for two songs,” he says. “It’s the variety of sounds you can get out of them. ‘All About My Girl’—that’s the neck pickup. It sounds like it could be a hollowbody. The middle is pure Stax or Motown, and then the bridge is whatever you want.”
As versatile as the Fender Tele is, the songs “King Freddie” and “Pour One Out” begged for something different. And though that something else—a 1955 Gibson Les Paul Special—is also a drool-worthy vintage piece, this one was different. “It has an out-of-phase, push-pull tone knob on the bridge pickup,” Holmstrom says. “I can blend the amount of out-of-phase so that it’s not completely nasally thin. It’s what Peter Green did, I’m sure, with his Les Paul. All points lead back to the blues, really.”
Erlee Time - Rick Holmstrom
In this live performance video of “Erlee Time,” from Get It!, Rick Holmstrom demonstrates his playful bends, joyful sense of melody, and the vintage Tele tone that’s part of his signature.


![Rig Rundown: Russian Circles’ Mike Sullivan [2025]](https://www.premierguitar.com/media-library/youtube.jpg?id=62303631&width=1245&height=700&quality=70&coordinates=0%2C0%2C0%2C0)