Super glue plays an important role in many types of guitar repair. At our shop, we use it in dozens of ways, but unless you understand its properties and know how to handle it safely, you can wind up in trouble in a matter of seconds. Let’s spend some time exploring super glue and ways to use it effectively in common projects.
Some background.
Super glue is cyanoacrylate, a fast-acting adhesive commonly referred to as CA glue. You’ll find it marketed under various names—Super Glue, Krazy Glue, Gorilla Glue, Hot Stuff, etc.—and it’s widely used in manufacturing, woodworking, medical, dental, forensic, and automotive fields. Super glue is basically an acrylic resin that dries quickly.
Super glue is sold in various thicknesses that range from “water thin” to a thick gel. It’s important to choose the correct thickness for a given project. For example, thin and ultra-thin formulas flow into tiny spaces and dry instantly, which makes them useful for gluing in a string nut or seating loose frets—two applications we’ll examine in a moment.
A medium formula is great for repairing fretboard cracks. Because it’s thicker, it dries a little slower and this gives you a bit more time to work when you’re fixing split wood.
With the consistency of honey, the thick gel formula works as a gap filler. We also use it to repair chips in polyurethane or UV-cured finishes. Thick super glue can take up to five minutes to dry.
Typically super glue is clear, but Stewart-MacDonald also offers it in both black and transparent amber. We often use these colored super glues in the shop for touch-up projects.
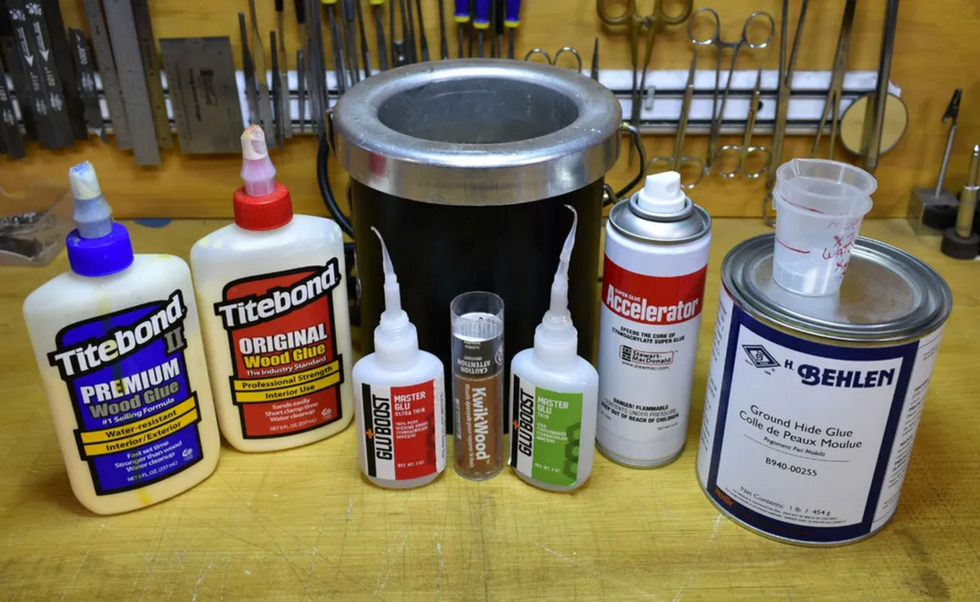
Most super glue manufacturers also sell a spray accelerant that makes drying time nearly instantaneous. Photo 1 shows different types of super glue, as well as spray accelerant and applicator whip tips—small, flexible, hollow extensions that attach to the glue bottle’s nozzle.
Safety first.
When working on a guitar, super glue can be your best friend or worst enemy.
So before we go any further, let’s review the basic rules.
Always wear safety glasses when using super glue. Early in my career I learned the importance of eye protection: After splashing glue in my eyes, I had to dash to the emergency room. Don’t make that mistake.
Never touch your face when you have glue on your fingers. You can remove glue from your fingers using super glue solvent or fingernail polish remover.
Like water, super glue—especially the thin formulas—will accumulate at the lowest elevation, so always position the guitar to prevent the glue from moving away from where you apply it. For example, when touching up the finish on a guitar, make sure that area of the guitar is level. If it’s tilted, the glue will run to the lowest spot and create a mess.
Always have a cotton swab in your hand, ready to remove excess glue. But remember, you have to do this quickly or otherwise the swab can stick to the glue.
A clean applicator tip can make the difference between a job well done and a big mess. Applicator tips make it easy to apply the glue precisely where you want, instead of splashing it all over the guitar, and you can use them as they come or trim them down to whatever size you need. Suppliers like Stewart-MacDonald and All Parts sell applicator tips with their glues. Keep a pack or two on hand so you don’t run out in the middle of a project.
Finally, slow down and pay attention to what you’re gluing. Rushing through a super glue project is a recipe for disaster.
Okay, clear on the rules? Cool—we’re now ready to tackle two projects.
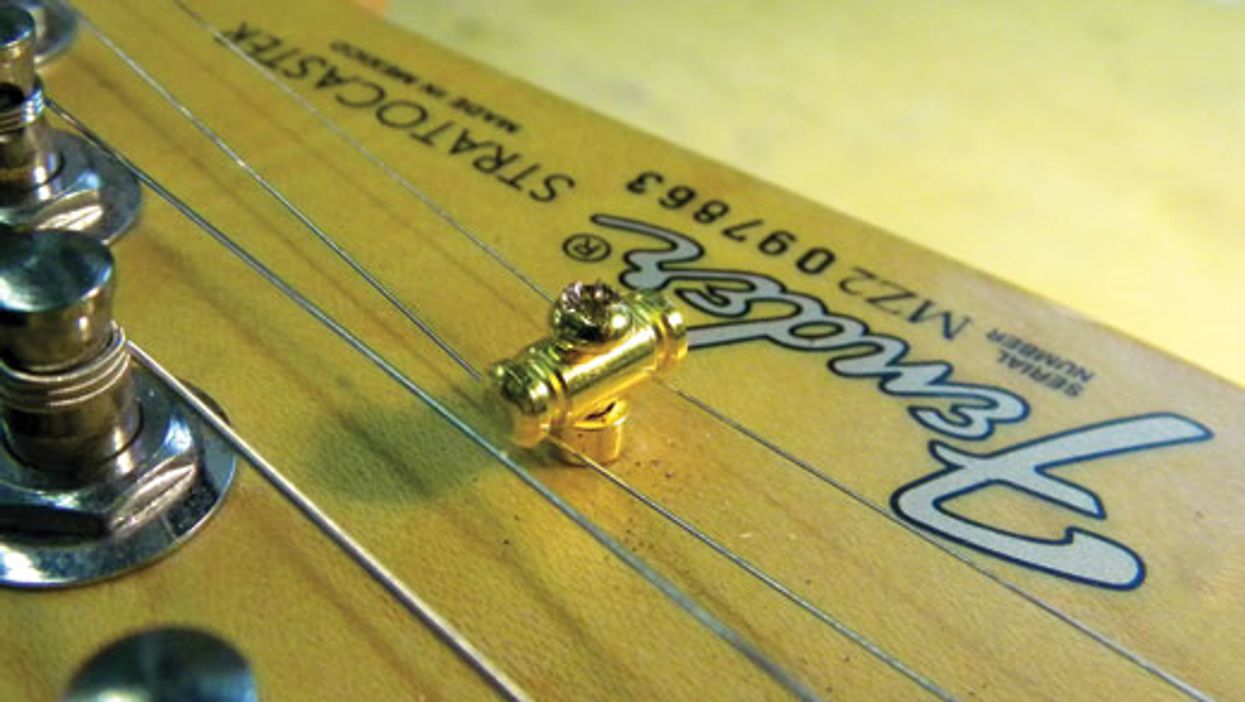
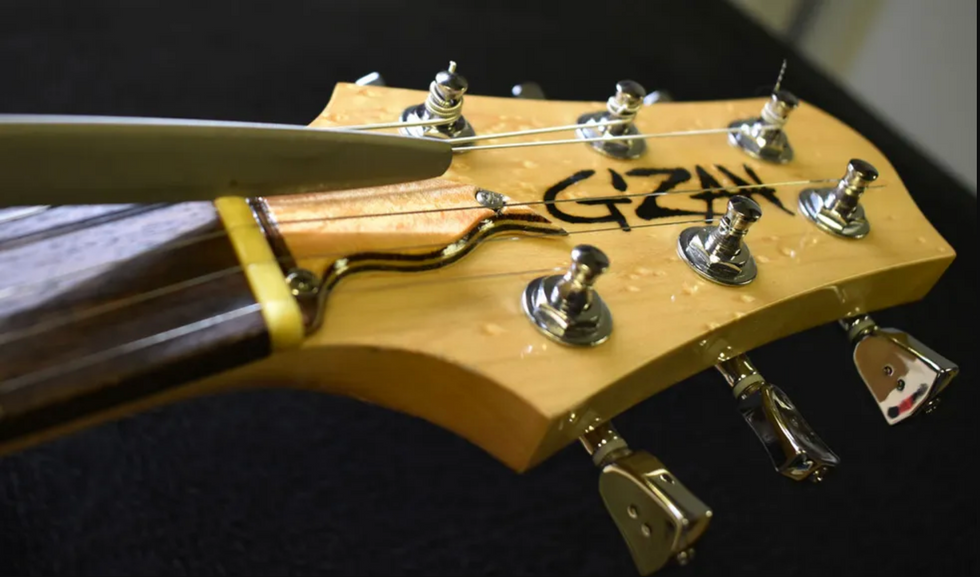
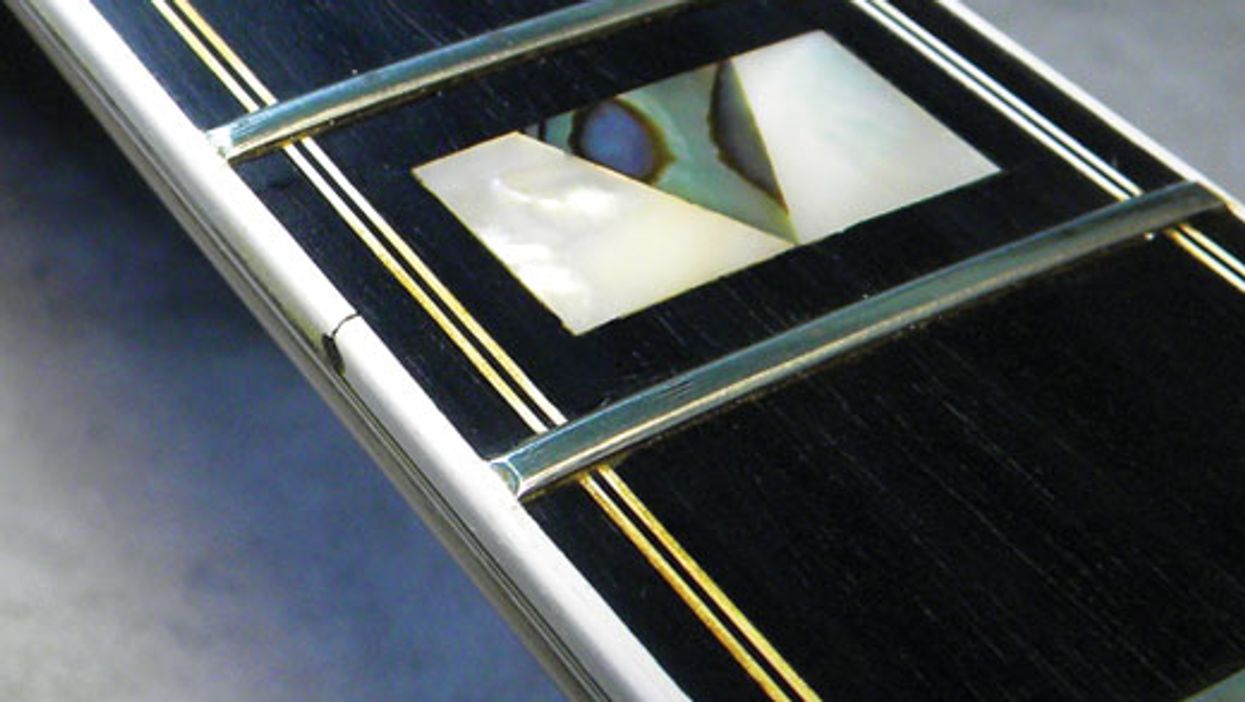
Securing a string nut.
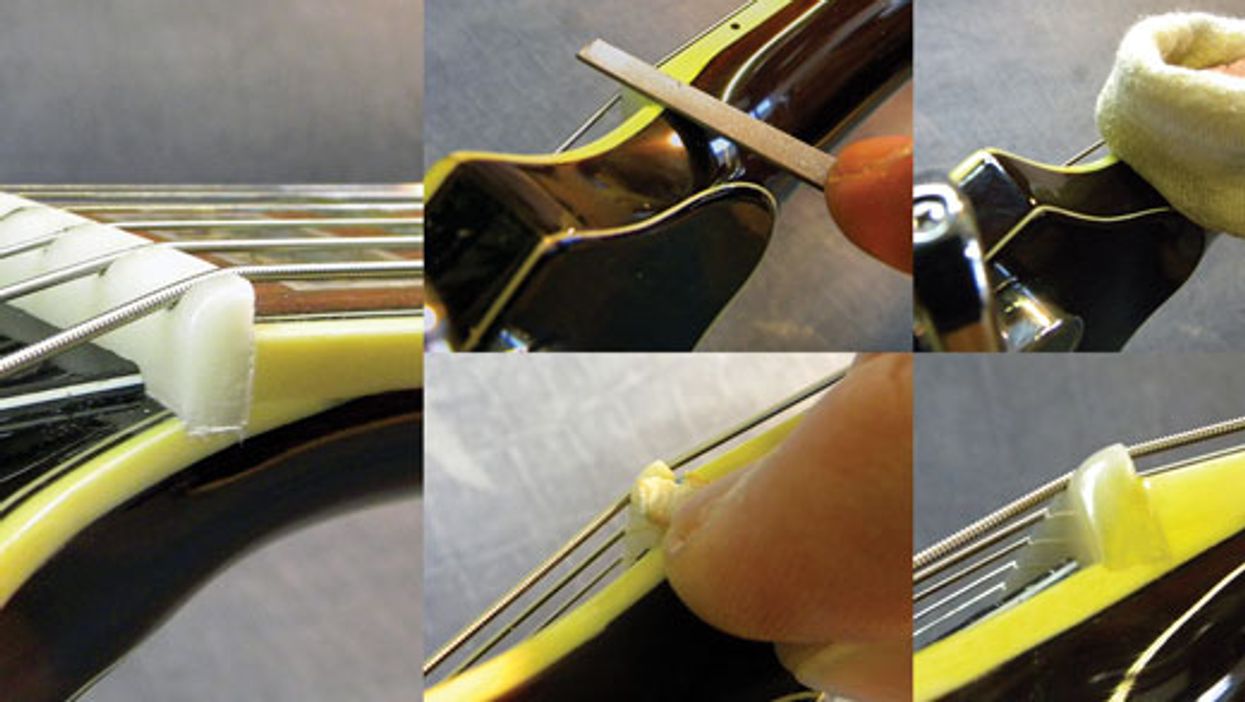
This is one of the most common uses for super glue. Many manufacturers put glue on the bottom of the string nut before setting it in the slot, but I use a different technique. I apply a small amount of ultra-thin or thin formula to the “face” of the nut—the area where it meets the end of the fretboard.
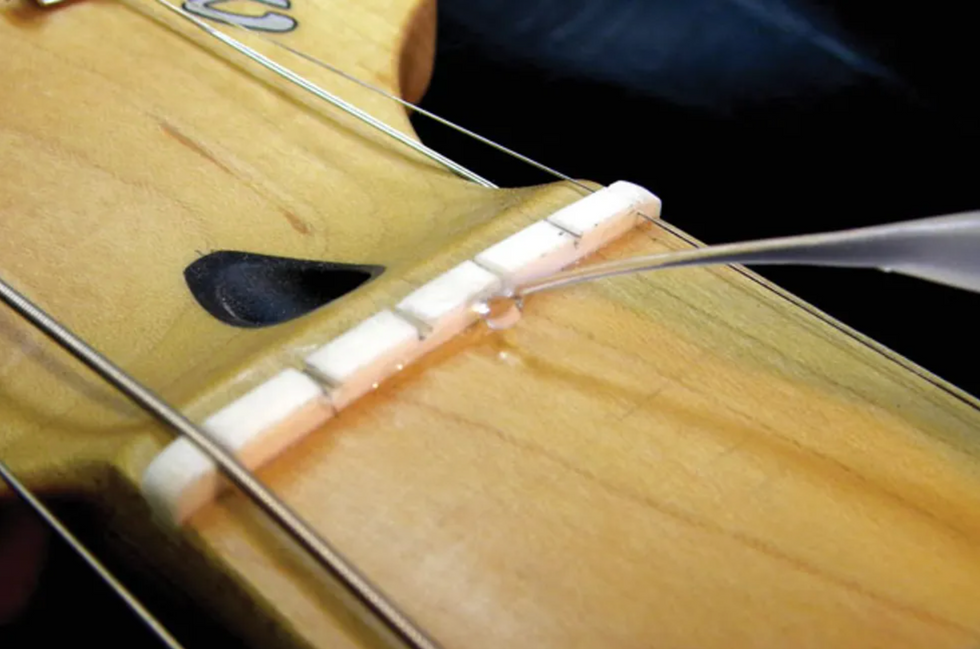
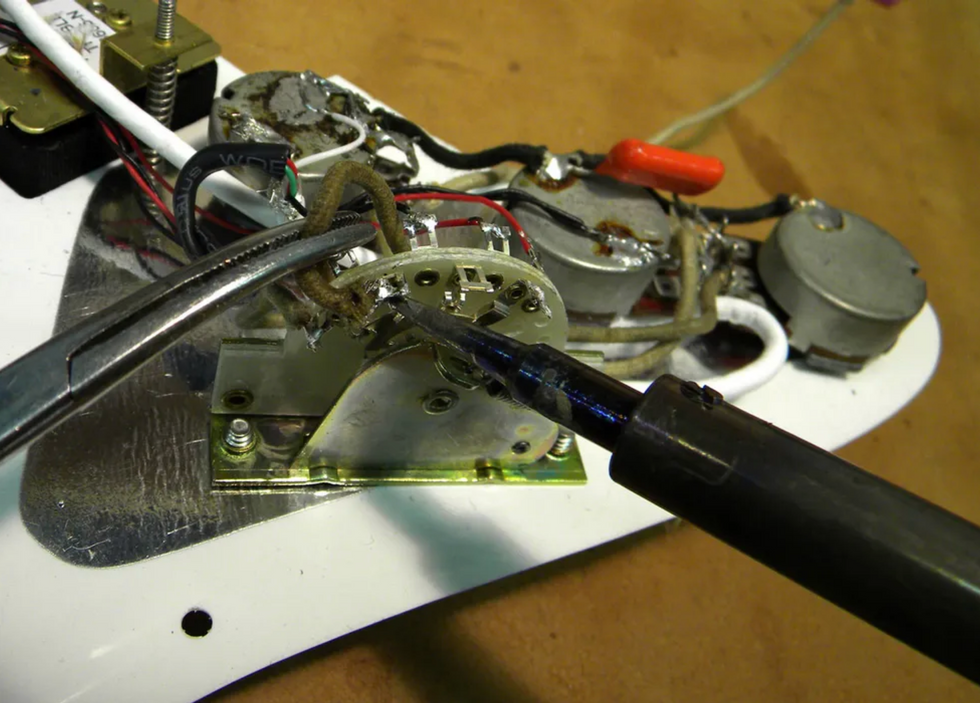
Photo 2
Here’s why: When it’s time to replace the nut, you can more easily remove it and avoid damaging the slot. It’s a way to think ahead to make this project easier for the next tech that has to work on the guitar. If a nut has been glued in from the bottom, removing it can rip pieces of wood out of the slot. Use the 1st and 6th strings to hold down the nut and align it with the fretboard. Then apply one drop of ultra-thin or thin super glue to the face of the nut between the 3rd and 4th strings (Photo 2).
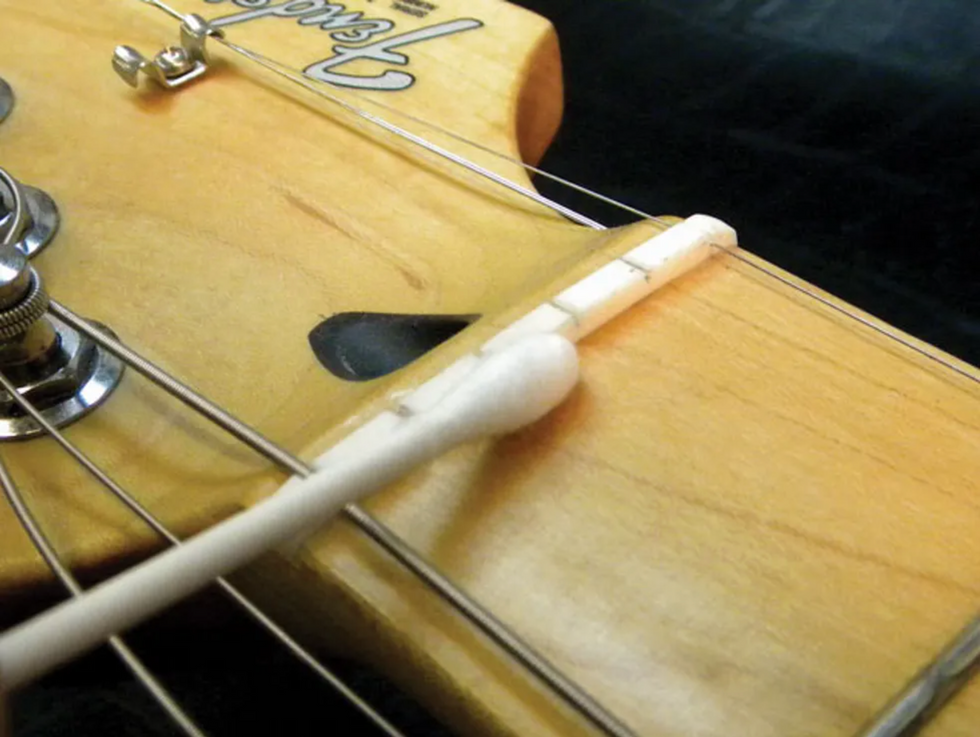
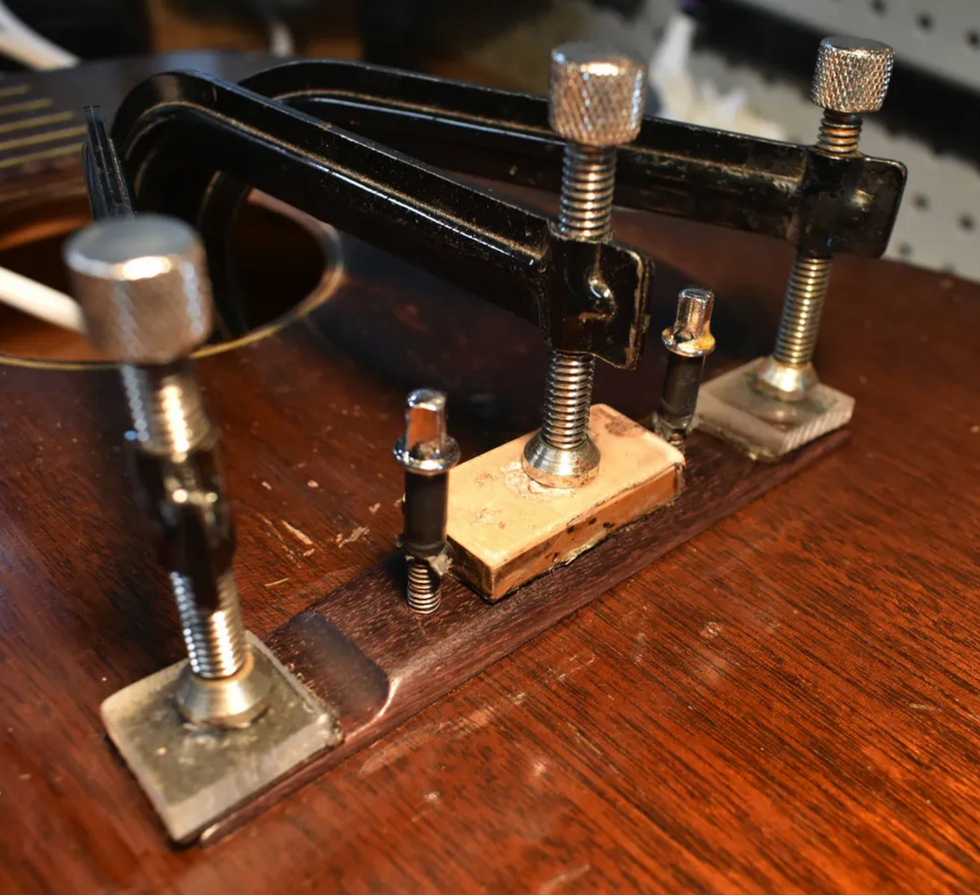
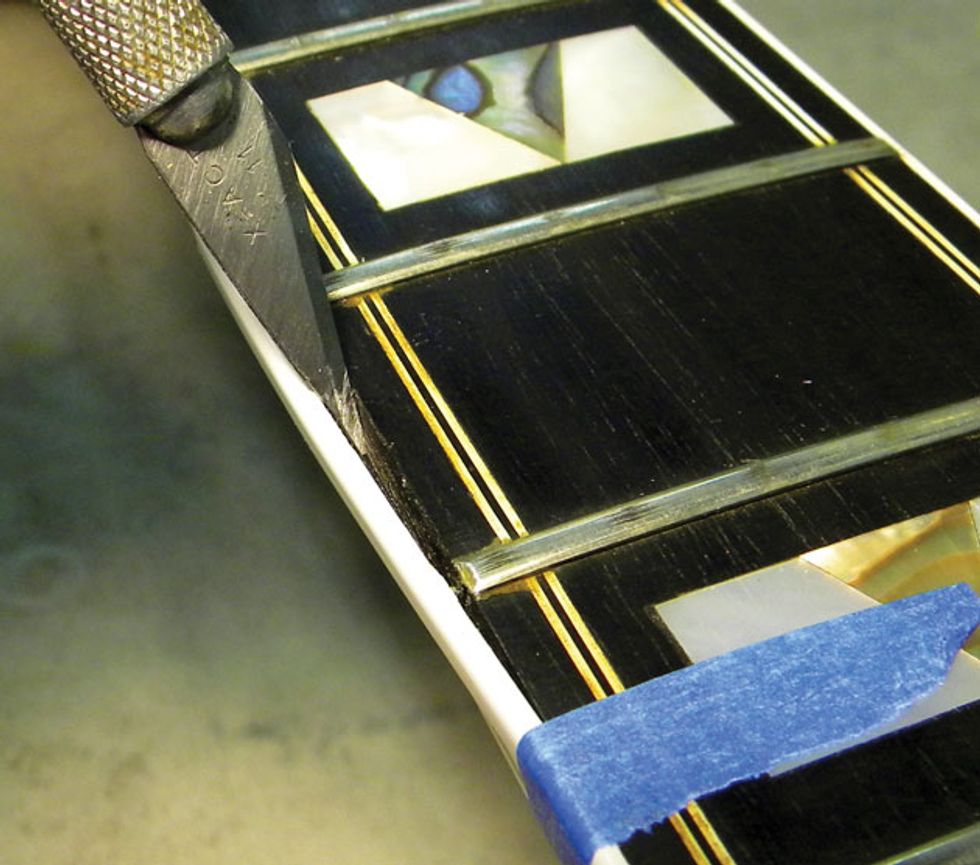
Photo 3
The glue will run along the nut and penetrate the small space between it and the edge of the fretboard. Use a cotton swab to clean up the excess (Photo 3).
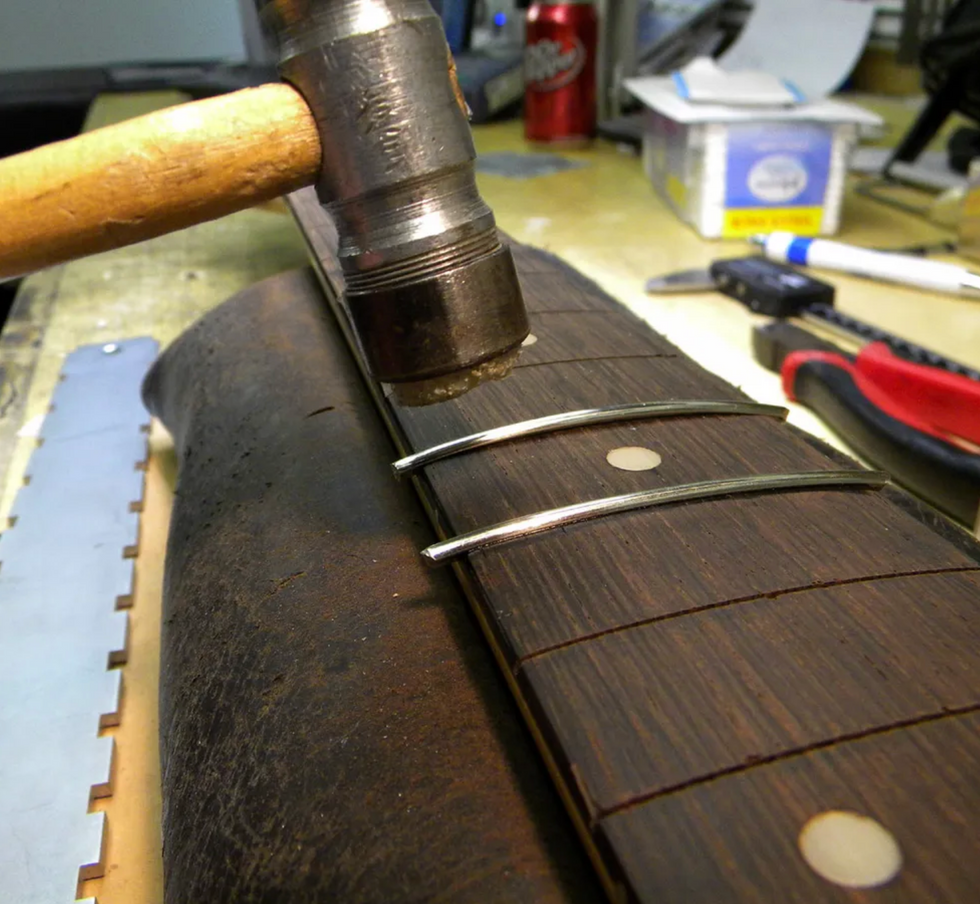
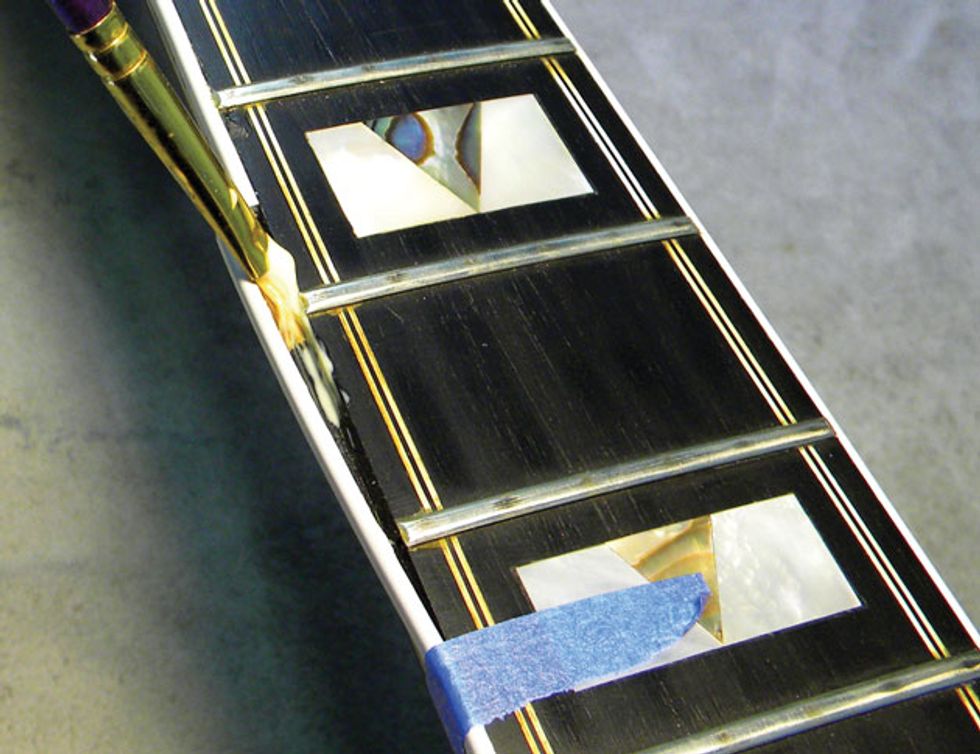
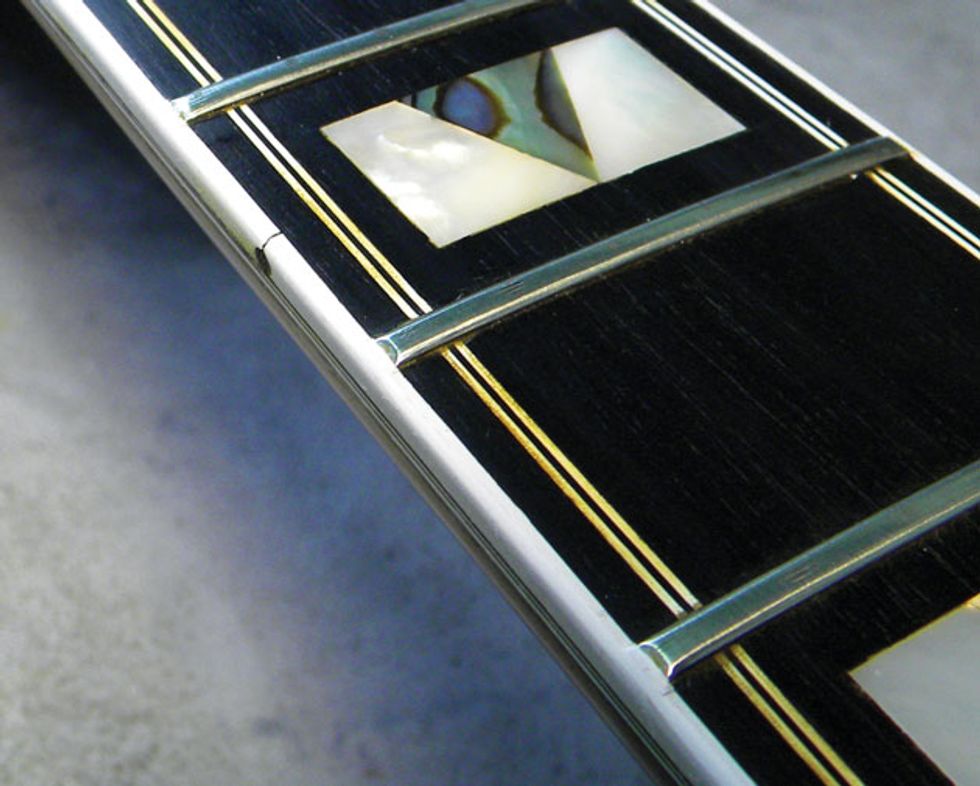
Seating a fret.
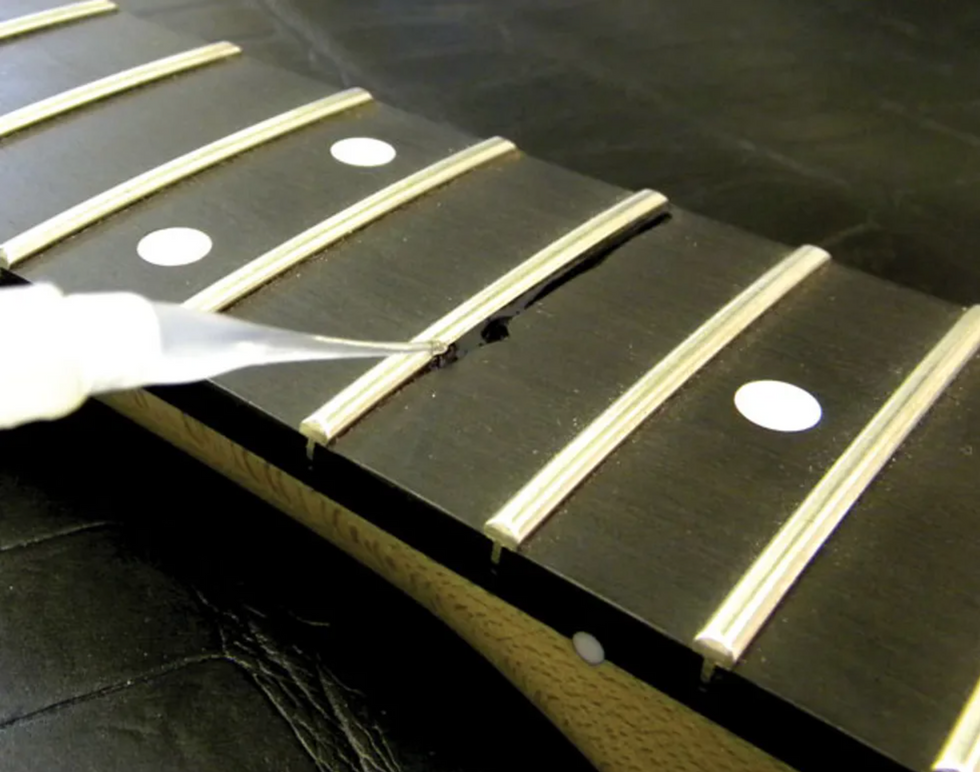
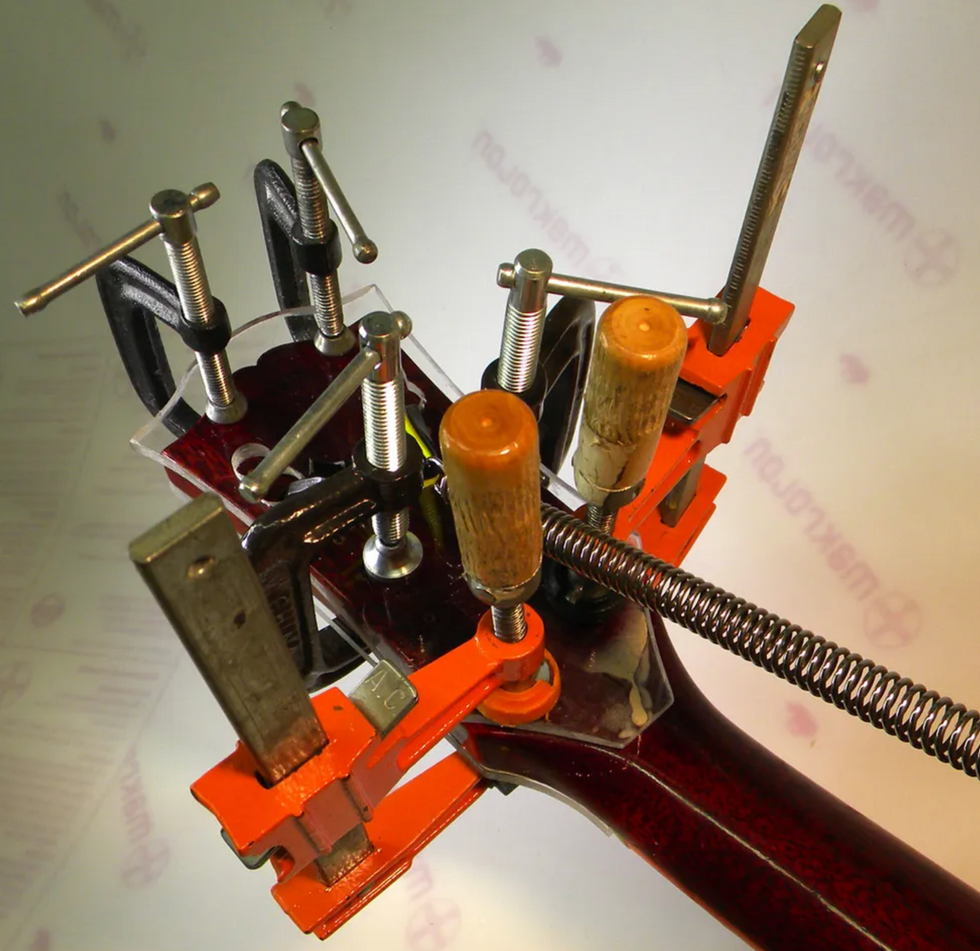
Photo 4
Drastic changes in temperature and humidity can cause frets to become unseated in rosewood or ebony fretboards. When a fret pops up, I gently tap it down with a fretting hammer, and then seal it with ultra-thin super glue (Photo 4).
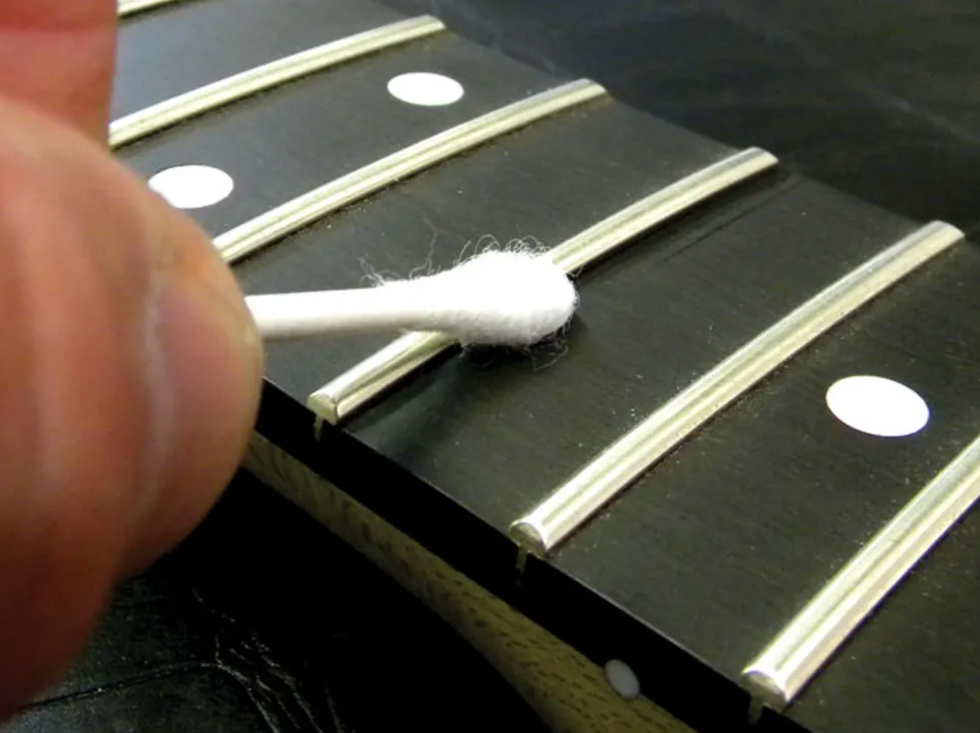
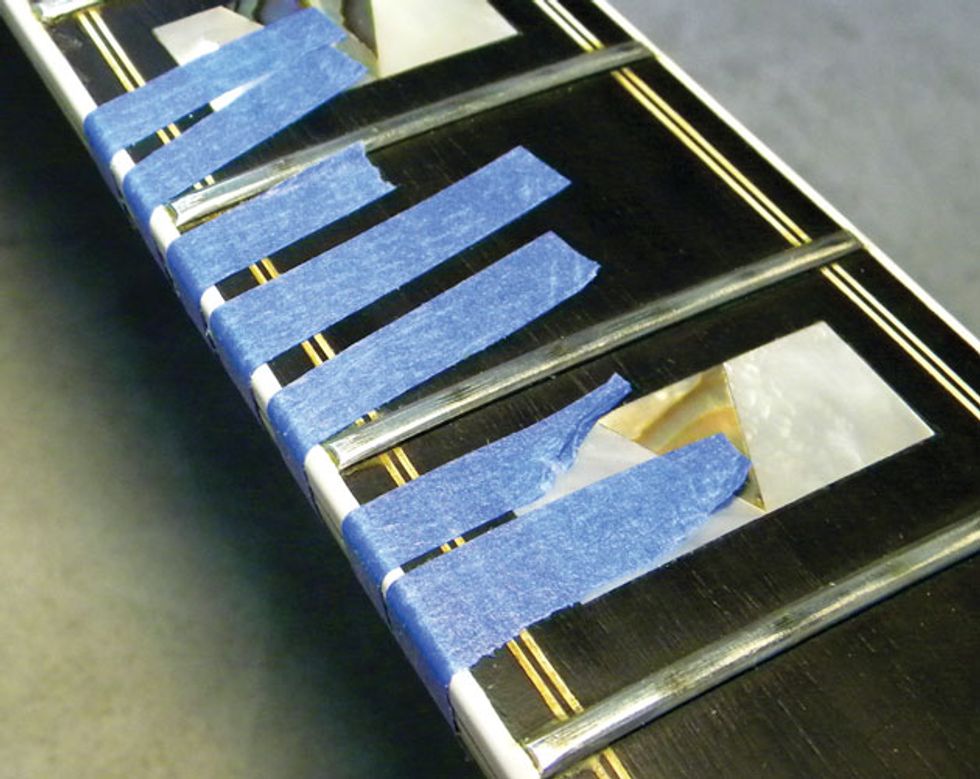
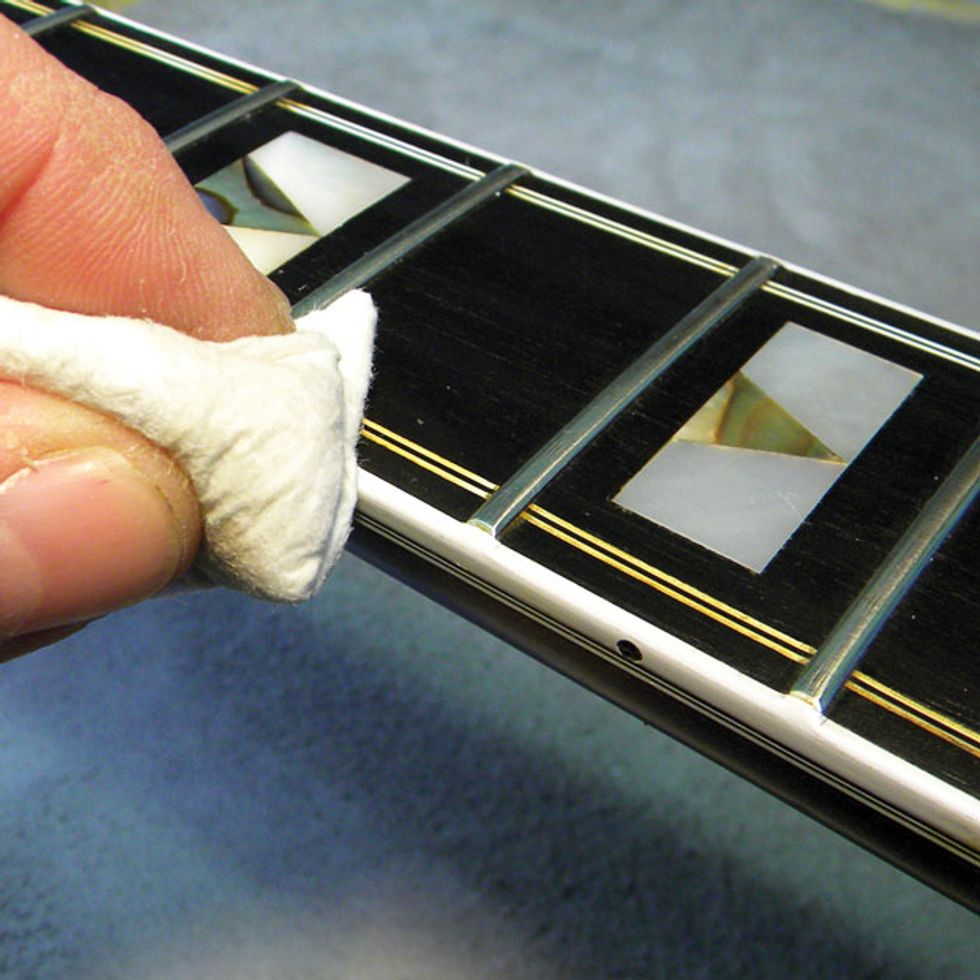
Photo 5
Quickly clean up the excess glue with a cotton swab (Photo 5).
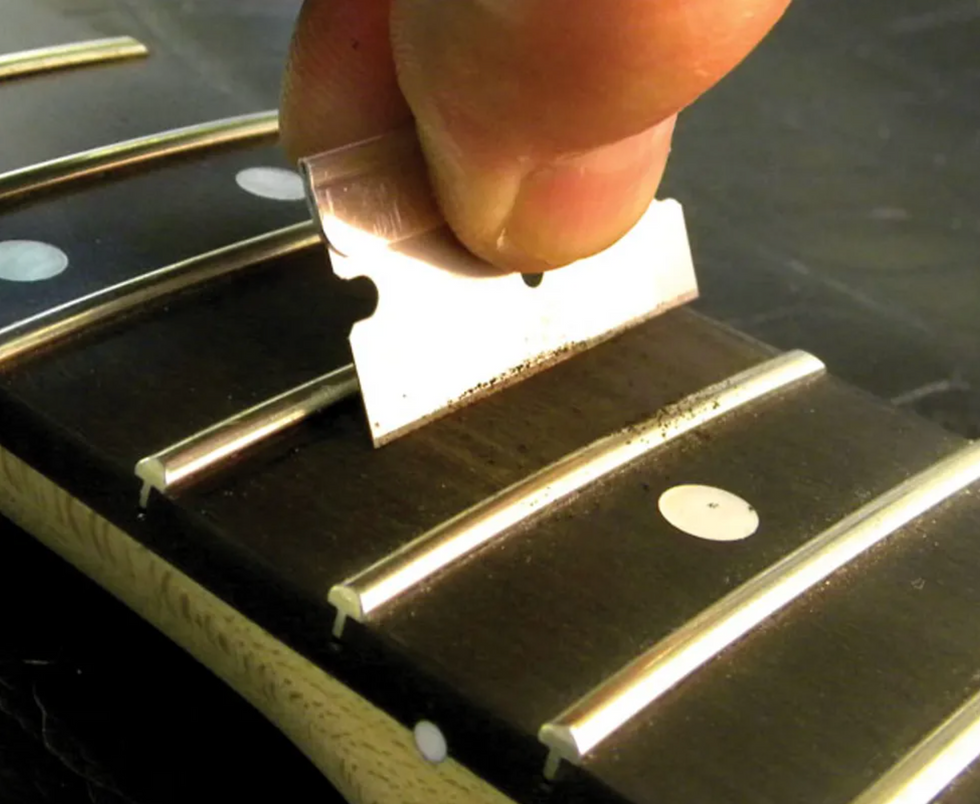
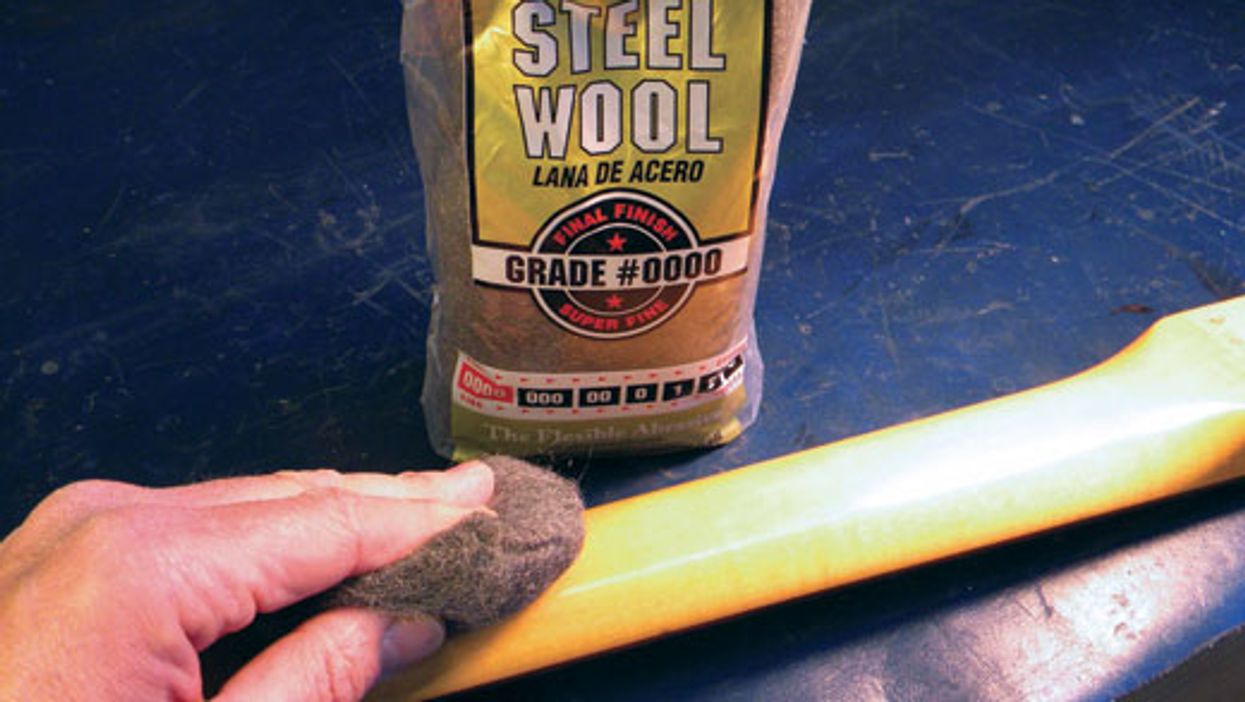
And if that doesn’t do the trick, use a razor blade to gently scrape the dried glue off the fretboard (Photo 6).
You can use super glue for many other guitar repairs, so stay tuned for more projects in an upcoming column.
[Updated 1/25/22]