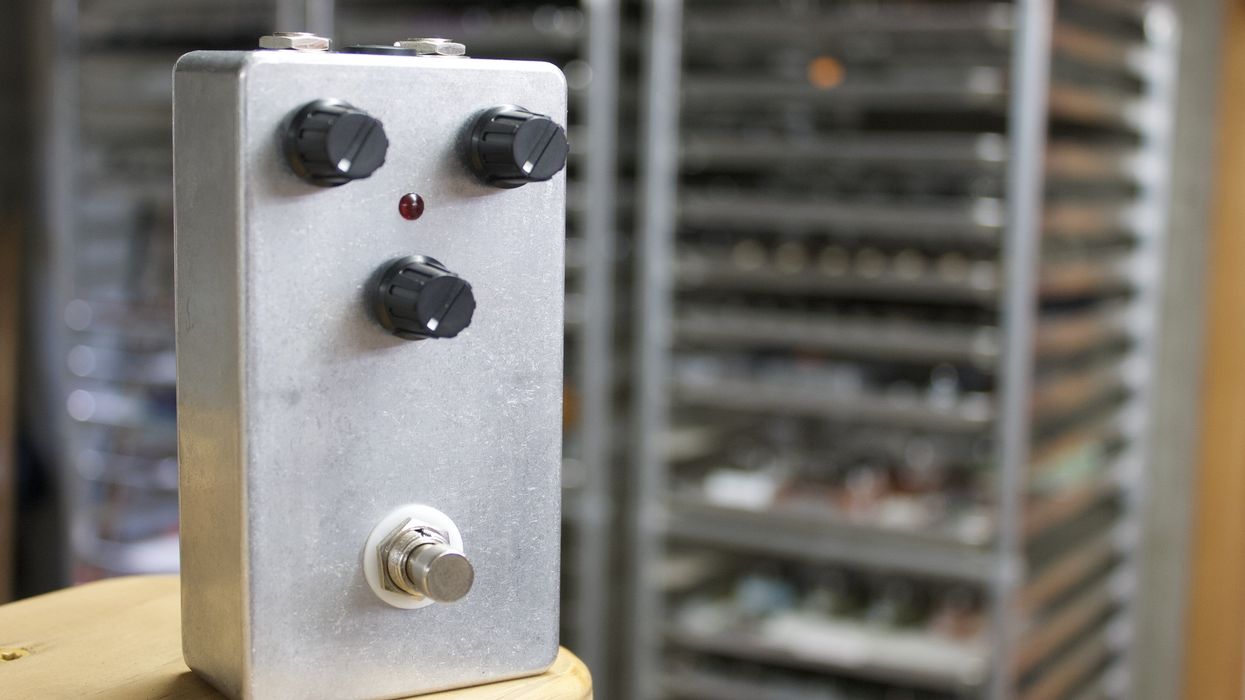

Hello, and welcome to my first DIY project for Premier Guitar. I'm going to explain how to make a battery-operated power supply for your pedalboard (Image 1). We'll be using a cordless drill battery for power and a few other items that you might already have lying around. All of the parts needed for this project can be easily found and purchased online.
Why would you want to use a drill battery to power your effects pedals? By powering your effects with a battery, you eliminate the potential for noise caused by bad wiring in your home or in a venue, it eliminates possible ground loops as well as a cord to trip over, and it expands your possibilities for placement of your pedalboard. Drill batteries are tough, easily rechargeable, and will last a really long time before needing a recharge. They just pop in and out of their charger and will pop in and out of your power supply. If you already have a couple spare batteries, the cost of this build is small. Spare batteries can be purchased online if you already have a charger, or you can even buy batteries and a charger.
If you've been modding the wiring of your guitars, you probably have the tools and skills necessary to build this project.
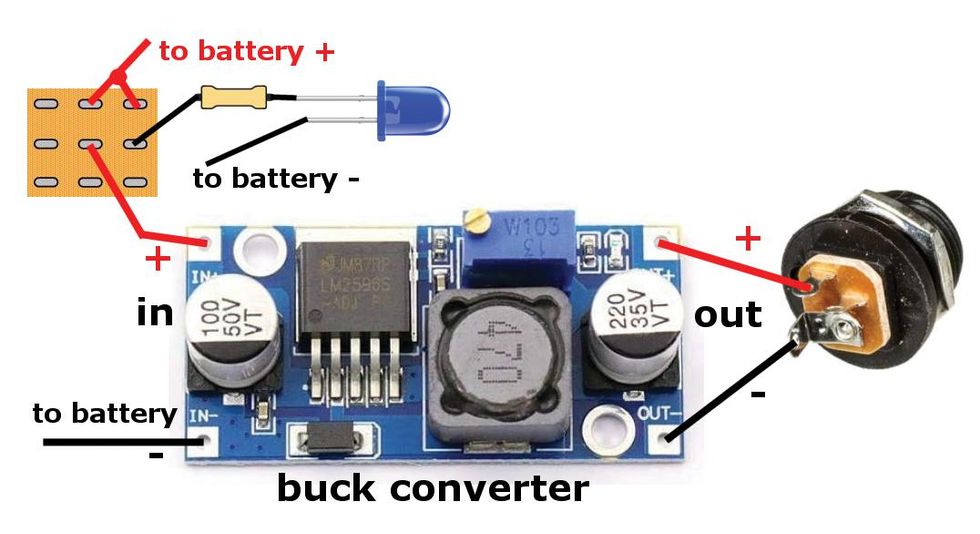
Image 2
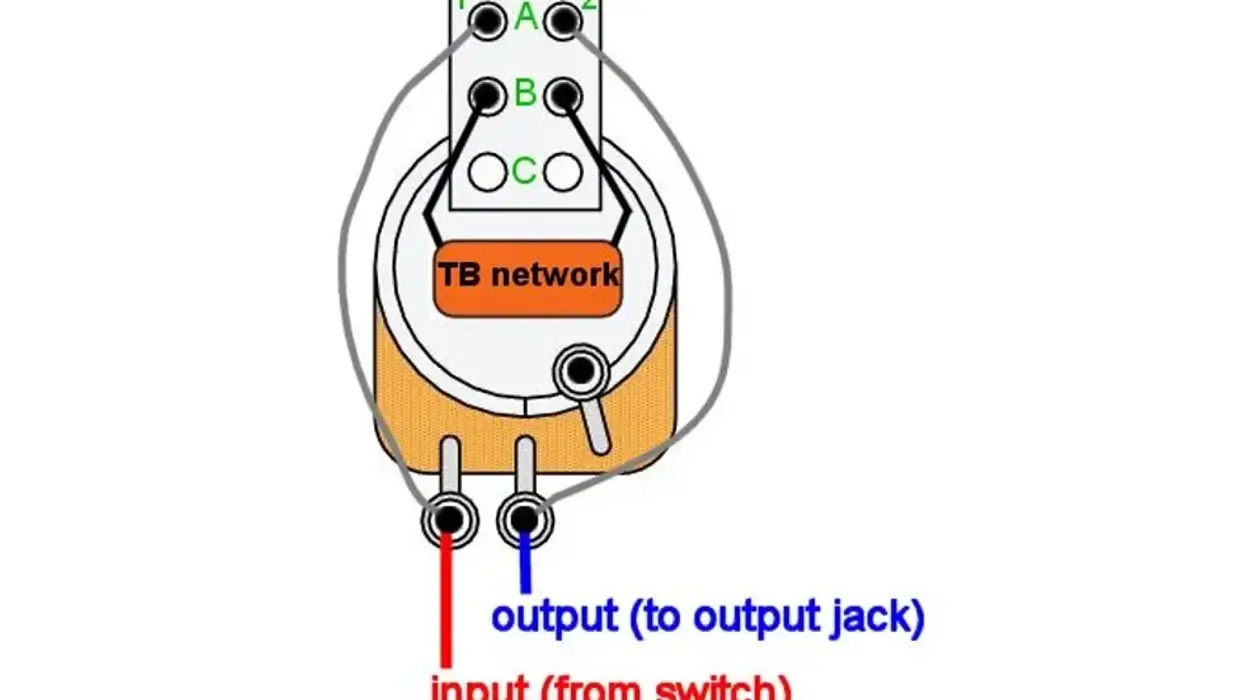
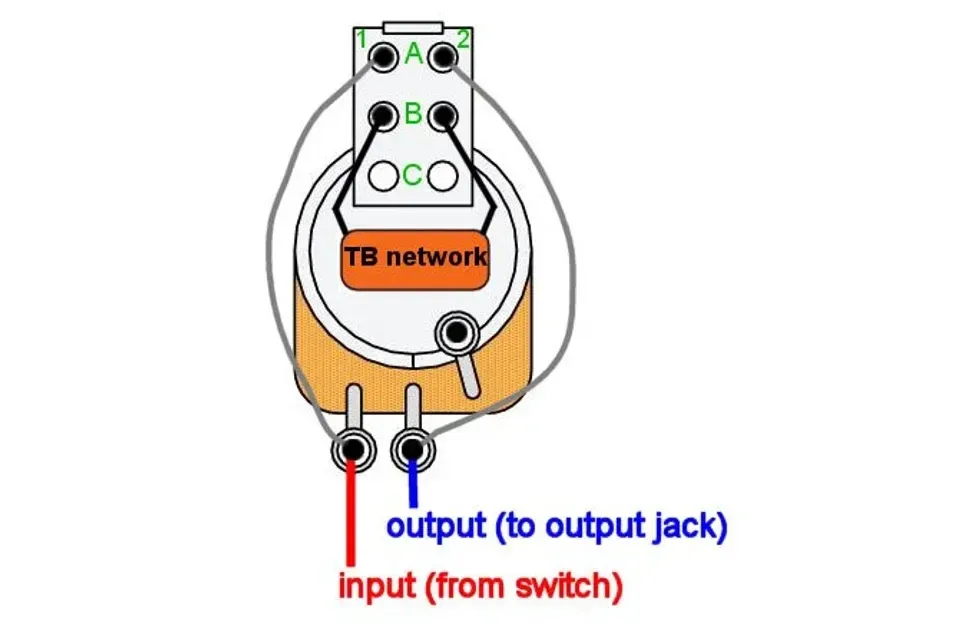
You'll need a good soldering iron and solder, a drill, needle-nose pliers, a multimeter, and, of course, eye protection. If you're like me, you'll also need reading glasses to see what you're doing. This build is pretty simple and easy to understand, as you can see in the wiring diagram shown in Image 2. The orange square is the back of the common 3PDT footswitch found in most boutique stompboxes. I used a 3PDT footswitch, but a 2PDT footswitch or any toggle switch will also work for this project.
The two most important items we need, other than a battery, are a battery adapter and a buck converter, sometimes called a voltage converter.
Image 3
The battery plugs into the adapter, just like it plugs into a drill, and has two wires that let us connect to the battery's power. Battery adapters are made for several brands of drill batteries. I use Milwaukee but Makita and DeWalt will also work for this project. I bought my battery adapter (Image 3) for about $16 from Amazon.
The buck converter lets you adjust (or "step down") the voltage coming from the battery to 9 volts, which is the voltage you want for most pedals. These units are also cheap. I bought a pack of four, just in case I ruined one. Get one that will handle at least 25 volts on the upper range and goes down past our target voltage of 9 volts. Also, check how much current it can handle: 3 to 5 amps should be plenty.
Get a buck converter that will handle at least 25 volts on the upper range and goes down past our target voltage of 9 volts.
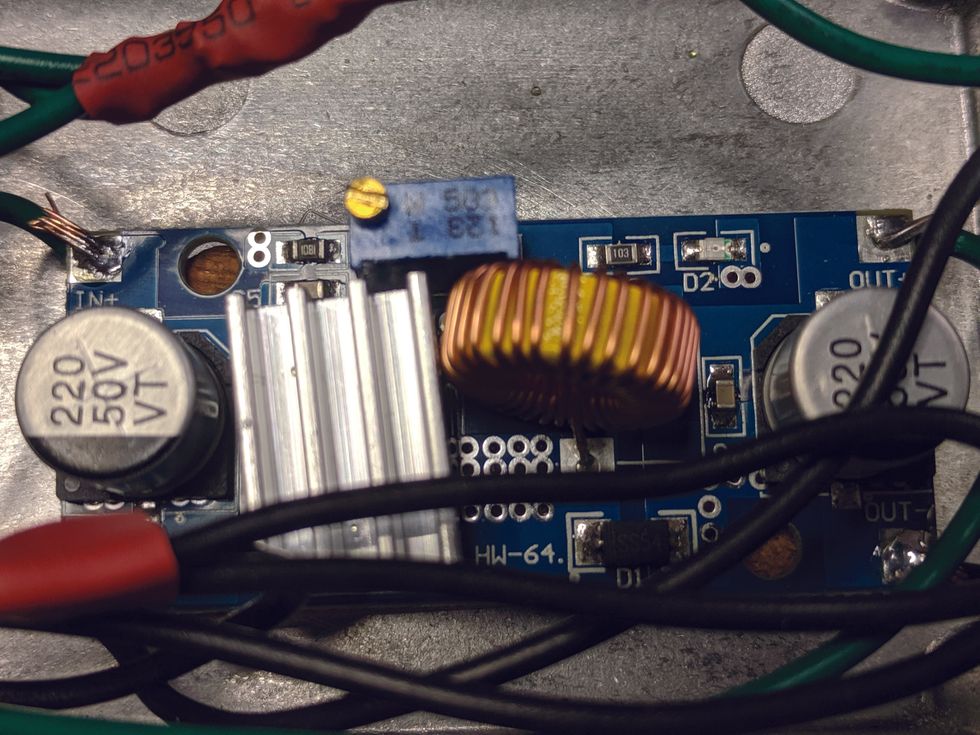
Image 4
The buck converter I bought is about 2" by 1" (Image 4), with connections for DC in and DC out. The small brass screw on top of the blue rectangular box is the adjustment. On mine, turning the screw counterclockwise drops the output voltage. It takes a really small screwdriver to fit the adjustment screw, and a lot of turns to get it down to 9 volts.
The buck converter I bought is good for 3 amps of electric current. So how much current will your pedals draw? I found a good list of different pedals and their power draw on Stinkfoot.se. The four pedals I've been using lately draw a total of 113 mA, or .113 of an amp. It's important to note that stompboxes draw power whenever there is a guitar cord plugged into them, even when switched off. The footswitch on a pedal just routes the signal around the circuitry and doesn't stop the power draw. This is why we're putting a footswitch on our project, so we can turn off the power. We'll also incorporate an LED to remind us when the power is on.
We'll use a basic stompbox enclosure for this project. I used one that measures about 2 1/4" x 4 1/4", and it came in a box of three. The box came with a special stepped drill bit that makes holes for things like jacks, switches, and LEDs, and a helpful list of which steps work for different parts. A piece of masking tape wrapped around the drill bit at the appropriate step will help you drill the right-sized hole without going too far.
What Else Will We Need?
- One 3PDT footswitch (a 2PDT footswitch will also work)
- An LED and mounting bezel
- One 4.7k (drop-down) resistor
- A barrel jack, compatible with your power cord
- Two colors of hookup wire, 22 AWG or 24 AWG
- Standoffs to mount the buck converter, or some silicone caulk
- Three or four nuts and bolts to mount the battery adapter
- And lastly, we will need that old daisy chain power cord I know you have lying around, to power your pedals.
Heat-shrink tubing is not strictly necessary, but it will make your build a lot neater than using electrical tape. Once you buy some, you'll find many uses for it and it'll come in handy often. I got a bag with a bunch of different diameter pieces for a couple bucks, and it's lasted me several years.
Bolt-mount the battery adapter to the bottom of the enclosure.
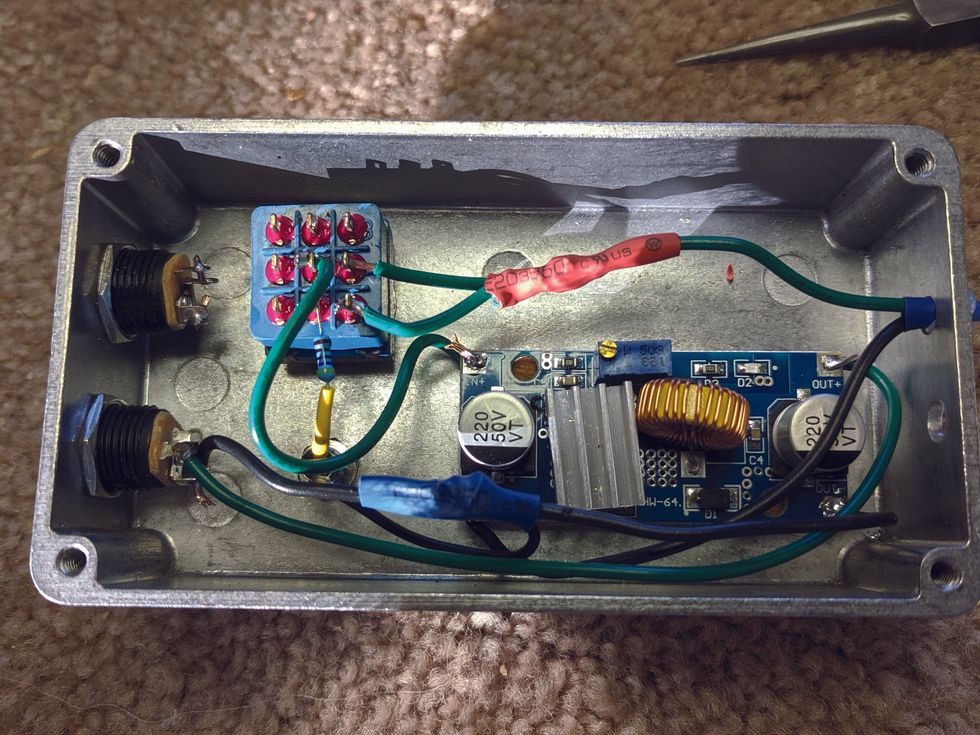
Image 5
Now let's get started. You can see all the parts and wiring fit in the enclosure pretty easily (Image 5). Mark where the holes go carefully. Use the shortest bolts you can, so they don't interfere with the wiring, making sure to leave room to access the screws that hold the enclosure together.
Next, mark where to drill the holes for the footswitch, LED, and jack.
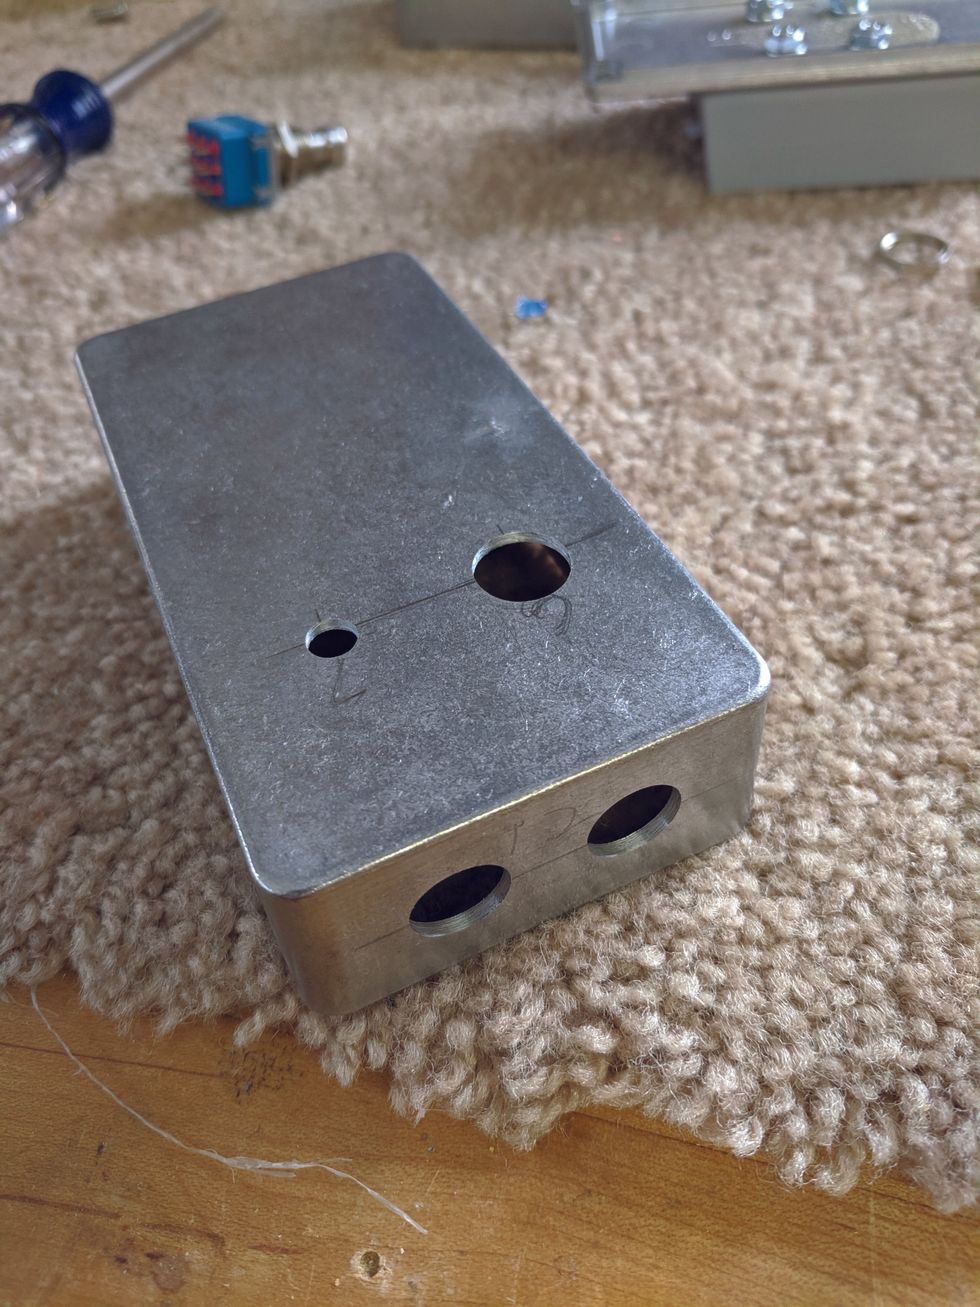
Image 6
You'll need one more hole to bring the wires from the adapter into the enclosure: Put that on the end opposite the jack. Make sure to sand this last hole nice and smooth around the edges so it won't abrade the wire. I put my jack hole about halfway between the top and bottom of the enclosure and that left me plenty of room for wiring. Make sure you leave enough room between the jack and footswitch (Image 6). Now we can mount the jack, footswitch, and LED bezel.
At this point, you just need to follow the diagram to wire things up. I used 22 AWG wire and found it a little bit cumbersome to fit it into a few of the tighter spaces and get it soldered. On that note, 24 AWG wire would probably be fine. It should be good for around 1.4 to 3.5 amps, depending on if it's stranded or solid core. To give you an idea, 1.4 amps is more than 10 times the current of what my four pedals draw.
I mounted another jack for 18-volt output, just in case I ever get an 18-volt pedal. (This would also require a second buck converter.) After wiring it up, however, I found my 18-volt batteries are actually around 20 volts, so I removed the wiring.
If you don't have standoffs for your buck converter, you need another way to mount it to the inside of your enclosure.
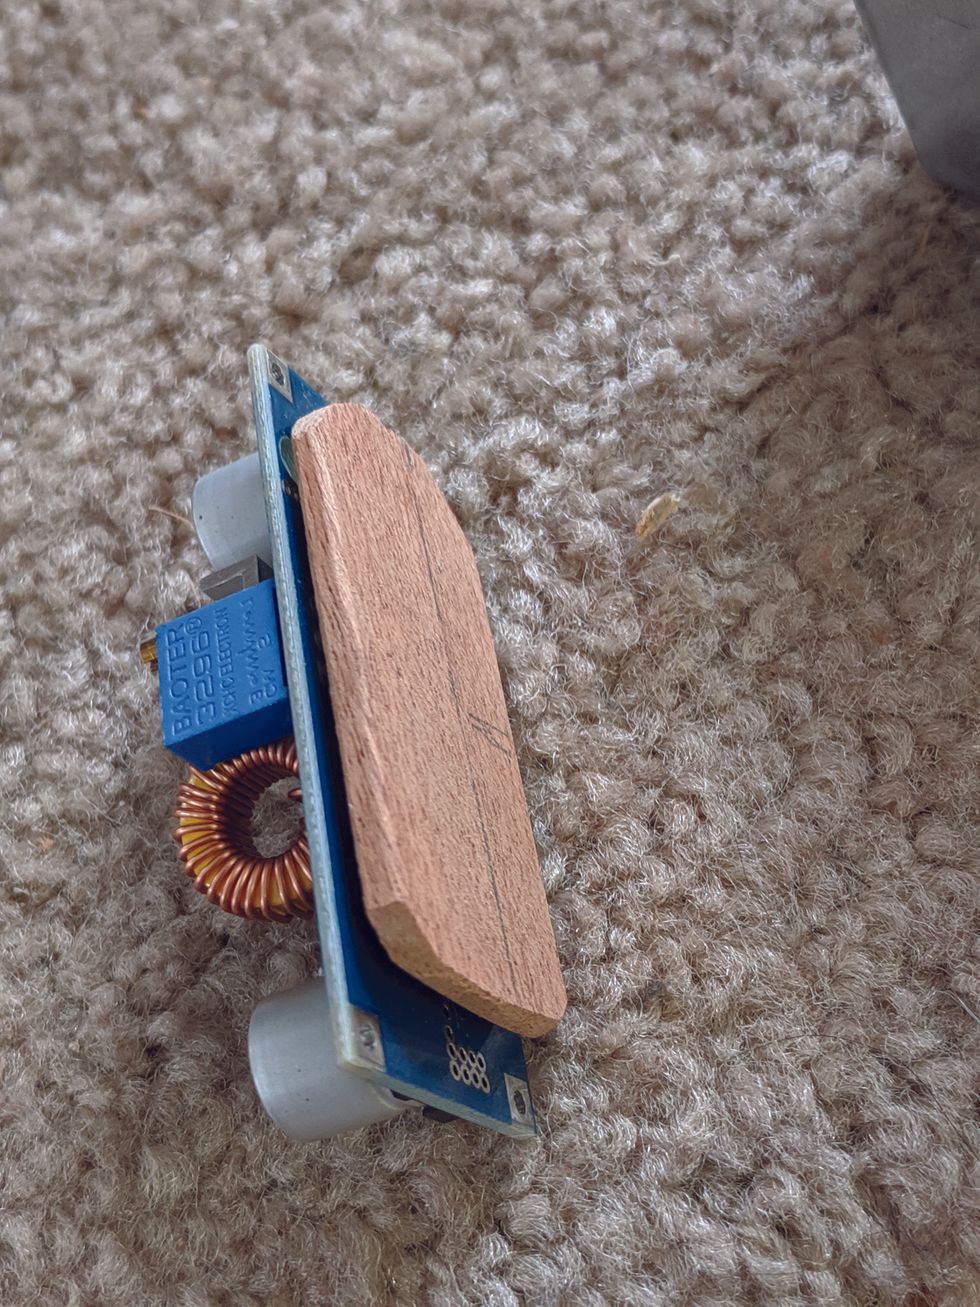
Image 7
I used silicone caulk to glue mine to a thin piece of wood. I used alcohol to clean the enclosure where I put the silicone, to make sure it would stick. After the silicone was dry and I wired up the converter, I used more silicone to glue it to the enclosure (Image 7).
Cut the wires from your battery adapter to a shorter length, feed the wires from the input of your buck converter through their hole in the enclosure, and solder them to the battery wires.
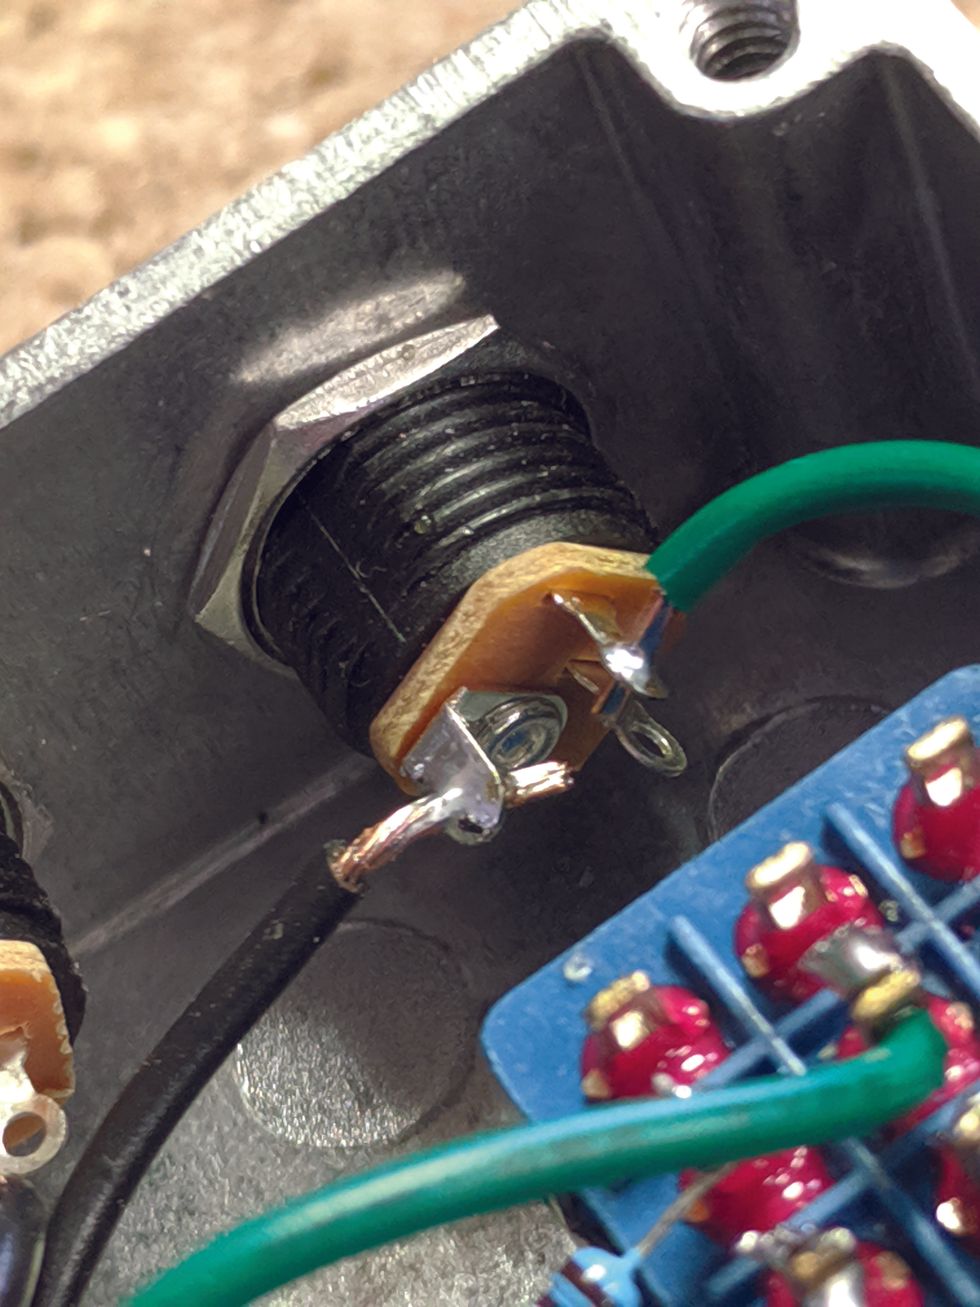
Image 8
This is where your heat-shrink tubing will come in handy. Use some more of that silicone to anchor the wires in the hole after you know everything works. And be sure that you wire your jacks so the center is negative (Image 8).
The LED needs a resistor soldered to the positive leg in series to operate.
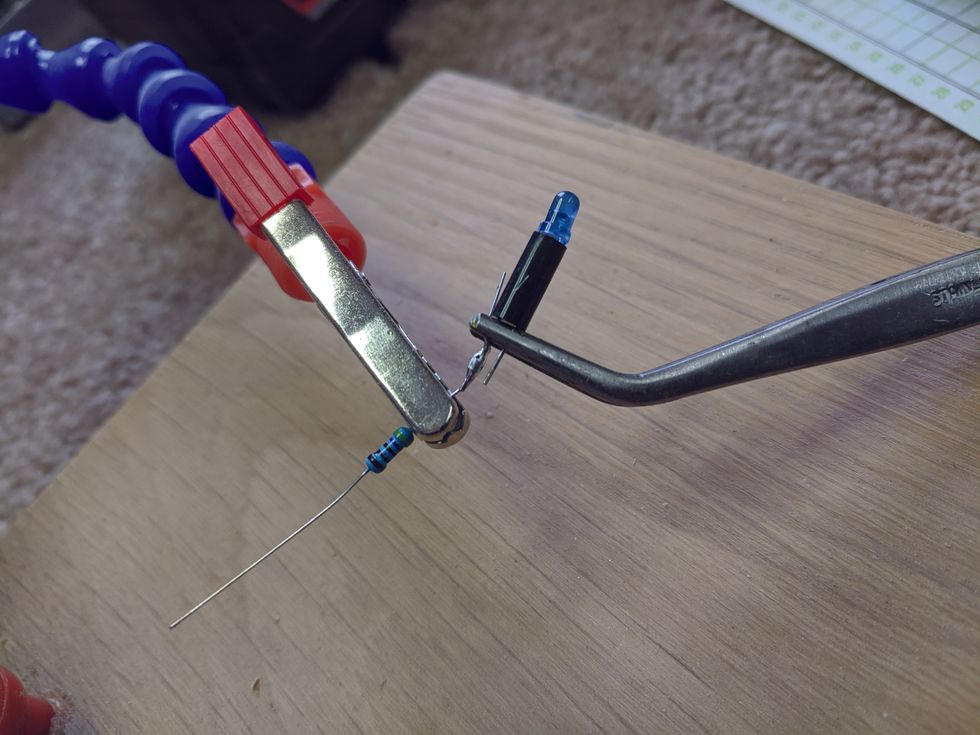
Image 9
The positive leg is the longer one. Fit the LED legs through the plastic-mounting sleeve that came with the bezel before you solder on your resistor (Image 9). The LED will then just push into the bezel. If your LED is close enough, you can solder the other end of the resistor to the switch, like I did. You can use wire if it's too far. The other lead from the LED goes to the ground from the battery. It's worth noting that the value of the drop-down resistor depends a lot on the type and color or LED. We're using a 4.7k resistor, which works fine with a blue standard LED. For all other LED colors and types, the resistor type can be recalculated online. A good resource for this is: https://www.muzique.com/schem/led.htm.
If you soldered everything up correctly, you should be good to go! I have two different-sized drill batteries, and even the small ones will power my pedals for nine hours. I would suggest turning your power supply on and testing with your multimeter before plugging in any of your pedals, taking care that the polarity of your output is correct.
How could you modify my design? You could use a larger enclosure and more jacks, allowing you to power each pedal with its own cable. Instead of a larger enclosure, you could make a separate box with lots of power jacks. A second buck converter could allow for 18-volt power. Maybe it would make sense for you to mount your battery adapter directly to your pedalboard and mount the stompbox enclosure separately. Let me know if you have other ideas in the comments section online.
For me, this was an enjoyable switch from my usual projects. I have a lot of leftover parts, so I guess it's time to start thinking about what to make next.PQ: "I would suggest turning your power supply on and testing with your multimeter before plugging in any of your pedals, taking care that the polarity of your output is correct."
[Updated 1/25/22]