
If you read this column regularly, you'll know that we sometimes explore the ins and outs of shielding electric guitars. Our most recent foray was “How to Shield Single-Coil Pickup Covers." This time around we'll discuss the best way to shield humbucker covers—and why you might want to consider doing this.
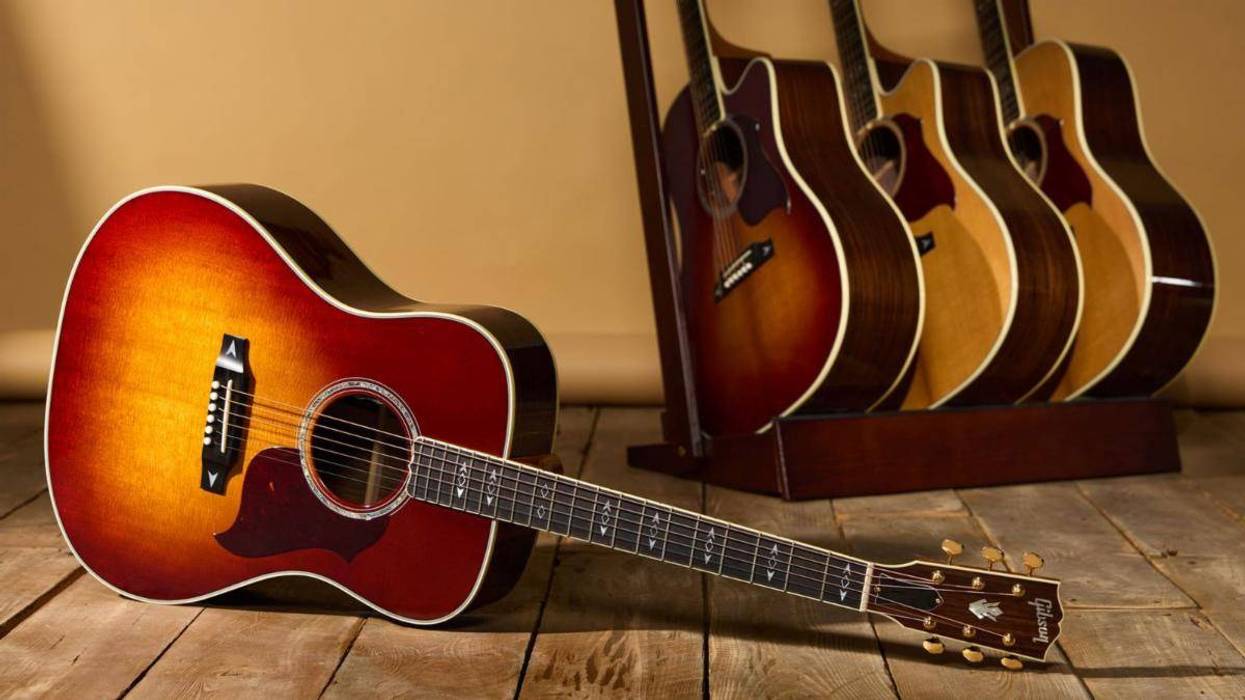
Actually, our focus here isn't shielding per se, but tone. As you know, in comparison to single-coil pickups, humbuckers are less prone to hum and noise due to their construction. Classic PAF-style humbuckers use metal covers that offer a good degree of shielding, as long as they are connected to ground. But this also affects the sound: Metal covers dampen the high end, which is why so many players remove them.
But what causes this high-end loss? The answer lies in eddy currents, which we discussed in the aforementioned column on single-coil covers. When you remove a humbucker's metal cover, the difference in tone is stunning. If maximum high end is your goal, that's the way to go, but the price you pay is the loss of shielding. What if there was a way to reap most of the benefits of shielding while also coaxing more lively tone from covered humbuckers?
You could, of course, remove the metal cover and then individually shield the two coils with copper foil, as you would with a single-coil pickup, but that requires completely disassembling the humbucker—a demanding task, at best.
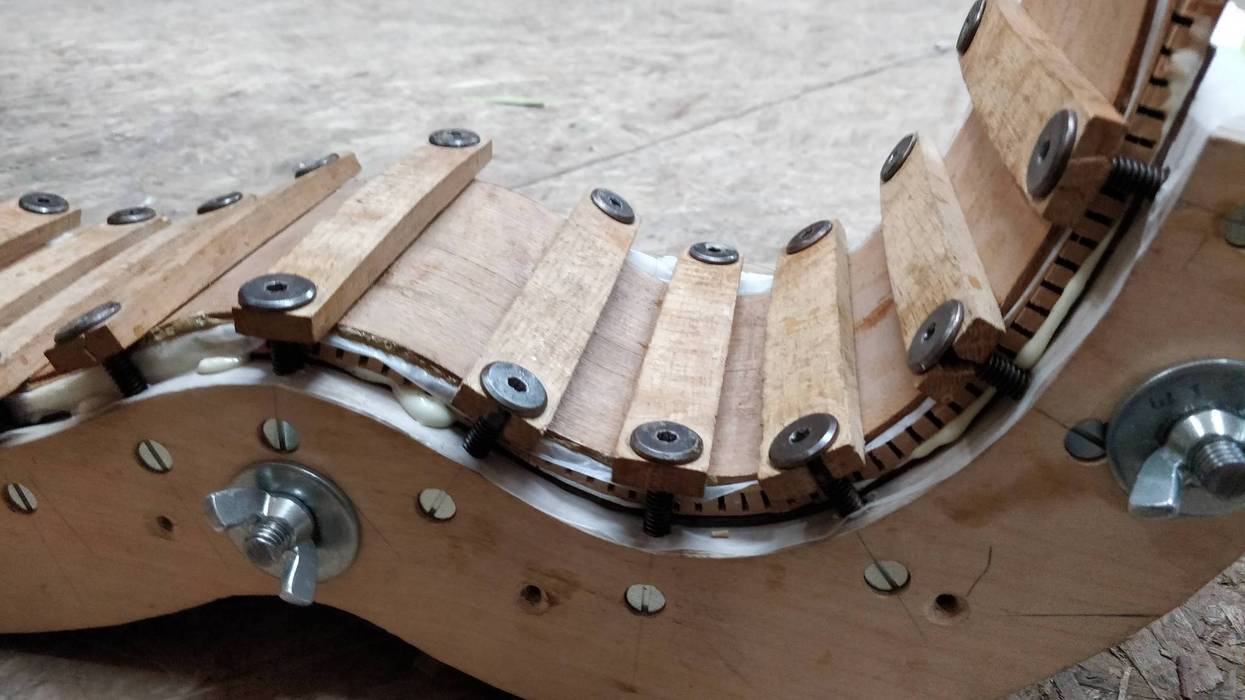
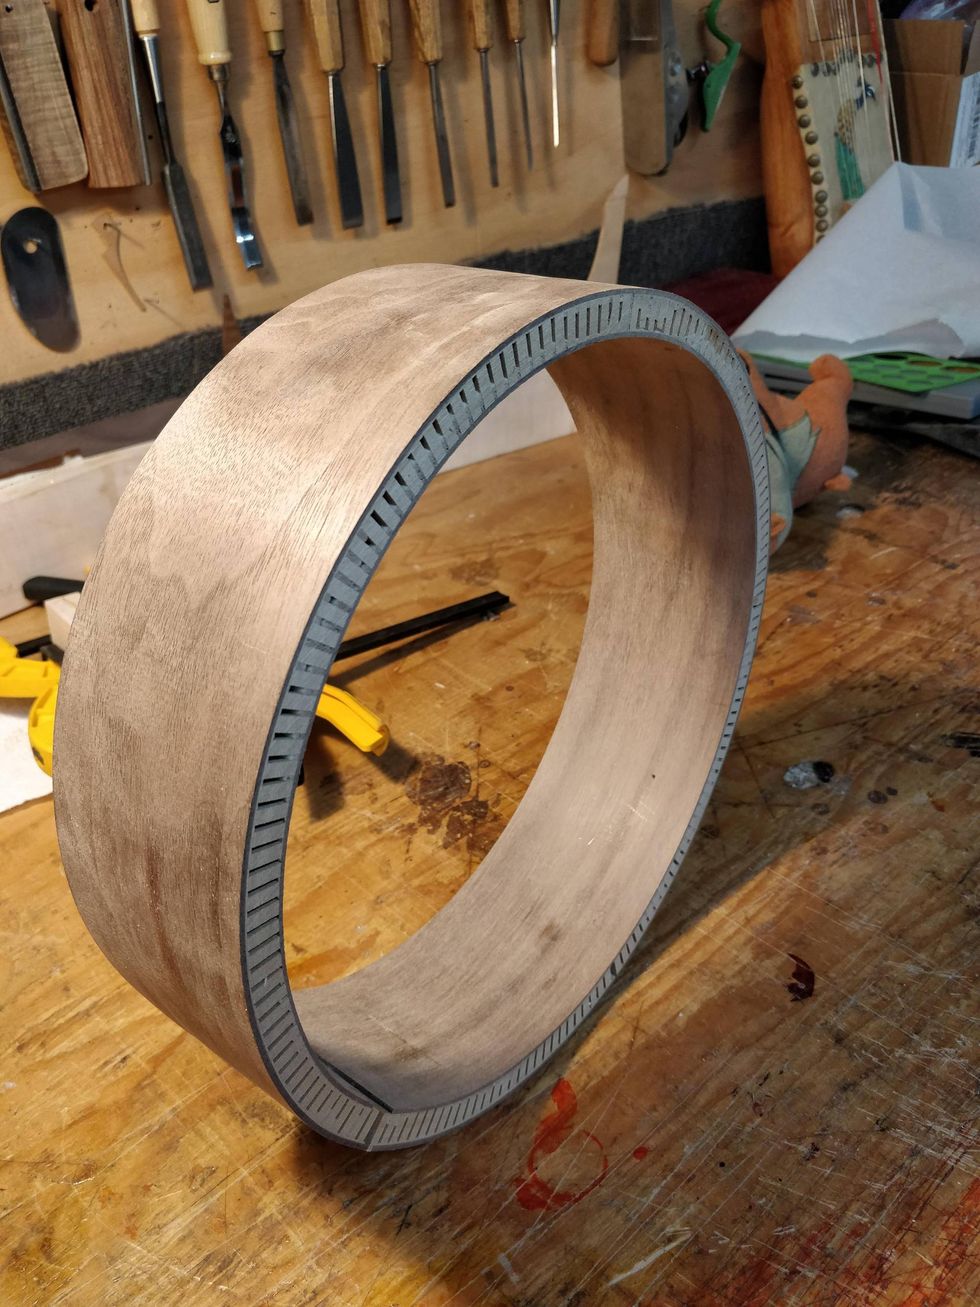
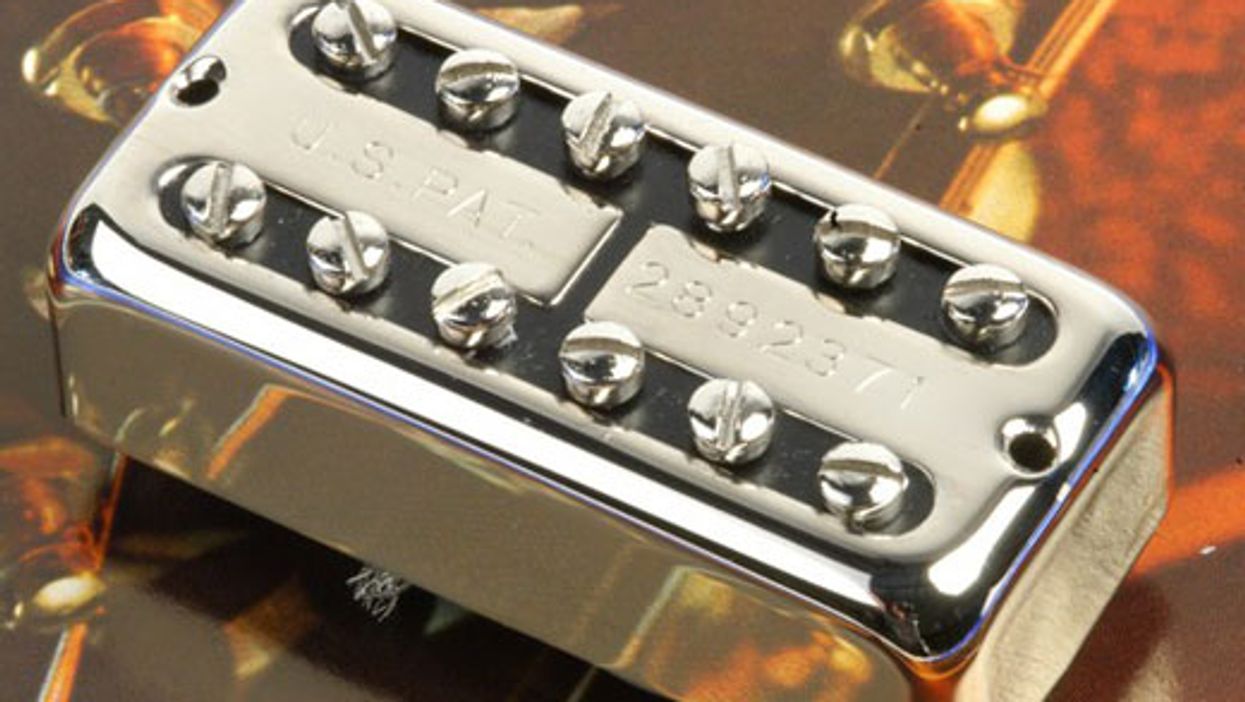
An alternative solution is to replace the standard metal humbucker cover with a Filter'Tron-style metal cover that's sized for humbuckers. There's a reason why Gretsch used this unique design for their pickup covers (Image 1). It certainly had visual appeal that became a recognizable trademark, but technically these covers incorporate a very clever design: That gap in the metal breaks the eddy currents, which is one of the reasons Filter'Tron humbuckers sound so fresh and alive. Several companies offer pickup covers with the familiar H-style opening on top that fit standard humbuckers (Image 2 and Image 3).
But if the Gretsch visual vibe isn't your cup of tea, there's another option. You can swap the metal humbucker cover for a non-metal cover and shield it internally in such a way that you invisibly recreate the H-style opening. Available from such vendors as Mojotone, Allparts, and Guitar Parts Factory, these plastic or wood (rosewood, maple, and more) covers often come without pole piece holes, which means you don't have to match the cover to your specific string spacing.
The process is similar to what we did with Stratocaster pickup covers in that previous column. The difference is that we'll mimic the Gretsch H pattern inside the plastic cover while shielding it. You don't need much to do this—just some conductive self-adhesive copper tape, some alcohol or naphtha, a pair of scissors, an X-Acto knife, a soldering iron, and some thin, insulated wire. (Note: Self-adhesive copper tape comes in different widths, ranging from 1/4" to several inches. For this project, wider tape is ideal.) Let's break the operation down into four steps.
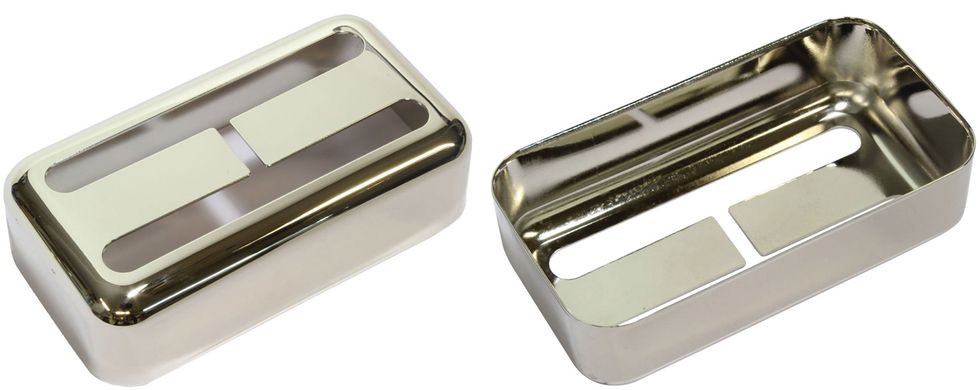
Images 2 and 3 — Photos courtesy Crazyparts.de
Step 1: Cut the pieces of copper tape. Firmly press the top of the pickup cover against the copper tape and cut out its outline. Next, measure the depth inside the pickup cover and then determine how long a piece of tape you'll need to fully encircle the cover's interior sides. Using these measurements, cut out a corresponding strip of copper tape. Now cut off a little piece from the end of this perimeter strip, so its head and tail will not touch each other—you want to create a small gap between them.
Step 2: Line the sides. Attach the long piece of copper tape to the interior walls of the pickup cover, placing the small perimeter gap wherever you want. If any copper tape extends beyond the cover, trim it off with an X-Acto knife.
Step 3: Prepare the top piece. Now comes the tricky part—cutting the H pattern into the top piece of copper foil. First, I recommend tracing the H pattern onto a piece of paper or cardboard, as in Image 4, which shows the pattern as if the cover's top is flush against the workbench and you're staring down into the cavity. Next, cut out the four pieces of paper or cardboard and place them inside the pickup cover. Look closely at the photo of a Gretsch Filter'Tron cover and make sure everything lines up to your satisfaction. Once you're sure the parts are sized correctly, use these pieces to transfer the pattern onto the top section of copper foil. Finally, cut the foil into four pieces with a small pair of scissors. The width of the gap between these individual pieces is not important, as long as the four pieces do not touch each other.
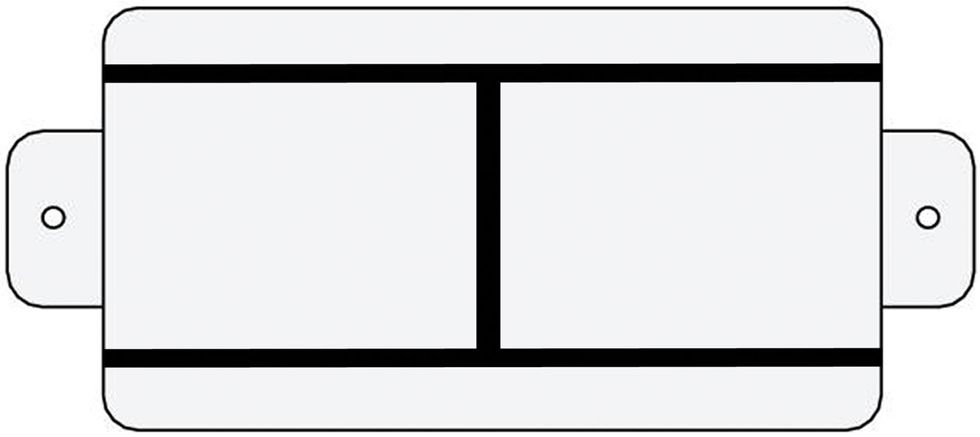
Image 4 — Illustration courtesy singlecoil.com
Step 4: Install the top pieces. Glue the four pieces to the inside top. Again, these four top pieces should not touch each other, though they can contact the side strip. In fact, the next step is to solder a connection point between each top piece and its adjacent side strip so they make electrical contact with each other. Solder a thin piece of insulated wire to one of these four solder joints, then solder the other end of this wire to ground, e.g., the back of a pot. If your cover is plastic, as opposed to wood, work quickly while soldering to avoid melting it.
As an alternative to copper foil, you can use conductive silver paint to shield the humbucker cover from the inside and connect the ground wire with conductive silver glue. When applying the paint, use the same pattern as with the copper foil. From my experience, copper foil works much better in terms of shielding, but the paint makes the job easier and faster. That said, conductive silver paint is expensive, and you'll need quite a bit of it to create the H pattern inside the cover, so that's another factor to consider.
That's it. Next time, we'll discuss different types of wire and how to use them inside guitars and basses. I get lots of emails asking about this, so I'll show you some pro wiring tricks that don't require buying a bunch of specialized tools. Until then ... keep on shielding!