I can always tell when we've had a cold winter by the guitars that come into my shop. When folks crank up the heat during cold weather, it removes moisture from the air. A guitar's fretboard can actually shrink in a low-humidity environment, causing the fret ends to protrude slightly on either side of the neck. You can generally prevent this by using a room humidifier or inexpensive guitar-humidifying device, but once the sharp fret ends are poking out, you need to deal with them, because they make the guitar very uncomfortable to play. It's not difficult to repair sharp frets, but it takes the right tools and materials, and you have to know what you're doing.
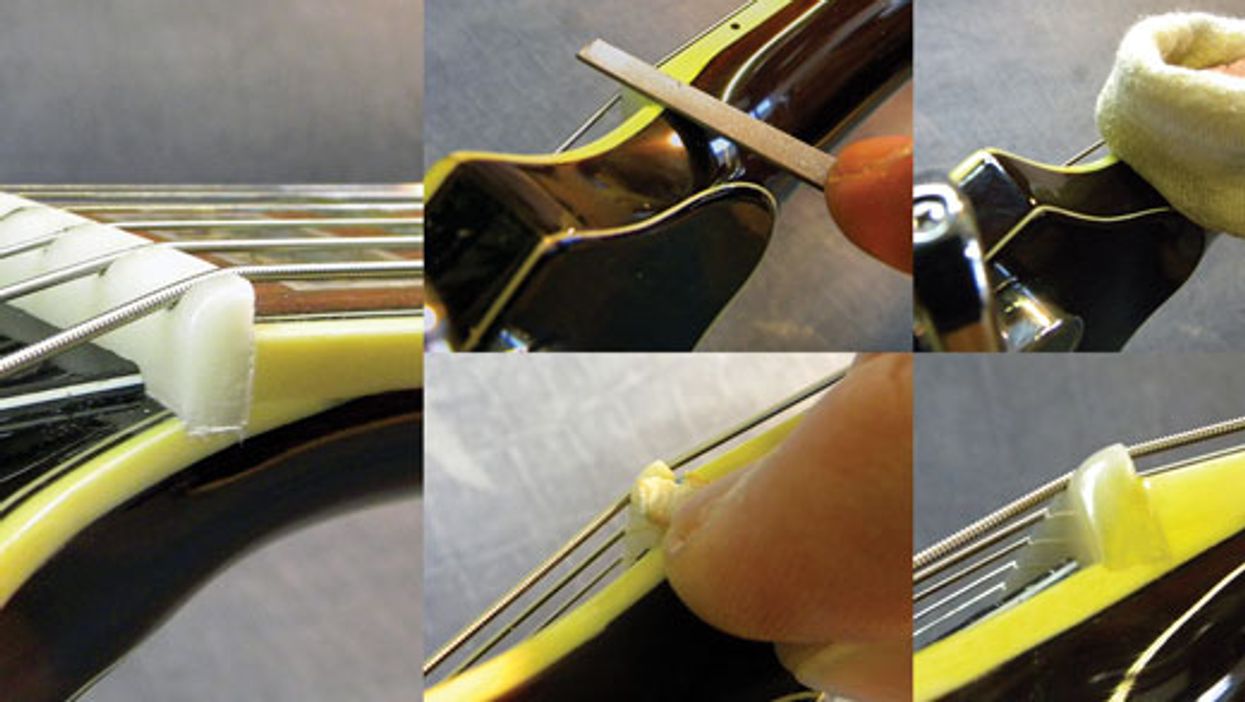
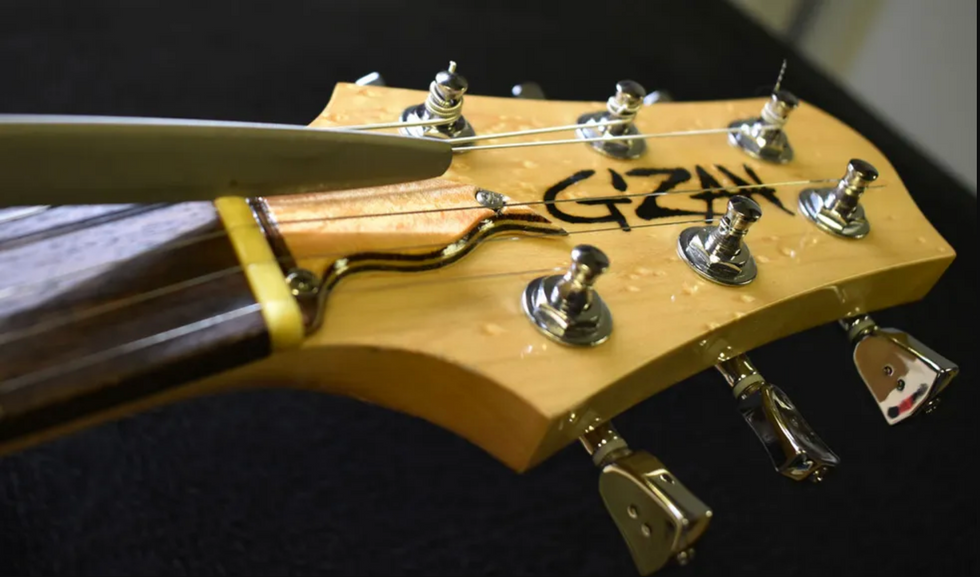
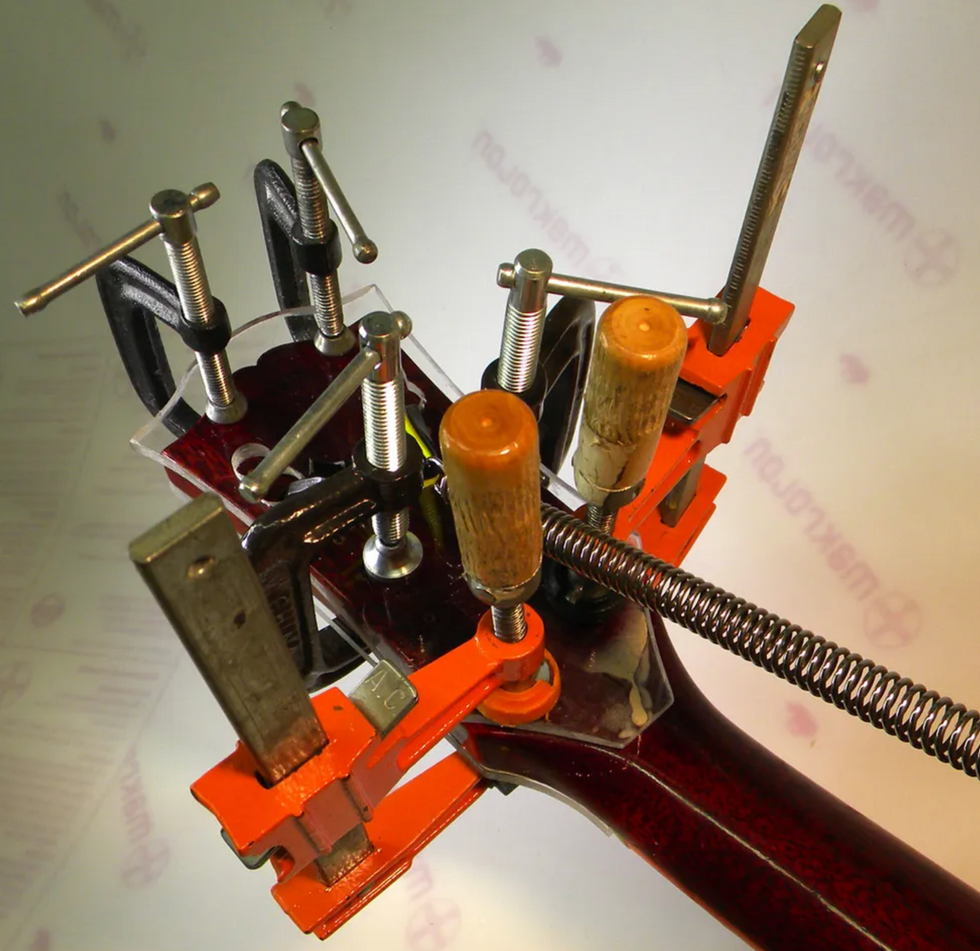
Photo 1 shows an example of sharp frets. This is a fairly new guitar, but the owner has obviously never humidified it. At this point, the fret ends need to be filed, shaped, and buffed.
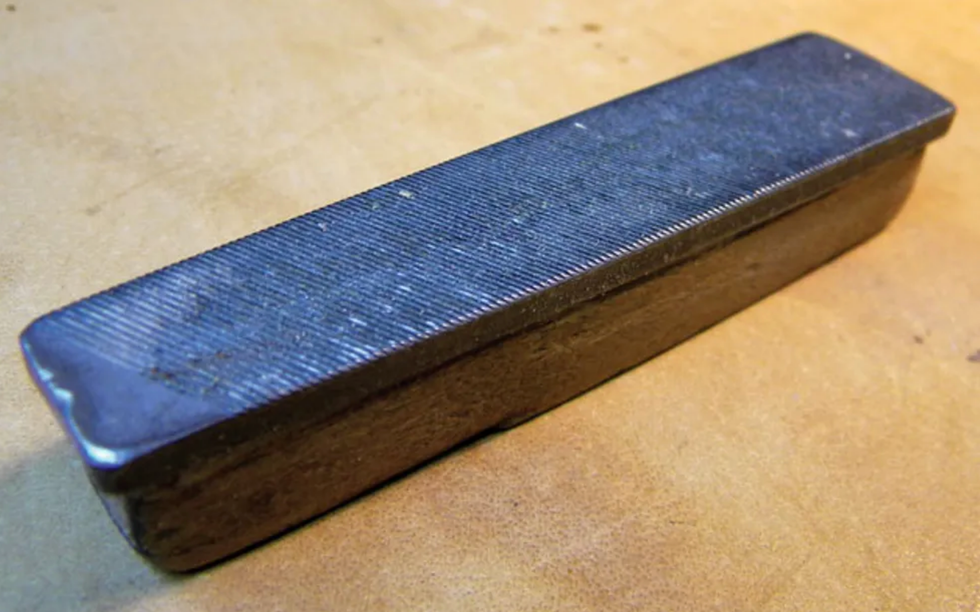
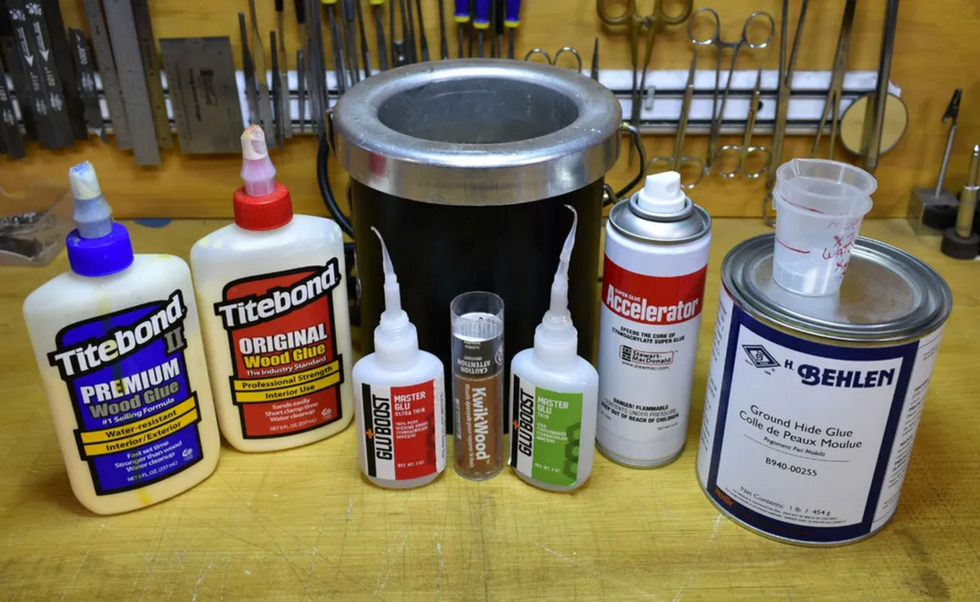
Photo 2
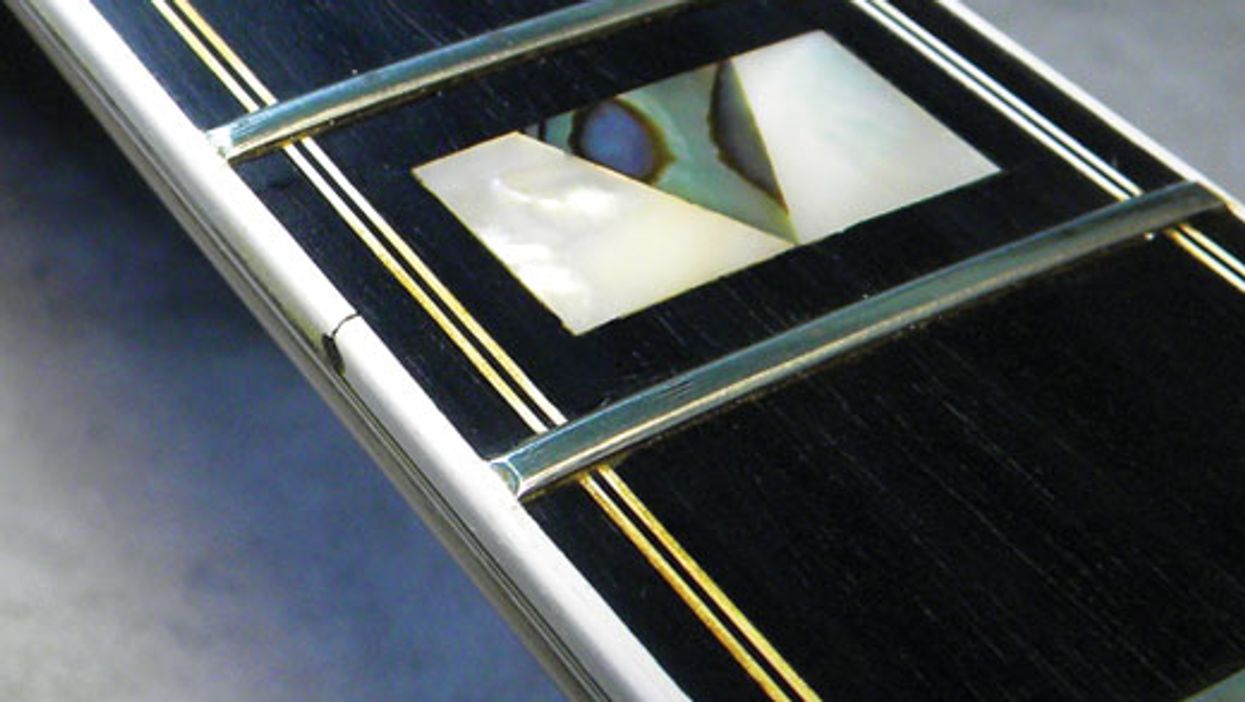
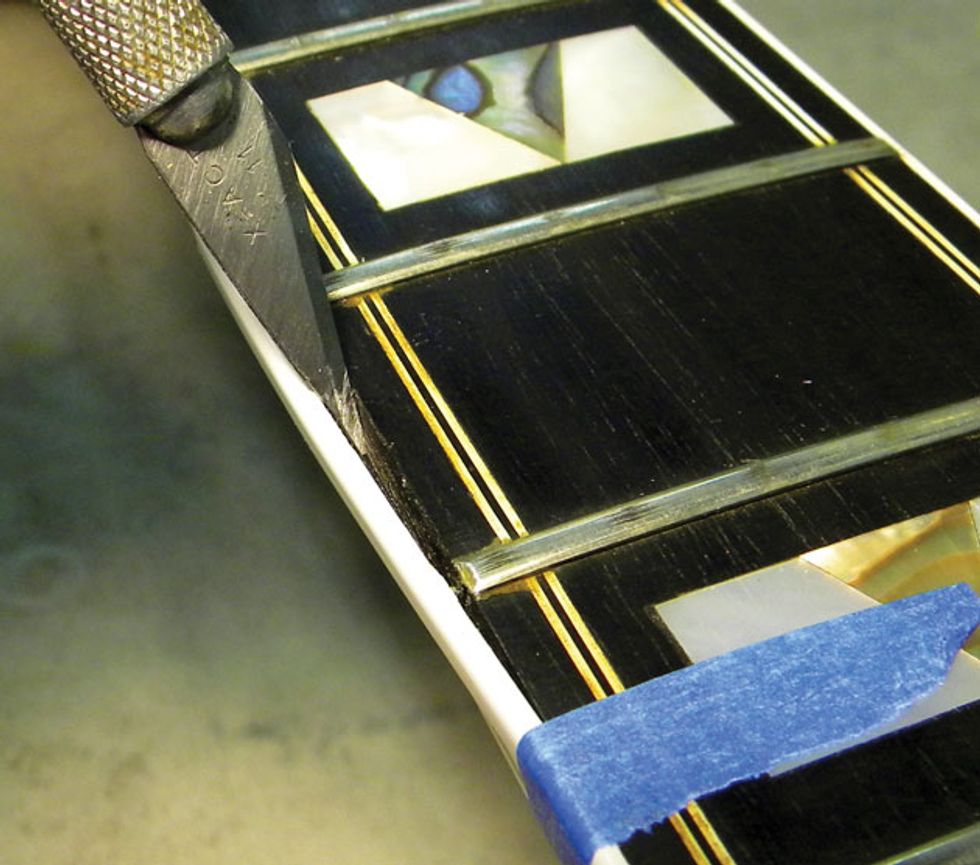
You need two files for this job: a fine-tooth flat file (Photo 2) and a three-corner miniature file (Photo 3) that has been customized for fretwork.
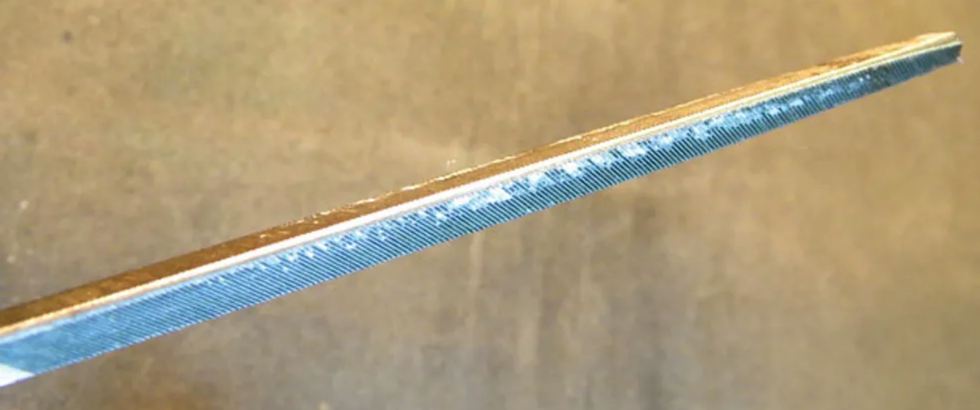
Photo 3
Fine-tooth flat files come in many sizes and shapes, and they're available from specialized guitar-tool companies like Stewart-MacDonald, Luthiers Mercantile, and Allparts, and even home improvement stores. Look for a file with fine teeth that's between 3 1/2" and 8" long. Several companies carry diamond-coated files, and these also work well.
I prefer Nicholson three-corner miniature files, but most brands get the job done. A three-corner file is perfect for rounding the sides of a fret end, and the best type for this job is a "single-cut" file. In other words, the file's teeth only cut in one direction, which limits debris buildup.
Important: Make sure you round and sand smooth one of the corners of the file. Otherwise, the file can cut into the fretboard (and binding, if the guitar has it). I used a belt sander to gently remove the teeth from one of the edges of my file. If you don't want to do this yourself, the guitar-tool suppliers mentioned above sell three-corner files with smoothed leading edges intended for fretwork.
Filing fret ends.
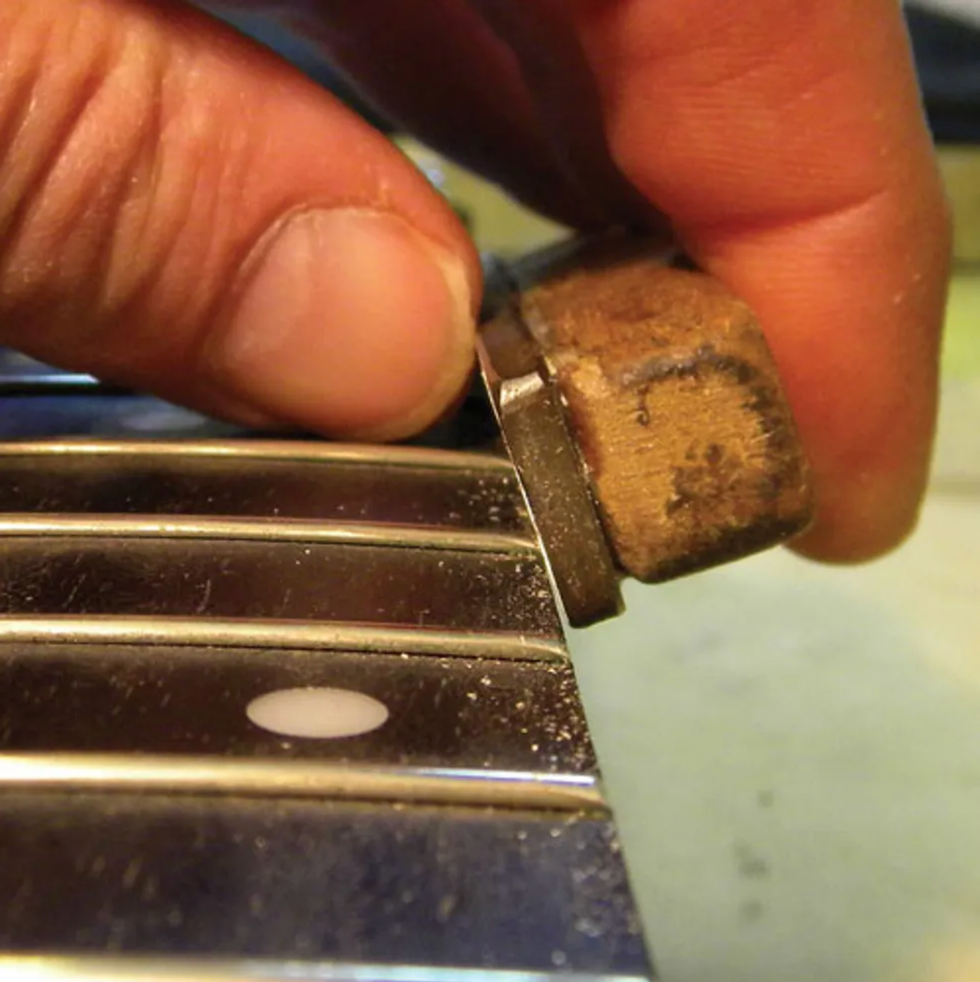
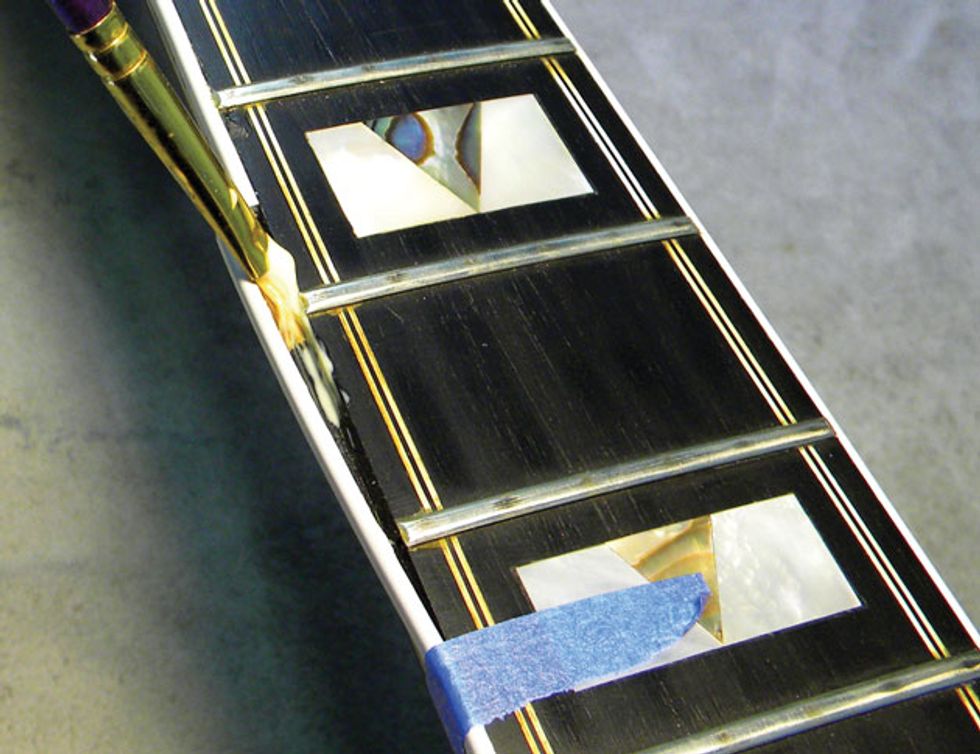
Photo 4
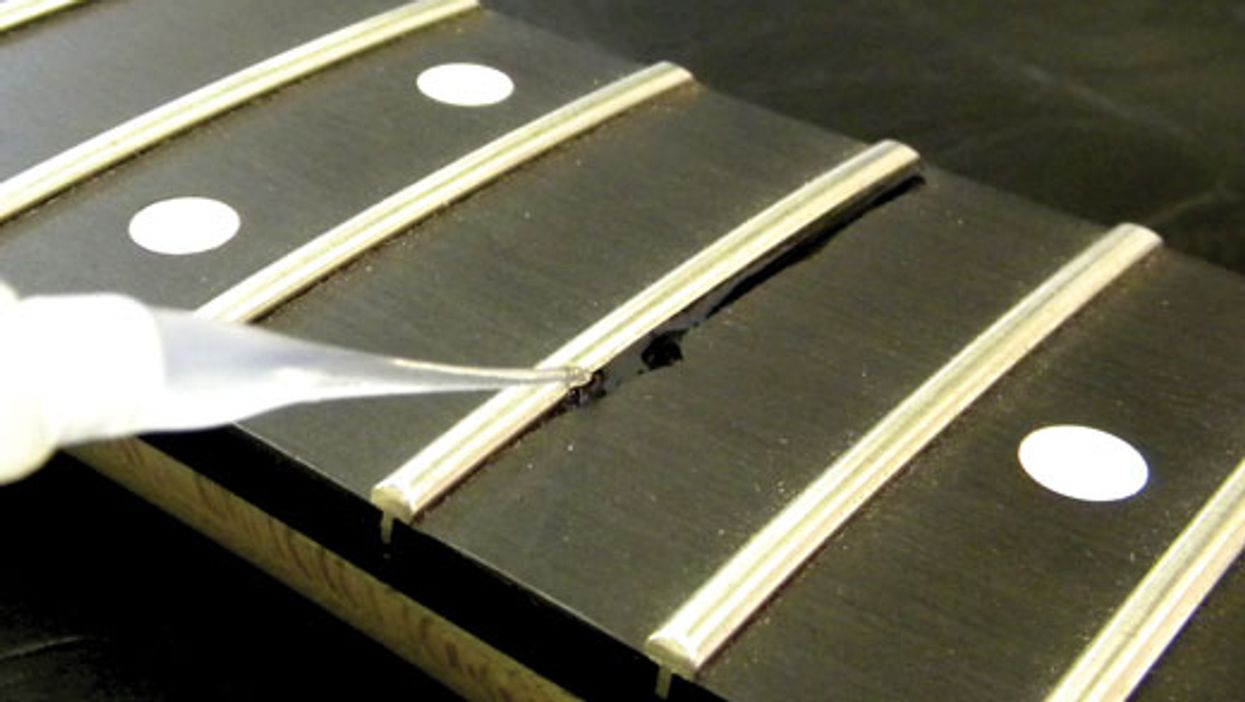
The first step is to file the protruding fret ends flush to the fretboard. Hold the fine-tooth flat file against the side of the fretboard and gently drag the file from the first fret down to the last fret (Photo 4). Let the tool do the work—you're just guiding it. If you press too hard, you may cut into the fretboard or binding.
Once the frets are filed flush to the fretboard, angle the flat file slightly—approximately 35 to 45 degrees—and glide along the tips of the frets until they have a uniform bevel. But make sure you don't add too much of a bevel. If the bevel is too long, the E strings can slip off the frets when you play.
It's not difficult to repair sharp frets, but it takes the right tools and materials, and you have to know what you're doing.
When the fret ends on both sides of the fretboard look uniform and feel flush, you're ready to take the next step.
Rounding the fret ends. This operation takes patience and skill. The goal is to smooth off the edges of the frets where they meet the fretboard so the frets don't feel sharp. Using the special three-corner file, place the "toothless" edge facing down toward the fretboard and gently roll the file over the edge of the fret end (Photo 5). It only takes about three or four gentle strokes to smooth out the fret end.
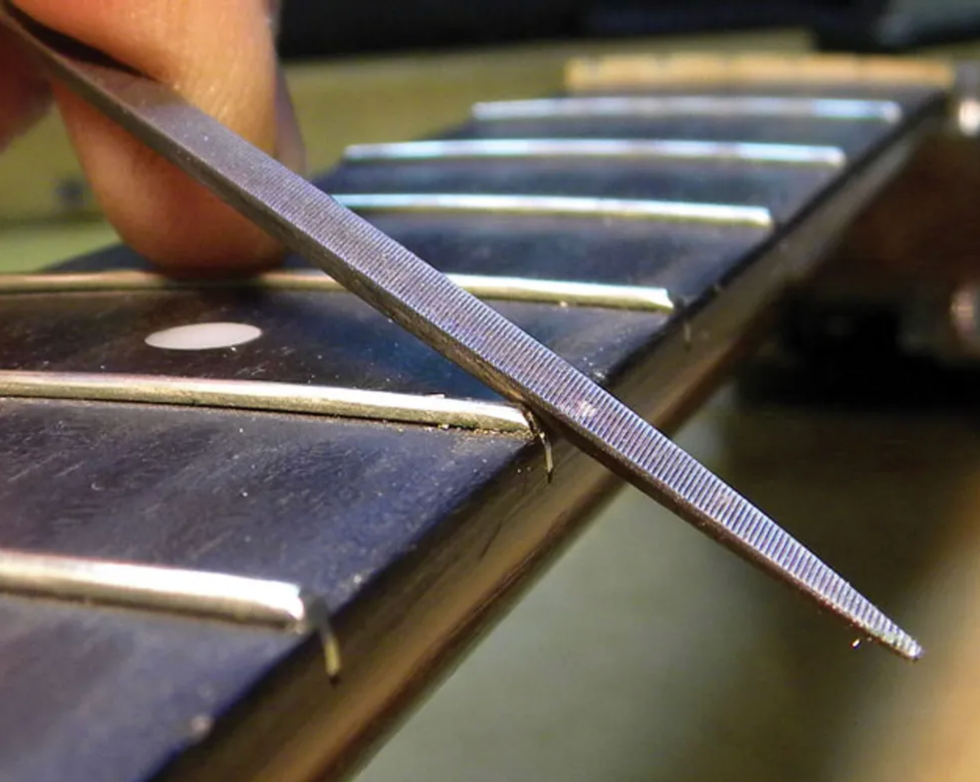
Photo 5
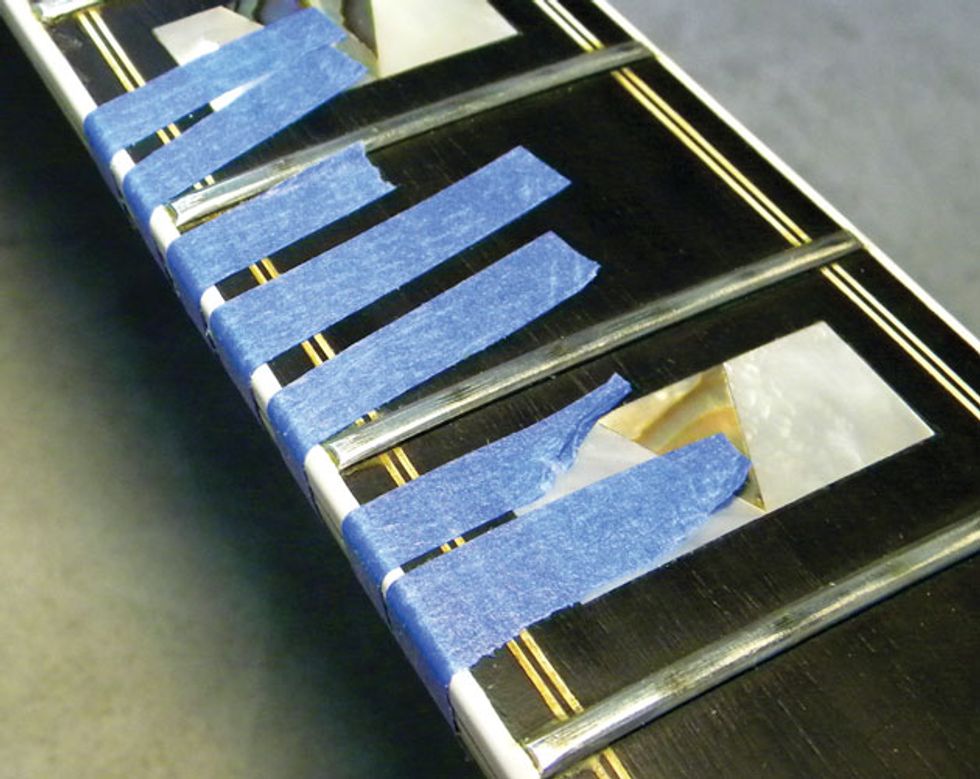
Repeat this process for each side of every fret until all frets are smooth and rounded. Be aware of your file at all times, especially when working over the body. You don't want to knick or gouge that top! File slowly and methodically. If you want to protect the guitar, you can use low-tack painter's tape to mask off vulnerable areas.
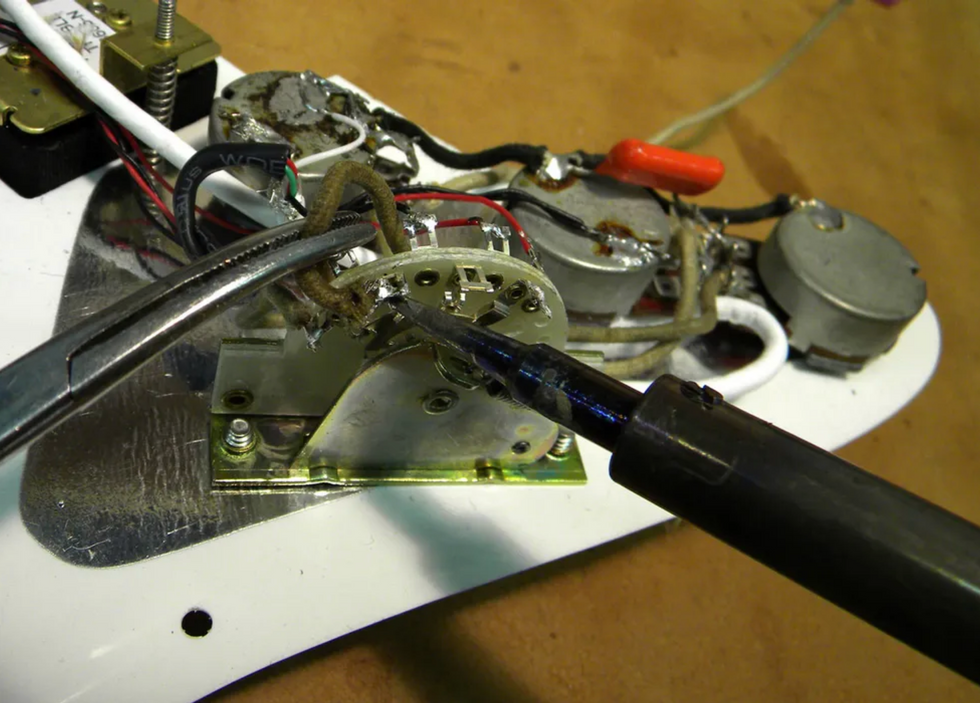
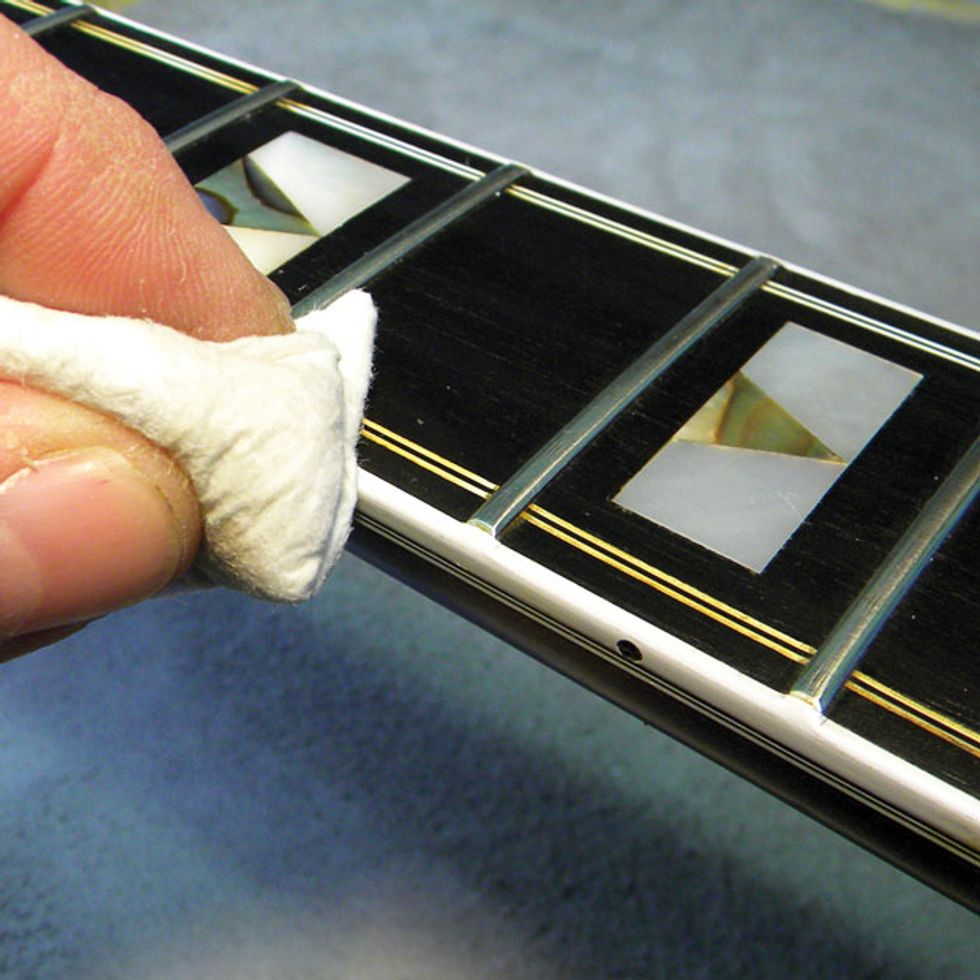
Removing tool marks. Now it's time to clean up. Using a single-edged razor blade, carefully scrape back and forth on the fretboard until any tool marks are gone (Photo 6). Use a light touch and don't scrape away too much wood. The goal is to remove the minimum amount of material required to smooth out the marks.
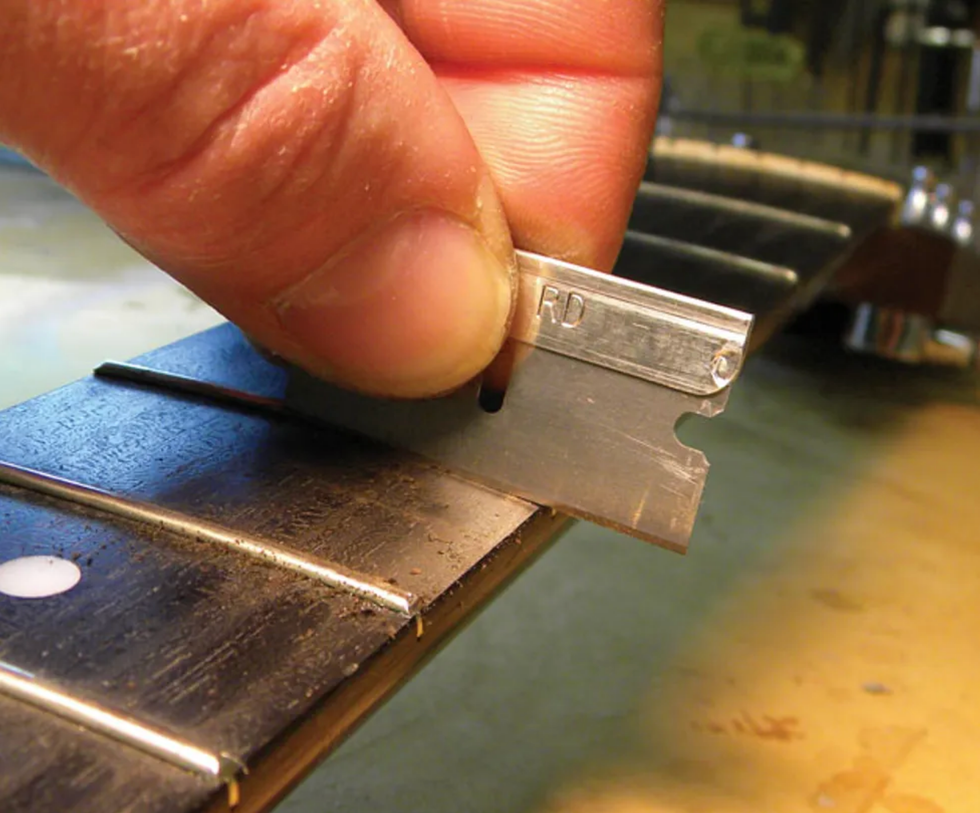
Photo 6
Polishing the fret ends.
The next step is to use super-fine polishing paper, which is available in many styles (including micro-mesh cloths and fret "erasers" in a sequenced series of grits) from luthier suppliers and guitar-accessory companies like Dunlop and Planet Waves.
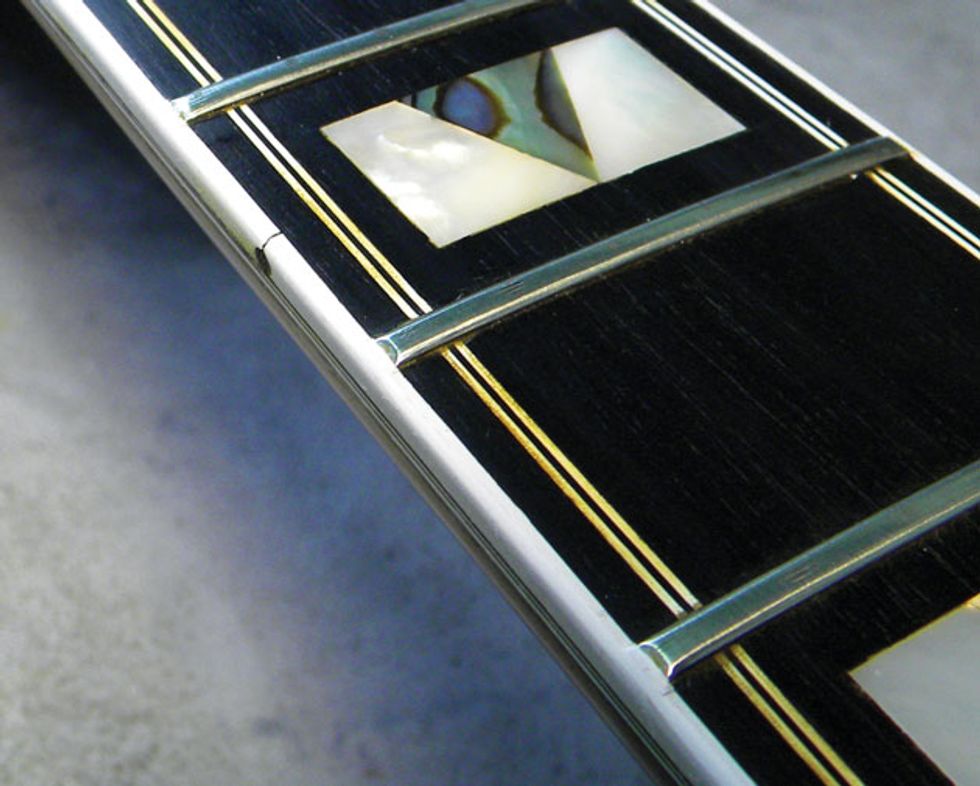
Grip your polishing paper or cloth and gently rub the fret ends along the fretboard. This gives the frets a nice shiny look. While you're at it, why not polish the tops of all the frets?
Conditioning the fretboard.
The final step in our process is to condition the fretboard. There are dozens of products available for cleaning and conditioning a guitar's open, unfinished wood. With a little research and some trial and error, you'll find a product that works well for you.
Apply the conditioner onto the fretboard and scrub it in using an old toothbrush. This removes built-up dirt and sweat and helps the wood absorb the conditioner. When the fretboard is completely covered, wipe it off with a paper towel.
Parting thoughts.
As we've seen, the primary cause of sharp fret ends is a lack of humidity. The optimum humidity level for any guitar is between 40-50 percent. Conditioning your fretboard helps minimize humidity issues, but it's still imperative to keep your guitar humidified. The bottom line: It pays to check out various guitar humidifiers. Designed to fit into the guitar body or case, they're inexpensive and easy to use. Humidifiers can prevent sharp fret ends and save you a ton of work.
[Updated 9/30/21]