
Last month, we began a special project: We wanted to squeeze as many useable sounds as possible from a single-pickup Esquire [“The Ultra-flexible Esquire Wiring, Pt. 1," February 2013.] And as regular readers will recall, this was part of a larger investigation into equipping an Esquire with a humbucker [“Humbucker Pickups in an Esquire, Pt. 1 & 2," December 2012 and January 2013].
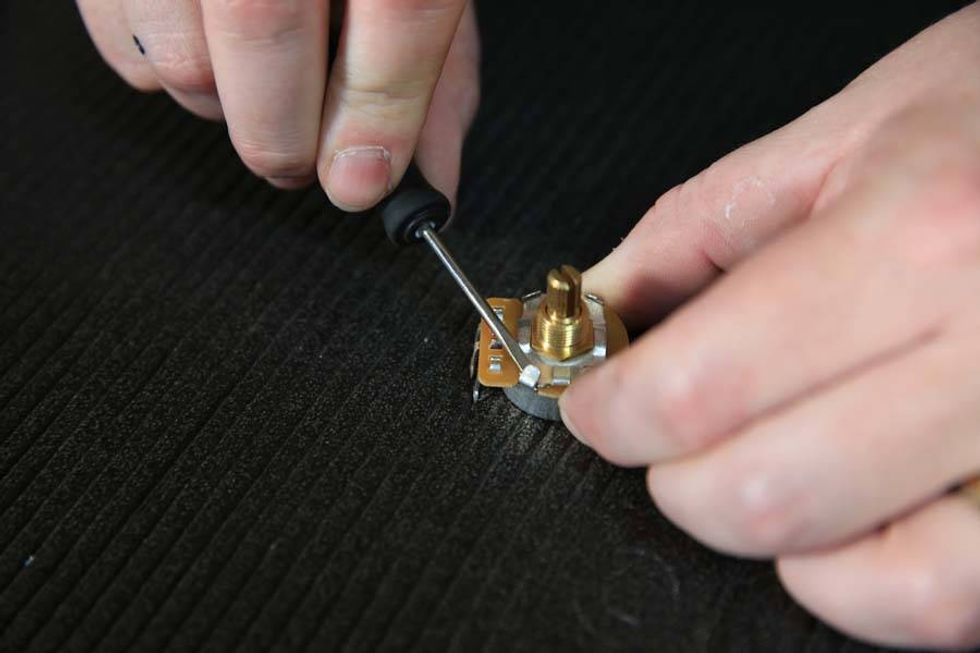
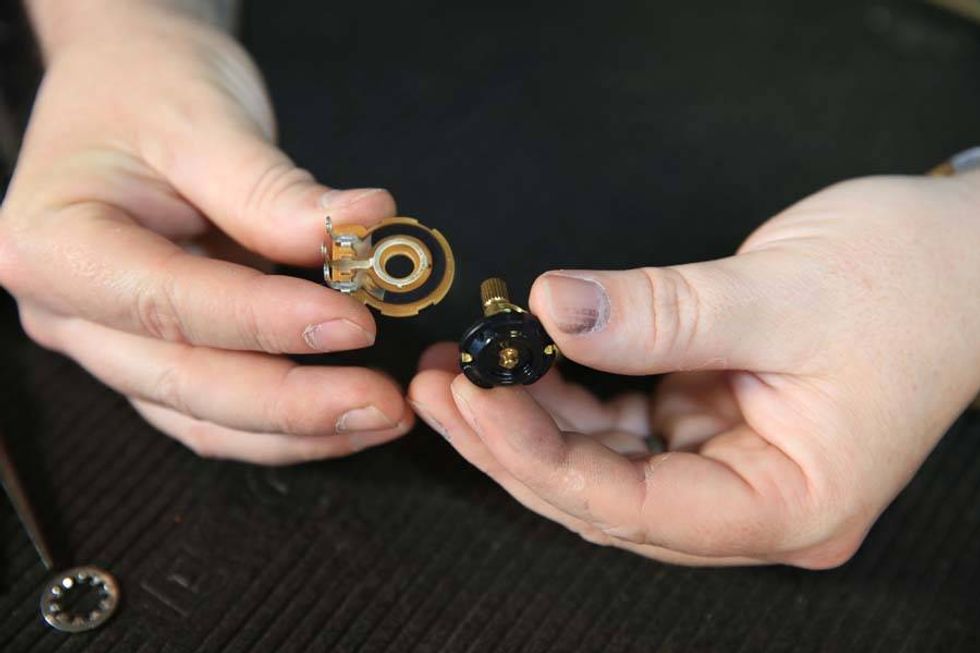
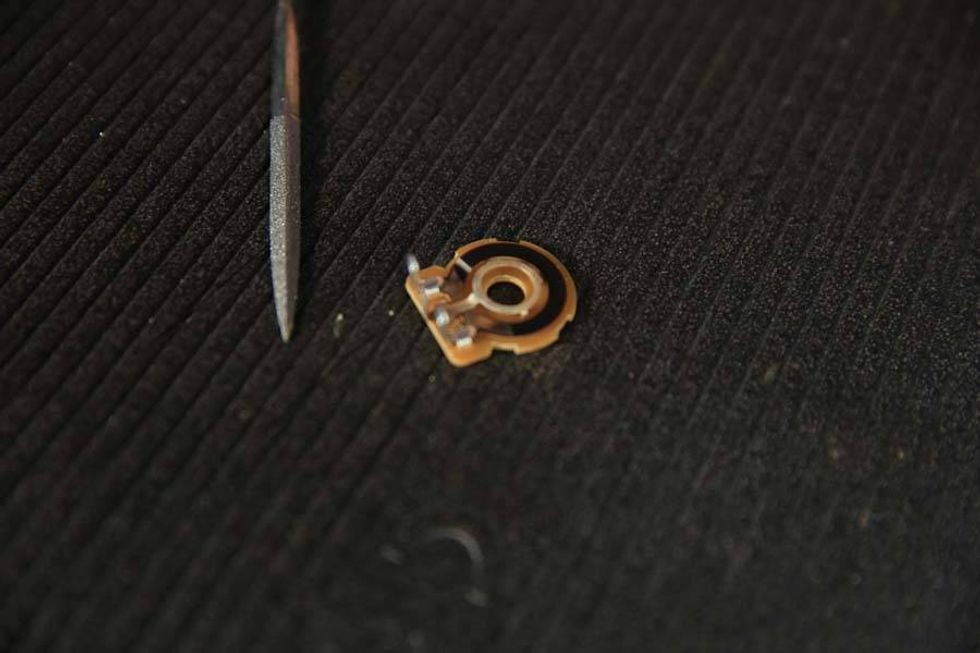
In the first installment of this series, we freed our Esquire 3-way pickup selector switch from its former function of switching the two coils of our humbucking pickup, and we also installed and connected a new on/on/on mini toggle switch to handle the coil-switching function.

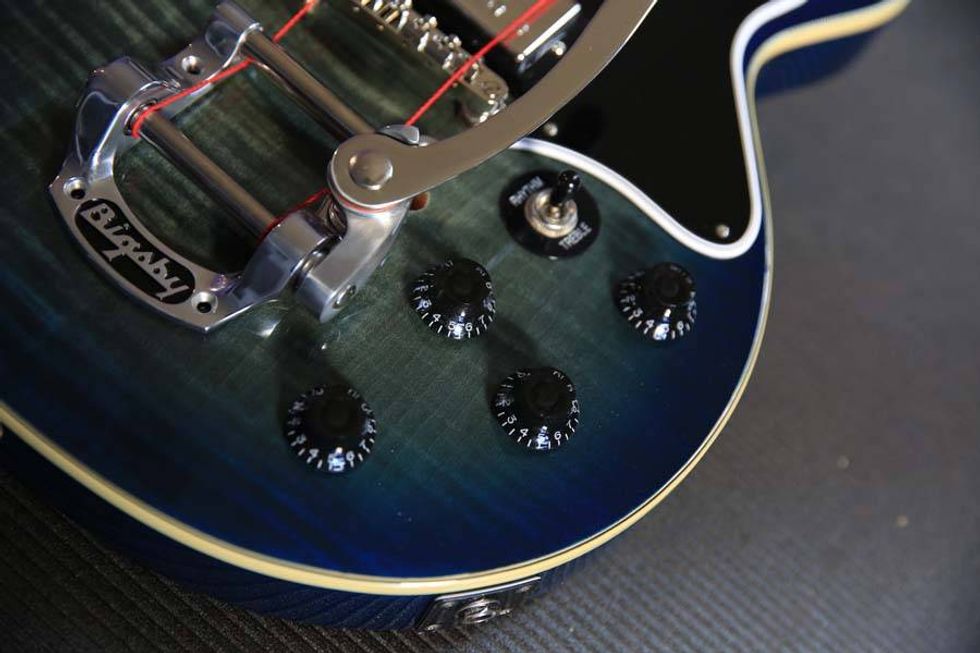
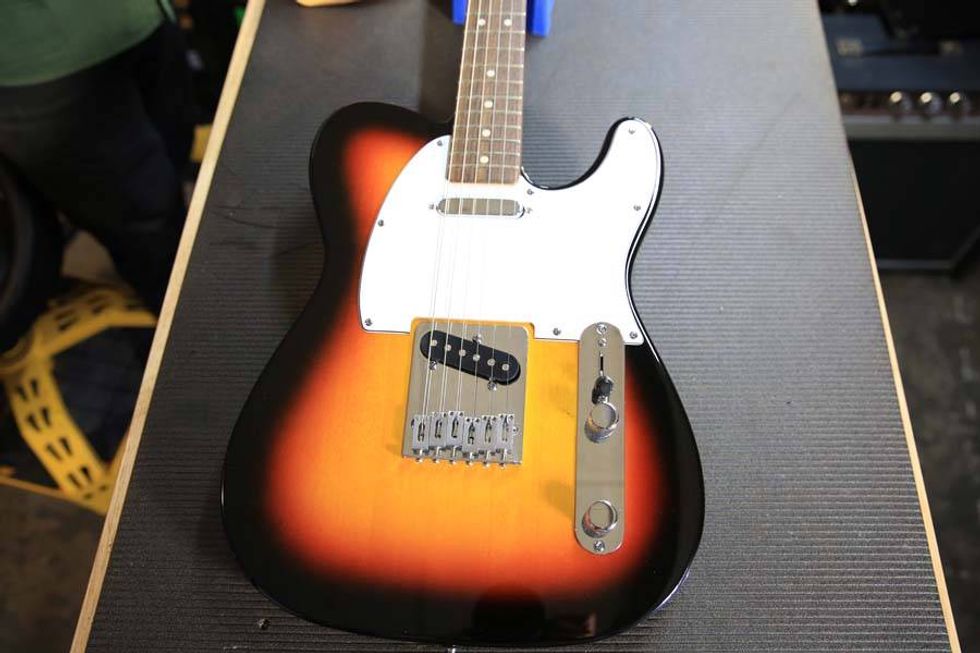
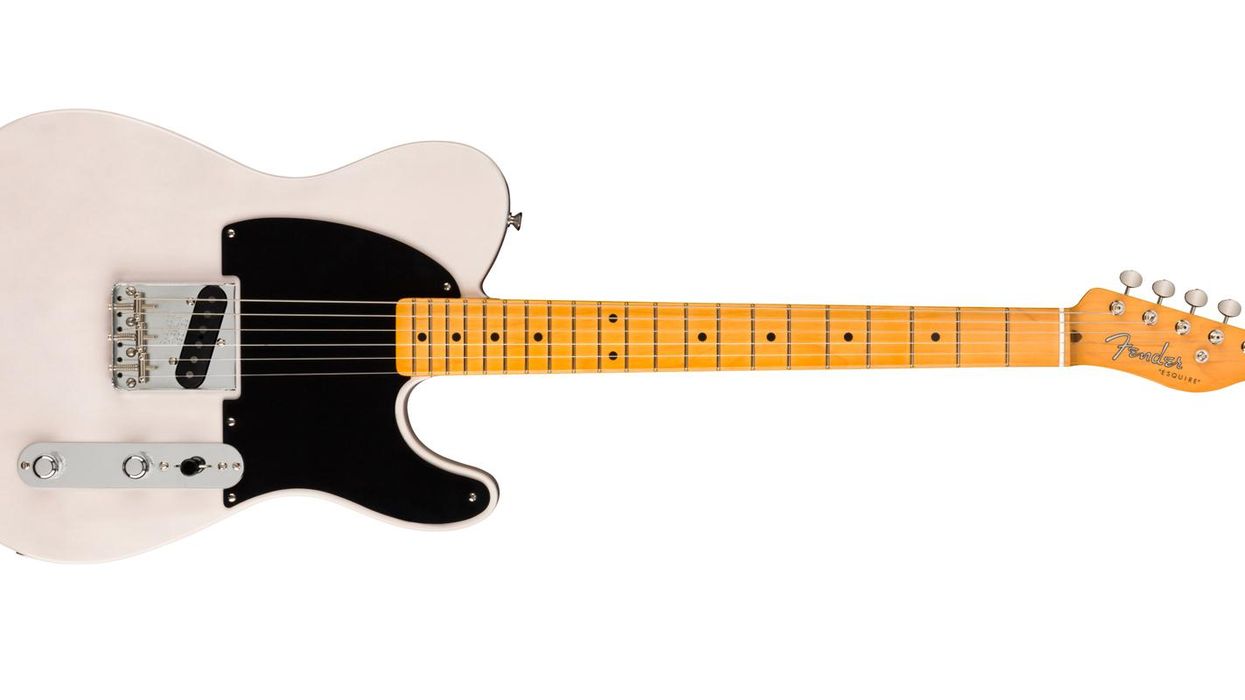
Though the “Mnajdra" only sports a single pickup, it delivers nine switchable sounds. Photo and illustrations courtesy of singlecoil.com
Now, I'll show you how to proceed further and how to use this technique with any Esquire circuit of your choice to cook up your own ultra-flexible wiring.
As you'll recall from the last column, we wired the on/on/on switch in front of the pickup selector switch, and the pickup is directly connected to the on/on/on switch. Of course, this means the signal arrives here before hitting the pickup selector switch.
Keep this in mind because it's the key to creating your own personal Esquire wiring: You simply combine the on/on/on switch with its three functions as a kind of preset switch with any Esquire wiring after it. And here's the good news: It's as easy as painting by numbers!
So here we go ... I'll guide you through this procedure using a specific example—the wiring from one of our custom Esquire-style models called the “Mnajdra." Fig. 1 shows a version with sandy-white finish and a real celluloid pickguard. I bet you've seen this pickup before? Yup, that's the DiMarzio Chopper I've been telling you about.
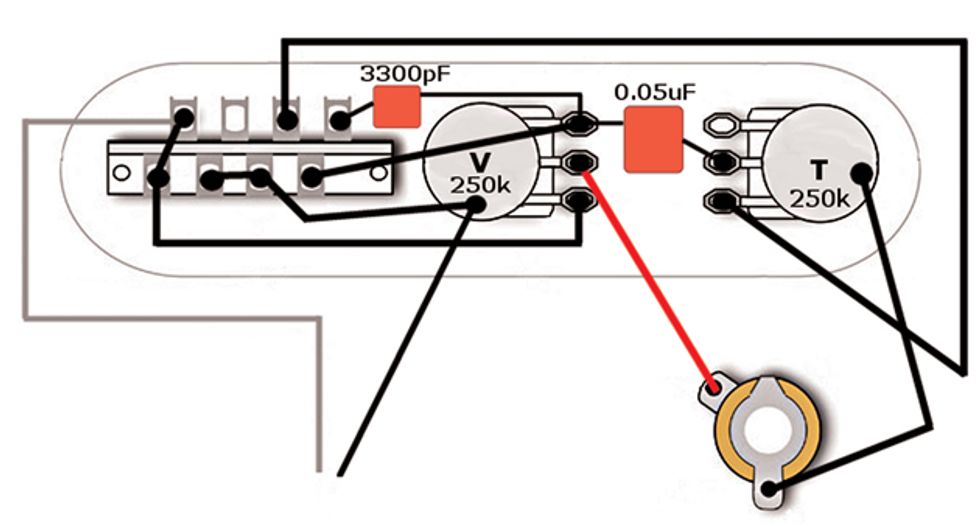
Step 1: Decide on an Esquire wiring you want to use for your personal setup and either download the circuit drawing or make your own. In this case, I decided to use the “modded Eldred" wiring scheme we previously discussed in detail [“The Modded Eldred Esquire Wiring," September 2012].
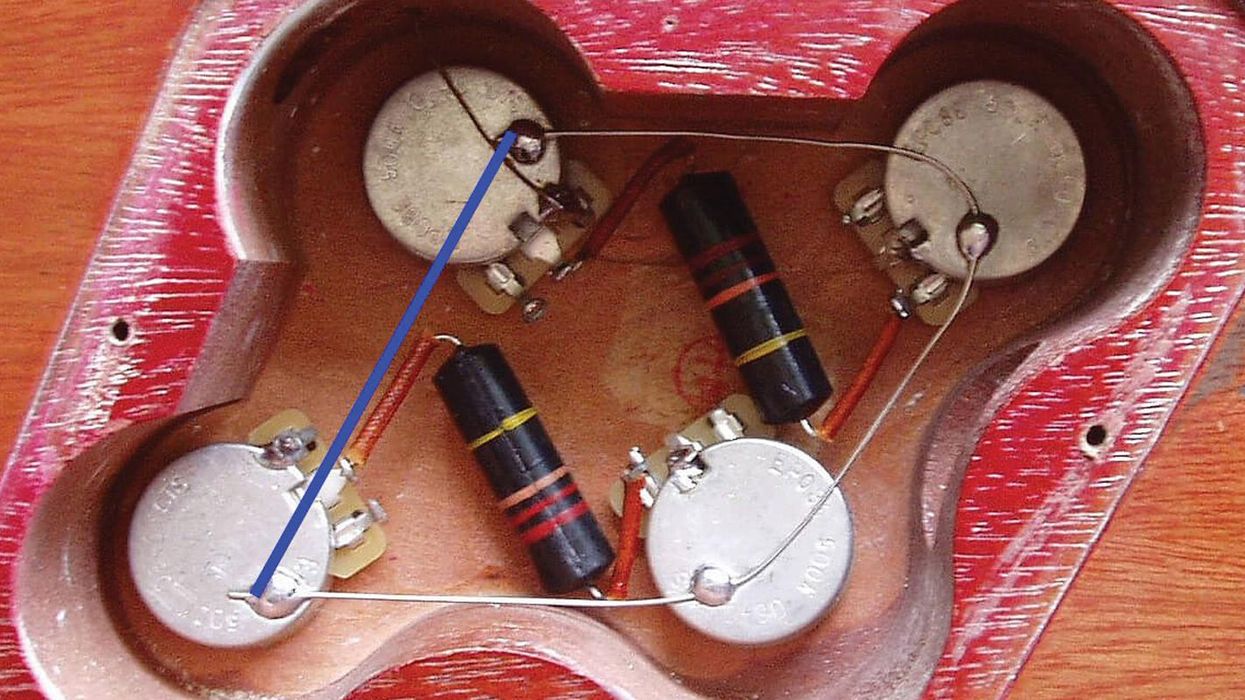
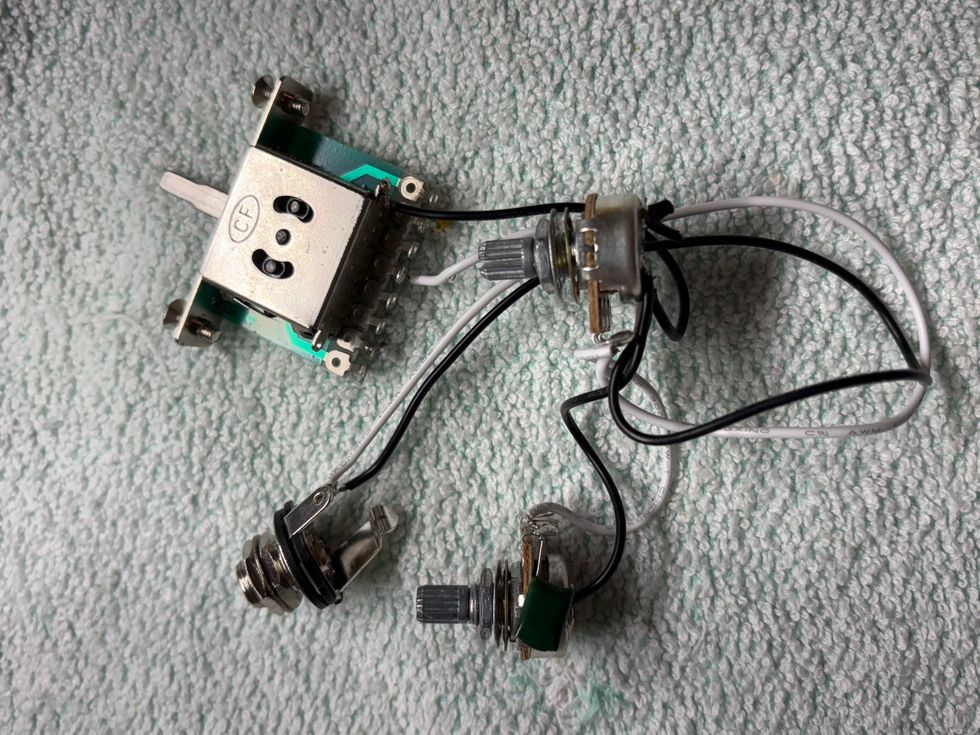
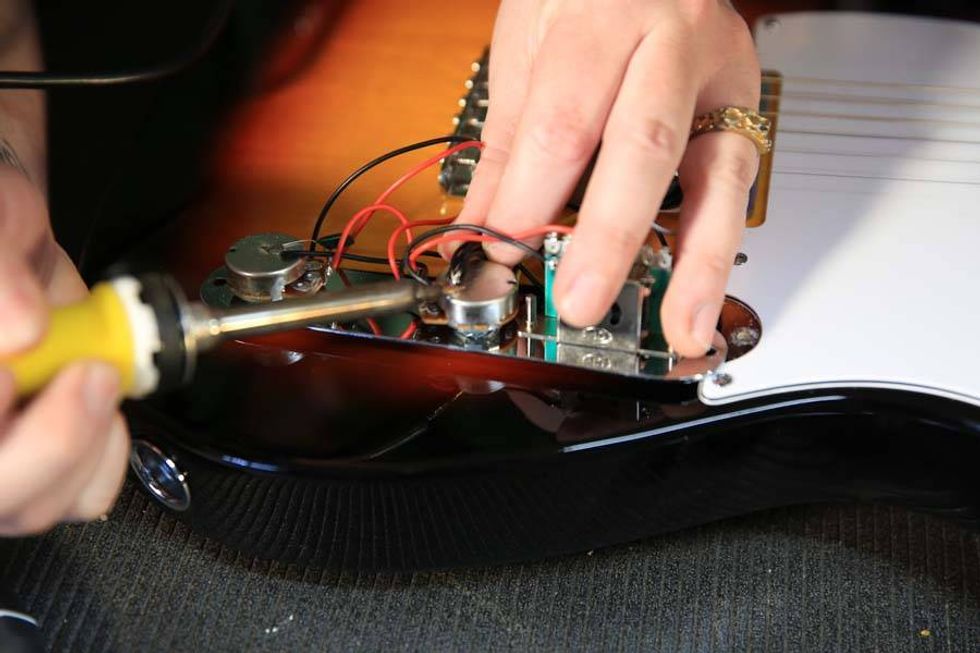
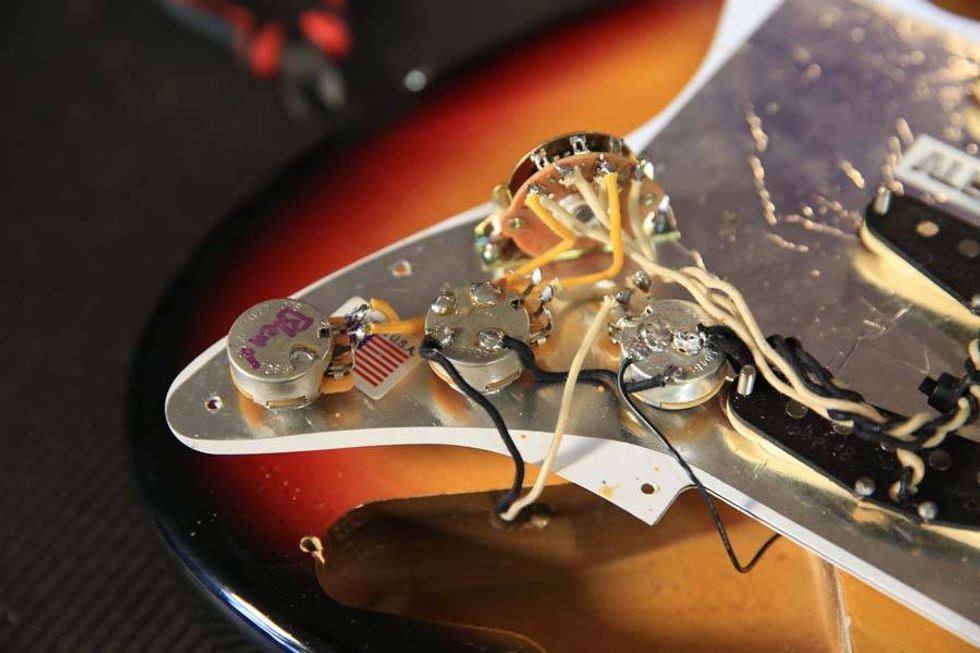
Remove the pickup from the modded Eldred wiring, but leave the two pickup wires untouched.
Step 2: Simply erase the pickup from the modded Eldred wiring, but leave the two pickup wires untouched, as in Fig. 2.
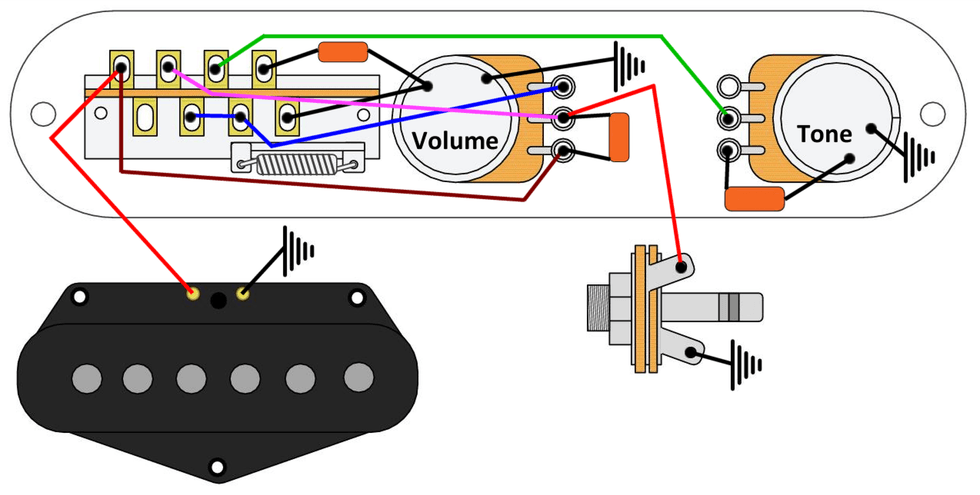
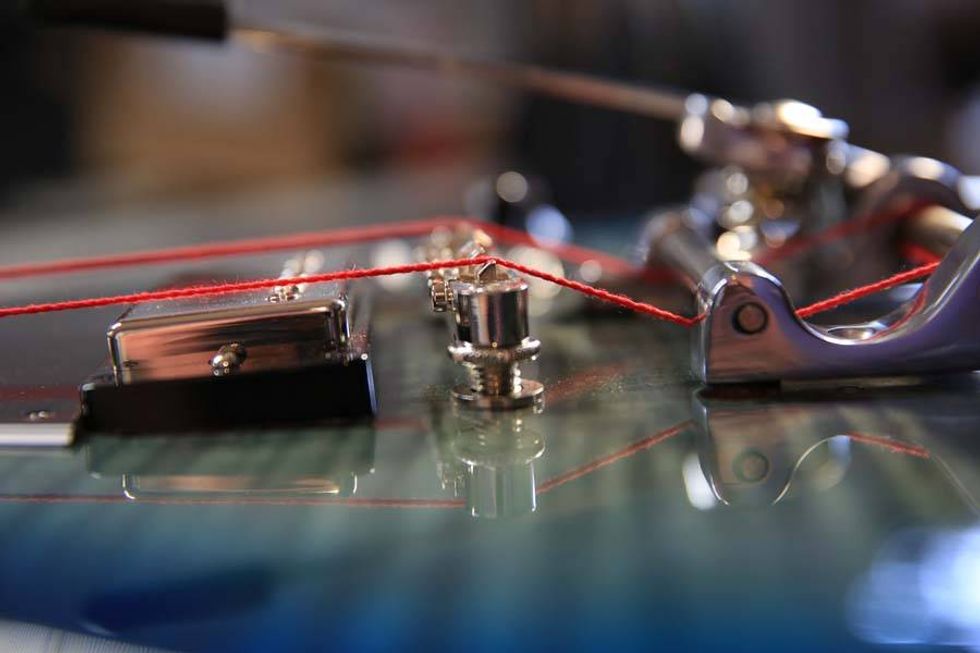
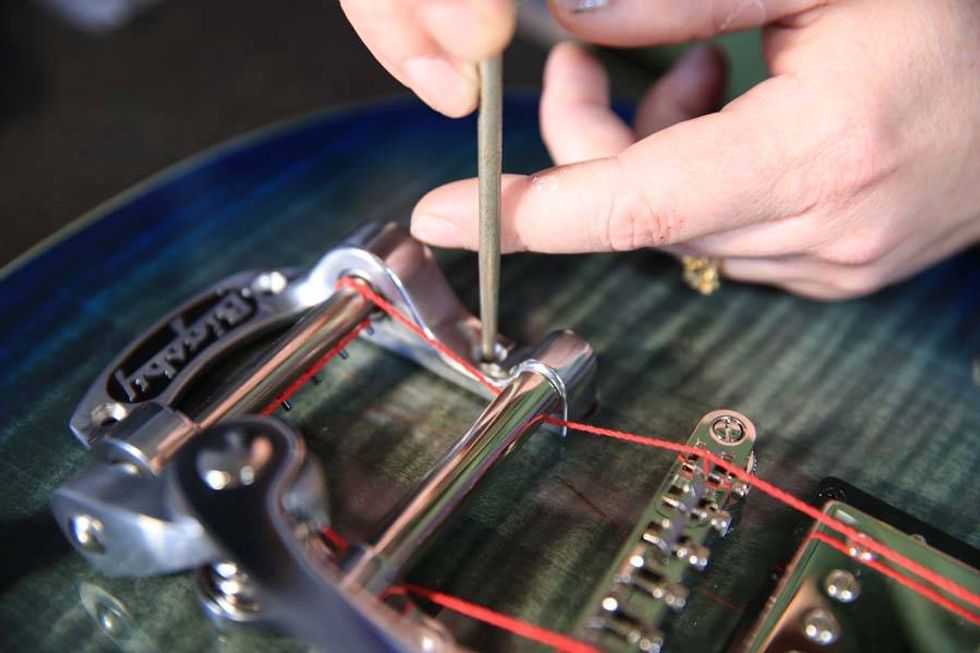
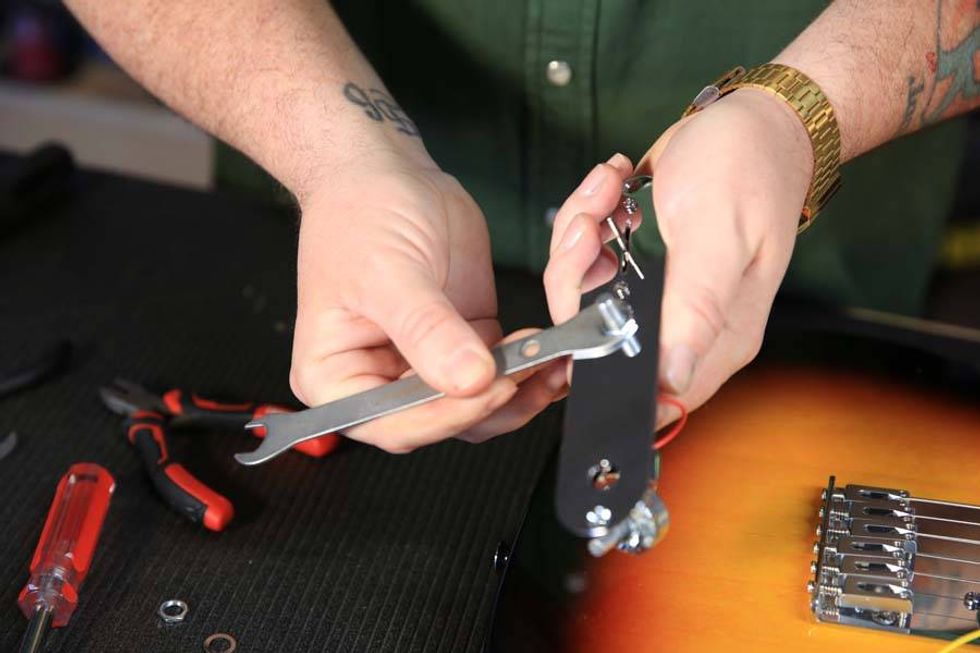
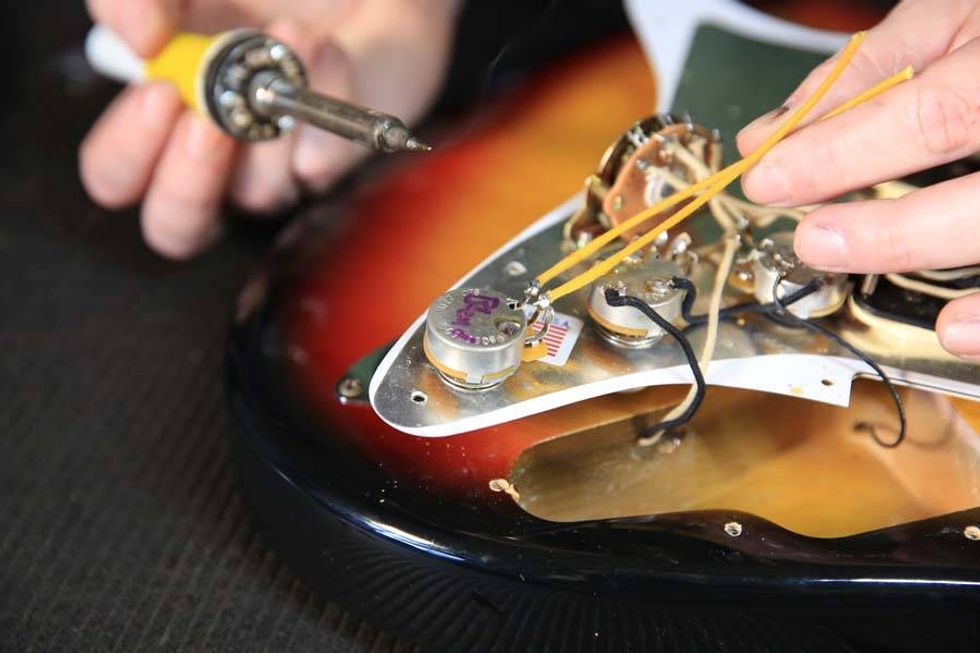
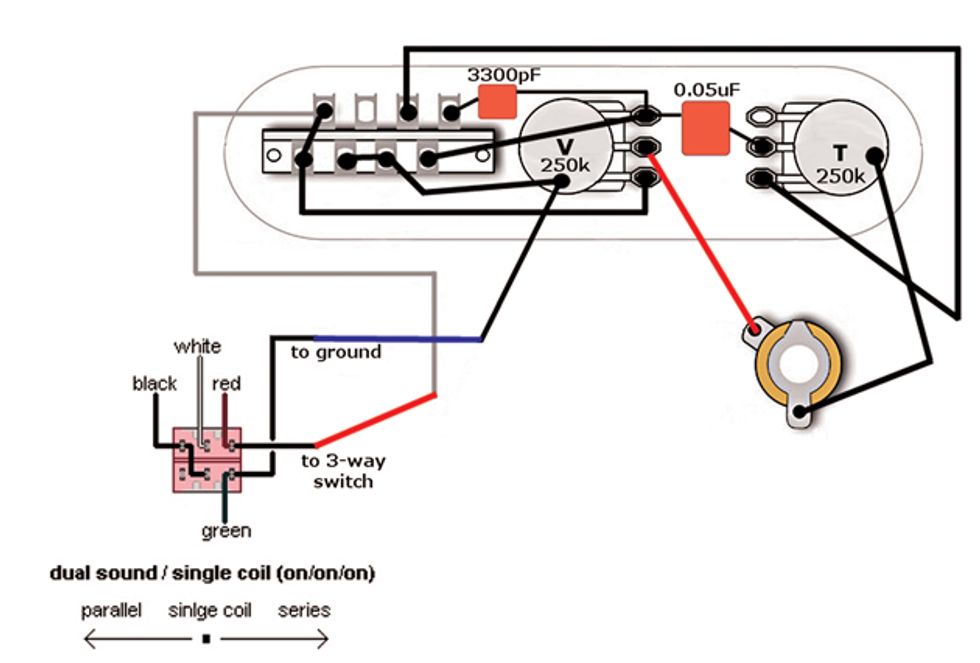
Step 3: Now, insert the on/on/on switch wiring from last month, and connect the extension of the red wire from the on/on/on switch labeled “to 3-way switch" with the grey (hot) wire of the modded Eldred Esquire wiring and the extension of the green wire from the on/on/on switch labeled “to ground" with the black (ground) pickup wire. Don't forget to connect the bare ground wire from the pickup to ground. It should now look like Fig. 3.
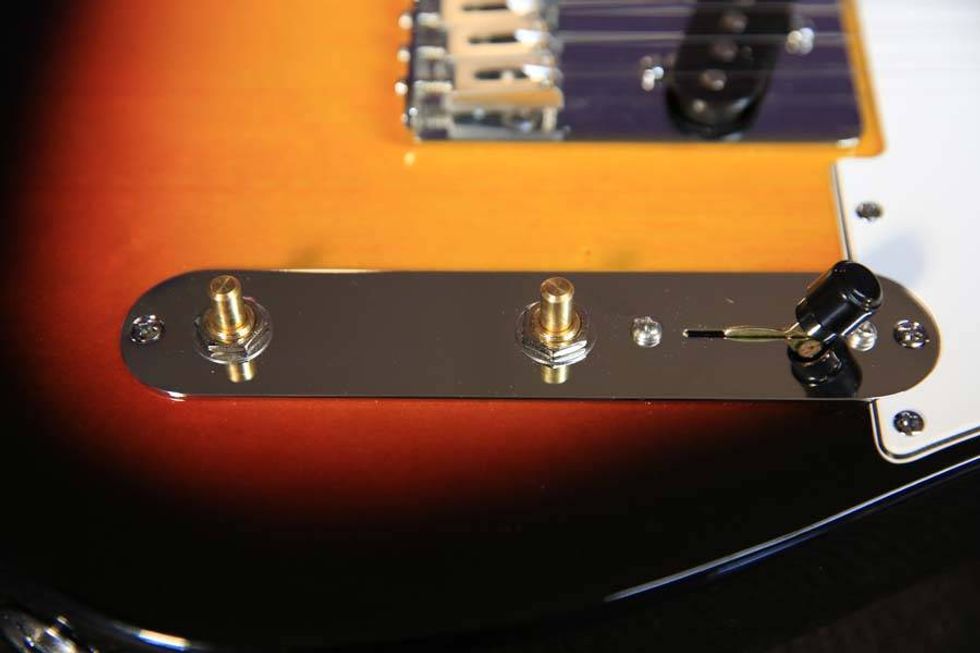
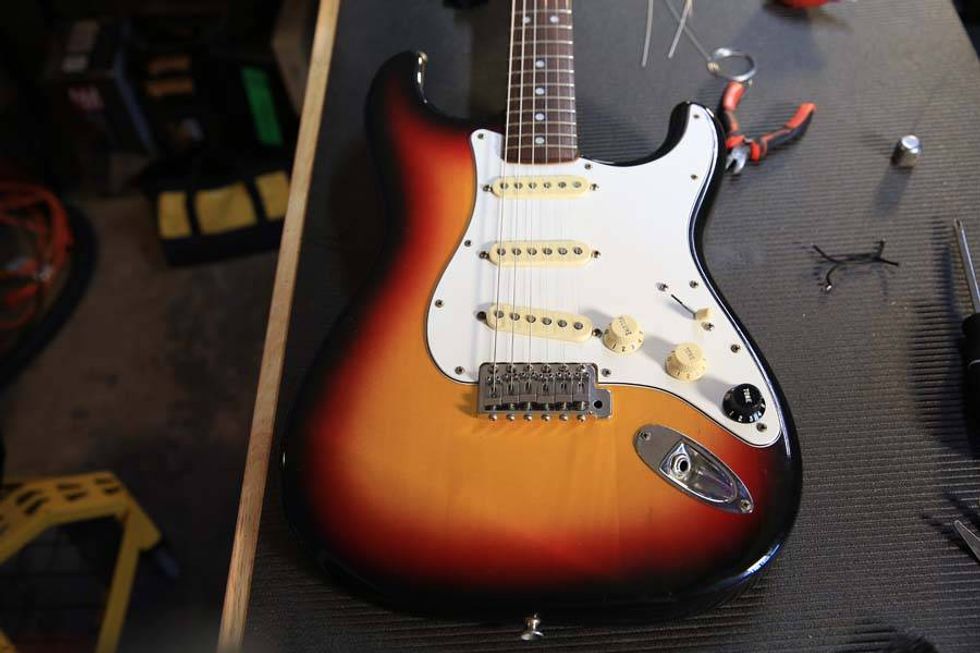
This Esquire wiring yields nine different sounds.
Congratulations, you're done! You now have an Esquire wiring with a total of nine different sounds: the three basic tones from the on/on/on switch (the normal humbucker, the hum-free, fat-sounding single-coil, and the true single-coil), plus the three options from the modded Esquire wiring (true-bypass, volume with tone control engaged, and small capacitor plus engaged volume control for that “cocked wah tone"). Using the tone control will extend the sonic palette even more. And, of course, you can experiment with the values of the pots and caps, as well as the type of caps.
A guitar wired this way is very flexible and many players wouldn't need another guitar to play all night long in a Top 40 band. Give it a try—I'm sure you'll love it. It should be easy for you now to create your own custom wiring by simply following the three steps above to combine these two elements in any possible way.
Stay tuned for next month's column, where we will continue to explore the Esquire wiring by taking a deeper look into Leo Fender's original “two-pickup Esquire" circuit, which was also the original wiring for his early Broadcaster model. This wiring was almost forgotten for a long while, so it's time to bring it back again. It's a very special wiring concept—I think you'll like it. Until then, keep on modding!