If you’ve ever owned a Telecaster, you may know how frustrating it is if the 1/4" output jack starts to get loose. On a Tele, the jack is held in a recessed cup secured to the body with a metal retainer clip embedded in the jack cavity. Over time, the simple action of plugging and unplugging your cable can bend or loosen the clip, making the signal short out while you’re playing.
Fortunately, there’s an excellent alternative to using a Tele’s stock jack mounting hardware. Made by Electrosocket and available from such luthier suppliers as Allparts and Stewart-MacDonald, as well as vendors on Reverb.com and eBay, the machined aluminum jack mount attaches to the Tele body with two screws (Photo 1). The Electrosocket is inexpensive, easy to install, and—get this—it lets you adjust the output jack to accommodate a right-angle plug. Here’s the best part: The Electrosocket stays put and can even prolong the life of your output jack. Let’s investigate, shall we?
Project overview. Our project guitar is a ’90s Fender Telecaster. When its owner brought it into the shop, the stock jack cup was very loose. We agreed it was time to replace it with an Electrosocket.
With one exception—which I’ll explain in a moment—the tools required are all standard items you’re likely to have in your toolbox: a medium Phillips head screwdriver, a 1/2" nut driver, and a drill with a 3/32" bit.
Okay, what about the specialized tool? Some background: The stock Tele jack clip is a piece of metal wedged into the circular cavity that houses the 1/4" jack and mounting cup. From the control cavity, the jack passes through a hole in the clip and then through a similar hole in the mounting cup. Threaded onto the jack, a 1/2" nut holds everything together from the exterior of the mounting cup. If the thin clip gets bent out of shape, the jack cup starts to wobble.
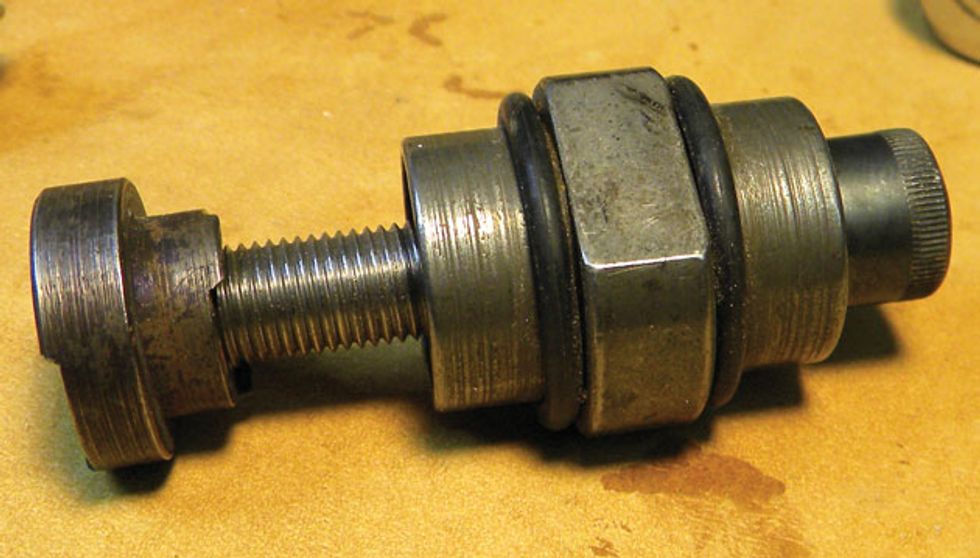
Photo 2. Photo by John LeVan.
The trickiest part of this project isn’t installing the Electrosocket, but rather removing the clip without damaging the cavity or surrounding finish. You can do this with a hammer and nut driver, but there’s a much better way. Stew-Mac offers a nifty item called a Tele Jack Installation Tool (Photo 2). It costs less than $20 and lets you safely extract the stock clip by bending it in a controlled way—just enough to remove it from the jack cavity. I’ll cover both techniques, but again, if you love your Tele, consider adding the TJIT to your toolbox.
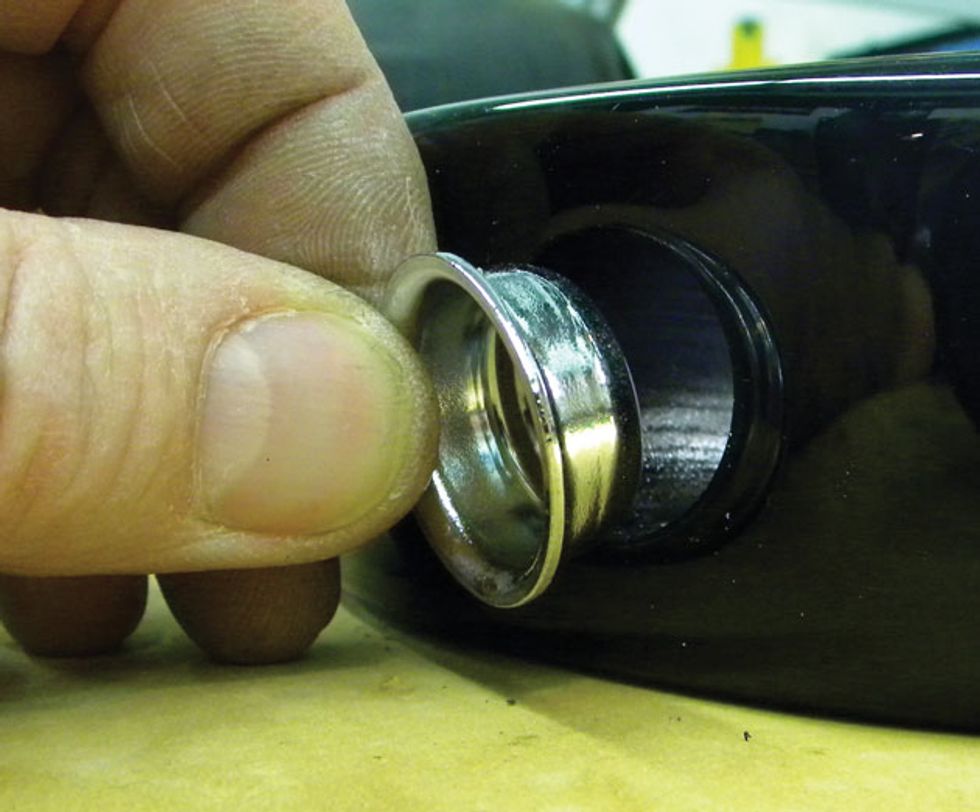
Photo 3. Photo by John LeVan.
Removing the stock jack cup. First unscrew the control plate from the top of the guitar and lift it off just enough to expose the control cavity. Next, use a 1/2" nut driver to remove the nut holding the output jack to the mounting cup. With your finger, push the jack back through the cup and clip, and into the control cavity. Remove the jack cup—it should pull right out of the cavity (Photo 3). If not, you may have to tap on it with your nut driver to break it loose.
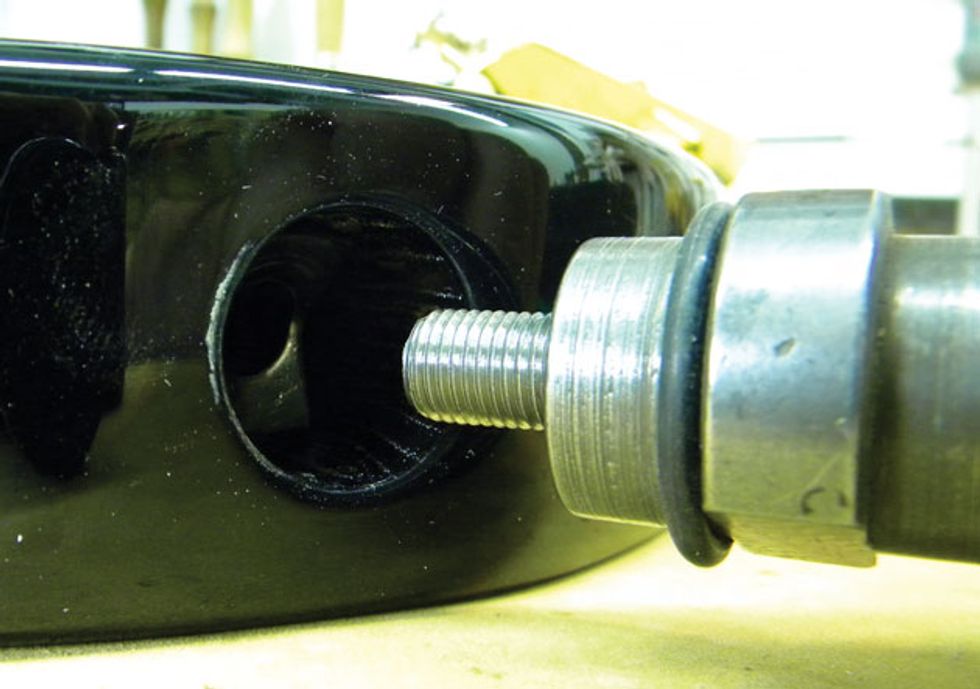
Photo 4. Photo by John LeVan.
Removing the jack clip. This is where it gets a bit more complicated. If you have a TJIT, remove the small ring from the end and slip the bolt into the cavity (Photo 4) and through the clip. Orient the small ring so its narrow end faces the clip, and then spin it back onto the bolt. Using the 5/16" hex key included with the tool, tighten the bolt until the clip is compressed into the TJIT. When the clip is fully compressed, pull the TJIT out of the cavity, removing the clip. Done!
If you don’t have a TJIT, from the outside poke a 1/2" nut driver (a large flathead screwdriver also works) into the jack cavity and hold it against the clip. Gently tap the nut driver with a hammer until the clip bends just enough that you can remove it through the electronics cavity.
Photo 5. Photo by John LeVan.
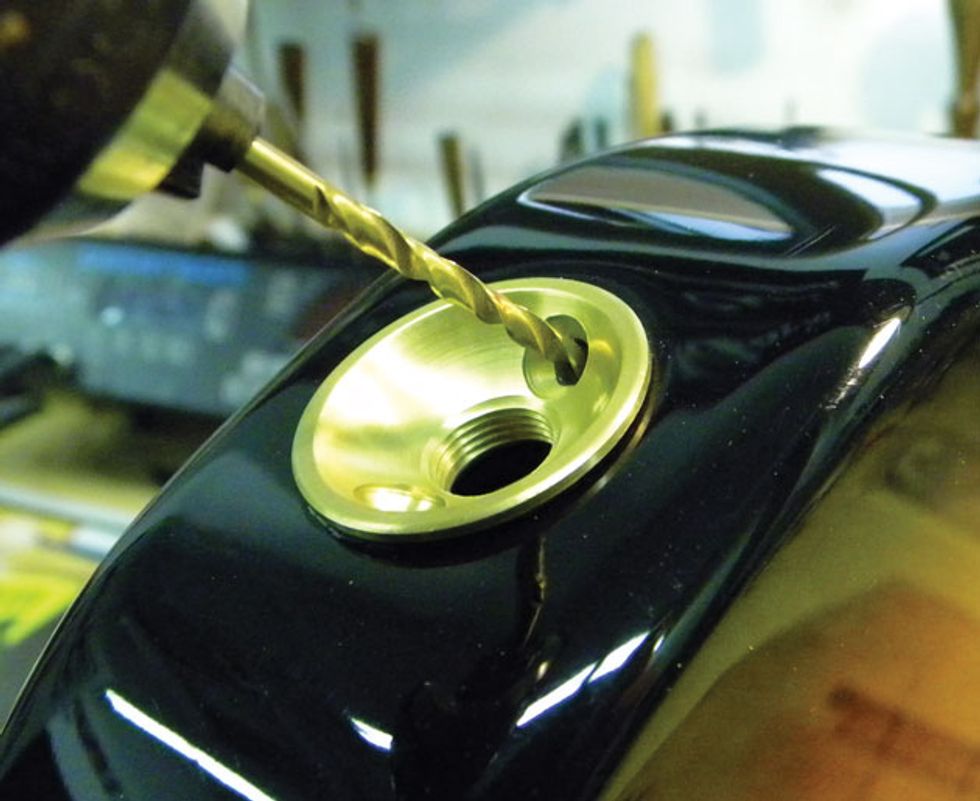
Installing the Electrosocket jack. Now it’s time to place the Electrosocket over the jack cavity and drill the holes for the two mounting screws into the body (Photo 5). Use a 3/32" drill bit for these holes, which should be about 3/8" deep. Pay close attention to the angle of the Electrosocket’s mounting holes. To ensure the Electrosocket sits flush against the cavity opening, you need to duplicate this angle when you drill. Another consideration: If you drill the holes too shallow, this prevents the Electrosocket from sitting flush.
Tip: Measure the target depth on your drill bit and then mark the “stop” point on the bit with a red Sharpie.
Photo 6. Photo by John LeVan.
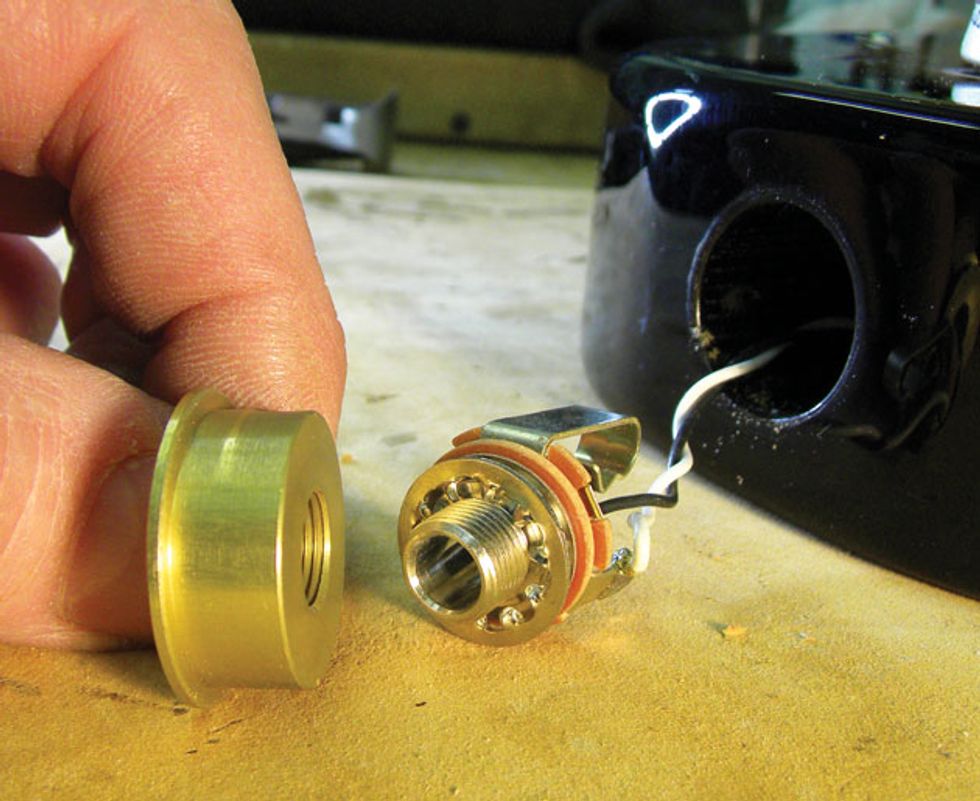
After the mounting holes are drilled, remove the Electrosocket and pull the jack out through the cavity. The Electrosocket has a threaded collar that matches Switchcraft-style output jacks (Photo 6), so simply screw them together, being careful not to twist or stress the jack’s wires.
If you look closely at this photo, you’ll see a lock washer sitting between the output jack and the Electrosocket. If you plan to use a guitar cable with a right-angle plug (something you can’t do with a standard Tele jack cup), simply remove the lock washer before screwing the two parts together. This prevents a right-angle plug from slipping out.
Photo 7. Photo by John LeVan.
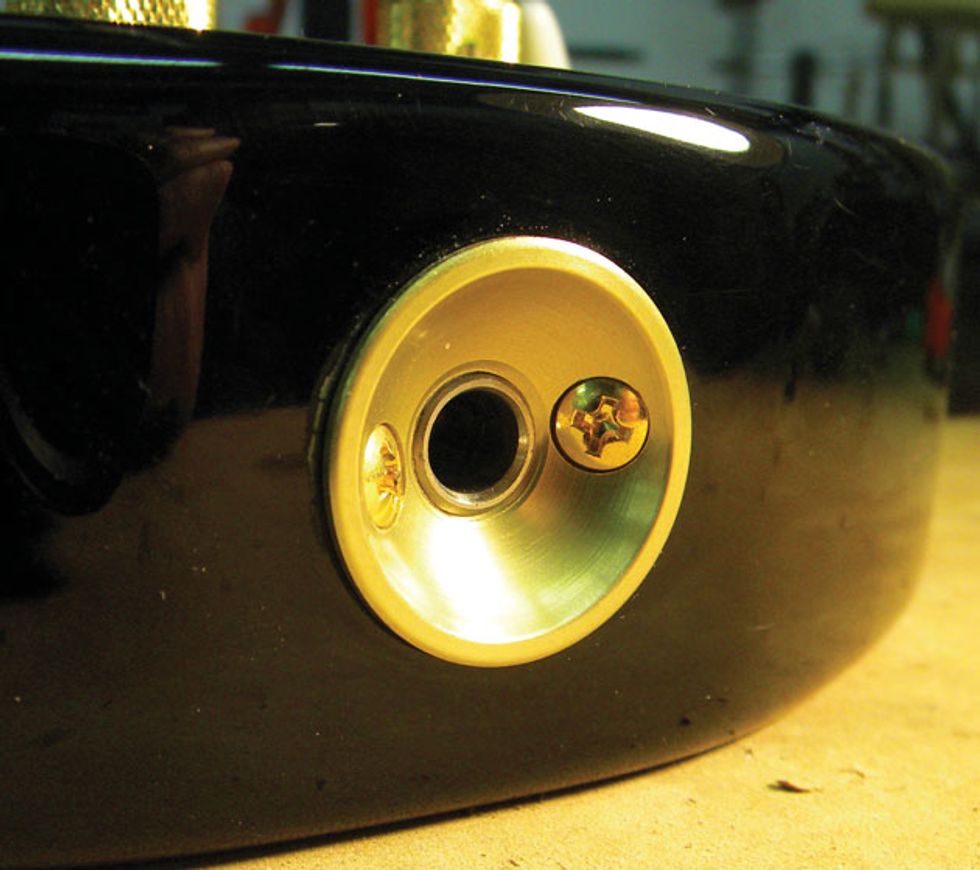
Now place the assembly back into the cavity, aligning the Electrosocket’s screw holes with the ones you just drilled. Install the mounting screws using a medium Philips screwdriver, making sure the Electrosocket fits snug against the body (Photo 7). Now reattach the control plate, and shazam—you’re done!






![Rig Rundown: Russian Circles’ Mike Sullivan [2025]](https://www.premierguitar.com/media-library/youtube.jpg?id=62303631&width=1245&height=700&quality=70&coordinates=0%2C0%2C0%2C0)


