
Hello Ask Amp Man readers—and man, it seems there are a lot of you! Why? Because I was recently informed by PG's fearless leader, Shawn Hammond, that I've been writing this column for 10 years! Wow, that's a long time, and I've done my best to keep from sounding like a broken record. I would like to give my thanks and appreciation to you for making the column so successful for so long.
Now, let's continue with this month's installment, which I call “Beware the Clean Ones!" Sounds like the opposite of something your mother might've told you, right? Let me explain. After decades of experience, I always tell people to watch out for the clean examples of older or vintage amps. I would get a call or visit from a player or store owner who just found a vintage amp in such great condition that it looks like it's been in somebody's closet for 30 years.
And you know why it looks that way? Because it has! And why has it been in the closet for 30 years? Because it never sounded good or it had some mystery issue, and the owner just decided to retire it and move on to something different. Give me an old beat-up amp that looks like it's been rode hard and put up wet and I'll show you an amp that's sounded great and given great service for many years.
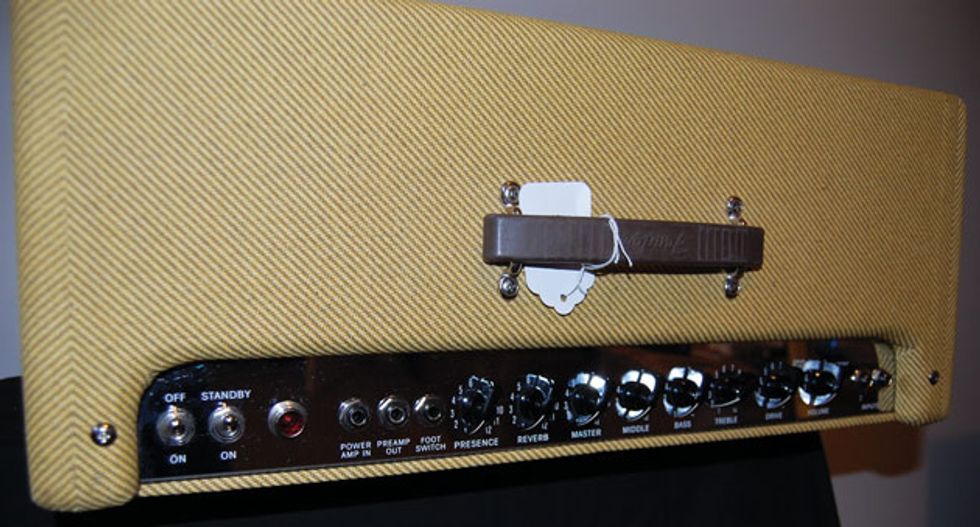
My “beware the clean ones" motto was once again validated when a client brought me a Fender Blues DeVille for servicing. This was the cleanest example of a 20-plus-years-old amp I've seen. The footswitch was still in shrink wrap! It looked as though even its cover hadn't seen the light of day since 1994 … and it hadn't! It was brought to me because the sound was fading in and out. Okay, no problem. The typical solution is a good cleaning, because, as with most amps with effects loops, inactivity leads to intermittency. If a series effects loop remains unused for long periods of time, the switching contacts in the loop jacks become dirty or oxidized and need to be cleaned, or possibly replaced. That and a good cleaning of the pots, jacks, and the sockets, and the amp should be good to go. But it wasn't. The sound was still fading in and out and exhibiting some very strange characteristics. Back in to troubleshoot we went!
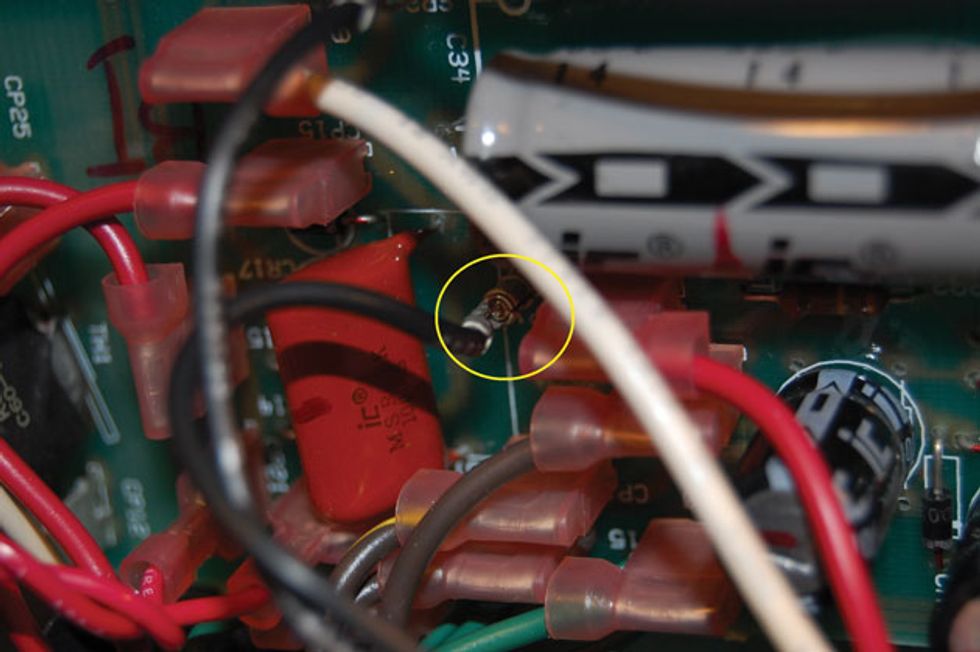
Fig. 1: A connector for the choke in the power supply circuit, while appearing to be attached, was very loose
on its connecting post. This was causing voltage fluctuation.
The first thing I noticed upon very scrutinous inspection is shown in Fig. 1. One of the connectors for the choke in the power supply circuit, while appearing to be attached, was very loose on its connecting post. This would definitely cause the high voltage in most of the amp to fluctuate up and down, causing the signal to fade in and out. A quick tightening of said connector and we should be good to go.
Uh, nope. This amp was still exhibiting problems, but now the sound level seemed to be intermittently “popping" in and out. While probing around with a scope (oscilloscope) probe, I seemed to be able to exacerbate the problem in one area of the board. Okay, now the fun started. It was time to pull the circuit board to see what was underneath, possibly reflow some solder joints, or maybe replace a couple of suspect components.
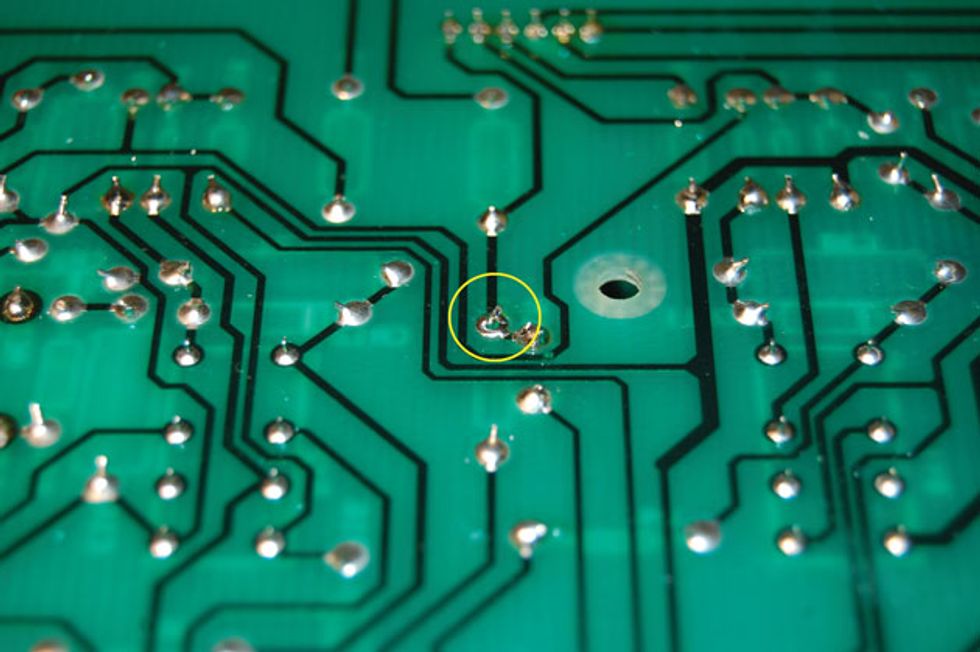
Fig. 2: One of the plate resistors had a compromised solder joint. This is particularly troublesome
with single-sided circuit boards.
I prefer not to go through and re-solder a massive number of solder joints on a whim, in hopes that it just might fix the problem. I prefer to actually find the problem first! More intense perusal of the suspect area and there it was (Fig. 2): One of the plate resistors had a compromised solder joint. It was probably soldered well enough to pass initial inspection, but over time and from vibration became loosened from what little solder was connecting it. This is particularly troublesome on single-sided circuit boards, which is why I won't use them in my amps. Such boards are a far more cost-effective way to build an amp—especially one where the price point is a major concern—but on a quality circuit board, where the holes are plated through, solder adheres to each component lead all the way through its hole, making for a far more reliable connection. The other issue with single-sided boards is that traces can easily lift off the boards during extensive servicing or modification, so these should be left to an experienced solder hand.
Finally—for job No. 3—more troubleshooting was required beneath the tone controls, which were intermittent despite the two earlier repairs on the Blues DeVille.
All right, it was time to repair this issue and reassemble the amp. Good to go? Uh … no. The sound now appeared to be solid, but the tone controls seemed to be intermittently working. Okay: More probing, pressing, and prodding to narrow down the location of the issue. This time, with little surprise, I was led to the area of the tone controls. Since I was not focused on that area before, maybe I missed a bad solder joint there. One more time the board came out and the inspection began. All the solder joints on all the controls looked good, but there was one solder joint for one of the tone caps that just didn't appear right.
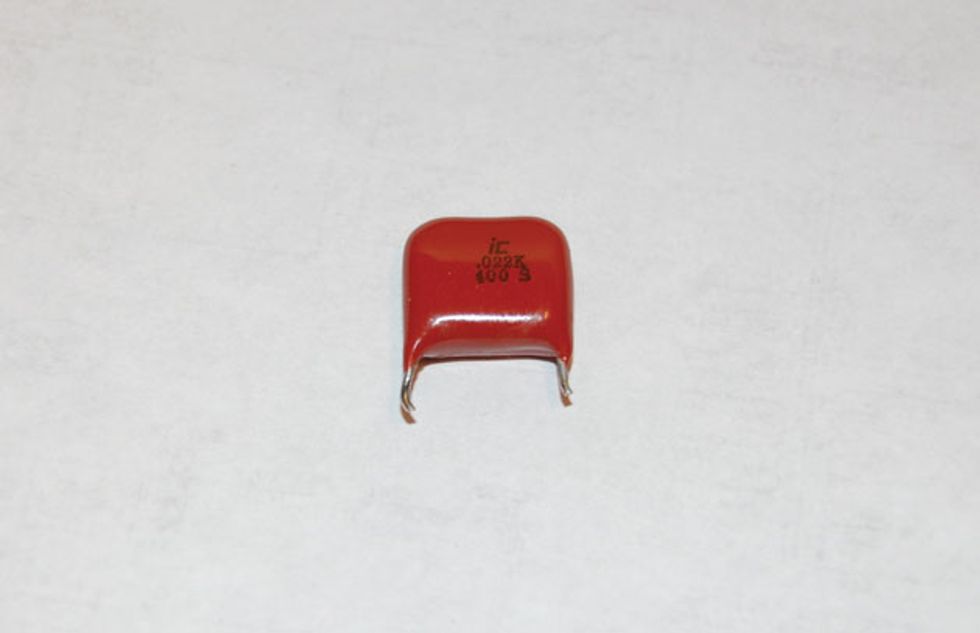
Fig. 3: A cap with a short lead was the final culprit. That lead was touching the solder in the hole,
but was not really soldered in place.
A closer look revealed that there was no component lead sticking through the hole. Removal of the cap showed why. As you can see (Fig. 3),one lead is just a bit shorter than the other. What was happening was that the short lead was initially touching the solder in the hole, but was not really soldered in place. Movement and vibration had now caused it to just intermittently make contact, so the tone stack was cutting in and out. I replaced the bad cap with one having two good leads and was finally done!
So, as I said, beware the clean ones my friends. Sometimes they're more trouble than you think.