This month I've decided to forgo answering a question—not that I don't have plenty, and thank you for that, loyal readers. Instead we'll explore a mod to a blackface Fender Vibrolux Reverb and the thinking behind it. It's an easy and completely reversible that yields what I consider to be a more versatile amp.
Not long ago, a customer brought me a Vibrolux combo he'd recently acquired. He wanted to make it one of his regular gigging amps, so he asked me to make sure it was roadworthy. He wanted new caps, tubes, and whatever else was needed. He also wanted to remove and safely stash the original speakers while they were still in working condition. His idea was to thrash a new set of speakers on gigs and not be concerned about reliability or destroying a piece of Fender history.
Replacing speakers is actually a great upgrade for any amp of this era because speakers grow tired over the years, and a fresh set can yield a far greater improvement than most players would believe. In fact, when I install new speakers in an old amp, the owner typically experiences a wow moment. (If you have an older amp, try it—you might have that reaction too.)
Before I dive into repairing or modding an amp, I always ask how the owner expects to use it. For example: Do you like to play dirty, or are you after a big, clean tone with maximum headroom? This feedback gives me an idea of what type of tubes to install and how to tailor the circuit to the player.
It turned out this customer performs a lot of music inspired by Jonny Lang and Kenny Wayne Shepherd. Great—this gave me a reference and prompted me to offer some suggestions. We all know these players were very influenced by the late, great SRV.
Before I dive into repairing or modding an amp, I always ask how the owner expects to use it.
In my brief time working with Stevie before his death, I saw that his massive backline included two Fender Super Reverb combos, each loaded with four Electro-Voice 10s—his favorite speakers for these amps. How he managed to blow speakers with such massive power handling capability with a 40-watt Super is beyond me, but his tech at the time, the legendary René Martinez, always had spares on hand. Anyway, let's see what this knowledge can do for my customer.
First, a Vibrolux Reverb is a bit like a mini Super Reverb. With a dual-6L6 output stage, the amps offer about the same power, but the Vibrolux has two 10s instead of the Super's quad set. But they're voiced differently: While most blackface and silverface Fenders use the same value capacitors in the tone stack—a 250 pF, a 0.1 µF, and a 0.047 µF—the Super Reverb has a 0.022 µF cap in place of the 0.047 µF.
My suggestion was to modify the tone stack in the Vibrolux's first channel. This way, one channel would remain stock, the other would be a bit more like a Super, and he could use an A/B switch to access either channel as desired.
Regarding speakers: Unless you can afford a roadie, I wouldn't advise loading a Super or even a Vibrolux Reverb with EV 10s. These bad boys are heavy! Instead, I suggested swapping in a lighter set of contemporary 10s that sound similar to the EVs. The owner agreed, so let's look at what we did.
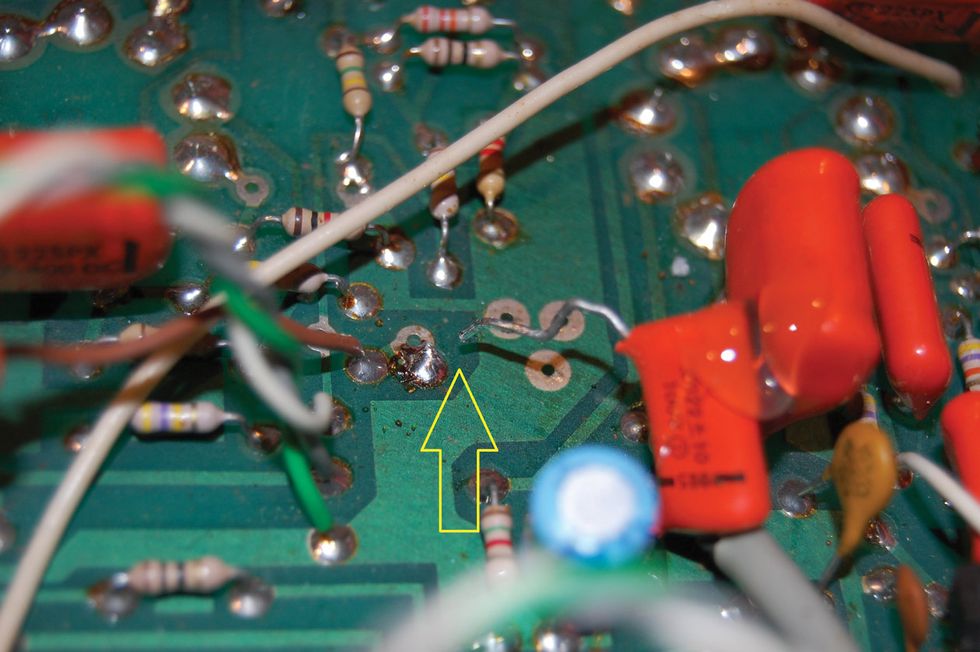
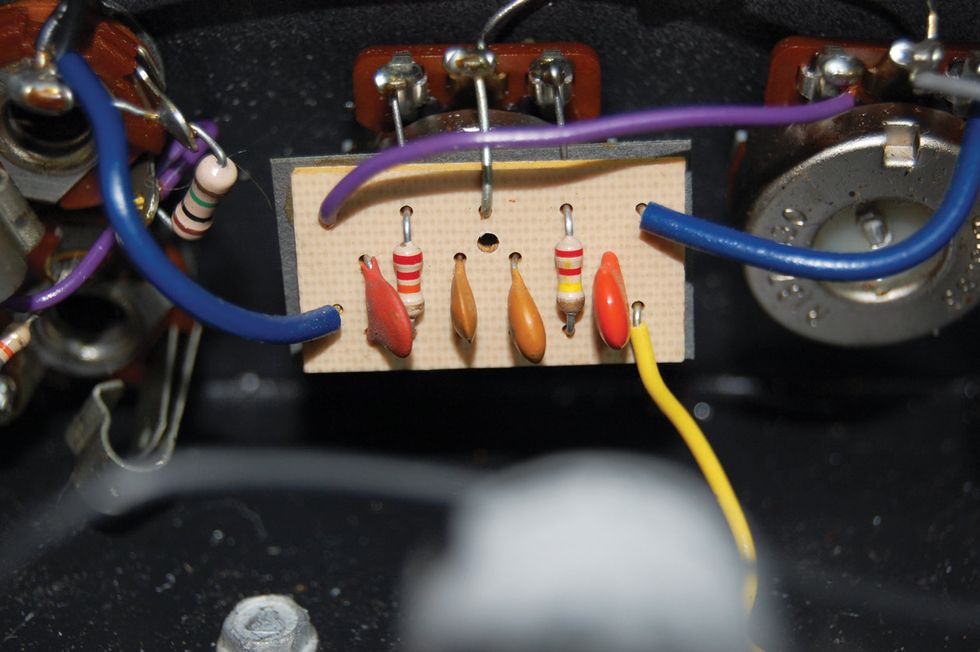
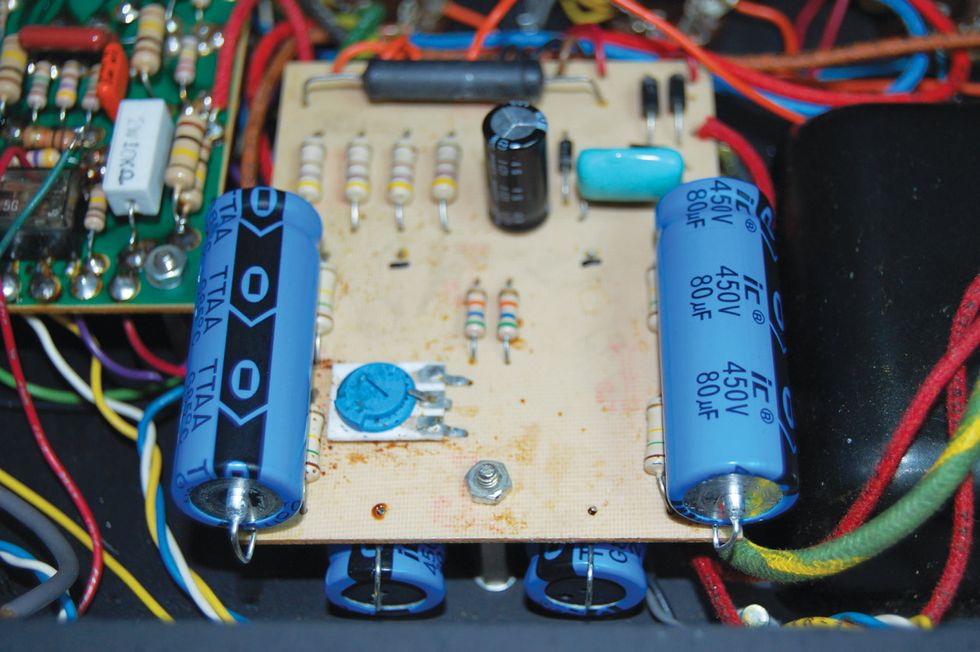
Photo 1 shows how I've installed not one but two new caps in the amp's first channel. I like replacing both the .047 and 0.1 µF caps with .022 µF caps. It makes the channel a bit beefier, and that's nice for a guitar with single-coil pickups. It also leans more towards a Marshall tone stack at this point ... but not quite. Of course, Stevie was also a Marshall guy (got to love those 200-watt Majors), so if you really want to go all the way, you can replace the 250 pF treble cap with a 470 pF, but that's not something I wanted from this particular amp.
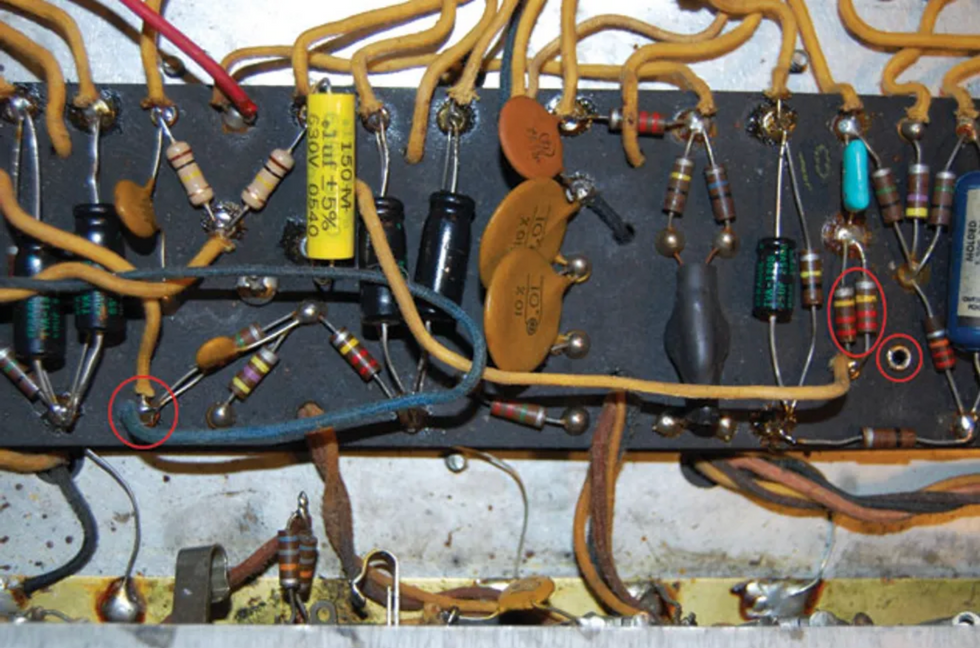
Photo 2
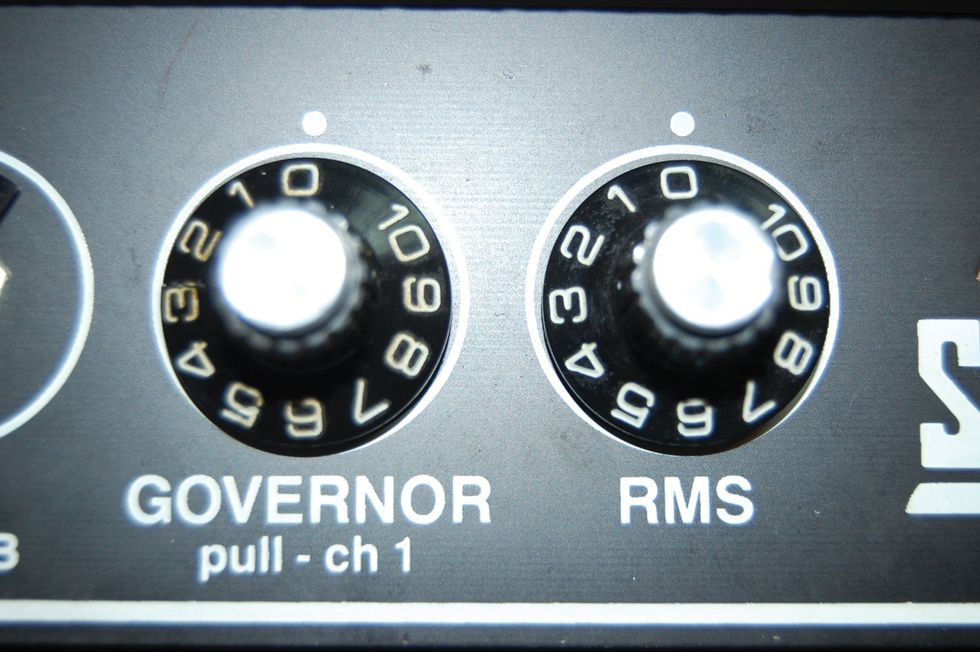
Now, at this point I'm sure some of you are saying, "Yeah, cool, but there's no reverb on the first channel." Well my friends, I have a bonus for you. Look at Photo 2 and notice the blue wire. That's the audio signal wire from channel 1, which was originally connected to the circled eyelet on the right. Simply remove the wire from this connection at the input of the phase inverter and connect it to the input of the reverb drive circuit, as illustrated on the left of the photo. This routes the channel 1 signal to the reverb and tremolo circuits.
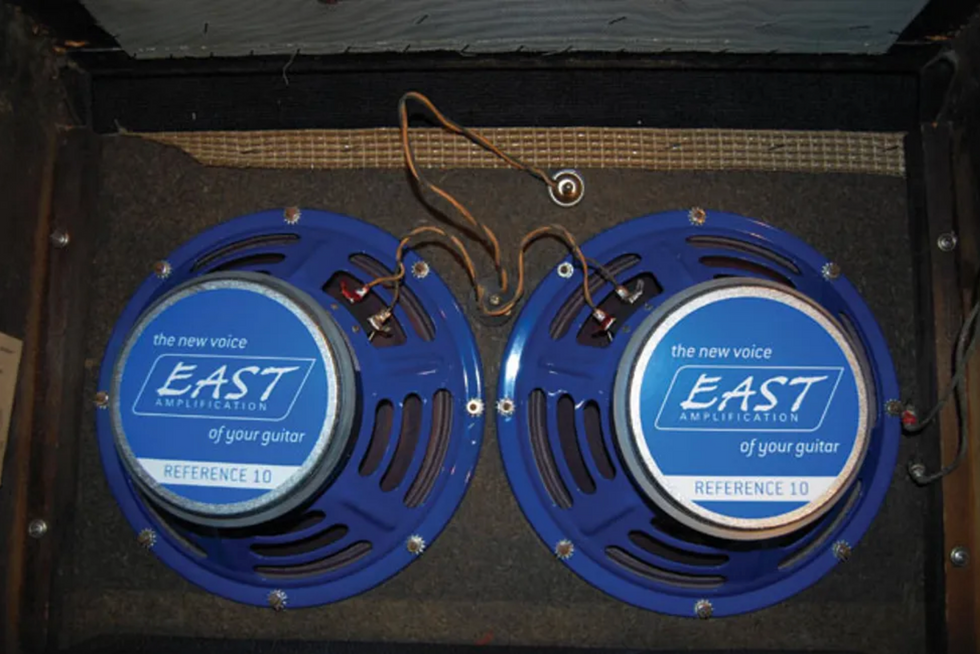
Photo 3
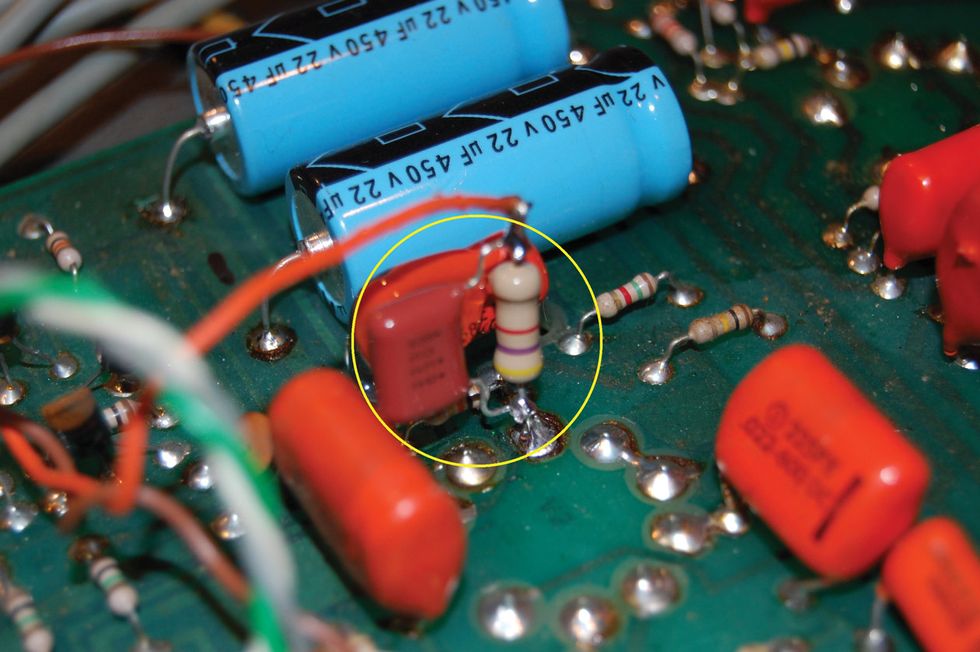
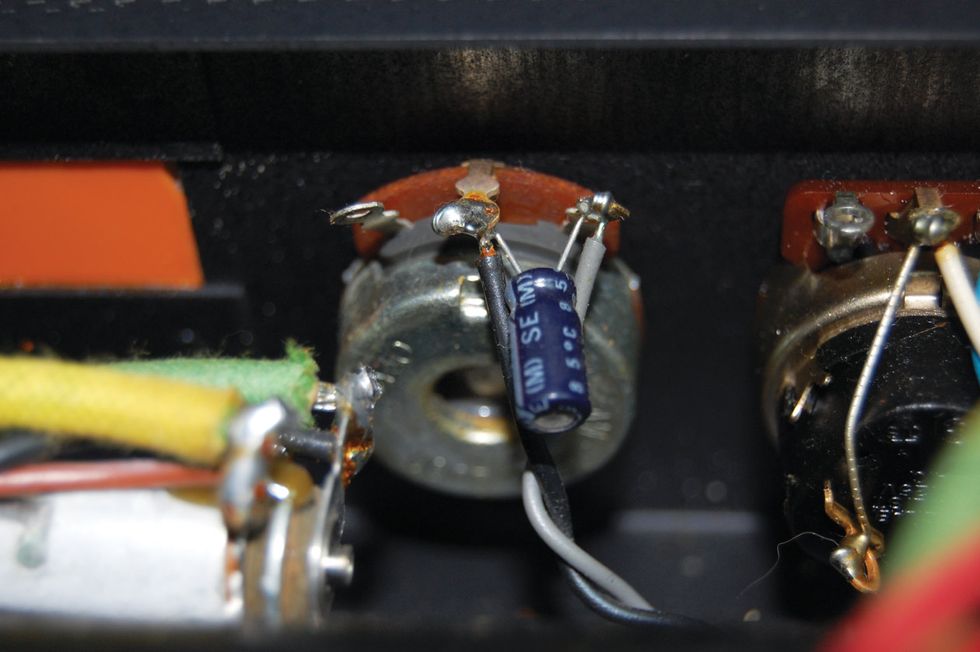
Cool—one more bonus! Finally, for just a little extra push, I like to move the unused 220k resistor and place it in parallel with the other 220k resistor at the input to the phase inverter (see photo).
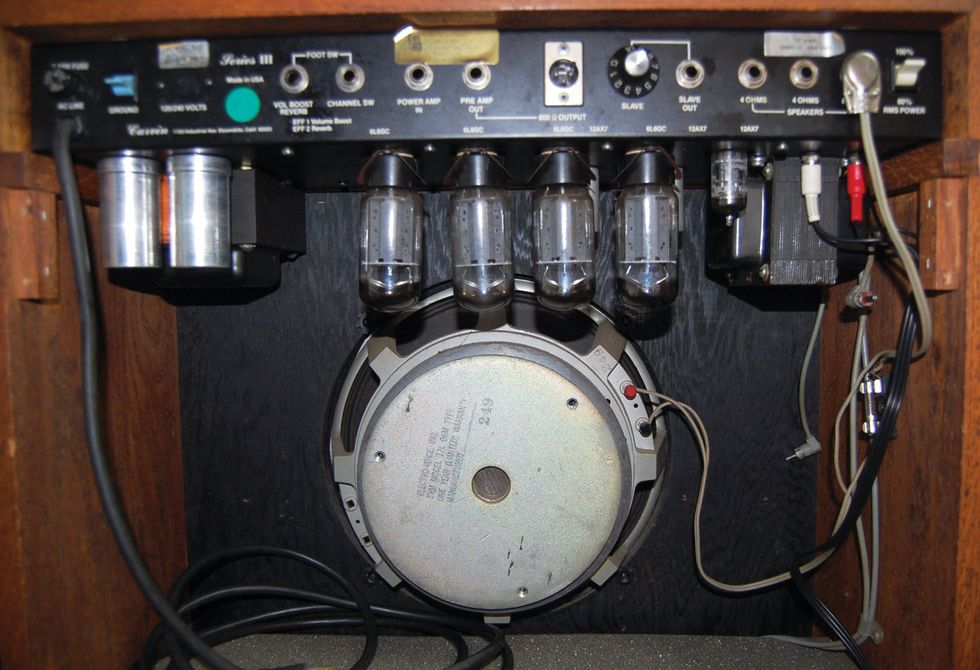
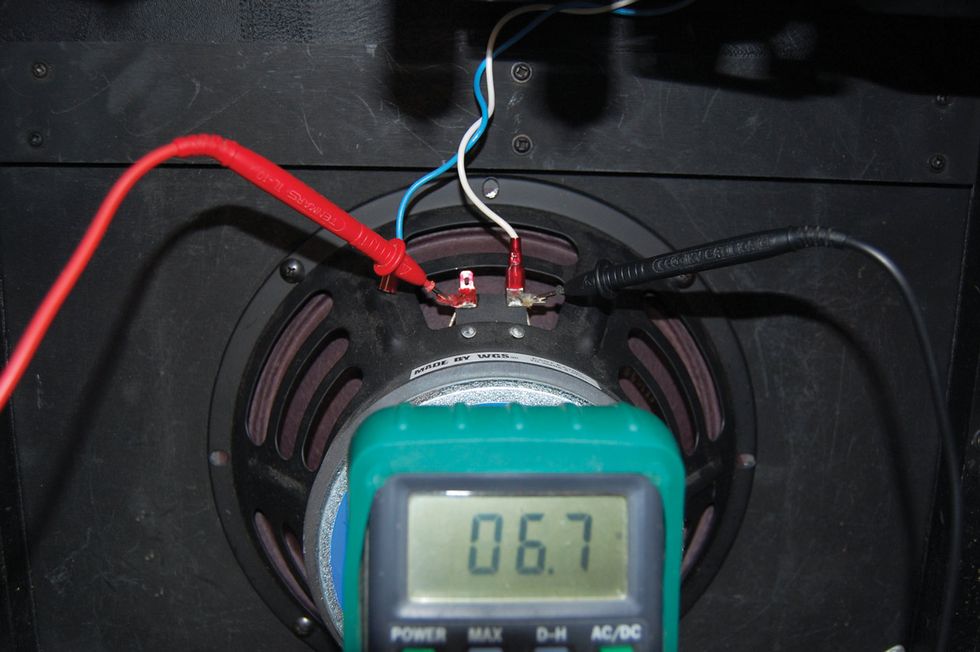
After making these mods, I installed a new pair of 10" speakers (Photo 3), and the amp was ready for the road.
[Updated 9/1/21]


