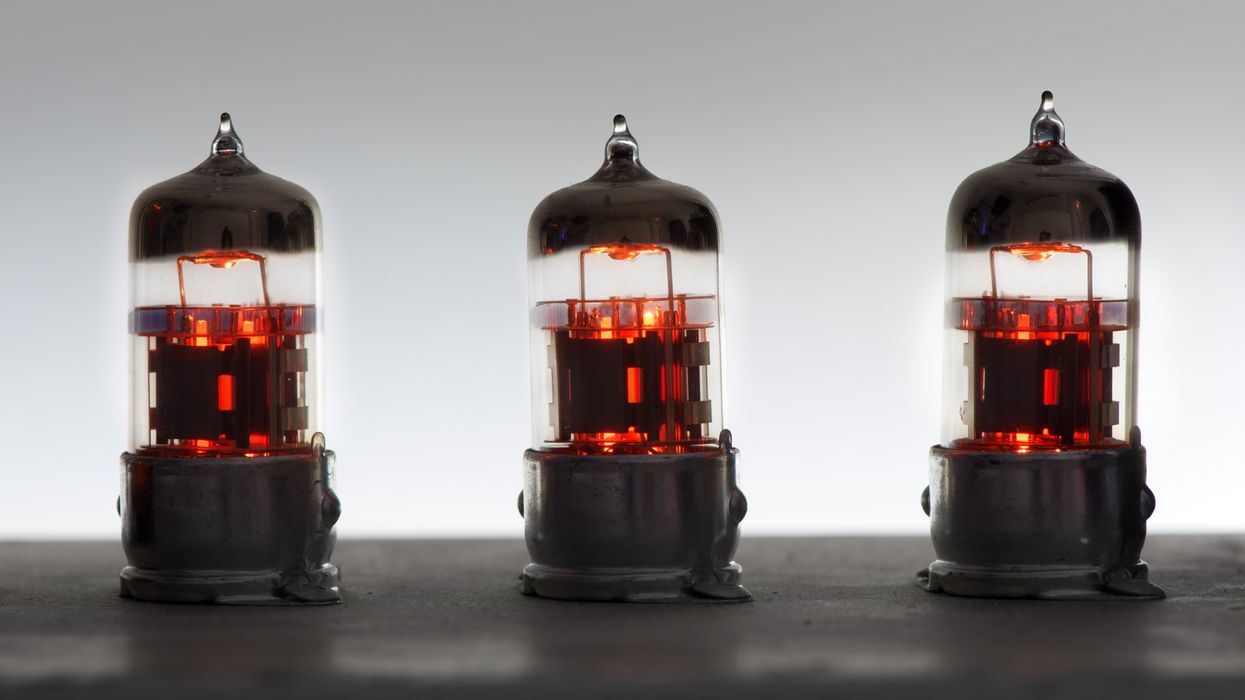
Our much-loved former columnist Jeff Bober returns to explain how to check and reset the bias of your amp’s output tubes—and delivers some potentially shocking warnings about a few common but dangerous techniques.
Hello again, Premier Guitar readers! It’s your old bud Jeff here, author of the once popular Ask Amp Man column. Editorial Director Ted Drozdowski asked me if I would be interested in writing about bias, and, of course, I said, “Sure, I know a thing or two about that!” So here I am, temporarily returning to these pages. Now, let’s get started.
What exactly is bias? Bias is prejudice in favor of or against … oh wait, wrong kind of bias. I think he wanted me to write about bias in a tube amplifier, which is far less polarizing.
Bias, as defined in the RCA Radiotron Designers Handbook, is “voltage applied to the grid [of a tube] to obtain a desired operating point.” Well, that is the most basic explanation, but for the most part it is good enough and pertains to the majority of tube output stages in our favorite tube guitar amps.
Setting the bias adjustment controls to these listed voltages in no way guarantees that your amp is properly biased.
Besides “applying” a voltage to a vacuum tube, however, biasing can occur in another way as well. There are quite a few amplifiers, such as a Vox AC15 and AC30, any of my Budda and EAST designs, and even most of the early, low-wattage amplifiers of the tweed era that use what’s known as a “cathode bias” design. This is where the current flowing through the tube (which attains the aforementioned “desired operating point”) is not set by the voltage “applied” to the grid of the tube, but is instead set by the resistor in the cathode leg of the tube. It’s a bit more complicated than that, but the result is an amplifier whose output stage is “self-biasing.”
Most amplification devices, including transistors and even preamp tubes, need to be “biased” in order to perform properly, but this type of biasing is fixed in the design parameters of the circuit. In the case of the preamp tubes in your guitar amp, bias is based on the value of the cathode resistor, among other things. But that’s enough design theory for today. Let’s get back to the core task of biasing the output tubes in most guitar amplifiers.
First, the bias voltages you see listed on many schematics, such as 52V on a black-panel Fender Twin Reverb or 51V on a Marshall 100W Super Lead schematic, are merely approximations of the voltages that should be expected in that area of the circuit. Setting the bias adjustment controls to these listed voltages in no way guarantees that your amp is properly biased. Tube bias is also dependent on the high voltage (or B+) applied to the plate of the output tube, which can vary within tolerances of the transformers as well as in the AC line voltage fed to the amp. (This is why amps can sometimes sound better in one room or club than others.)
But even more important to understand is that tubes produced in different factories across the globe will bias up differently! What I mean by this is, if you properly bias a set of output tubes—let’s say 6L6s made in Russia—and then you swap them out with a set made in China, in the same amplifier without changing the setting of the bias control, the end result will almost always be a different bias reading. This is why it’s always best to have checked and reset the bias whenever output tubes are replaced. Now, how do we do that?
The Preferred Method
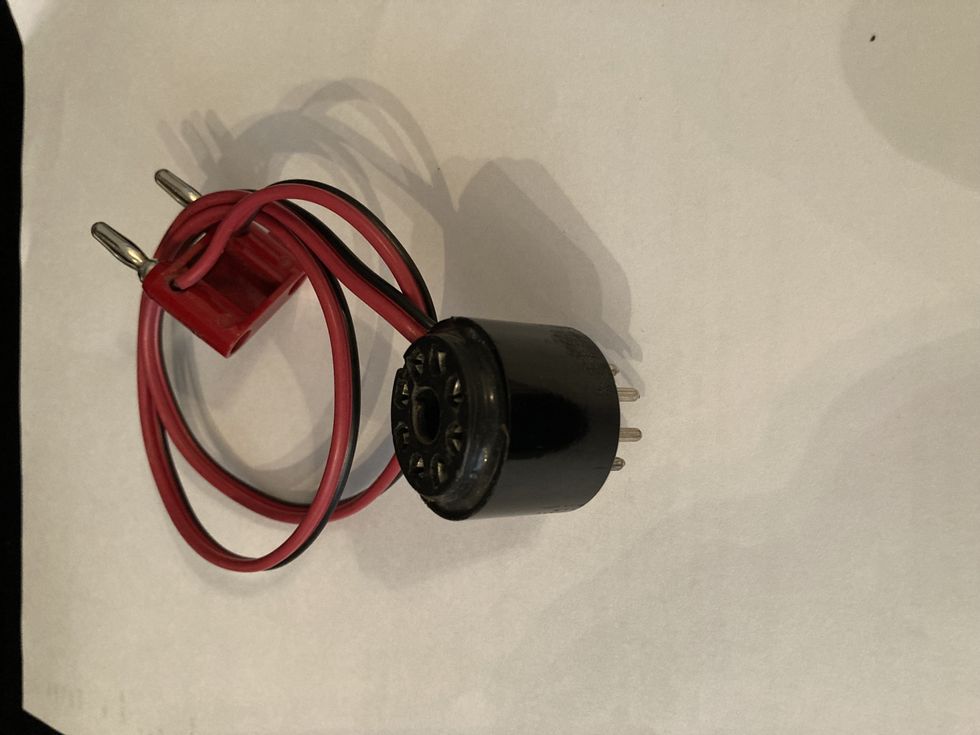
Fig. 1
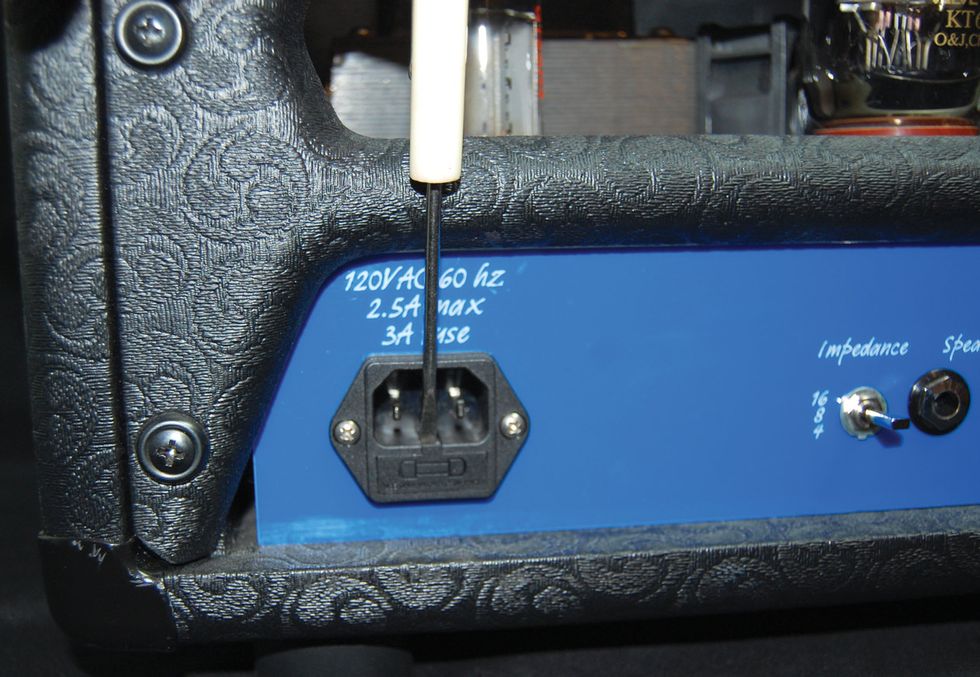
There are several different ways to measure output-tube bias current at idle. The safest method is to use what is commonly called a bias probe (Fig. 1). This is a device that is inserted between an output tube and its socket. (I typically make my own bias probes, but if you simply search “bias probe” online, you’ll find plenty to choose from. If you already own a multimeter, you can simply purchase the probes, but there are also options to purchase a full system with either a digital or analog meter, should you need it.) This device breaks the connection between the cathode (which is the metallic electrode from which electrons are emitted into the tube) of the tube and its ground connection, and inserts a small value resistor in between. It then allows the voltage across the resistor to be read. The resistor is typically 1 ohm and the resulting voltage drop across it is in millivolts (mV), so no chance of shock here. This provides a true and accurate measurement of the actual current flowing through one tube. Then, you set your bias and you’re done!
But even more important to understand is that tubes produced in different factories across the globe will bias up differently!
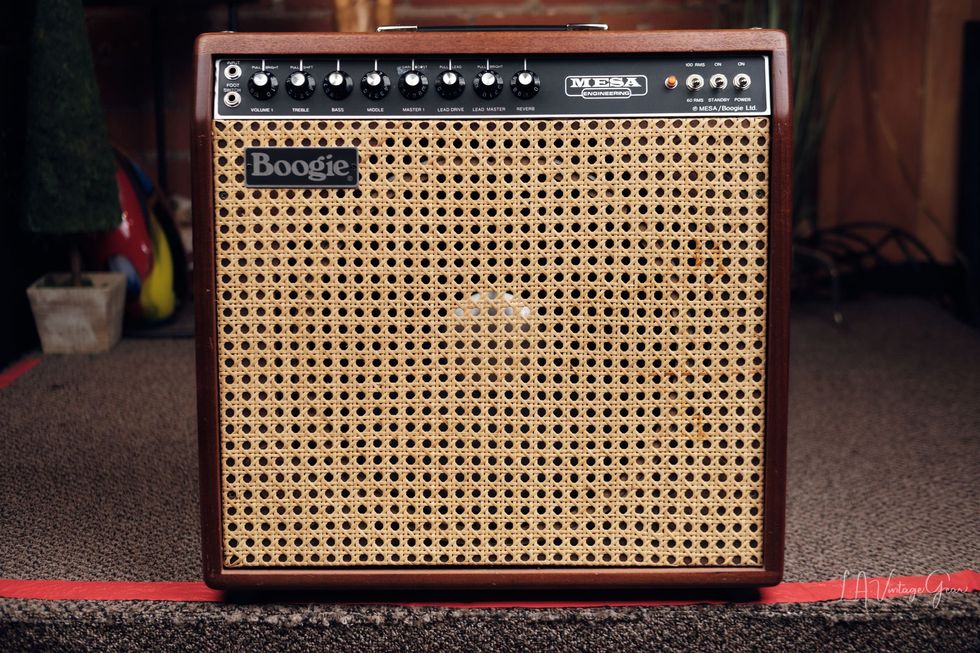
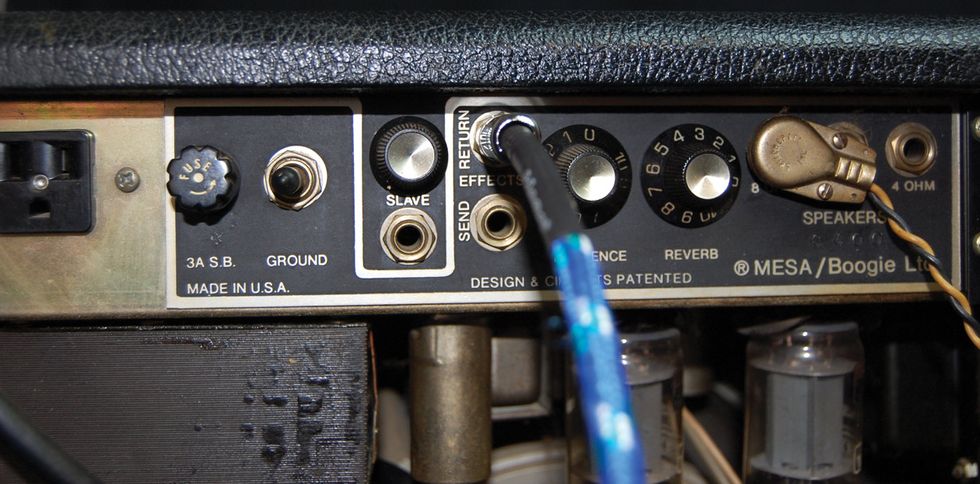
Ah, but wait! How do you set your bias? Let’s learn a bit more. Most tube amplifiers, if they are not cathode-biased designs, have some way to adjust the output-tube bias. One longstanding exception to this are most Mesa/Boogie amps. The bias voltage in these amps is not adjustable, which is why Mesa suggests only purchasing their tubes for their amps, because they are designed to fall within the acceptable bias range for their amps. This adds a certain degree of confidence for owner servicing, although, of course, it limits your options.
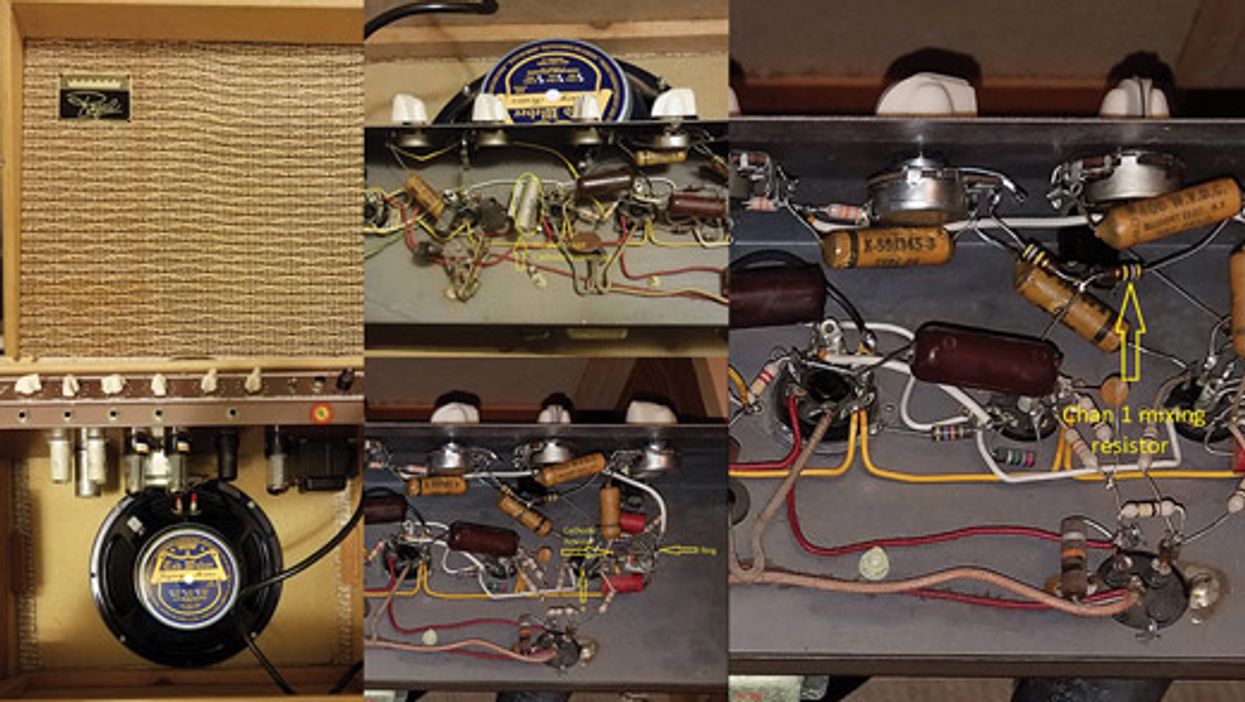
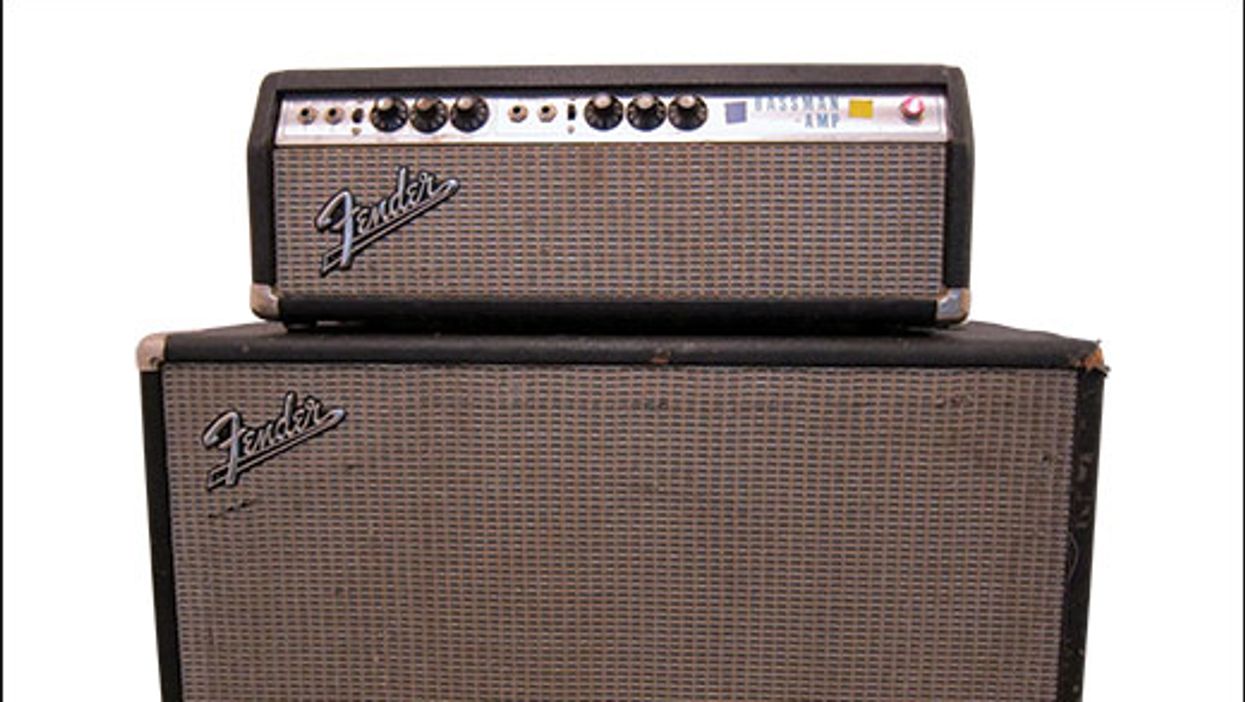
Let’s take a look, however, at a typical Fender or Marshall bias control. Most older Fenders have a pot with a slot for a screwdriver mounted to the chassis in the area of the power or mains transformer, while most older Marshalls have their bias pot mounted on the circuit board. (You might want to go online to look at schematics for your amp to help you find it.) Either way, this is where you’ll make your adjustment.
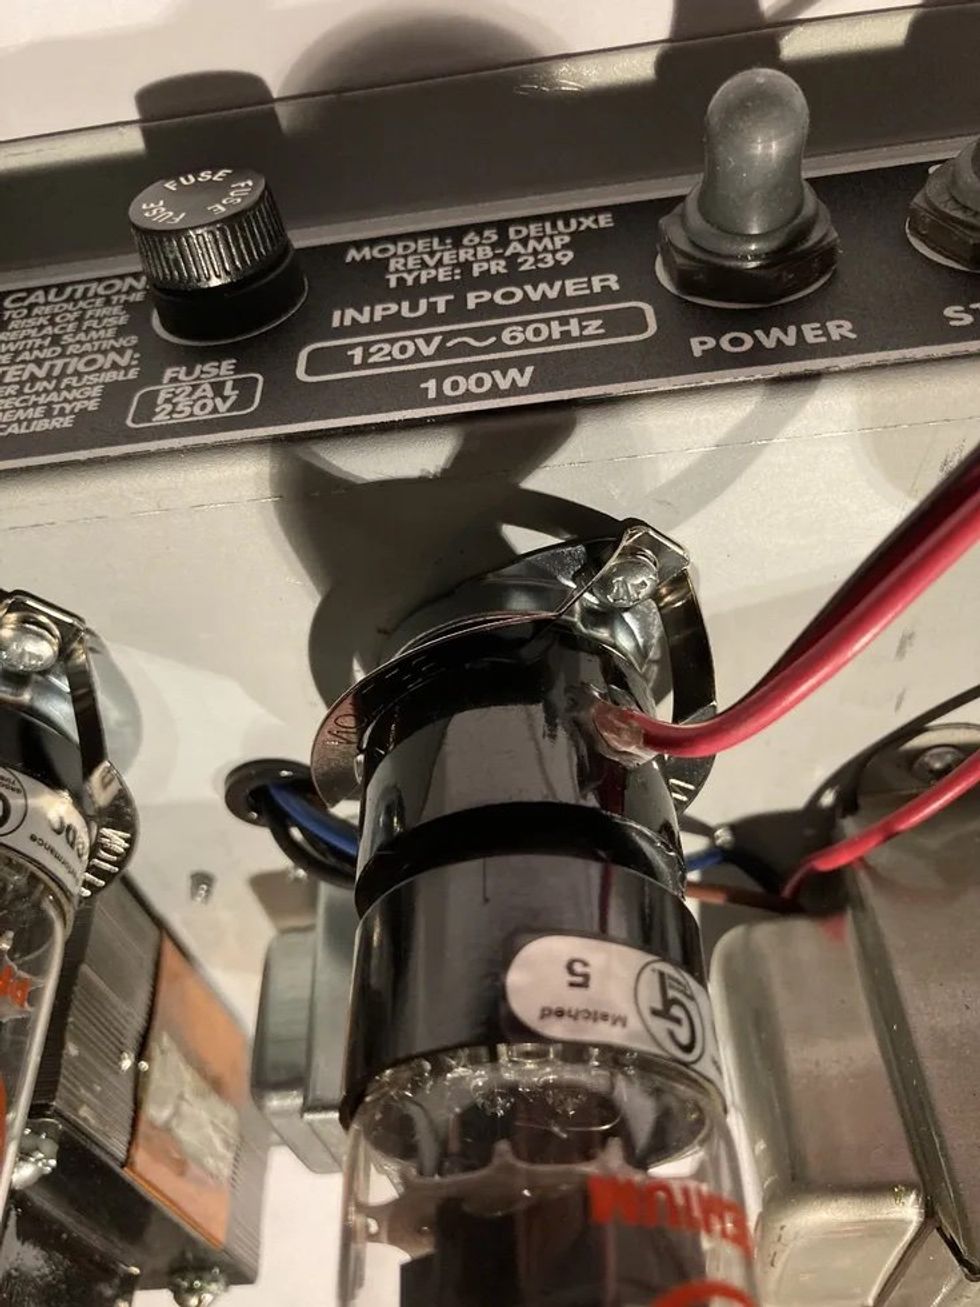
To get started, you’ll most likely need to pull the chassis and place it in a stable work environment. Insert the bias probe device between one of the tubes and the socket (Fig. 2). Make sure all the volume controls are set to zero, turn the amp on, and let the tubes warm up. It’s also good to try to have a load on the speaker jack—whether a speaker or an appropriate resistor or load box. This is not 100 percent necessary for just setting the bias to a particular number, but sound checking is one of the ways I like to make the final adjustments, so being able to connect the speaker to the chassis while it’s on the bench is certainly a necessity for me.
Now, where to set the numbers? There are certainly more than a few opinions floating around on the interwebs about what optimal bias settings are. Some engineering types will tout 50 percent maximum plate dissipation or 70 percent maximum dissipation, and while it may look good or make sense on paper, I’ve heard the result of guitar amplifiers designed by the book to optimal specifications … and to me they sound, well, less than optimal. It may work in the hi-fi world, where perfect sound reproduction is the goal, but guitar amplifiers are in the sound production business, so it’s a bit different. (In the most basic terms, maximum plate dissipation is the amount of power the plate of the tube is designed to deliver.)
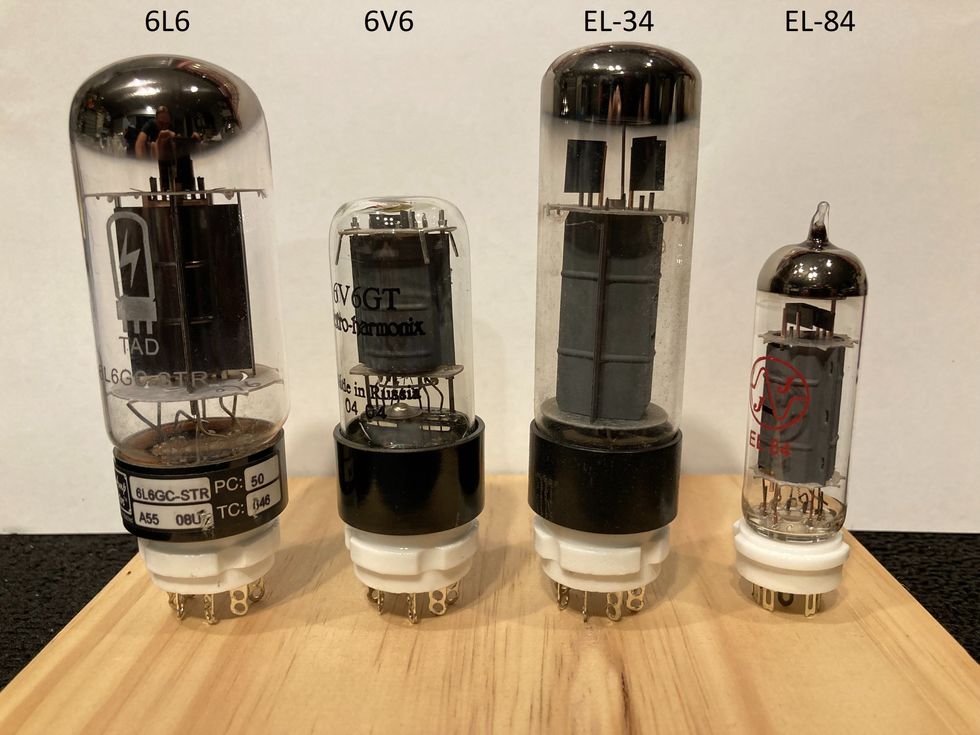
Different types of output tubes have their own acceptable range of bias current. There are so many variables at play that there is no “correct” number. The plate voltage in the amplifier, the output transformer’s primary impedance, and the country of origin of a tube all factor into how it interacts with the voltage and output transformer to define what the optimal bias current will be. Below are the average ranges for some typical octal output tubes:
• 6L6: 25–35 mA
• EL34: 30–40 mA
• 6V6: 18–25 mA
• 6550: 35–45 mA
• KT66: 30–40 mA
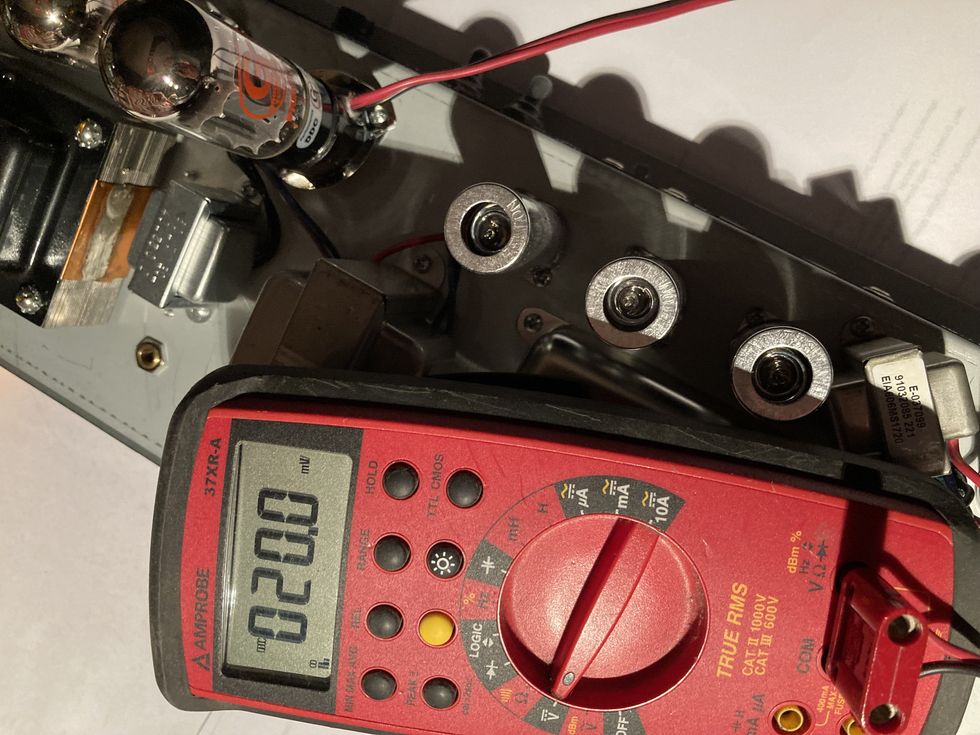
Fig. 3
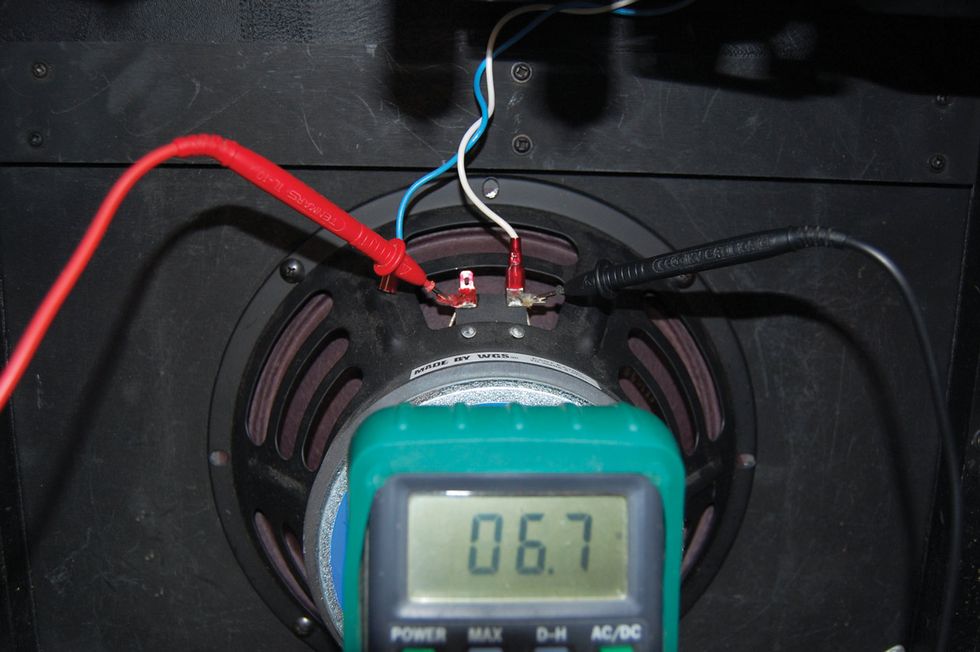
These should be the ranges in which these tubes will perform and sound the best, and they can be accurately measured with a digital multimeter. The best way for you to decide what setting is best for you is a combination of the reading on the meter and your ears! Using the bias control, set the bias to somewhere in the ranges given above (Fig. 3) and play the amp. Note: Some amps will act funny and develop horrible noises (parasitic oscillations) when a bias probe is in place while the amp is being played. If this is the case, you’ll need to remove the bias probe each time you play the amp.)
Move the setting a couple mA in one direction or the other and play again. Don’t expect extreme changes; that’s not what we’re looking for. Listen for subtle differences. Is one setting a little more or less harsh? Is the bottom end too soft or flubby? Is the amp as clean as you want it? Sometimes these little subtleties are what make one amp sound and feel better than another!
Most older Fenders have a pot with a slot for a screwdriver mounted to the chassis in the area of the power or mains transformer, while most older Marshalls have their bias pot mounted on the circuit board.
Also, you should be doing this at the volume you would typically use onstage or in the studio. You may not notice much change if your volume is at 1, but you want to optimize the amp for the way you will be using it.
Eyes Wide Open
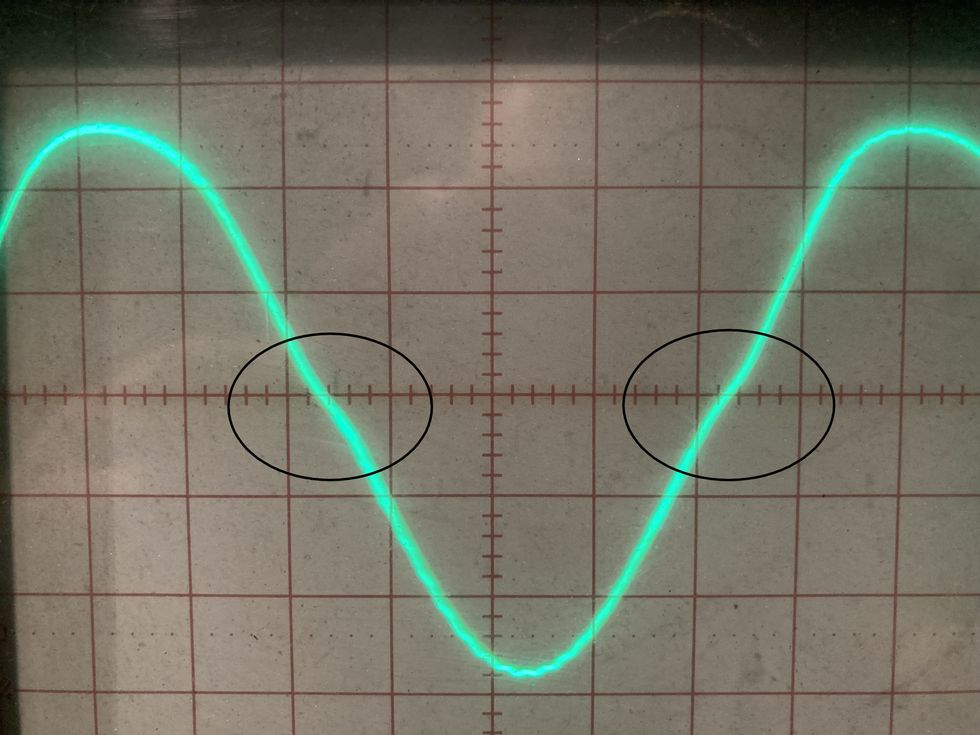
Fig. 4
Knowing the ballpark bias numbers is good, and adding your ears is even better, but I also like to see what I’m hearing, so I always incorporate an oscilloscope when I’m setting the bias on an amp. I mentioned crossover distortion above, and when it comes to setting up amps for today’s pedal-hungry players, I find that setting the bias to where there is just a hint of crossover distortion at full output is what works best. Fig. 4 is what that looks like on the oscilloscope. This keeps the amp very clean and makes most pedal users happy.
By the way, here’s a mini primer in crossover distortion. In a push-pull output stage, which is found in most amplifiers with two or more output tubes, each tube (or pair of tubes) is responsible for amplifying at least half of the audio signal. If the tubes are not biased properly, one tube (or pair) will stop amplifying before the other tube (or pair) start amplifying. This will create crossover distortion. Proper biasing will allow the two halves to interact correctly. It’s like a nice firm handshake between both halves.
Beware These Old-School Methods
Let’s look at a couple popular methods that I do not recommend, but are worth discussing because they are, nonetheless, common. The first is: With the amp off and output tubes removed, use a multimeter to measure the resistance of each half of the primary side of the output transformer. This would typically be from the center tap to each side of the primary winding.
In the most basic terms, a transformer is a bunch of wire wound around a steel core. On the primary side of an output transformer, the center tap is the electrical “middle” of this long length of wire. This is typically where the high voltage is applied. The ends of this length of wire are connected to the plates of the tube, thereby applying the high voltage to the tubes. As an example, typically in most Fender amps, the center tap is red, and the ends of the primary windings are blue and brown.
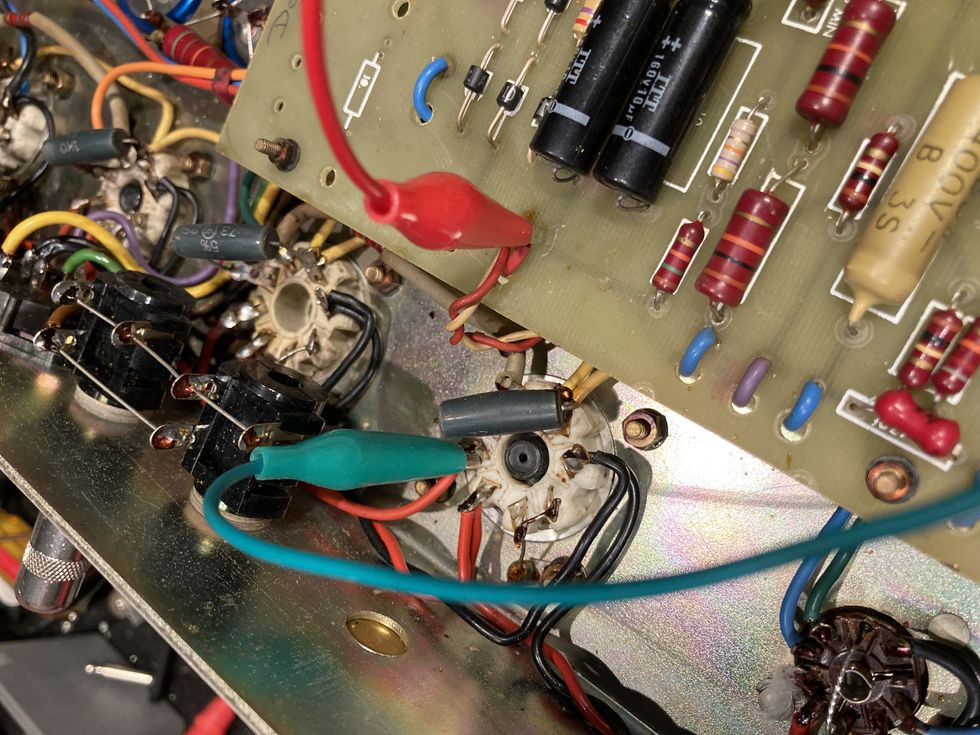
Fig. 5
Next, install the output tubes, turn the amp on, and measure the voltage drop across each half of the output transformer with the amp at idle in operational mode (Fig. 5). Voltage divided by resistance will give you the DC current through the tubes. For example, 1.17V / 15.8R = 0.074, or 74 mA. The numbers I used here were actual measurements in one side (one half) of a 100W amp using four output tubes (two per side). So, divide the 74 mA by two, and you get an average of 37 mA per tube.
Next, you can try the shunt method. This requires a multimeter that can read DC current in milliamps (mA). Connect one meter lead to the center tap of the output transformer and the other lead to the output transformer’s primary side. Typically, in most amps using octal tubes (6L6, 6V6, EL34, 6550, KT88, etc.), this will be pin 3 on any output tube socket. Turn the amp on and, in operating mode at idle (i.e., volume off), measure the current across that half of the output transformer. For example, if your measurement is 72 mA and it’s an amp that utilizes four output tubes, the current measured is for two of those tubes, so once again divide by two to arrive at 36 mA per tube.
I’ve heard the result of guitar amplifiers designed by the book to optimal specifications … and to me they sound, well, less than optimal.
Both of those methods are very old school and still in practice, but I wouldn’t use either for two reasons: 1) I don’t believe they’re very accurate, and 2) they’re dangerous! You’re probing around inside the high voltage area of the amp, and one slip will either take out a fuse, take out a tube, take out your meter, or, worse case, let you know exactly what 450V DC feels like! So, although these methods are used, let’s just say no here.
Some Personal Insights
I’d also like to add a little personal experience to this procedure, based on decades in the biz. Back in the day, when I began servicing and modifying gear, guitarists were regularly playing 50- and 100-watt amps. (Everybody looked at me like I had three heads when I came out with the 18-watt Budda Twinmaster, but that’s a whole other story.) There were some overdrive and distortion pedals around (now all vintage), but certainly not the pedal proliferation we have now, so players were pretty much guitar, cable, amp … go! In these situations, I would most times run the tubes with a pretty hot bias so the amp would be fatter and overdrive a bit earlier and easier, as a decent percentage of the overdrive was developed by pushing the output tubes. As time went on, output attenuators became more popular, so amps could be pushed hard, but at more manageable volume levels. That was still a good scenario for a hotter bias of the output tubes in high-power amps. Eventually, players started playing lower-power amps, so they could open them up and get great output-tube distortion at lesser volumes. The problem is that hotter-biased low-power amps tend to get mushy and have less definition when pushed hard, so a more moderate bias setting is preferred here—just enough so there is no crossover distortion. Move up to today’s scenario and you’ll find that almost all overdrive and/or distortion is typically coming from a pedal. In that case, an amp is nothing more than an amplification device for pedals.
So, that’s what I’ve learned about tube-biasing from my decades of experience. But the bottom line is, there is no absolute right or wrong settings when it comes to biasing an amp. Keep your ears open and go with what sounds best to you.
- Ask Amp Man: A Fond Farewell ›
- Ask Amp Man: A Vintage Showman, Not Ready for Prime Time ›
- Ask Amp Man: Add Some Marshall Grit to a Fender Bassman ›
Experience the pinnacle of Taylor playing comfort and tone with the Builder’s Edition 514ce, 514ce Kona Burst, and 524ce. These models feature solid Shamel ash back and sides, uniquely voiced V-Class bracing, Gotoh 510 tuners, ES2 electronics, and a Deluxe Hardshell Case.
The Builder’s Edition 514ce, 514ce Kona Burst and 524ce join our acclaimed Builder’s Edition Collection, giving you more ways to experience the pinnacle of Taylor playing comfort and tone.
Each model boasts a gloss-finish cutaway Grand Auditorium body with solid Shamel ash back and sides, an artfully applied Kona burst on the back, sides and neck, uniquely voiced V-Class interior bracing, Gotoh 510 antique chrome tuners, ES2 electronics, and a Deluxe Hardshell Case.
Refined, comfort-enhancing features include a beveled armrest and cutaway, chamfered body edges and a smoothly contoured Curve Wing bridge. Italian acrylic “Compass” inlays and a vibrant firestripe pickguard add tasteful aesthetic accents.
Responsibly sourced from cities in Southern California, Shamel ash is given a second life as a tonewood in our premium-class guitars. It yields a focused, fundamental-strong voice with midrange power and balance comparable to Honduran mahogany.
Models:
- Builder's Edition 514ce - $3,399 - Featuring a natural Sitka spruce top paired with solid Shamel ash back and sides, the Builder’s Edition 514ce delivers warmth, depth and musical versatility for any style or genre.
- Builder's Edition 514ce Kona Burst - $3,499 - Showcasing a vintage aesthetic flair, this solid Shamel ash/Sitka spruce model features a Tobacco Kona burst top.
- Builder's Edition 524ce - $3,499 - This model pairs solid Shamel ash back and sides with a mahogany top—also featuring a Tobacco Kona burst—that adds a bit of natural compression to help create incredible tonal balance across the frequency spectrum.
For more information, please visit taylorguitars.com.
AI, which generated this image in seconds, can obviously do amazing things. But can it actually replace human creativity?
Technology has always disrupted the music biz, but we’ve never seen anything like this.
AI has me deeply thinking: Is guitar (or any instrument) still valid? Are musicians still valid? I don’t think the answer is as obvious as I’d like it to be.
As a professional musician, I’ve spent the vast majority of my days immersed in the tones of tube amps, the resistance of steel strings under my fingers, and the endless pursuit of musical expression. Each day, I strive to tap into the Source, channel something new into the world (however small), and share it. Yet, lately, a new presence has entered the room—artificial intelligence. It is an interloper unlike any I’ve ever encountered. If you’re thinking that AI is something off in the “not-too-distant future,” you’re exponentially wrong. So, this month I’m going to ask that we sit and meditate on this technology, and hopefully gain some insight into how we are just beginning to use it.
AI: Friend or Foe?
In the last 12 months, I’ve heard quite a bit of AI-generated music. Algorithms can now “compose,” “perform” (with vocals of your choosing), and “produce” entire songs in minutes, with prompts as flippant as, “Write a song about__in the style of__.” AI never misses a note and can mimic the finer details of almost any genre with unnerving precision. For those who are merely curious about music, or those easily distracted by novelty, this might seem exciting … a shortcut to creating “professional” sounding music without years of practice. But for those of us who are deeply passionate about music, it raises some profound existential questions.
When you play an instrument, you engage in something deeply human. Each musician carries their life experiences into their playing. The pain of heartbreak, the joy of new beginnings, or the struggle to find a voice in an increasingly noisy and artificial online world dominated by algorithms. Sweat, tears, and callouses develop from your efforts and repetition. Your mistakes can lead to new creative vistas and shape the evolution of your style.
Emotions shape the music we create. While an algorithm can only infer and assign a “value” to the vast variety of our experience, it is ruthlessly proficient at analyzing and recording the entire corpus of human existence, and further, cataloging every known human behavioral action and response in mere fractions of a second.
Pardon the Disruption
Technology has always disrupted the music industry. The invention of musical notation provided unprecedented access to compositions. The advent of records allowed performances of music to be captured and shared. When radio brought music into every home, there was fear that no one would buy records. Television added visual spectacle, sparking fears that it would kill live performance. MIDI revolutionized music production but raised concerns about replacing human players. The internet, paired with the MP3 format, democratized music distribution, shattered traditional revenue models, and shifted power from labels to artists. Each of these innovations was met with resistance and uncertainty, but ultimately, they expanded the ways music could be created, shared, and experienced.
Every revolution in art and technology forces us to rediscover what is uniquely human about creativity. To me, though, this is different. AI isn’t a tool that requires a significant amount of human input in order to work. It’s already analyzed the minutia of all of humanity’s greatest creations—from the most esoteric to the ubiquitous, and it is wholly capable of creating entire works of art that are as commercially competitive as anything you’ve ever heard. This will force us to recalibrate our definition of art and push us to dig deeper into our personal truths.
“In an age where performed perfection is casually synthesized into existence, does our human expression still hold value? Especially if the average listener can’t tell the difference?”
Advantage: Humans
What if we don’t want to, though? In an age where performed perfection is casually synthesized into existence, does our human expression still hold value? Especially if the average listener can’t tell the difference?
Of course, the answer is still emphatically “Yes!” But caveat emptor. I believe that the value of the tool depends entirely on the way in which it is used—and this one in particular is a very, very powerful tool. We all need to read the manual and handle with care.
AI cannot replicate the experience of creating music in the moment. It cannot capture the energy of a living room jam session with friends or the adrenaline of playing a less-than-perfect set in front of a crowd who cheers because they feel your passion. It cannot replace the personal journey you take each time you push through frustration to master a riff that once seemed impossible. So, my fellow musicians, I say this: Your music is valid. Your guitar is valid. What you create with your hands and heart will always stand apart from what an algorithm can generate.
Our audience, on the other hand, is quite a different matter. And that’s the subject for next month’s Dojo. Until then, namaste.
Our columnist’s bass, built by Anders Mattisson.
Would your instrumental preconceptions hold up if you don a blindfold and take them for a test drive?
I used to think that stereotypes and preconceived notions about what is right and wrong when it comes to bass were things that other people dealt with—not me. I was past all that. Unfazed by opinion, immune to classification. Or so I thought, tucked away in my jazz-hermit-like existence.
That belief was shattered the day Ian Martin Allison handed me a Fender Coronado while I was blindfolded in his basement. (Don’t ask—it’s a long story and an even longer YouTube video if you have time to kill.) For years, I had been a single-cut, 5-string, high-C-string player. That was my world. So, you can imagine my shock when I connected almost instantly with something that felt like it was orbiting a different solar system.
Less than 5 minutes with the instrument, and it was all over. The bass stayed in Ian’s basement. (I did not.) I returned home to Los Angeles, but I couldn’t stop thinking about it. I kept playing my beloved semi-chambered single-cut 5-string, but I sent its builder, Anders Mattisson, a message about my recent discovery. I asked if there was any way we could create something with the essence of a Coronado while still suiting my playing and my music.
That’s when everything I thought I knew about bass—and the personal boundaries I had set for myself—came crashing down.
When we started talking about building a bass with a fully chambered body, much like the Coronado, I was adamant about two things: It needed to have active electronics, and I would never play a headless bass.
Fast-forward three months to the winterNAMM show in California. Anders arrived for dinner at my house, along with a group of incredible bass players, includingHenrik Linder. I was literally in a chef’s apron, trying to get course after course of food on the table, when Henrik said, “Hey, let’s bring the new bass in.”
He came down the stairs carrying something that looked suspiciously like a guitar case—not a bass case. I figured there had been some kind of mistake or maybe even a prank. When I finally got a break from the chaos in the kitchen, I sat down with the new bass for the first time. And, of course, it was both headless and passive.
I should mention that even though I had made my requests clear—no headless bass, active electronics—I had also told Anders that I trusted him completely. And I’m so glad I did. He disintegrated my assumptions about what a bass “has to” or “should” be, and in doing so, changed my life as a musician in an instant. The weight reduction from the fully chambered body made it essential for the instrument to be headless to maintain perfect balance. And the passive nature of the pickups gave me the most honest representation of my sound that I’ve ever heard in over 30 years of playing bass.
I’m 46 years old. It took me this long to let go of certain fundamental beliefs about my instrument and allow them to evolve naturally, without interference. Updating my understanding of what works for me as a bass player required perspective, whereas some of my most deeply held beliefs about the instrument were based on perception. I don’t want to disregard my experiences or instincts, but I do want to make sure I’m always open to the bigger picture—to other people’s insights and expertise.
Trusting my bass builder’s vision opened musical doors that would have otherwise stayed bolted shut for years to come. The more I improve my awareness of where the line between perception and perspective falls, the more I can apply it to all aspects of my world of bass.
Maybe this month, it’s playing an instrument I never would have previously considered. Next month, it might be incorporating MIDI into my pedalboard, or transcribing bass lines from spaghetti Westerns.
No matter what challenges or evolutions I take on in my music and bass playing, I want to remain open—open to change, open to new ideas, and open to being proven wrong. Because sometimes, the instrument you never thought you’d play ends up being the one that changes everything.
Genuine, dynamic Vox sound and feel. Plenty of different tone-sweetening applications. Receives other pedals as nicely as a real amp.
Can get icy quick. Preamp tube presents risk for damage.
$299
Tubesteader Roy
tubesteader.com
The Roy is an exceedingly faithful Vox box that brings genuine tube dynamics to your pedalboard.
This is an interesting moment for amp-in-a-box pedals. It used to be novel to have a little box that approximated the tone signature of an iconic amp. Nowadays, though, modeling pedals and profilers can give you many digital emulations in one package. Nevertheless, there are still worlds of possibility in pedals that copy amp topology in discrete form—particularly when you add a real preamp tube to that mix.
That’s what Montreal builder Tubesteader did with the Roy, their entry in the Vox-Top-Boost-AC30-in-a-box race. The Roy is a 2-channel preamp and overdrive built around a 12AX7 vacuum tube—a design gambit that is relatively uncommon if not totally unique. The tube makes the Roy look much more vintage in spirit at a time when sleek, black Helixes and Fractals are overtaking stages. In some ways, it looks like an antique. It can sound like one in the best way too.
Riding the Tube
The Roy comes in a handsome brownish-red enclosure, with an unsurprising control layout. The rightmost footswitch turns the pedal on and off, and the one at left switches between the identical channels. Each channel has an output volume and gain knob; the controls on the right are assigned to the default channel, and when you tap the left footswitch, you engage the left-side control tandem. The treble and bass controls between the two volume and gain knobs are shared by the two channels, but a post-EQ master tone cut control, which rolls off additional treble frequencies, is mounted on the crown of the pedal beside the power input. The input and output jacks occupy the left and right sides, along with a 3.5 mm jack for external operation. The Roy runs at 12 volts and draws 350 mA, and the included power supply can be reconfigured easily for a range of international outlets.
Tubesteader’s literature says the pedal’s tones are generated via a high-voltage transistor in the first gain stage coupled with the 12AX7, which operates at 260 volts. That preamp tube is nested at the top of the enclosure’s face, underneath a protective metal “roll bar”. Trusty as it looks, when there is a glass element on the exterior of a pedal’s housing, there’s an element of vulnerability, and transporting and using the Roy probably requires a more conscientious approach than a standard stompbox.
Royal Tones
Compared to the Vox's own Mystic Edge, an AC30-in-a-box from Vox powered by Korg’s NuTube vacuum fluorescent display technology, the Roy feels warmer, and more dynamic, proving that the 12AX7 isn’t just there for looks. The Mystic Edge could sound positively icy compared to the Roy’s smooth, even breakup. The Roy is very happy at aggressive settings, and in my estimation, it sounds best with output volumes driving an amp hard and the pedal’s gain around 3 o’clock. That recipe sounds good with single-coil guitars, but with a P-90-loaded Les Paul Junior, it achieves roaring classic-rock greatness. I’ve always felt Voxes, rather than Marshalls, are better vehicles for dirty punk chording. The Roy did nothing to dissuade me from that belief. And the pedals' midrange punch and bark in power-chord contexts lent authority and balance that makes such chords hit extra hard.
Though the Roy creates many of its own tasty drive tones, it really comes to life when pushed by a boost or overdrive, much like a real amp. When I punched it with a Fish Circuits Model One overdrive, the Roy was smoother and less spiky than a cranked AC30, yet there was plenty of note definition, attack, and the harmonic riches you’d turn to an AC for in the first place. A JFET SuperCool Caffeine Boost also brought additional depth and color to the output and broadened the pedal’s voice.
If you’re most comfortable with a real Vox amp, the Roy is a reliable and familiar-feeling stand-in when managing a different backline amp. In at least one way, though, the Roy is, perhaps, a bit toofaithful to its influence’s design: There’s a lot of treble on tap, and it’s easy to cook up tinnitus-inducing frequencies if you get too aggressive with the treble control. Noon positions on the cut/boost tone knobs sound pretty neutral. But I found it difficult to push the treble much past 2 o’clock without wincing—even with the tone cut control set at its darkest. (This quality, of course, may make the Roy a good match for squishier Fender-style designs). The relationship between the Roy’s treble and bass controls also takes time to master. The two don’t just add or boost their respective frequencies, but also add or subtract midrange, which can result in intense and sudden gain-response changes. As a general guideline, a light touch goes a long way when fine tuning these frequencies.The Verdict
The Roy isn’t exactly a bargain at $299. Then again, this Vox-in-a-box can stand in for real-deal Top Boost tones and the 2-channel design means you can move between an AC’s chimey cleans and ripping cranked sounds in a flash. If you’re squarely in the Vox amp camp, you’d be hard-pressed to find a more authentic means of achieving that range of clean-to-crunchy sounds.