
Hello and welcome back to Mod Garage. This is the final installment of our DIY relic’ing series, and I hope you enjoyed it as much as I did. Today, in the last step, we’ll add some dings and dongs to the guitar. You can decide if you only want a slightly aged look or if you want to bash it up like hell for a heavy-used relic look. There are many ways of adding dings and dongs, and if you do a Google search, you’ll find a galore of pages and blogs about this. I will show you the way I do it in the shop, but this is only one way of doing it. In other words, I’m not saying you must do it exactly this way or that other ways won’t work. Many roads lead to Rome.
My goal with this little series was to show you what’s possible and how you handle such a project, step by step, and in a sensible order. In time, you can adopt and develop your own techniques, getting better from guitar to guitar.
To enjoy a little humor before we start, check out one of my favorite videos about aging guitars from Chicago Music Exchange (“CME Custom Relic’ing: Add Years of Abuse to Your Brand New Guitar!” on YouTube). But please, do not take it too seriously!
“You can decide if you only want a slightly aged look or if you want to bash it up like hell for a heavy-used relic look.”
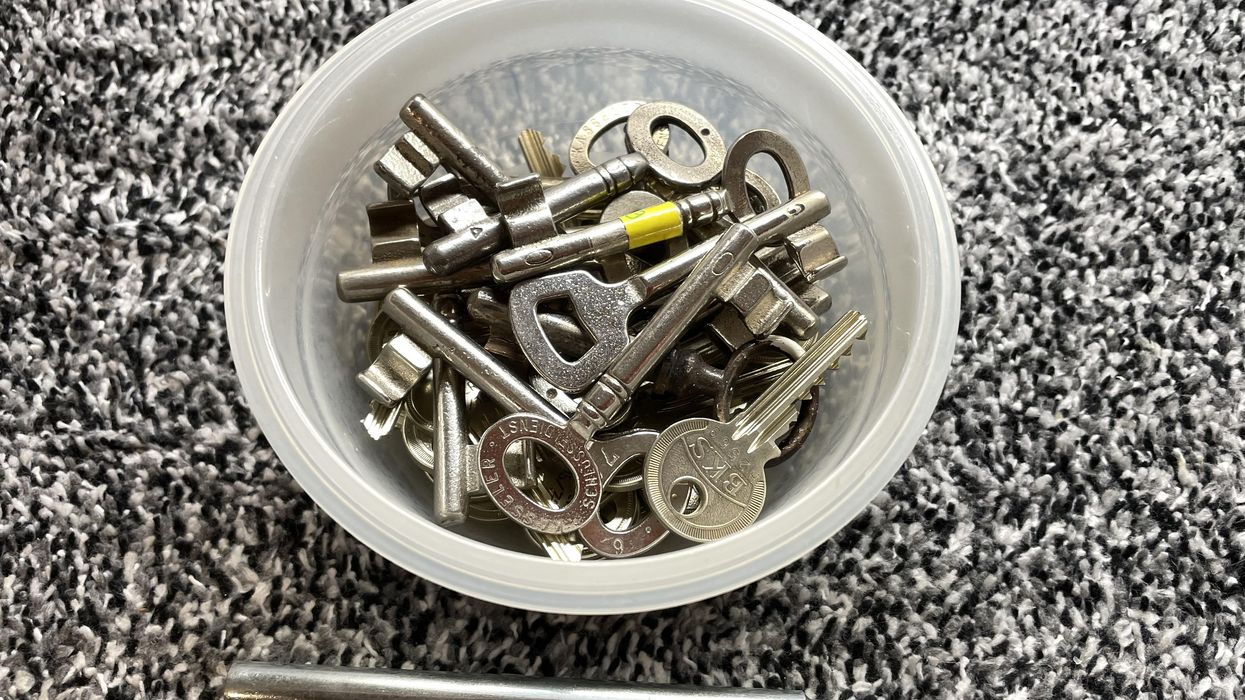
When it comes to dings and dongs, you don’t need much for a good result. I usually only use a round metal bar and a collection of old and obsolete keys (Photo 1). The metal bar should be a massive one—hollow ones don’t work well because of their kickback behavior. I prefer a small but heavy one because it gives me a lot of control when using it. In my key box, I have a mix of mortice and cylinder keys in different sizes. I found this collection of old and obsolete keys on eBay for virtually nothing many years ago and it still works great for me.
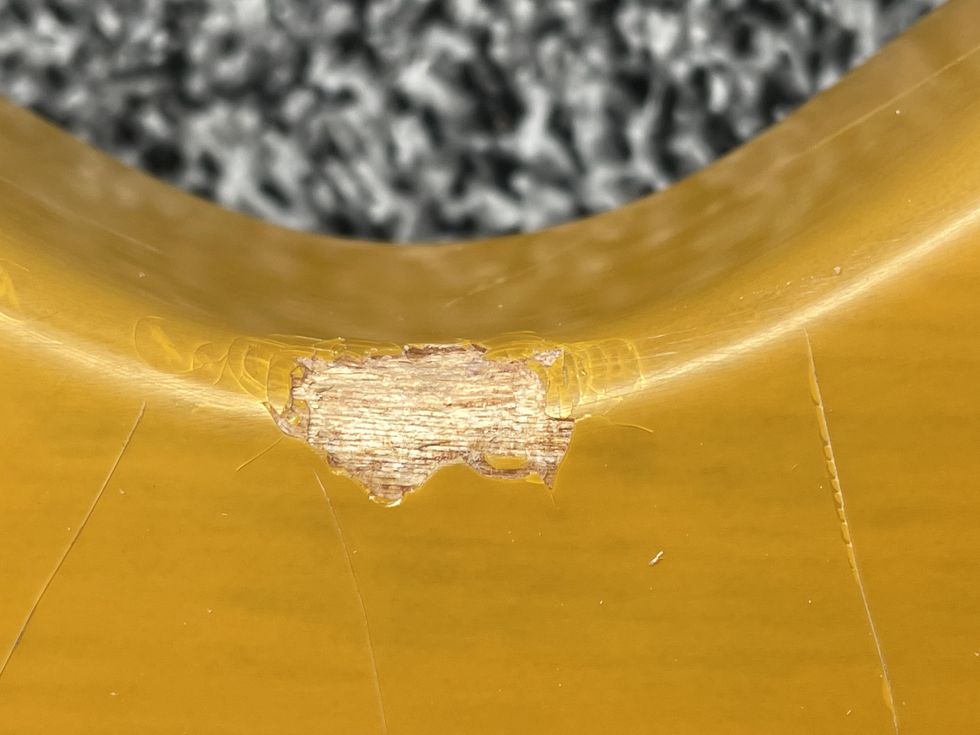
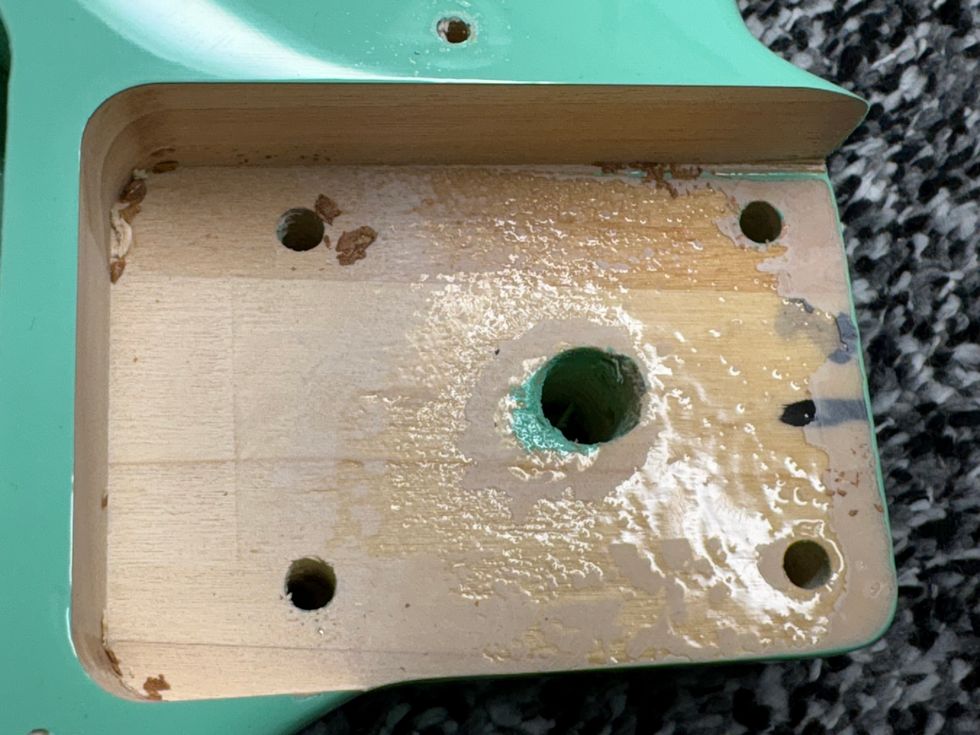
Photo 2
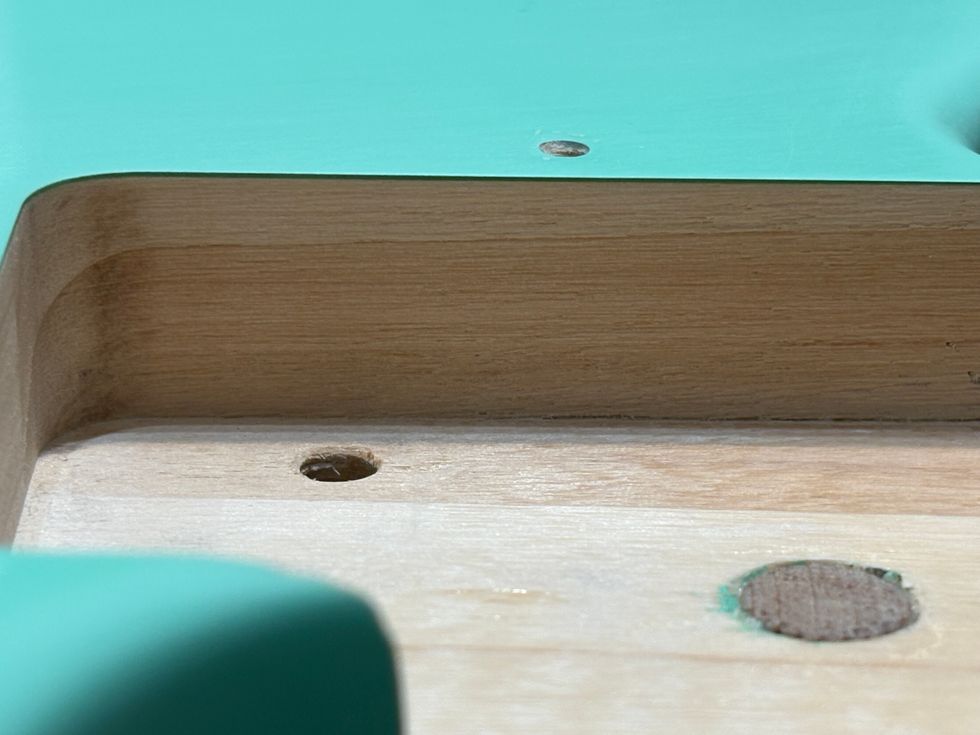
Let’s start with the metal bar. Hold the guitar in playing position and start tapping on the edges with the metal bar to create a random pattern of dents. It’s easy to control the effect with your hand. If you hit the edges slightly, you create a slight dent. The heavier you hit, the deeper the dents, and with some very hard hits you can crack the lacquer to create the typical spots exposing bare wood (Photo 2). Start tapping the edges slightly and see if you like the effect. Work your way up to more damage if you want more. Don’t forget: Less is more if you want to make it look authentic.
I receive the best results when tapping in a rhythmically constant pattern of about 45 degrees with the bar. If you want to get a cheap used-guitar body on eBay, it’s a good idea to get some training on this. It’s not difficult to do, but it helps to have some experience before tapping the real deal. Please do yourself a favor and wear goggles and gloves, because if you crack and burst the lacquer, it can jump off with high speed, and you don’t want to get any in your eyes. Just as you don’t want any splinters of wood in your fingers. Tap the body, the headstock, and the neck if you like.
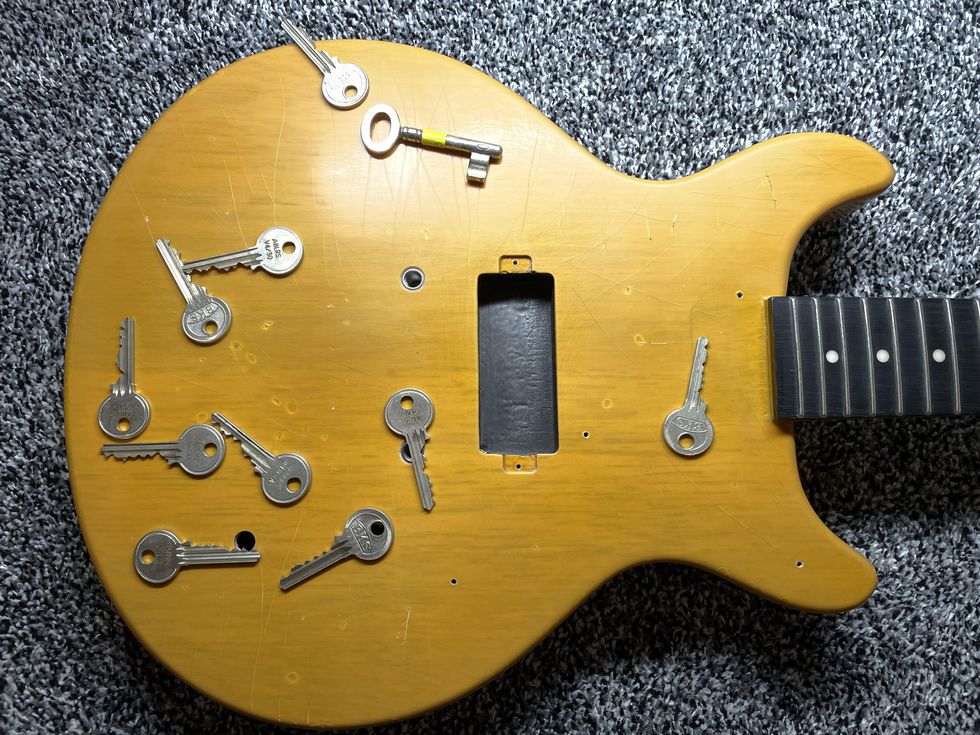
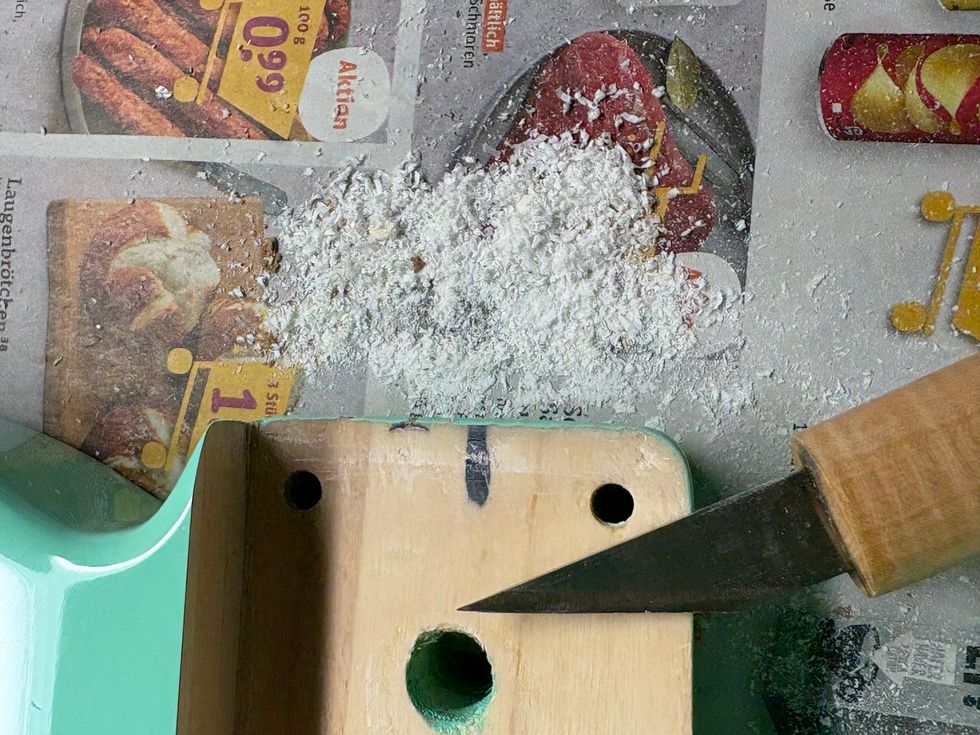
Photo 3
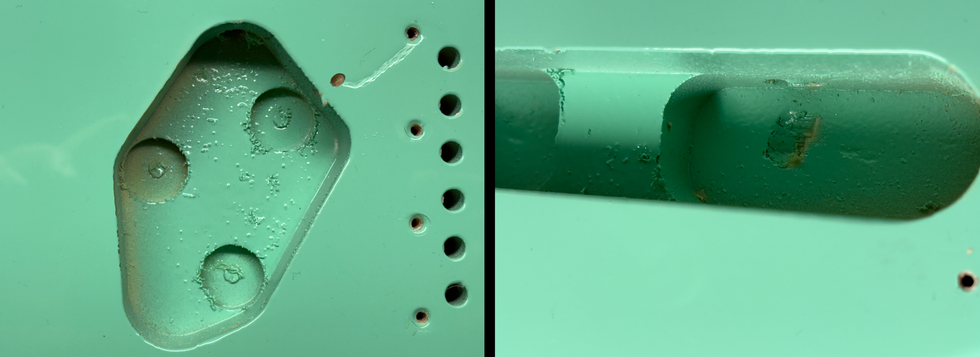
If you’re done and satisfied with your work, it’s time to bring in the keys (Photo 3). If you want to leave some spots on the guitar free of dings and dongs, you’ll need to cover and protect this area with strong cardboard or the like. A piece of paper or thin cotton won’t work; the keys will win. Because the keys will jump off the guitar, it’s a good idea to lay the guitar flat on a carpet or somewhere that the keys can’t disappear. You know the “confetti effect” after a New Year’s Eve party? No matter how often you clean your room, you’ll still find some confetti right before Easter. It’s the same with the keys; they’ll jump off in any direction and gone they are.
Anyway, the process is very simple. Your guitar is lying flat on the ground, and you simply drop the keys on the guitar. You can do this one by one or all at once. I usually use the individual keys first, followed by some massive shots of several keys at once. You can simply hold them above the guitar and let them fall, or you can smash them. Be creative and see what you like best. I usually leave out the fretboard with this, covering it with a piece of carpet. But if you like, you can also treat the fretboard this way.
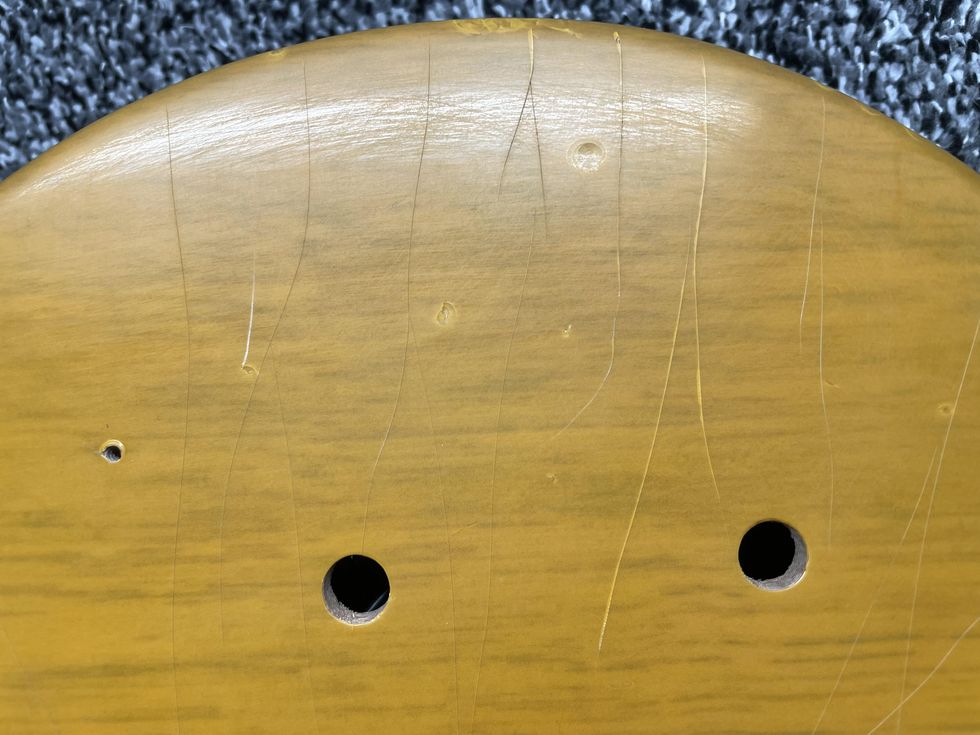
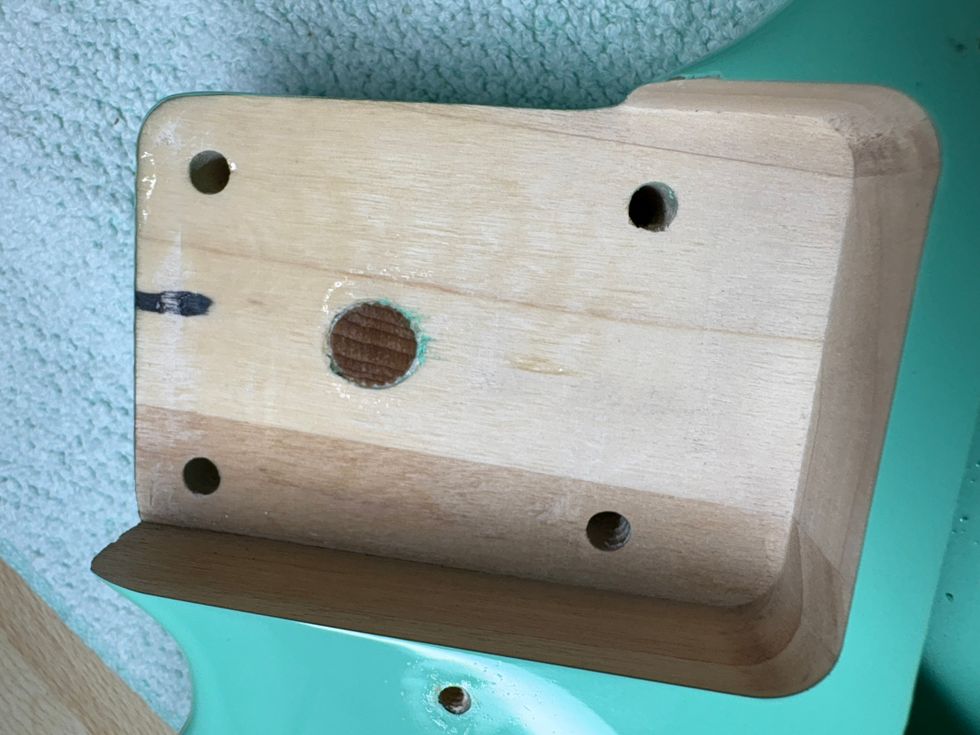
Photo 4
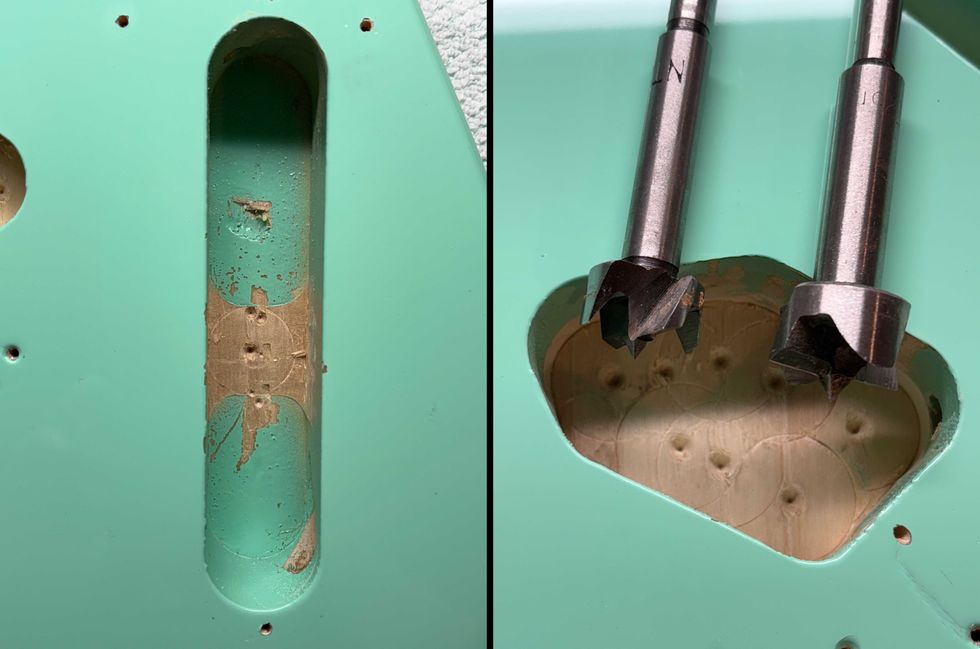
Don’t be in a hurry. It will take some time to do it right, so don’t stress yourself. You can see some of the dings and dongs I made with keys while treating the Harley Benton in Photo 4.
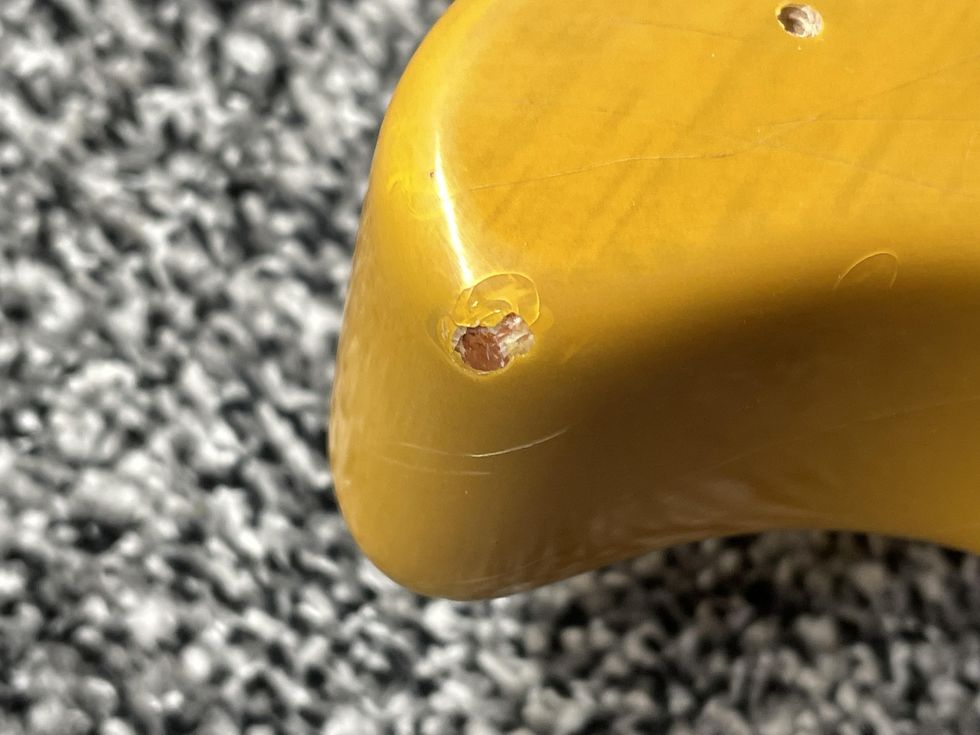
Photo 5
Remember the wood-aging dye from the last part of this series? You’ll need it now to add 50-plus years to the exposed wood. Depending on the size of the spot, you can use a small brush or a Q-tip to put the dye on. Before doing this make sure you remove all loose parts from the lacquer. I simply use a small flat screwdriver and a brush for this. Depending on how dark you want the exposed wood, you’ll need to repeat the process with the dye. Because the body of the Harley Benton guitar is already a dark mahogany, you won’t need much of the dye (Photo 5 and Photo 6).
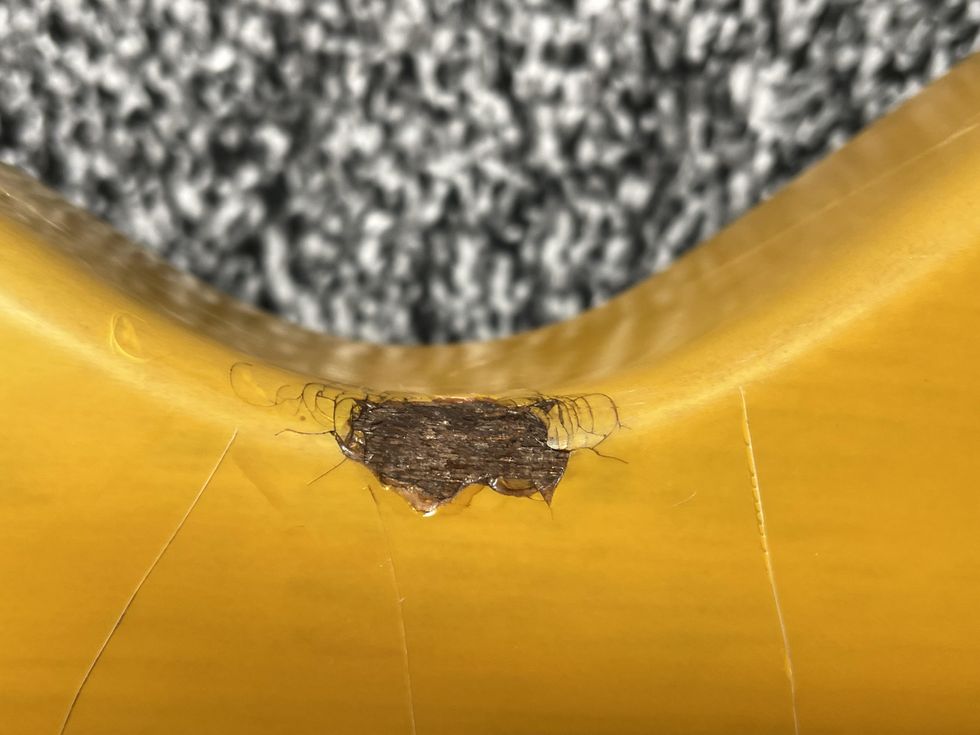
Photo 6
Congratulations, you’re done aging your first guitar all alone with your bare hands. If you have the chance to look at some vintage guitars, you should. Over time, you’ll get an eye for how old guitars look and you’ll find typical signs of age and wear that you can duplicate for your own projects. This relic’ing guitar project will soon be available as a Premier Guitar eBook, with all steps in one place and downloadable as a PDF.
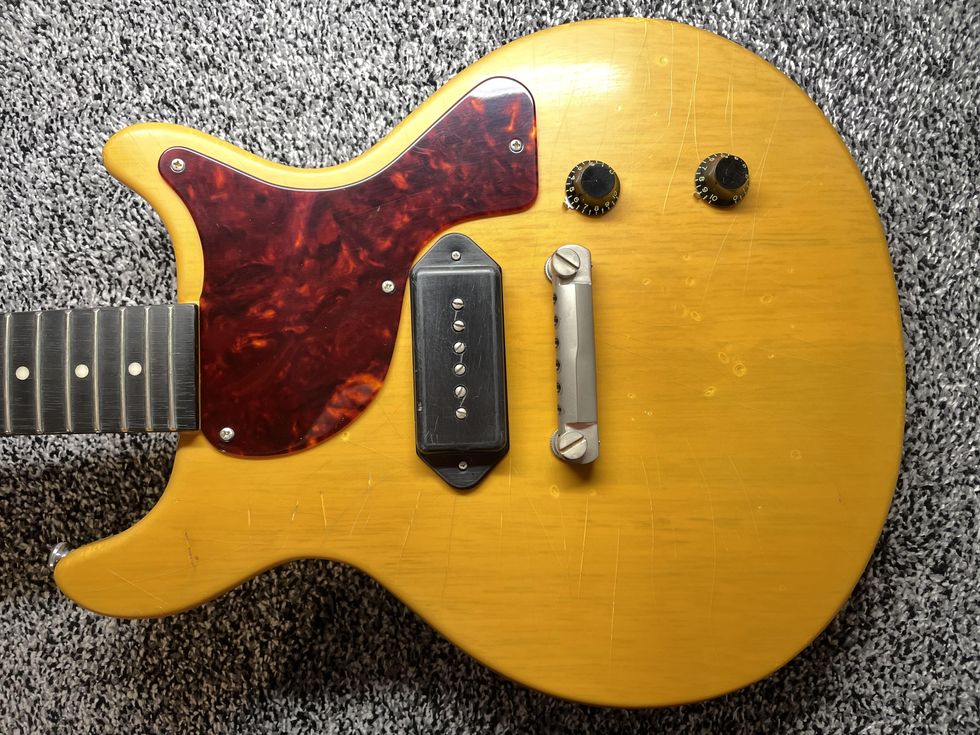
Photo 7
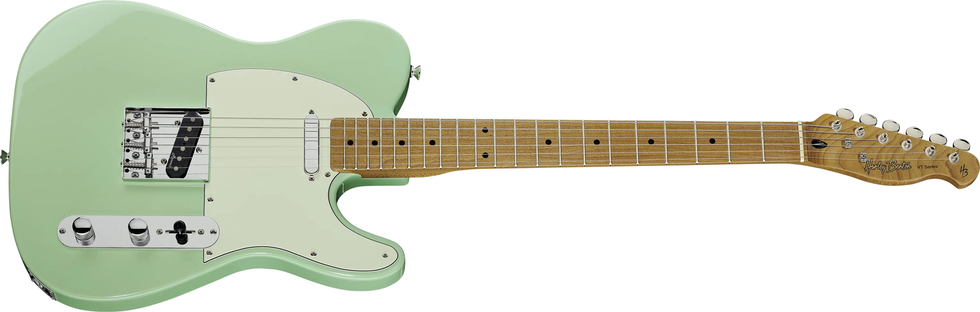
Our finished Harley Benton DC-Junior double-cut that we used to demonstrate the individual relic’ing steps is a cool-looking and great-sounding guitar (Photo 7). I decided to auction it, donating all the money to my local animal shelter, which is usually bursting at the seams this time of the year.
Next month, we’ll have a deeper look into some typical Gretsch wiring basics, so stay tuned. Until then ... keep on modding!