Time to Start Building Pedals? Here’s the Ultimate DIY Kit Roundup

Want to try your hand at stompbox assembly but don’t know where to start? We fired up our soldering irons to bring you a deep dive on making pedal kits.
Building your own pedal can feel unattainable—like something only geniuses and magicians can do. Or at least people who took an electronics course. Many of us are content to leave it that way. Those things on our boards sound cool when you click ’em, and that’s all we need to know. But some of us want to get our hands dirty and figure out what ticks behind the click. If you’re in the latter camp, this one’s for you.
There are a wealth of pedal-kit options today, from long-standing DIY-focused companies to established pedal builders who want to get in on the fun. But, really, how hard is building a pedal? Can any of us just, like, do it? And where are the best places to start?
Well, we’re here to tell you that, yes, any of us can. Both of us have limited experience—Jason is brand new, and Nick started building kits last year (you can watch his inauspicious beginnings over on our YouTube channel). But with nothing but some baseline soldering skills and a sense of adventure, we set out to survey the pedal-kit market by doing. What we’ve assembled are six kits from JHS, Third Man, StewMac, Aion FX, General Guitar Gadgets, and Pedal Parts and Kits that range from the simplest no-solder option to step-by-step builds to kits that’ll have you testing components and following wiring diagrams to complete the task. We’ve rated each kit: “tone” for the overall sound of the pedal, “design/build” for the experience of building the kit, and “value.”
If you build a few of these, you’ll probably end up with a better idea of what your pedals are doing, pick up some skills, and have some new pedals for much cheaper than you might otherwise. The next step is learning to mod and design your own circuits, and then you’ll be on your way to launching your own pedal company!
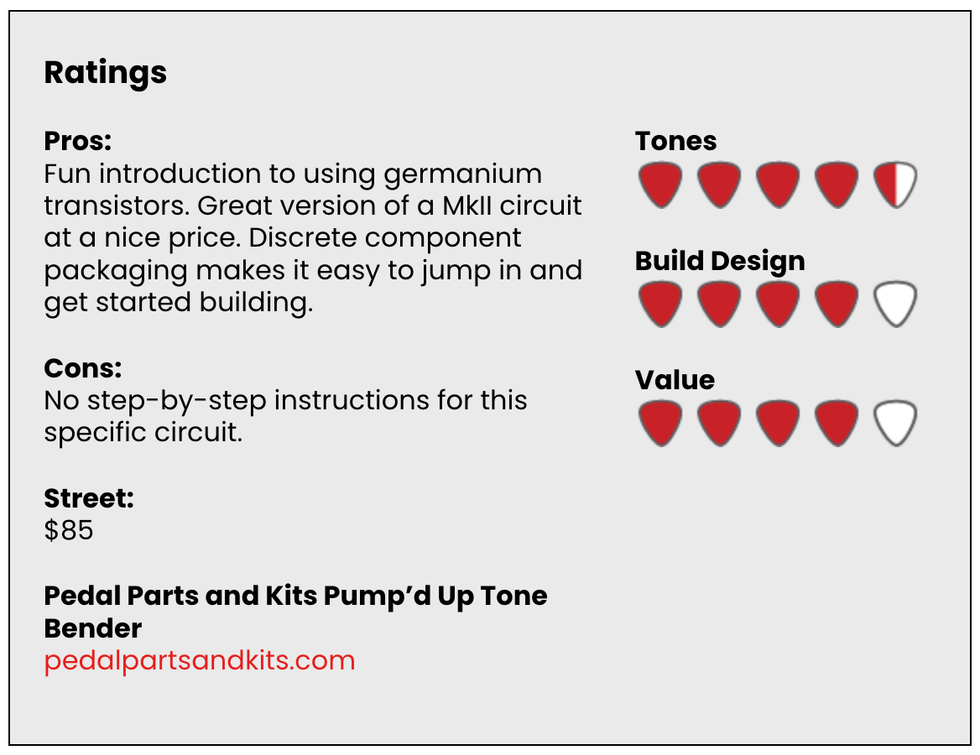
Pedal Parts and Kits sells all the parts and components you might need for pedal building, plus a variety of kits created in collaboration with GuitarPCB, which sells printed circuit boards (PCBs) and hosts a forum. I opted for their Pump’d Up Tone Bender, which is a MkII clone featuring vintage germanium PNP transistors. This design adds a charge pump to the power section, inverting the circuit to a modern negative ground, and allows the pedal to be daisy chained.
Right out of the box, I was impressed by the packaging of the Pump’d Up Tone Bender (PUTB). Each component group was separated into its own bag and clearly labeled. The resistors were separated by value, which made it easy to get started.
Tone Bender circuits are relatively simple, and this kit includes a handful of resistors and capacitors and a single IC. The germanium transistors include sockets, which makes installation easy, plus they allow for some transistor experimentation later if that’s your kind of thing. The kit includes a well-spaced 3PDT board for easy switch installation.
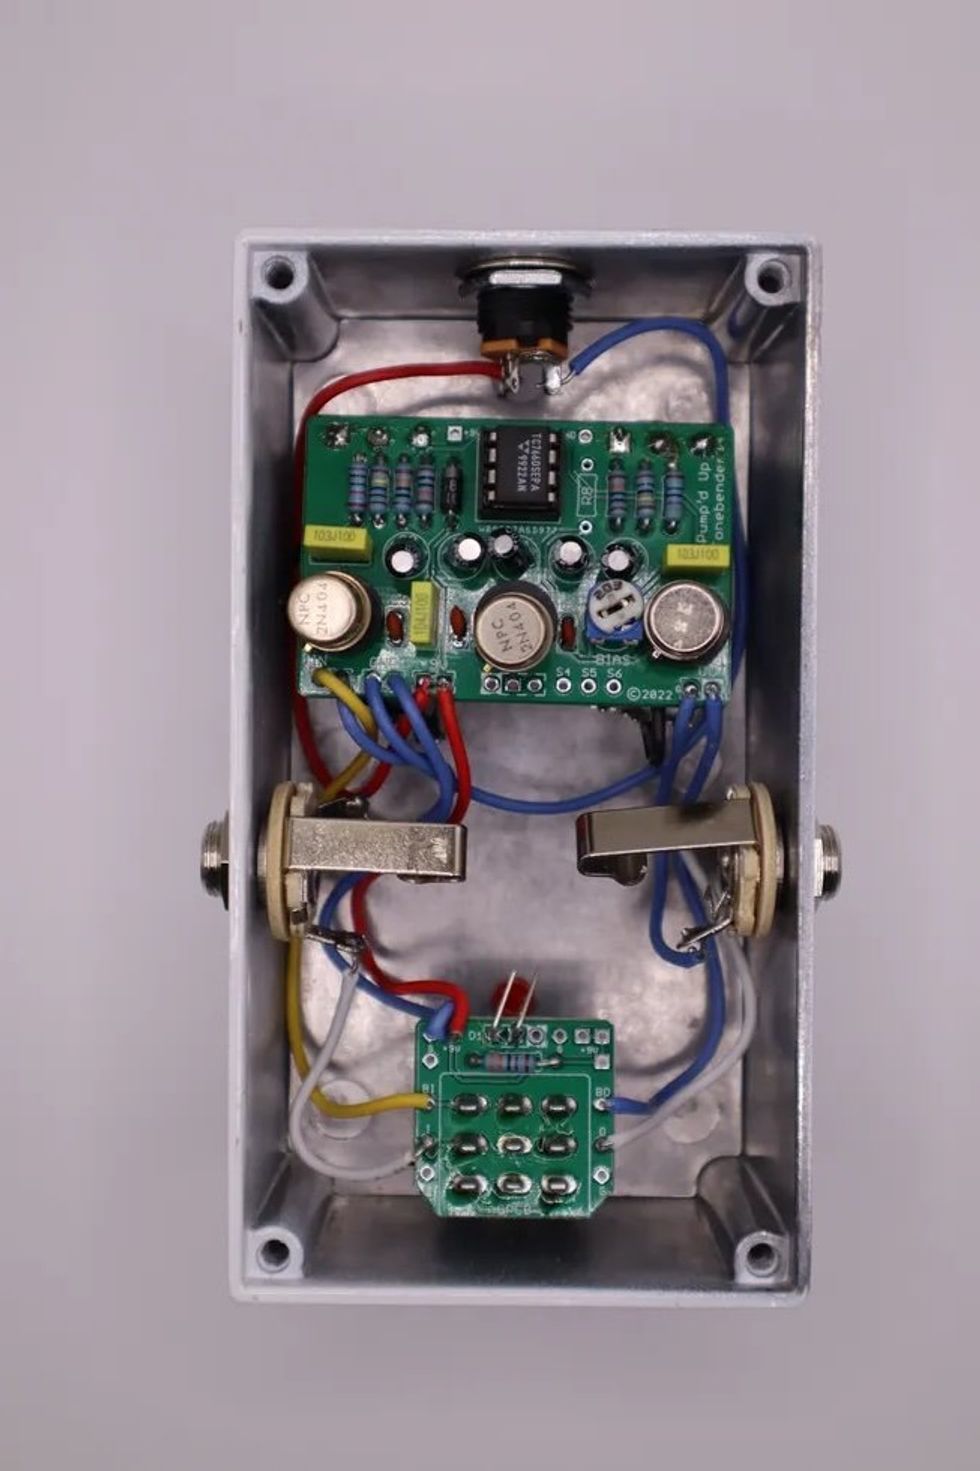
Documentation for the PUTB doesn’t include step-by-step instructions. Instead, Pedal Parts and Kits offers an online beginners build guide that will help any entry-level kit builder get started. I followed the included wiring diagram. It's clear and easy to follow, so I had no problem getting this together in a couple hours. The only time I went off script is with the pots, which can be mounted directly to the PCB, but I chose to wire them up instead.
The PUTB is a great-sounding Tone Bender MkII clone, with all the personality, versatility, and response you’d expect. There’s a world of usable, cutting tones across the range of the control set, and I could feel myself channeling Jimmy Page when I plugged my Tele and the PUTB into an old Fender Champ. At $85, if you’re up to the task, the PUTB is a fantastic way to get your hands on a MkII.—NM
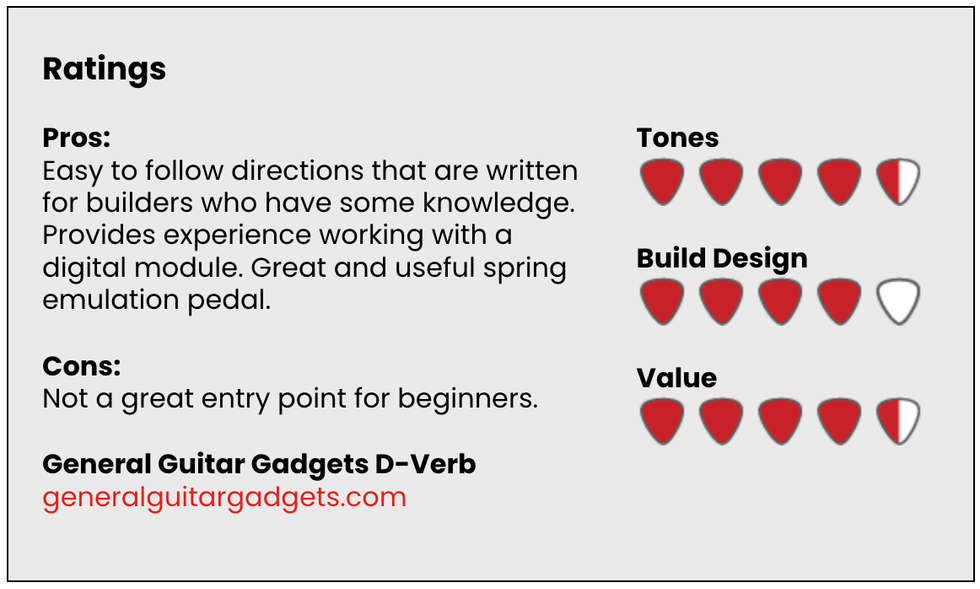
Entering the General Guitar Gadgets realm can feel like wading into the deep end of the pedal-kit pool. Their site is loaded with a wide range of projects, and PCBs and kits are the company’s sole business. And if you’re at the point you’re ready to peruse schematics, the GGG site is a great resource because they make schematics available for each project.
Every GGG kit includes universal pedal-building instructions, project-specific instructions, a schematic, and a wiring diagram. Like the Pump’d Up Tone Bender build, this is for more experienced builders, not necessarily because it’s complicated but because the directions are more streamlined.
The D-Verb is based around the Belton Accutronics BTDR-2H, aka the “Belton Brick” reverb designed by Brian Neunaber. It’s a commonly used digital spring reverb module that can be found in plenty of pedals from small and large manufacturers. The pedal’s circuit consists of a handful of resistors, a few capacitors, one transistor, a pair of IC chips, and the reverb block.
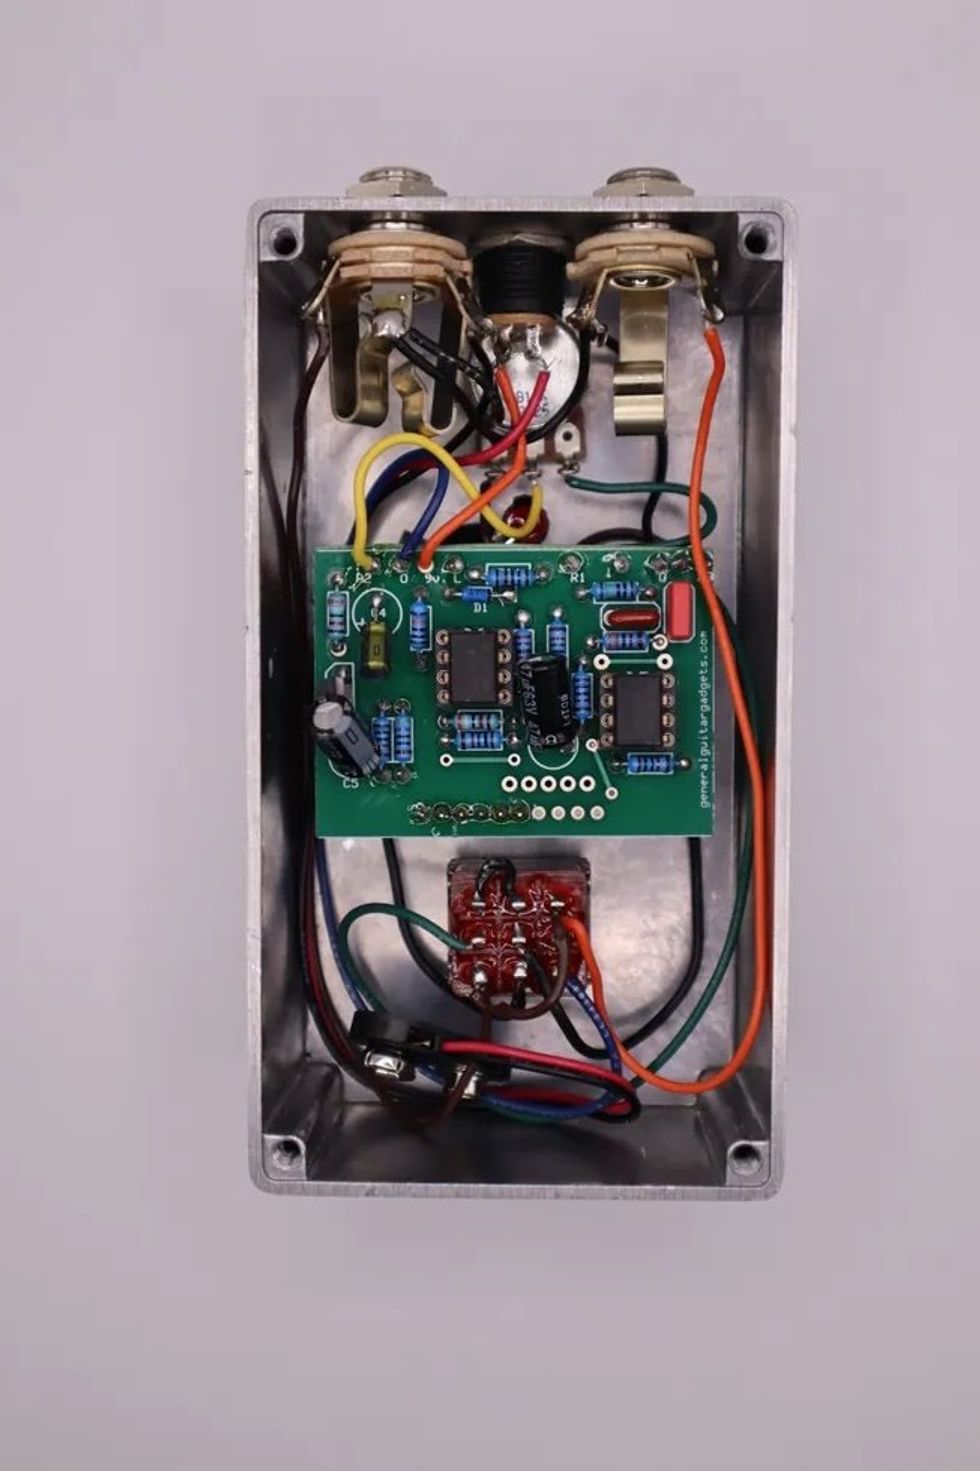
The circuit board came together fast and the reverb block simply plugs into the PCB and gets a round of solder. The trickiest part of this kit is wiring up the footswitch, which doesn’t include a circuit board, so you have to get in there and connect everything yourself. It can be tricky to wire a switch for the first time, but it’s a good learning experience that’ll show you, at least a little bit, what’s going on in your switches.
The pedal sounds great—there’s a reason so many pedals use the Belton Brick. While most of those units include other controls or more advanced circuitry, the D-Verb is a simple, 1-knob effect that controls less or more. At subtle settings, it sounds suitably springy, while cranking the control adds some soft repeats with a nice level of drip. Overall, an easy build for a great no-frills reverb unit. —NM
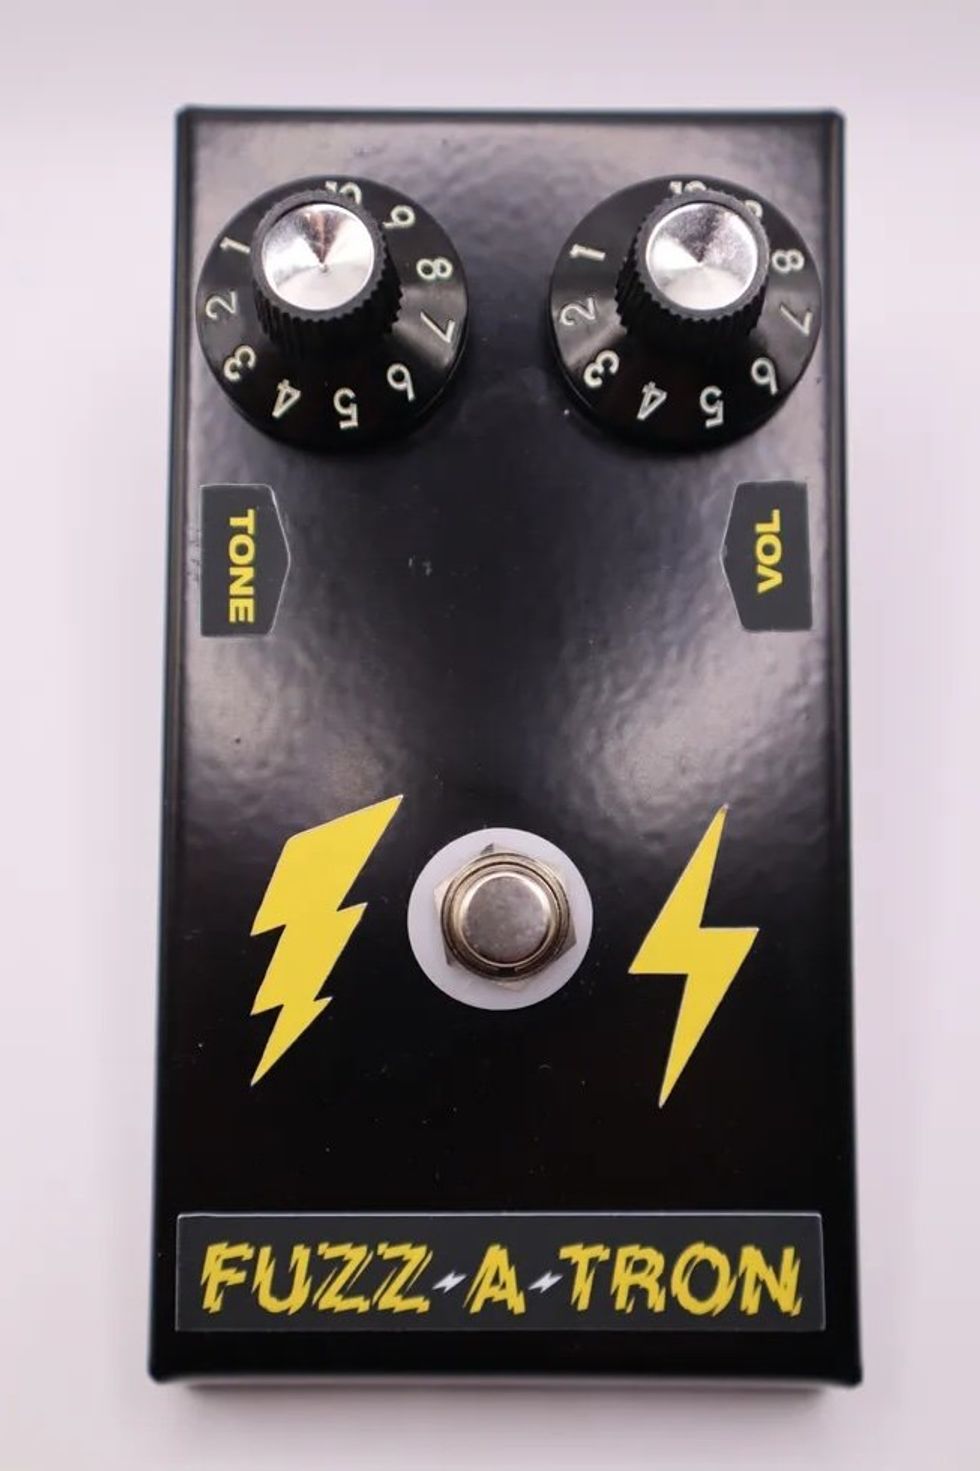
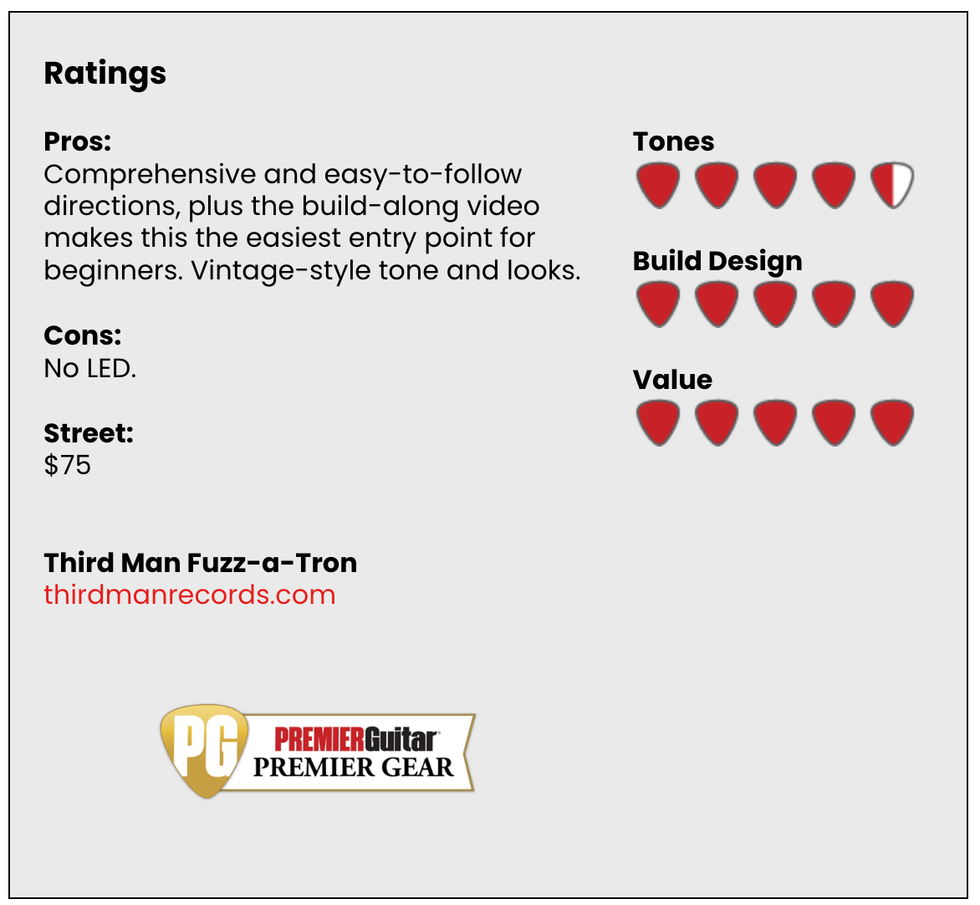
Vintage-style fuzzes are the ultimate fodder for DIY pedal builders. Some of the best fuzz pedals consist of just a few components, so it’s easy to get your hands on a great circuit even when you’re just developing your skills. There are plenty of places to get started on your kit-building journey, but I’d argue that the Third Man Fuzz-a-Tron sets a new benchmark.
The Fuzz-a-Tron’s circuit is simple, consisting of just two transistors, four capacitors in two sizes, and four resistors that are all the same value, so there’s no testing components—just open the bag and get going. The confined space of small enclosures can be a real patience-tester, and tightly packed PCBs can make for some stressful soldering. The Fuzz-a-Tron alleviates those issues with a well-spaced PCB and an enclosure with plenty of space to maneuver. Once it’s all finished, builders can customize their wedge-shaped box with the included sticker sheet.
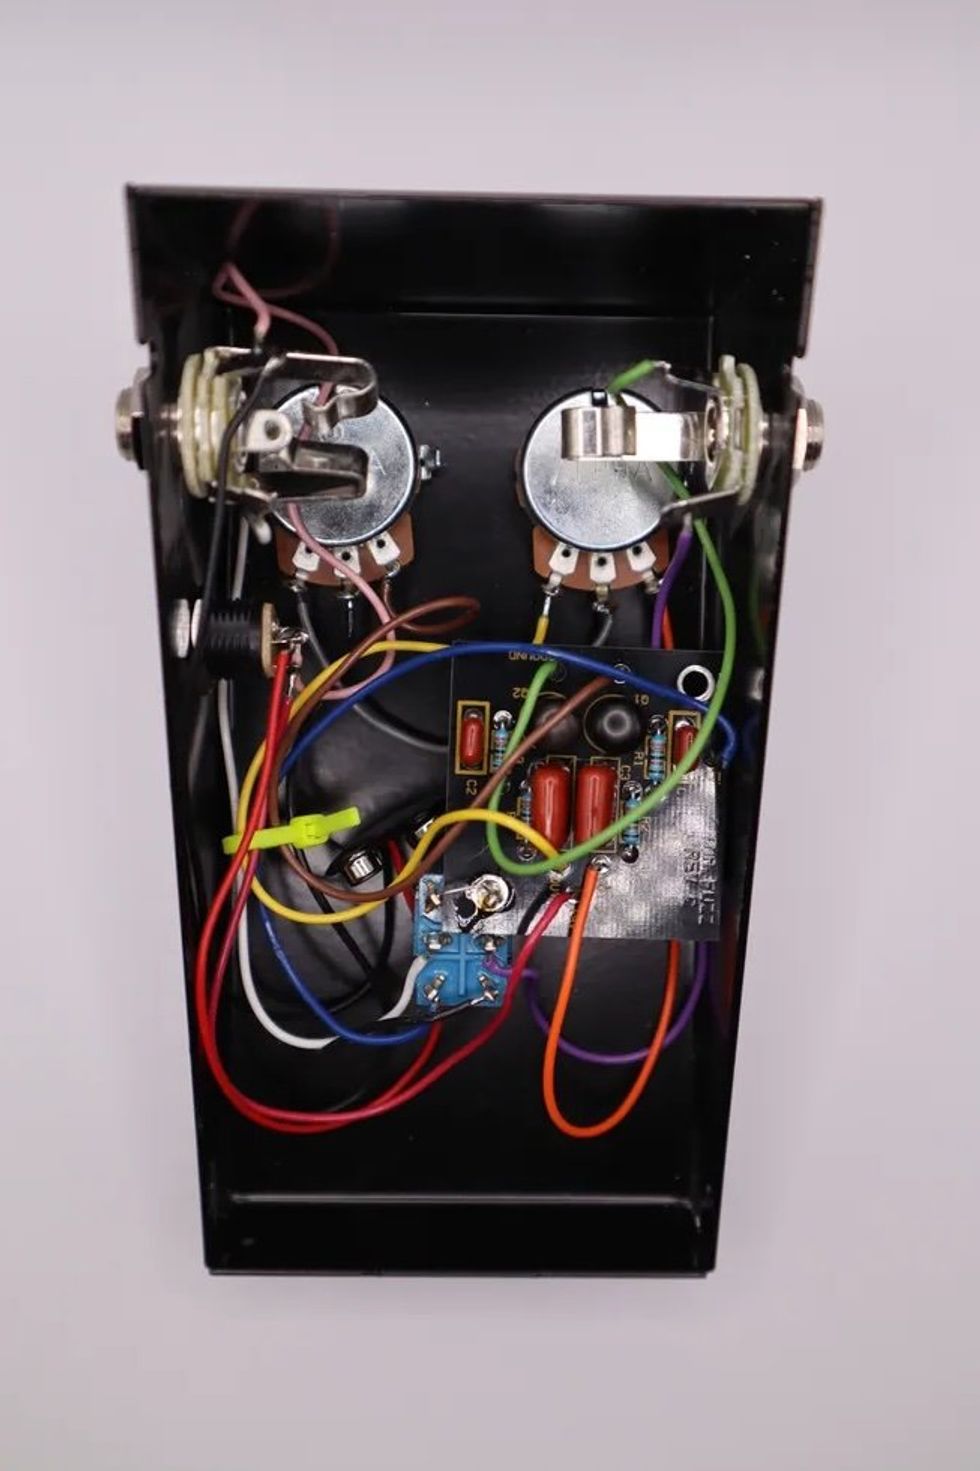
Third Man not only included detailed step-by-step instructions with the Fuzz-a-Tron, but made a build-along video that takes any guesswork out of the process and makes this the most well-documented kit I’ve seen.
The Fuzz-a-Tron sounds as retro as its shape suggests. Its volume and tone controls are interactive, and I prefer both fully cranked, where it sizzles like a Fuzzrite, but with a little less cutting treble and a tight midrange. Although there’s no LED on this pedal, which some will dislike, that is in line with plenty of vintage fuzzes. You’ll know whether it’s on or not, no matter the setting.
The Fuzz-a-Tron offers the best learning experience for beginning builders. That alone justifies your time. If the stickers feel a little gimmicky, don’t use ’em and decorate it on your own. Ultimately, the Fuzz-a-Tron’s vintage-voiced tone and great looks make it an essential stop on the kit-building journey. —NM
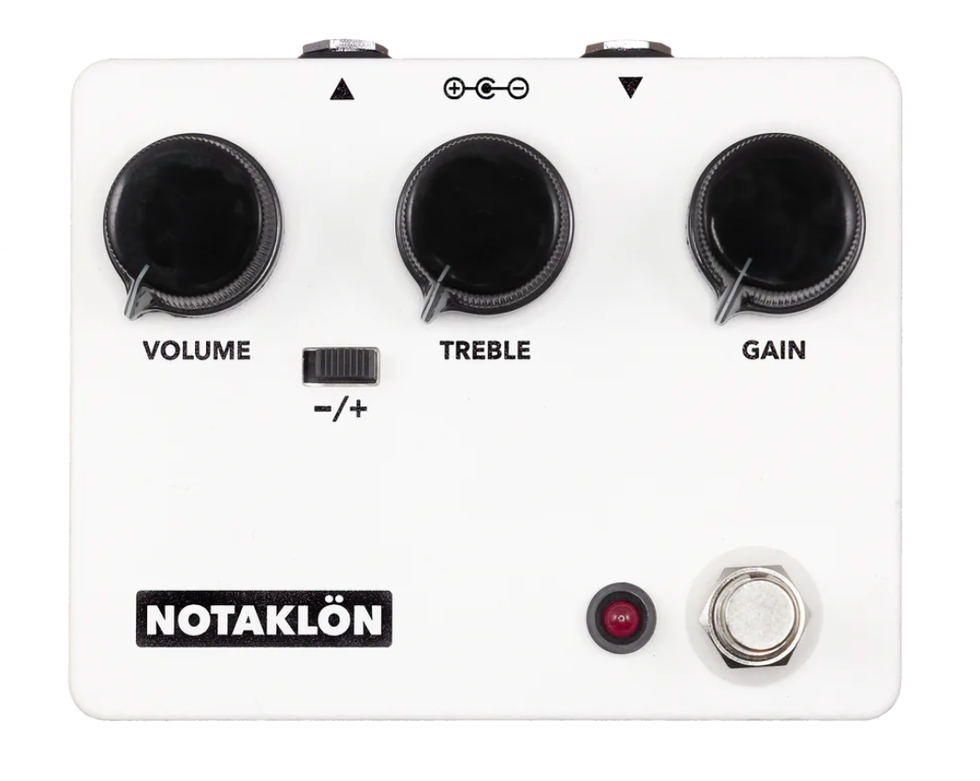
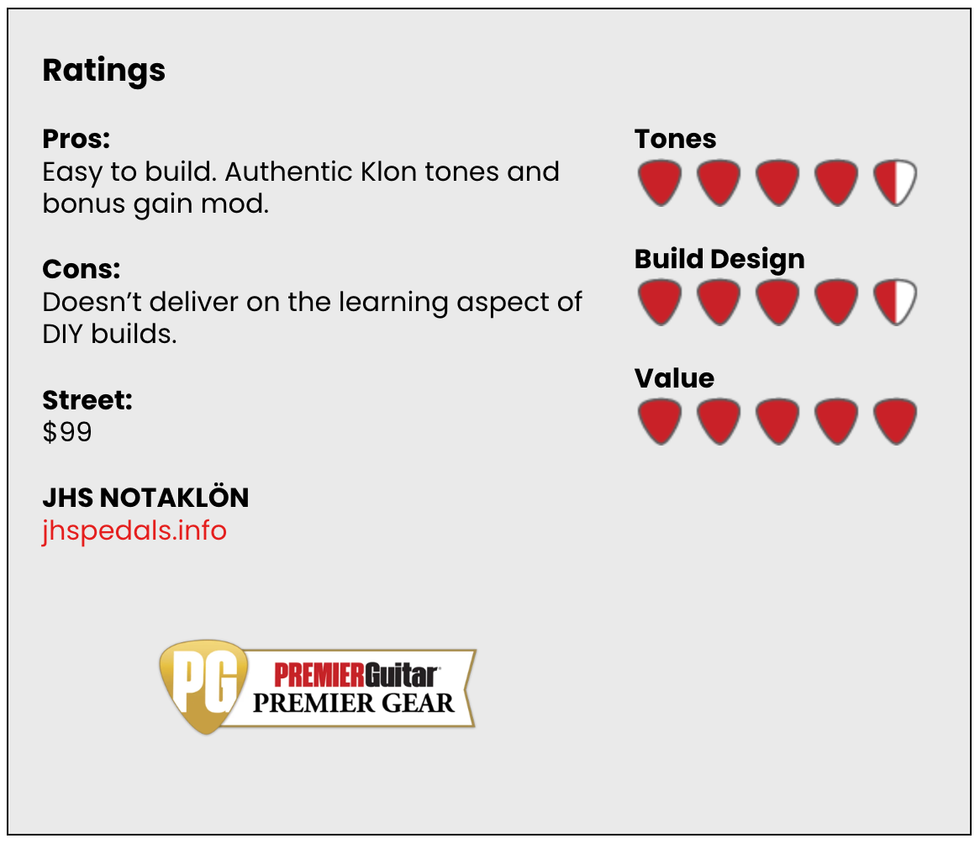
The Klon Centaur is arguably the most imitated circuit there is—even with DIY kits. A little over a decade ago, JHS made their own Klon clone, but it was discontinued after Klon’s Bill Finnegan started making the KTR. (On Reverb, these rare JHS models are going for close to $1,000.) Last November, JHS introduced the NOTAKLÖN, which is a complete pedal kit, but with a twist—no soldering skills needed. Admittedly, that puts the barrier to entry much lower than the other kits represented here, which makes this a solid first step for those looking for a foolproof initial build.
Building the NOTAKLÖN isn’t unlike building a very useful Lego project. The directions are mostly picture-based, all the parts fit together, and they include a few tools that you can punch out directly from the circuit board. Company founder Josh Scott even remembered to include a bit of GOOP to cover up those “magic” diodes.
I’ve tried quite a few Klon clones, and I have to say this JHS is up there with the very best. It gives you that real pronounced midrange, and paired with a slightly dirty amp, it can be set up for an incredible boost. The bonus feature is the switch on the front that works in Scott’s Shamrock mod, which adds more volume, mids, and an extra clipping gain stage.
Within about 20 minutes, I had gone from opening the box to kicking it on for the first time. The build feels incredibly solid. Combined with the extremely streamlined directions and the nearly unbeatable $99 price tag, the Notaklön delivers on nearly every front.—JS
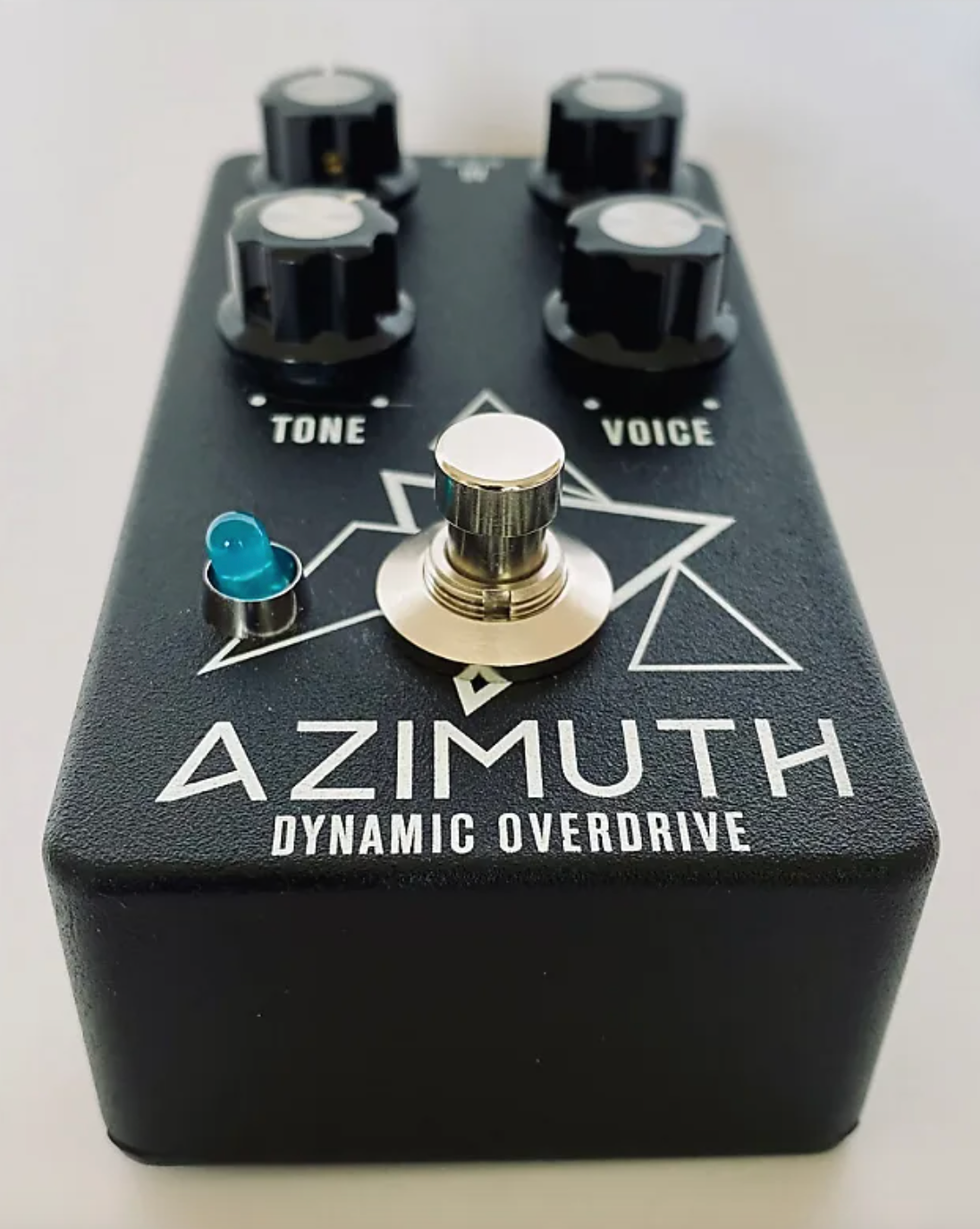
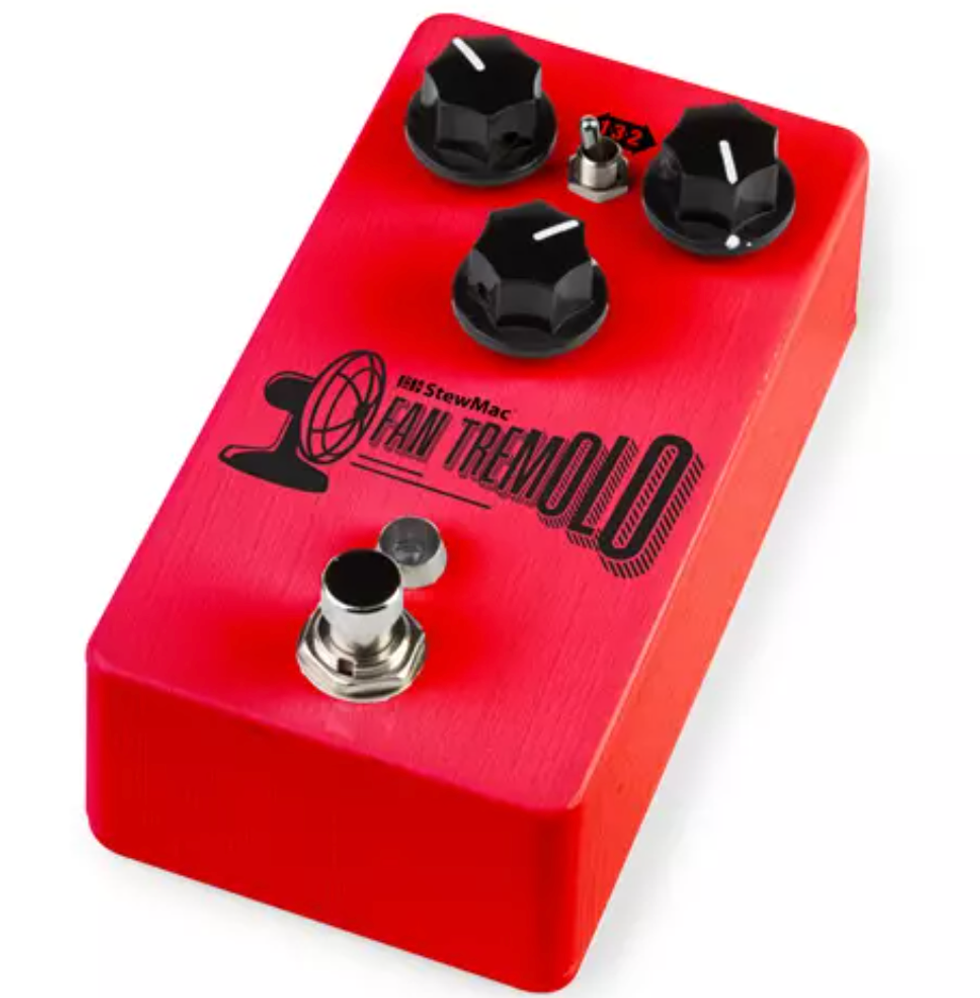
Not many guitarists are as closely connected to a singular tone as Robben Ford is to his Dumble Overdrive Special. Even though Dumble’s creations cover a wide range of tones, it’s Ford’s Dumble that set the benchmark. The original Hermida Zendrive was one of the first pedals that copped that D-style tone. Aion FX’s Azimuth is a DIY version that’s great for beginners since it doesn’t include a lot of parts, but teaches you plenty about basic pedal construction.
The kits from Aion are impeccably assembled. You get a bag of all the parts and components, a powder-coated enclosure, and a thoughtfully created build document. This was the very first pedal I ever built, so I needed to get my soldering skills together, but after that, assembly went very smoothly. In retrospect, I really like how Aion chooses ribbon connectors and enclosed input/output jacks for their builds. It keeps down, or limits, the amount of loose wires down and prevents any bad connections.
I previously owned a Lovepedal-era Zendrive and remembered how dynamic and smooth it sounded. Naturally, after playing the Azimuth, I was really regretting selling that pedal. With this circuit, the magic is really in the voice control, which helps tailor the low-end response. As you can hear in the clips, it sounds full and round, with plenty of punch. If the used prices for a Zendrive are a bit out of reach, then getting your hands on an Azimuth—even with the extra work—would be well worth it.—JS
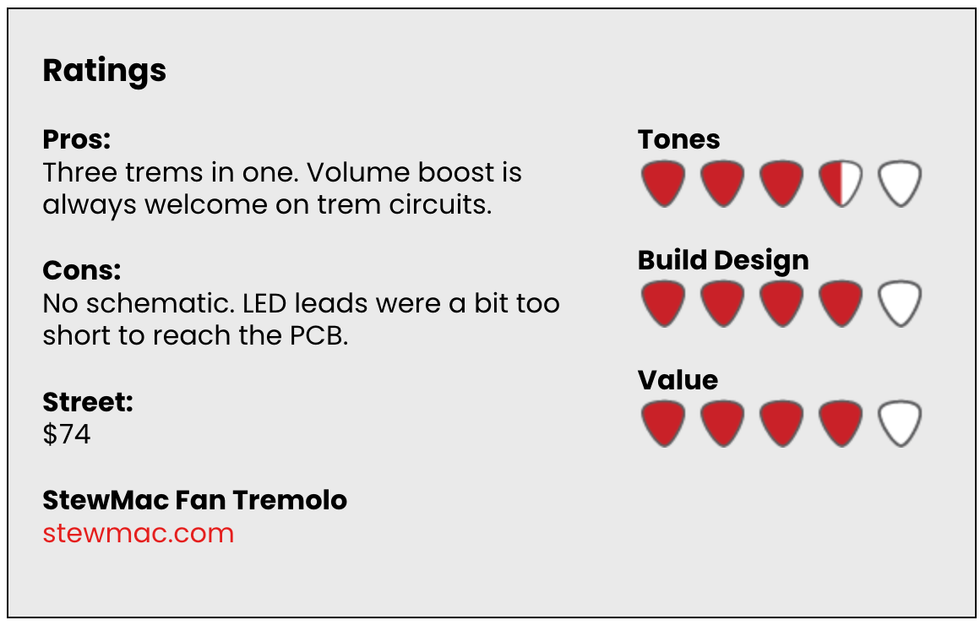
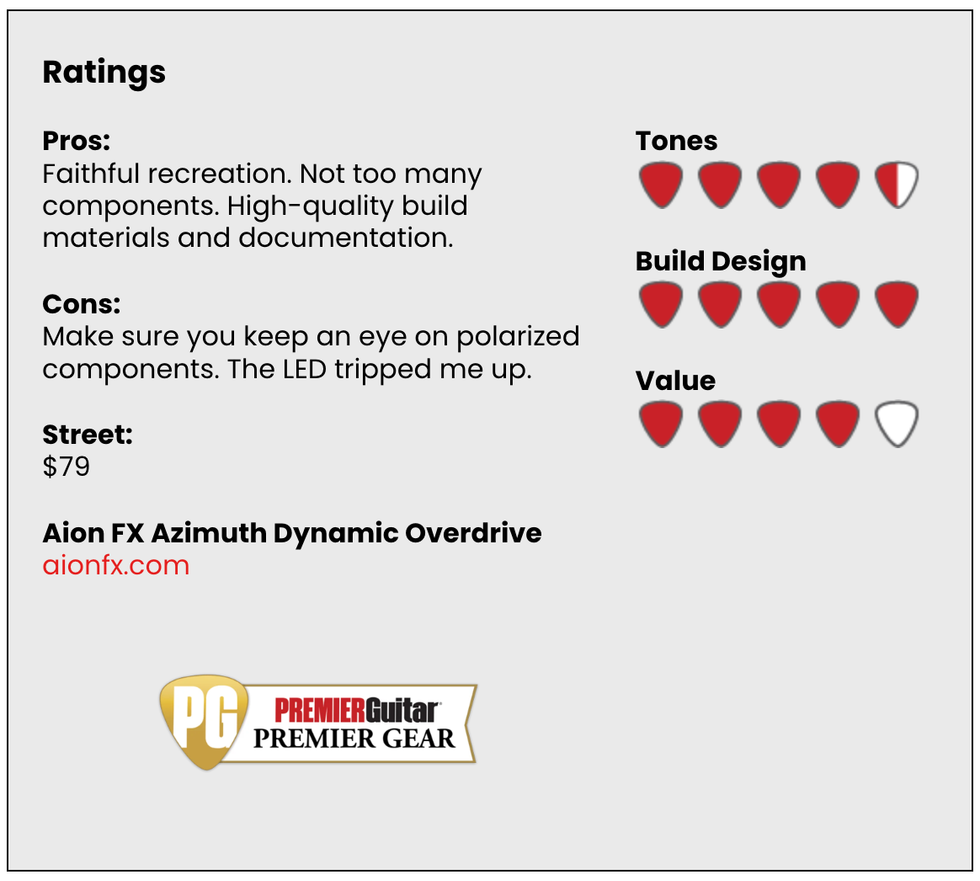
Tremolo might be one of my favorite effects. Adding a bit of whirl to an arpeggio or doubling a lead line with something more aggressive that borders on a ring mod is always fun. StewMac has long been a go-to for any kind of repair tools, but their line of DIY pedal kits are sturdy, useful, and fun. Out of their line of kits, I chose the Fan Tremolo not only because of my fandom (sorry), but also because this circuit offers three different flavors: vintage-style ’60s, heavier ’70s style, and a pristine digital version.
This was the second pedal I had built, and I’m glad my soldering skills were proven before I started because this design needed a slightly more delicate touch. Plus, it tested my troubleshooting abilities, which is necessary no matter what kit you’re building.
Out of the box, the components were high-quality and the step-by-step instructions were clear and concise. Out of the three builds I did for this story, this was the only one that really gave me a crash course in deciphering the color bands on resistors. This is one step where a multimeter can help alleviate any doubts between brown and violet and black. After sorting all the parts, it took me most of an afternoon to complete the entire build.
My favorite setting was the thicker ’70s sound. It’s chewy and warm. Admit it: It’s nearly impossible not to break into “Born on the Bayou” when you're rocking a trem at a very specific speed. Although it had a bit more wire work and took a focused touch in certain places, the Fan Tremolo would be a solid first step for aspiring pedal builders who want to dip into modulation. Just take your time.—JS
This Japan-made Guyatone brings back memories of hitchin’ rides around the U.S.
This oddball vintage Guyatone has a streak of Jack Kerouac’s adventurous, thumbing spirit.
The other day, I saw something I hadn’t noticed in quite some time. Driving home from work, I saw an interesting-looking fellow hitchhiking. When I was a kid, “hitchers” seemed much more common, but, then again, the world didn’t seem as dangerous as today. Heck, I can remember hitching to my uncle’s cabin in Bradford, Pennsylvania—home of Zippo lighters—and riding almost 200 miles while I sat in a spare tire in the open bed of a pickup truck! Yes, safety wasn’t a big concern for kids back in the day.
So, as I’m prone to do, I started digging around hitchhiking culture and stories. Surprisingly, there are organized groups that embrace the hitching life, but the practice remains on the fringe in the U.S. Back in the 1950s, writer Jack Kerouac wrote the novel On the Road, which celebrated hitchhiking and exposed readers to the thrill of maverick travel. Heck, even Mike Dugan (the guitarist in all my videos) hitched his way to California in the 1960s. But seeing that fellow on the side of the road also sparked another image in my brain: Yep, it always comes back to guitars.
Let me present to you a guitar that’s ready to go hitching: the Guyatone LG-180T, hailing from 1966. The “thumbs-up” headstock and the big “thumb” on the upper bout always made me think of thumbing a ride, and I bought and sold this guitar so long ago that I had forgotten about it, until I saw that hitchhiking dude. Guyatone was an interesting Japanese company because they were primarily an electronics company, and most of their guitars had their wooden parts produced by other factories. In the case of the LG-180T, the bodies were made by Yamaha in Hamamatsu, Japan. At that time, Yamaha was arguably making the finest Japanese guitars, and the wood on this Guyatone model is outstanding. We don’t often see Guyatone-branded guitars here in the U.S., but a lot of players recognize the early ’60s label Kent—a brand name used by an American importer for Guyatone guitars.
With a bit of imagination, the LG-180T’s “thumbs up” headstock seems to be looking for a roadside ride.
Kent guitars were extremely popular from the early ’60s until around 1966. The U.S. importer B&J fed the American need for electric guitars with several nice Kent models, but when the Guyatone contract ended, so did most of the Kent guitars. After that, Guyatone primarily sold guitars in Japan, so this example is a rare model in the U.S.
“Unless you are a master at guitar setups, this would be a difficult player.”
This headstock is either the ugliest or the coolest of the Guyatone designs. I can’t decide which. I will say, no other Japanese guitar company ever put out anything like this. You have to give the Guyatone designers a thumbs up for trying to stand out in the crowd! Guyatone decided to forgo an adjustable truss rod in this model, opting instead for a light alloy non-adjustable core to reinforce the neck. Speaking of the neck, this instrument features the most odd-feeling neck. It’s very thin but has a deep shoulder (if that makes any sense). Totally strange!
Another strange feature is the bridge, which offers very little adjustment because of the three large saddles, which sort of rock back and forth with the tremolo. It’s a shame because these pickups sound great! They’re very crisp and have plenty of zing, but unless you are a master at guitar set-ups, this would be a difficult player.
This could be why the LG-180T only appeared in the 1966 and 1967 catalogs. After that, it disappeared along with all the other Yamaha-made Guyatone electrics. By 1969, Guyatone had gone bankrupt for the first time, and thus ended guitar production for a few decades. At least we were blessed with some wacky guitar designs we can marvel at while remembering the days when you could play in the back end of an explosive 1973 AMC Gremlin while your mom raced around town. Two thumbs up for surviving our childhoods! PG
Fifteen watts that sits in a unique tone space and offers modern signal routing options.
A distinct alternative to the most popular 1x10 combos. Muscular and thick for a 1x10 at many settings. Pairs easily with single-coils and humbuckers. Cool looks.
Tone stack could be more rangeful.
$999
Supro Montauk
supro.com
When you imagine an ideal creative space, what do you see? A loft? A barn? A cabin far from distraction? Reveling in such visions is inspiration and a beautiful escape. Reality for most of us, though, is different. We’re lucky to have a corner in the kitchen or a converted closet to make music in. Still, there’s a romance and sense of possibility in these modest spaces, and the 15-watt, 1x10, all-tubeSupro Montauk is an amplifier well suited to this kind of place. It enlivens cramped corners with its classy, colorful appearance. It’s compact. It’s also potent enough to sound and respond like a bigger amp in a small room.
The Montauk works in tight quarters for reasons other than size, though—with three pre-power-section outputs that can route dry signal, all-wet signal from the amp’s spring reverb, or a mixture of both to a DAW or power amplifier.
Different Stripes and Spacious Places
Vintage Supro amps are modestly lovely things. The China-made Montauk doesn’t adhere toold Supro style motifs in the strictest sense. Its white skunk stripe is more commonly seen on black Supro combos from the late 1950s, while the blue “rhino hide” vinyl evokes Supros from the following decade. But the Montauk’s handsome looks make a cramped corner look a lot less dour. It looks pretty cool on a stage, too, but the Montauk attribute most likely to please performing guitarists is the small size (17.75" x 16.5" x 7.5") and light weight (29 pounds), which, if you tote your guitar in a gig bag and keep your other stuff to a minimum, facilitates magical one-trip load ins.
Keen-eyed Supro-spotters noting the Montauk’s weight and dimensions might spy the similarities to another 1x10 Supro combo,the Amulet. A casual comparison of the two amps might suggest that the Montauk is, more-or-less, an Amulet without tremolo and power scaling. They share the same tube complement, including a relatively uncommon 1x6L6 power section. But while the Montauk lacks the Amulet’s tremolo, the Montauk’s spring reverb features level and dwell controls rather than the Amulet’s single reverb-level knob.
“High reverb levels and low dwell settings evoke a small, reflective room with metallic overtones from the spring sprinkled on top—leaving ghostly ambience in the wake of strong, defined transient tones.”
If you use reverb a lot and in varying levels of intensity, you’ll appreciate the extra flexibility. High reverb levels and low dwell settings evoke a small, reflective room with metallic overtones from the spring sprinkled on top—leaving ghostly ambience in the wake of strong, defined transient tones. There are many shades of this subtle texture to explore, and it’s a great sound and solution for those who find the spring reverbs in Fender amps (which feature no dwell control) an all-or-nothing proposition. For those who like to get deep in the pipeline, though, the dwell offers room to roam. Mixing high level and dwell settings blunts the amp’s touch sensitivity a bit, and at 15 watts you trade headroom for natural compression, compounding the fogginess of these aggressive settings. A Twin Reverb it ain’t. But there is texture aplenty to play with.
A Long, Wide Strand
Admirably, the Montauk speaks in many voices when paired with a guitar alone. The EQ sits most naturally and alive with treble and bass in the noon-to-2-o’clock region, and a slight midrange lean adds welcome punch. Even the amp’s trebliest realms afford you a lot of expressive headroom if you have enough range and sensitivity in your guitar volume and tone pots. Interactions between the gain and master output controls yield scads of different tone color, too. Generally, I preferred high gain settings, which add a firecracker edge to maximum guitar volume settings and preserve touch and pick response at attenuated guitar volume and tone levels.
If working with the Montauk in this fashion feels natural, you’ll need very few pedals. But it’s a good fit for many effects. A Fuzz Face sounded nasty without collapsing into spitty junk, and the Klon-ish Electro-Harmonix Soul Food added muscle and character in its clean-boost guise and at grittier gain levels. There’s plenty of headroom for exploring nuance and complexity in delays and modulations. It also pairs happily with a wide range of guitars and pickups: Every time I thought a Telecaster was a perfect fit, I’d plug in an SG with PAFs and drift away in Mick Taylor/Stones bliss.
The Verdict
Because the gain, master, tone, and reverb controls are fairly interactive, it took me a minute to suss out the Montauk’s best and sweetest tones. But by the time I was through with this review, I found many sweet spots that fill the spaces between Vox and Fender templates. There’s also raunch in abundance when you turn it up. It’s tempting to view the Montauk as a competitor to the Fender Princeton and Vox AC15. At a thousand bucks, it’s $400 dollars less than the Mexico-made Princeton ’68 Custom and $170 more than the AC15, also made in China. In purely tone terms, though, it represents a real alternative to those stalwarts. I’d be more than happy to see one in a backline, provided I wasn’t trying to rise above a Geezer Butler/Bill Ward rhythm section. And with its capacity for routing to other amps and recording consoles in many intriguing configurations, it succeeds in being a genuinely interesting combination of vintage style and sound and home-studio utility—all without adding a single digital or solid-state component to the mix.
Watch the official video documenting the sold-out event at House of Blues in Anaheim. Join Paul Reed Smith and special guests as they toast to quality and excellence in guitar craftsmanship.
PRS Guitars today released the official video documenting the full night of performances at their 40th Anniversary celebration, held January 24th in conjunction with the 2025 NAMM (The National Association of Music Merchants) Show. The sold-out, private event took place at House of Blues in Anaheim, California and featured performances by PRS artists Randy Bowland, Curt Chambers, David Grissom, Jon Jourdan, Howard Leese, Mark Lettieri Group, Herman Li, John Mayer, Orianthi, Tim Pierce, Noah Robertson, Shantaia, Philip Sayce, and Dany Villarreal, along with Paul Reed Smith and his Eightlock band.
“What a night! Big thanks to everyone who came out to support us: retailers, distributors, vendors, content creators, industry friends, and especially the artists. I loved every second. We are so pleased to share the whole night now on this video,” said Paul Reed Smith, Founder & Managing General Partner of PRS Guitars. “I couldn’t be more proud to still be here 40 years later.”
With nearly 1,400 of the who’s who in the musical instrument industry in attendance, the night ended with a thoughtful toast from PRS Signature Artist John Mayer, who reflected on 40 years of PRS Guitars and the quality that sets the brand apart. “The guitars are great. You can’t last 40 years if the guitars aren’t great,” said Mayer. “Many of you started hearing about PRS the same way I did, which is you would talk about PRS and someone would say ‘They’re too nice.’ What’s too nice for a guitar? What, you want that special vibe that only tuning every song can give you on stage? You want that grit just like your heroes … bad intonation? The product is incredible.”
Be sure to locate your sample library where it can be quickly referenced on your DAW.
Improve your recordings using your own samples. Bryan Clark, house producer at Nashville’s Blackbird Studio, tells you how to take the final steps in building your own sample library.
Mastering the sample import process in your chosen DAW can significantly enhance your creativity and streamline your workflow. With a clear understanding of the tools and techniques available, you will be better equipped to bring your musical ideas to life and make your productions stand out.
This month, we finish up a three-part series on creating your own sample libraries. In this final installment, I’m going to give you the basic ways to import your samples into various popular DAWs. Each one has its unique workflow and user interface, but the fundamental process remains very similar. This Dojo guide will cover how to import samples into Ableton Live, LUNA, Logic Pro, Pro Tools, and Studio One.
Ableton Live
Steps to Import Samples
Drag and Drop: Simply locate the sample file in your computer’s file explorer, then drag and drop it directly into an audio track in the session or arrangement view.
Browser Window: Use Ableton’s built-in browser (on the left-hand side). Navigate to the sample’s location on your hard drive, then drag it into the workspace.
Create a Simpler or Sampler Instrument: Drag the sample into a MIDI track with Simpler or Sampler loaded. This allows you to trigger the sample using MIDI notes.
Tips: Use the warp feature for time-stretching and syncing samples to your project’s tempo.
Organize your samples into collections using the “Add Folder” option in the browser.
LUNA
Steps to Import Samples
Drag and Drop: Drag the sample from your file explorer directly into the timeline. Then hold the CTRL key down, click on the end of the loop, and drag it to the length it needs to be.
Browser/Workspace: Use the media browser to navigate to your sample’s location on your hard drive. Drag it into an audio track in your session.
Audio Track Import: Right-click on an empty area in the timeline or a track and select “Import Audio” to locate and add your sample.
Tips: Use LUNA’s built-in varispeed capabilities to match your sample to the session’s tempo.Logic Pro
Steps to Import Samples
Drag and Drop: Drag the sample from the Finder directly into an audio track in the workspace.
File Browser: Use the file browser (accessible via the media sidebar or “F” key) to locate and drag samples into the timeline.
Quick Sampler: Drag your sample onto a MIDI track with the Quick Sampler plugin loaded. This lets you play the sample chromatically.
Tips: Use Logic’s flex time feature to sync samples to your project’s tempo. Organize samples into Logic’s library for quick access.Pro Tools
Steps to Import Samples
Import Audio Dialog: Go to File > Import > Audio; then locate your sample and click “Convert” or “Add” to bring it into the session.
Drag and Drop: Drag the sample directly from your file explorer into an audio track.
Workspace Browser: Use the workspace (accessible via Window > New Workspace) to locate your sample. Drag it into your session.
Tips: Use the elastic audio feature for tempo matching and pitch adjustments.
Place your samples into playlists for efficient access during editing.
Studio One
Steps to Import Samples
Drag and Drop: Drag your sample directly from your file explorer into the timeline or browser.
Browser: Open Studio One’s browser (on the right-hand side), navigate to the folder containing your sample, and drag it into your project.
Sampler Track: Drag the sample onto a MIDI track, and use the Sample One sampler for additional manipulation.
Tips: Enable the “Stretch Audio Files to Song Tempo” option in the browser for automatic tempo synchronization. Create sample folders within Studio One’s browser for quick access.General Best Practices
Regardless of the DAW you use, it is important to maintain a smooth and efficient workflow. Organize your sample library with clear folder names and categories to make locating files easy (see last month’s installment for detailed strategies). Where possible, learn DAW-specific shortcuts for importing and editing samples to save time. Always check if your DAW offers a feature to sync the sample’s tempo to your project to ensure seamless integration. Finally, regularly back up your sample collection to avoid losing important audio files and preserve your creative assets! Seriously. Do it now.
Next month, we’re off to “console” land and I’ll be investigating console emulations (hype or not?), summing bus processors, and more to give you a more “studio” sound. Until then, blessings and namaste.