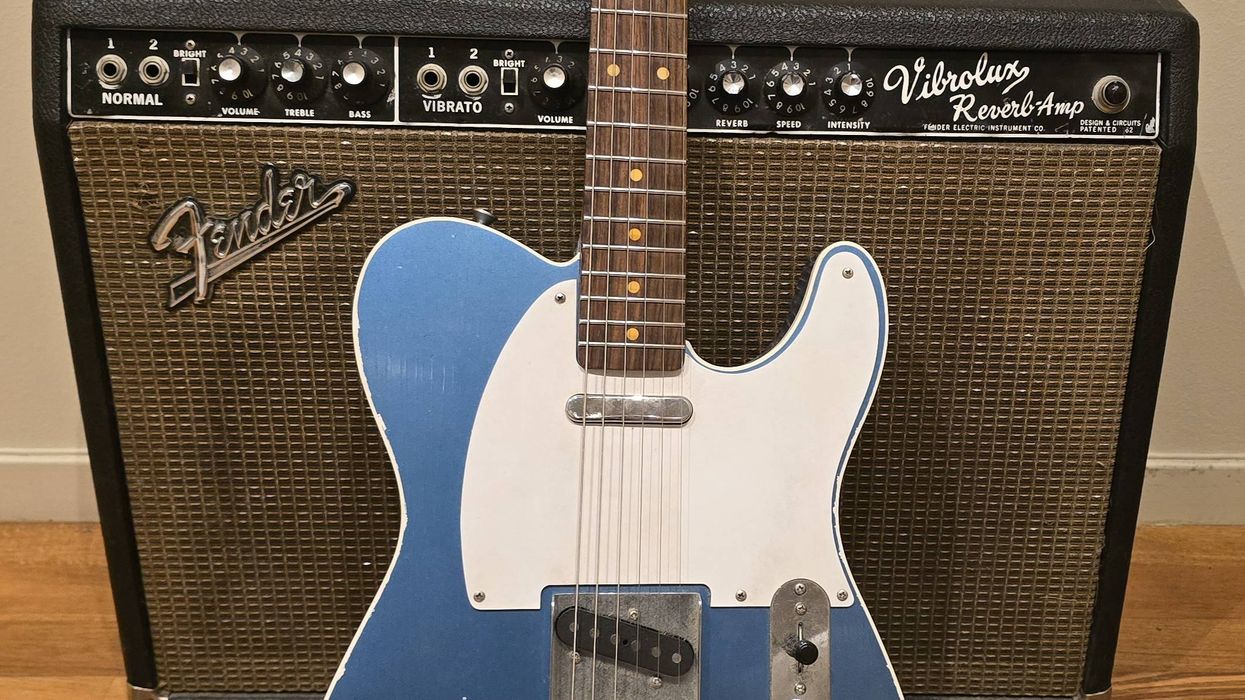
Buying instruments on the internet has become easy, but it also has risks. Let me share what I’ve learned about buying vintage Fender amps and, hopefully, save you money, time, and aggravation by knowing what to look for and what questions to ask.
There are several aspects to consider with vintage amps relating to condition and sound. Collectors are looking for amps that are in mint or original condition. Players are more focused on the technical and physical condition, because they need the amp to work every week, hauling it back and forth between gigs and practice. Tone is a matter of personal taste and should affect your decisions about speakers and possible modifications made to an amp. Whatever your intentions, remember that replaced components or modifications always give you an argument for negotiating the price down.
You should ask about previous owners and their history of playing the amp. If an amp has been played regularly, someone was dependent on it and more likely cared about it. It usually has healthy pots and electrolytic capacitors. On the other hand, an amp that has been stacked away in a moist basement or in sun-heated garages or lofts for 40 years deserves a full servicing. For those poor neglected amps, plan for a full cap job, pot cleaning, tube socket cleaning, and fixing rust and connectivity issues in the circuitry.
If you have the opportunity to try the amp, play it loud for at least several minutes. Or ask for a demonstration video clip of various functions, like the channels, EQ knobs, reverb, tremolo, and switches. Replacing blown speakers is expensive. Snap or crackle can indicate failing tubes—a minor problem you can easily fix yourself—but could also indicate circuit issues, which will require an experienced tech to fix. Scratchy pots are no big deal—they can be cleaned and exercised back to a healthy condition. Pay attention to the upper corners of an amp where the top and side plates are finger-jointed. In large amps with heavy speakers, the joints are weak spots. Generally, the more issues the seller is open and honest about, the more you can trust him or her.
The age of an amp and its innards can be determined by the tube chart, chassis serial number, and manufacturer codes on transformers and speakers. Every part or component has a production date. Check if they match. For example, a 1965 amp should have components from ’64 or ’65. There are several sources on the internet explaining formats of date and manufacturer codes. For example the Schumacher manufacturer code on post-tweed amp transformers is in this format: 606-XYY (X=Year, YY=Week). Replaced speakers or transformers may be a deal-breaker for amp collectors, but may work and sound as good as the originals. It is also quite common to find replaced power transformers in 230V countries.
Speakers and reverb tanks are weak points in older amps. If the original speakers have been replaced, it was either because they were blown or the owner wanted different or louder speakers. Personally, I feel the original speakers, grille cloth, and faceplate are very important—essential parts of an amp’s identity. A replaced reverb tank is not a big deal for me. In older tanks, the springs and internal soldering connections are often damaged.
By inspecting the circuit, you can learn even more. Look out for burned resistors or the old brown Mallory electrolytic caps. These should have been replaced and, if not, what else has been overlooked? It is a common and healthy sign if all electrolytic caps and screen resistors across the power tubes have been replaced. Sometimes major parts of the circuit have had a makeover with replaced resistors, caps, tube sockets, and wiring. If done properly with high-quality components, you needn’t worry about tone. However, the unit should be priced as a player’s amp, not a stock vintage collectible.
Now that you know what to look for when buying vintage Fender amps, you also know how to look after them. Check for loose speaker screws, chassis screws, tubes, reverb cables and plugs, and speaker cables and connectors. To prevent oxidation and scratchy pots, regularly pull tubes in and out, pull reverb and tremolo phono plugs in and out, and rotate all the knobs. All amps should ideally be played loud and proud on a weekly basis. You should also move around the amps you gig with several times a month to become aware of any loose tubes, reverb cables, or components. Transportation is what wears out amps more than use.
For more information, visit my web site fenderguru.com. You’ll find an extensive buyer’s guide to vintage Fender amps with serial numbers, manufacturer codes, pictures of speakers, and more. Happy gear hunting!


![Rig Rundown: Russian Circles’ Mike Sullivan [2025]](https://www.premierguitar.com/media-library/youtube.jpg?id=62303631&width=1245&height=700&quality=70&coordinates=0%2C0%2C0%2C0)
