In my previous column (“Using Super Glue in Guitar Repair”), we explored techniques for using fast-acting adhesive to seat frets and secure a string nut. We’re not quite done with this topic, but before we put super glue to work on another project, please take a moment to review the safety tips I outlined last time around. As I mentioned before, super glue can be your best friend or worst enemy, so before you start slinging the cyano, it’s important to refresh your memory of these crucial dos and don’ts. Right? Thought so.
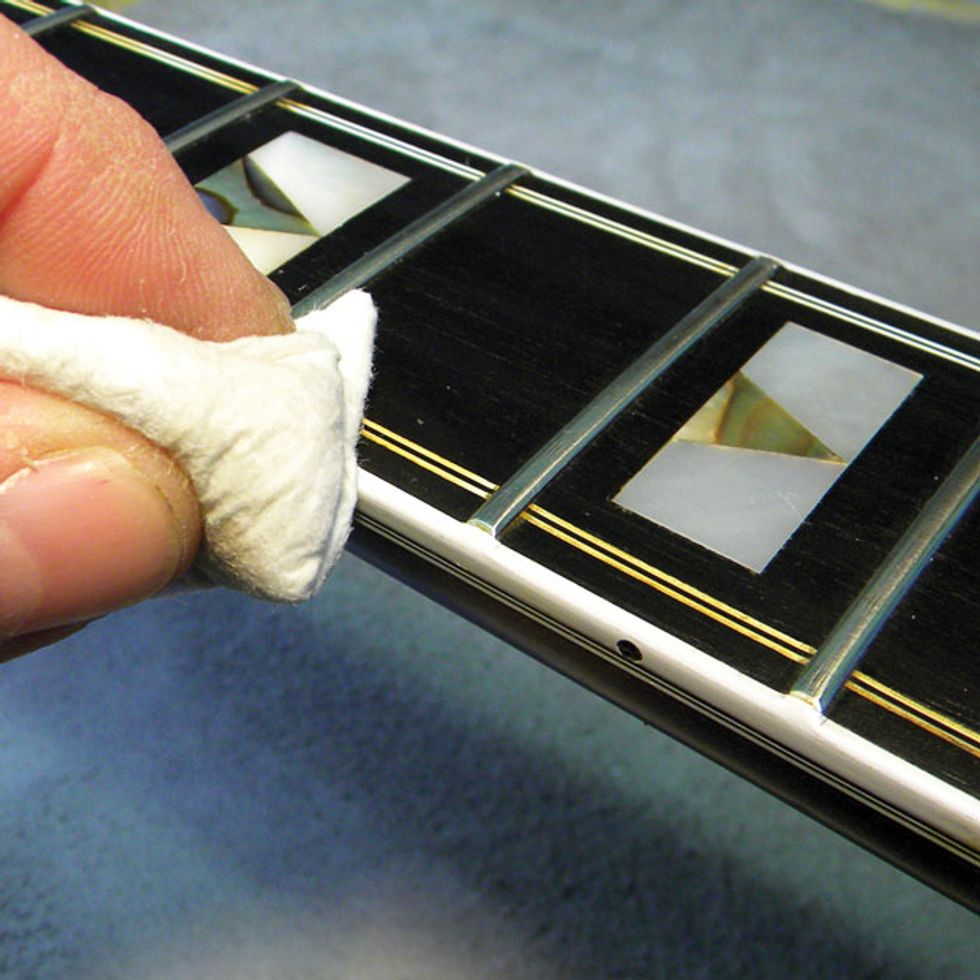
String nut touch-up.
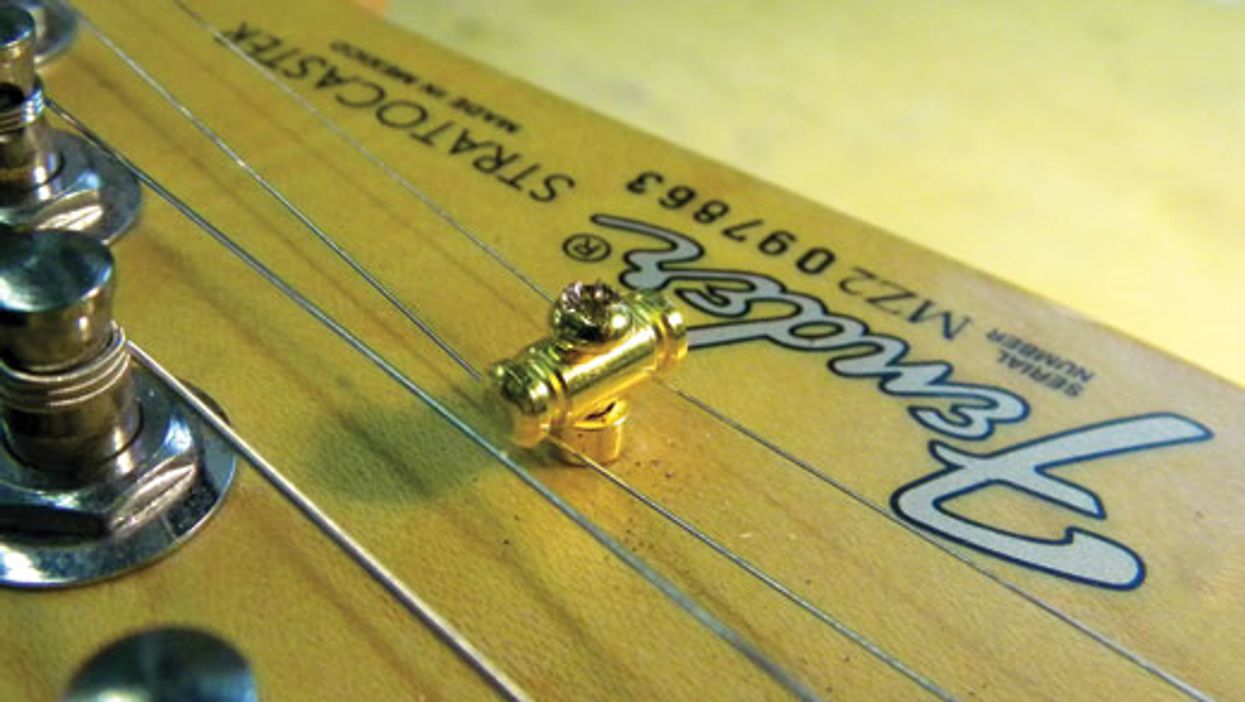
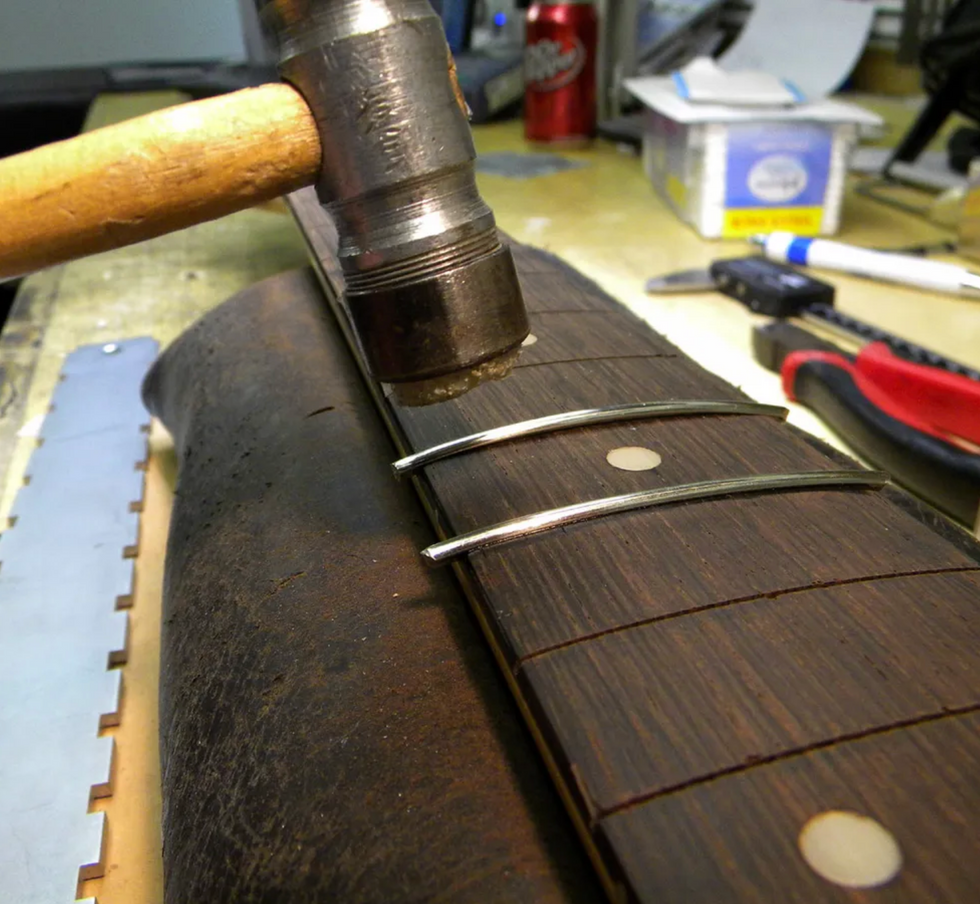
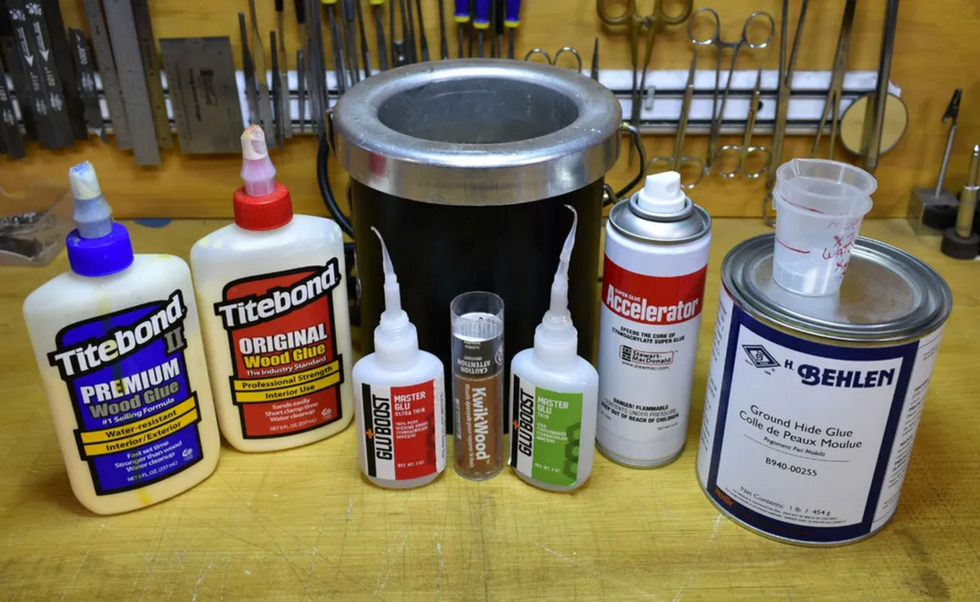
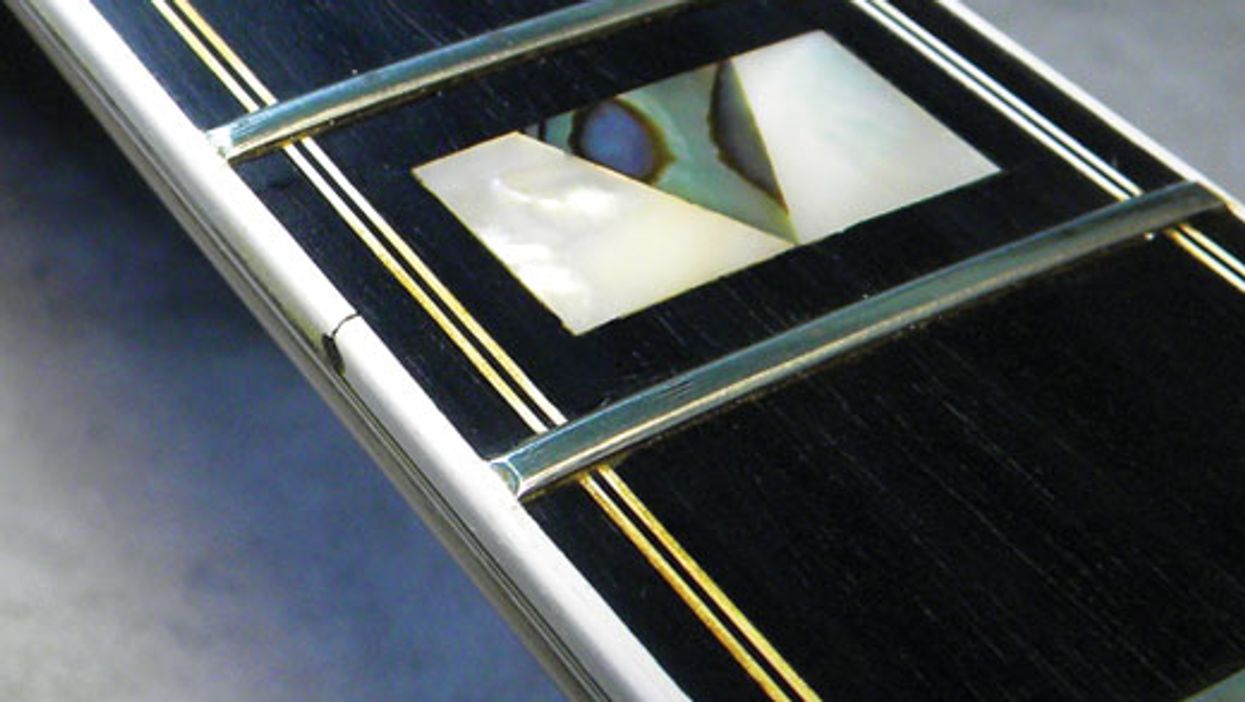
Super glue is handy for making small repairs to a guitar’s finish. Here’s an example: Most guitars have a little finish at either end of the string nut to create a smooth transition between the edge of the fretboard or binding and the nut itself. But after replacing the string nut—let’s say you’ve upgraded from a plastic nut to one made of bone—there’s usually a small edge or drop off where the nut meets the fretboard (Photo 1). As you may recall from our prior column, super glue is available in a variety of thicknesses. To smooth out the transition between the nut and where it joins the fretboard, you can fill that area using a few drops of medium viscosity or gel-formula super glue.
Make sure the area around the edge of the string nut and binding is absolutely level, because you don’t want the glue to pool on one side of the nut edge and create more work for you later.
But wait, there’s more! It’s common for the binding on older guitars to turn yellow over time. Stewart-MacDonald sells an amber-tinted formula that matches this aged look nicely. (Stew-Mac also offers tinted super glues in white and black, which can come in handy for other finish touch-up projects.) If your guitar has binding, using tinted medium super glue will accomplish two goals: You’ll fill the edges around the ends of the replacement nut and help it blend in with the binding.
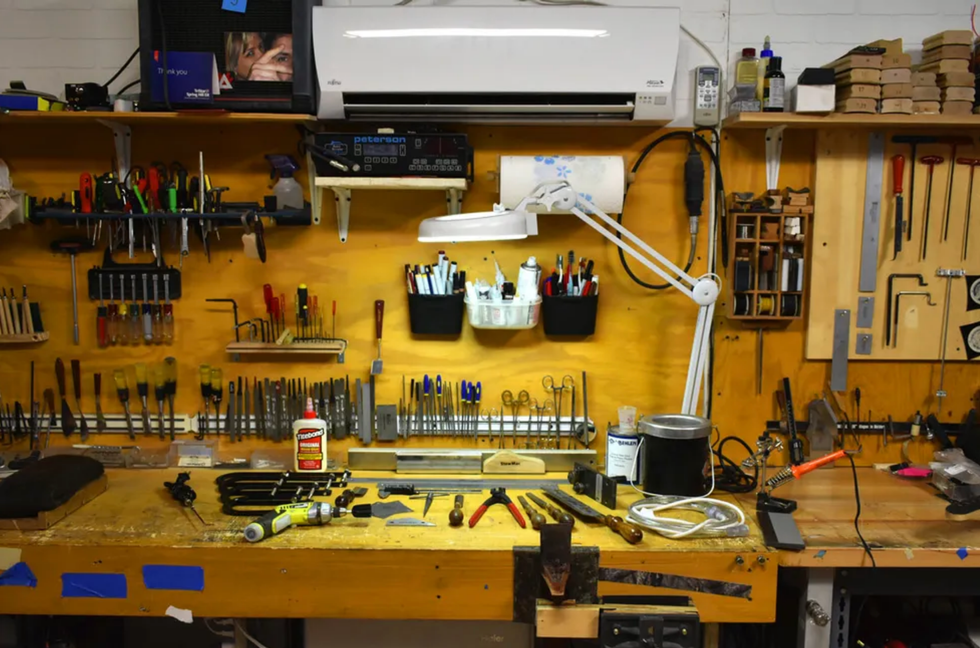
Assume the position.
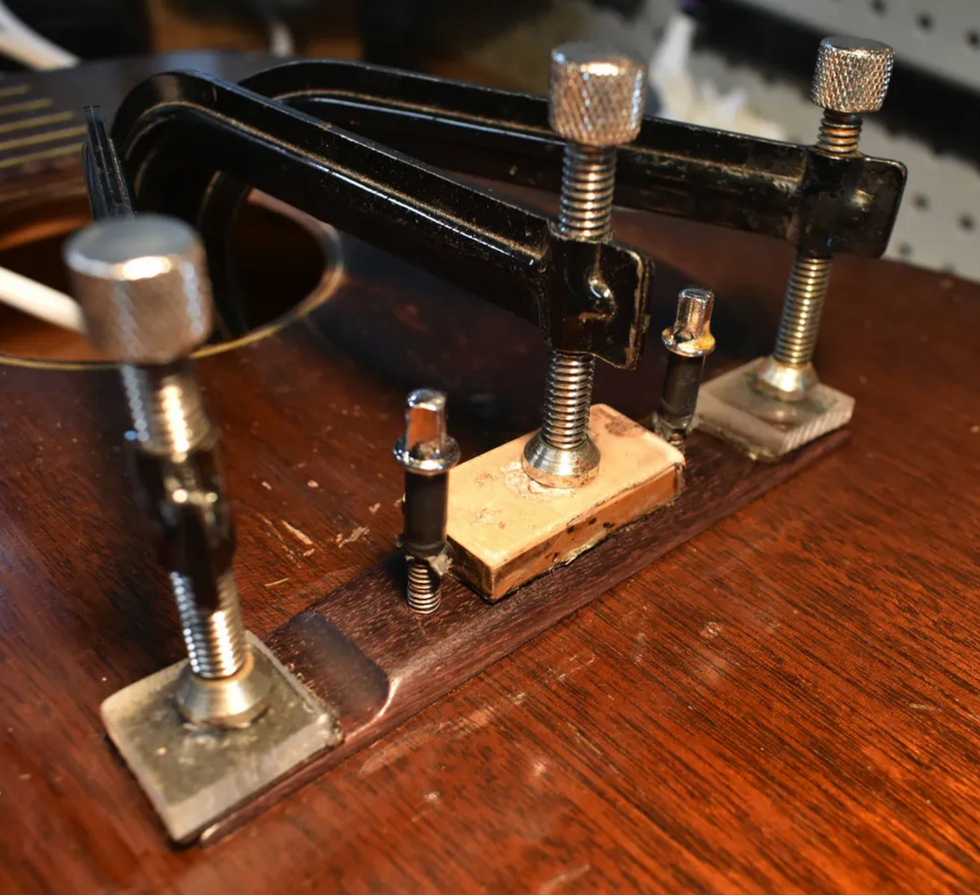
First, place the guitar on its side so the neck is horizontal to the workbench and one end of the nut faces up, the other down. To prevent an electric guitar or bass from tipping over, I use a quick release clamp on the body to stabilize it. Because acoustics have a thicker body, they’ll typically stay in place without a clamp. Balance the guitar on its tuner keys, not the neck, and use books or small boxes to support the guitar as it rests on it side. (In our shop, we use leather bags filled with buckshot for this and other stabilizing tasks.)
Make sure the area around the edge of the string nut and binding is absolutely level, because you don’t want the glue to pool on one side of the nut edge and create more work for you later. A bubble gauge comes in handy here.
Apply the glue.
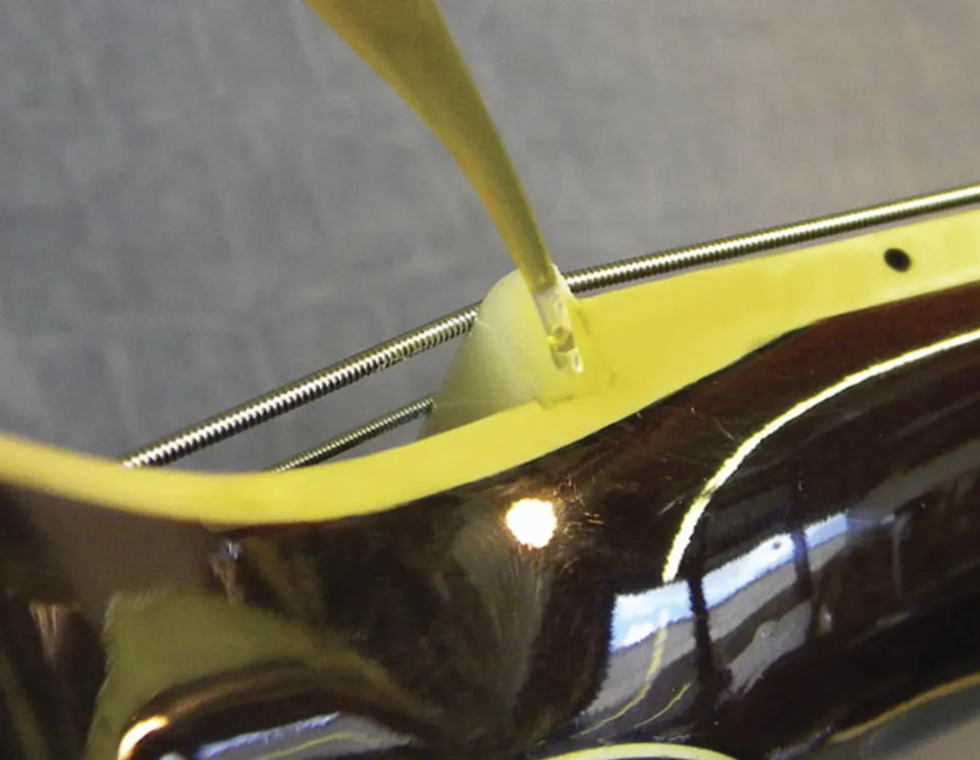
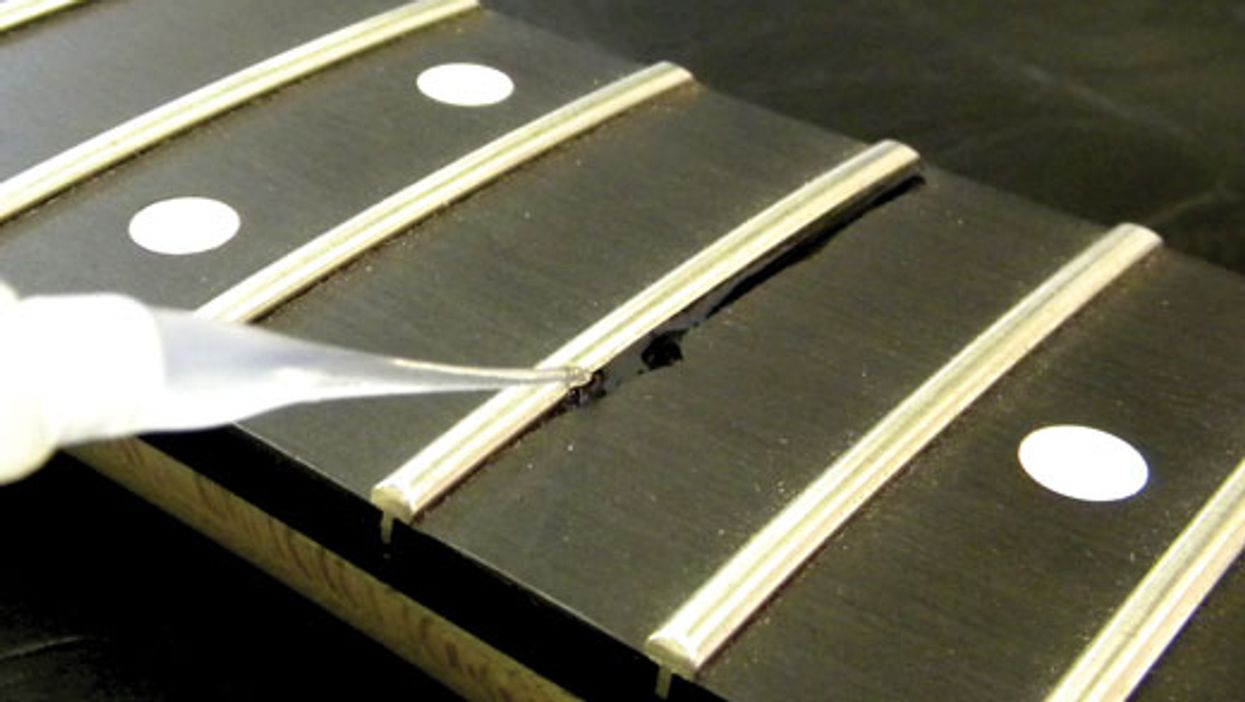
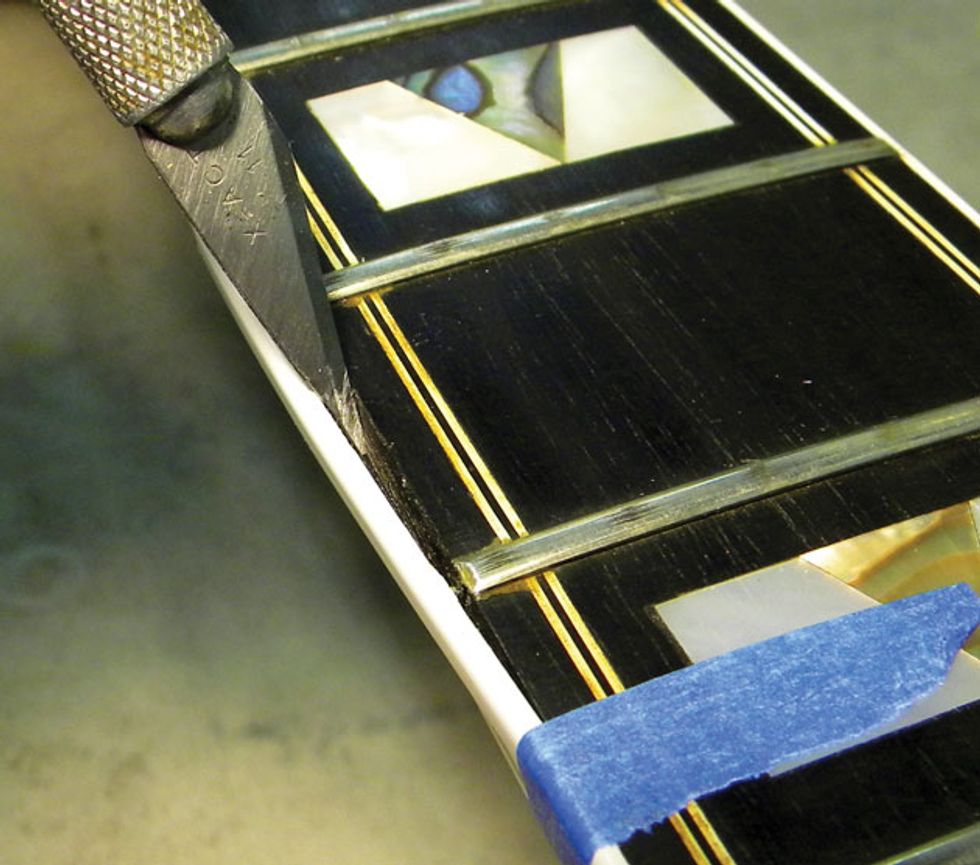
Photo 2
This is where you don your safety glasses. Once the guitar is stable, put a few drops of super glue on the end of the nut and let it dry (Photo 2). You only need to apply enough glue to cover the side of the nut and binding to build a smooth surface where they join together. A medium formula of glue, which is what we recommend, will take several minutes to dry. If you want to speed up the drying process, you can spray super glue accelerant on it. We’ve used GluBoost and NCF Quick brands in our shop, and they both work great.
Having a well-ventilated workspace will reduce accelerant fumes and minimize eye irritation. At the shop, we run a small fan to keep the air circulating when using super glues and accelerants.
Tip: Accelerants can cause what we call the “Swiss cheese effect.” This happens when you prematurely spray the accelerant on the glue. It causes a chemical reaction that results in the glue bubbling up into a white foam, which forces you to scrape away all the glue and start over. To avoid this, wait several minutes before blasting the glue with an accelerator. A little patience will save you a lot of time.
File it down.
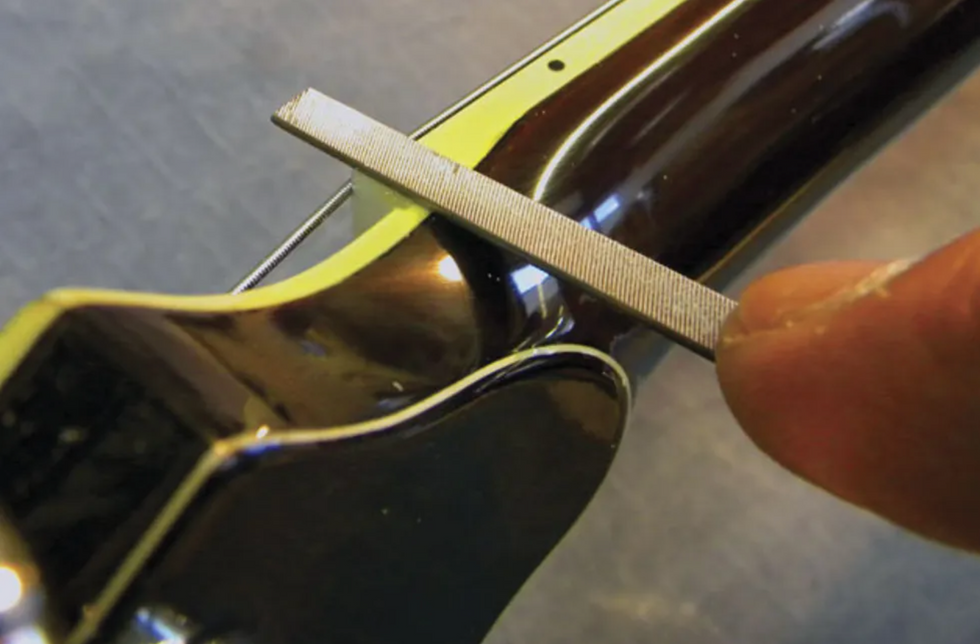
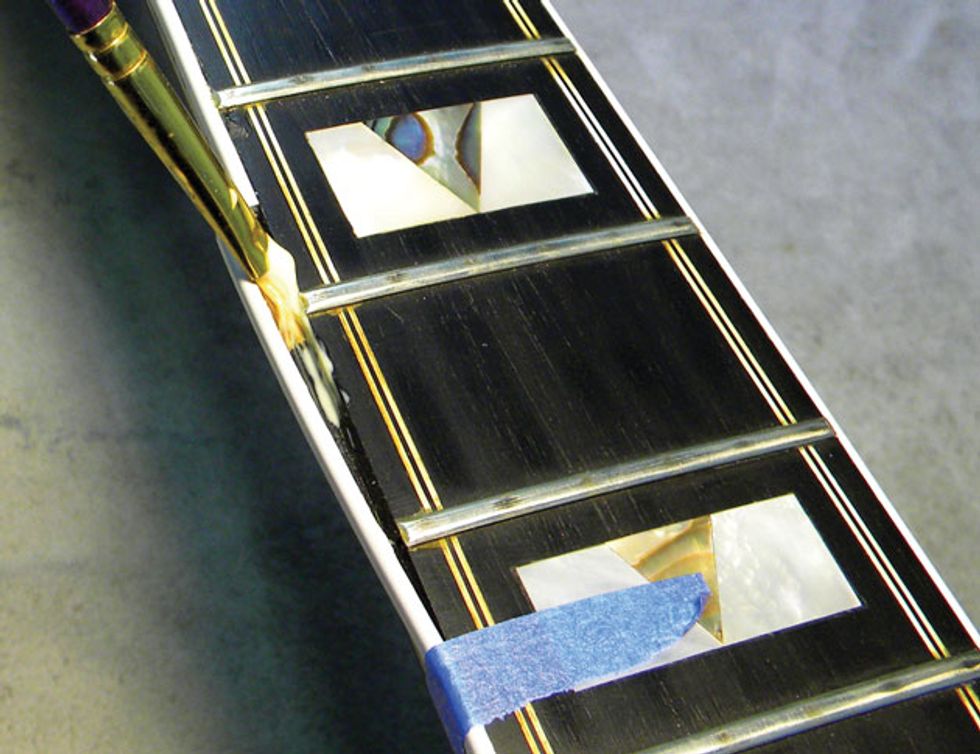
Photo 3
When the glue is dry, use a miniature file to gently file away any excess (Photo 3). Do this carefully to avoid damaging the original finish around the nut and binding. The object of the exercise is to file the glue flush with the nut and binding without disturbing the surrounding surfaces.
Sand and buff.
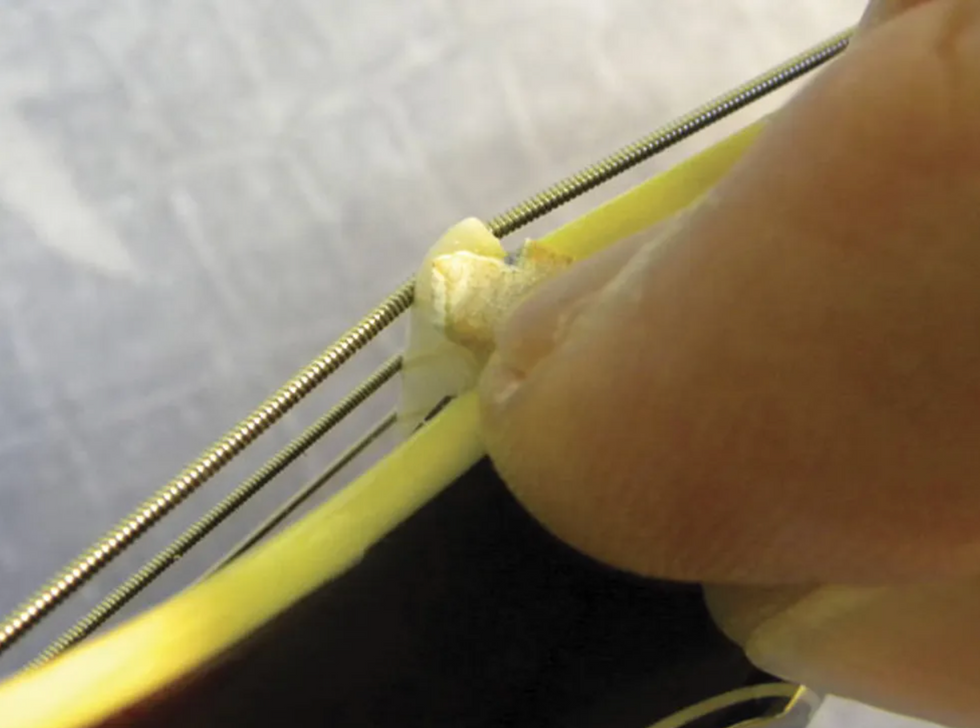
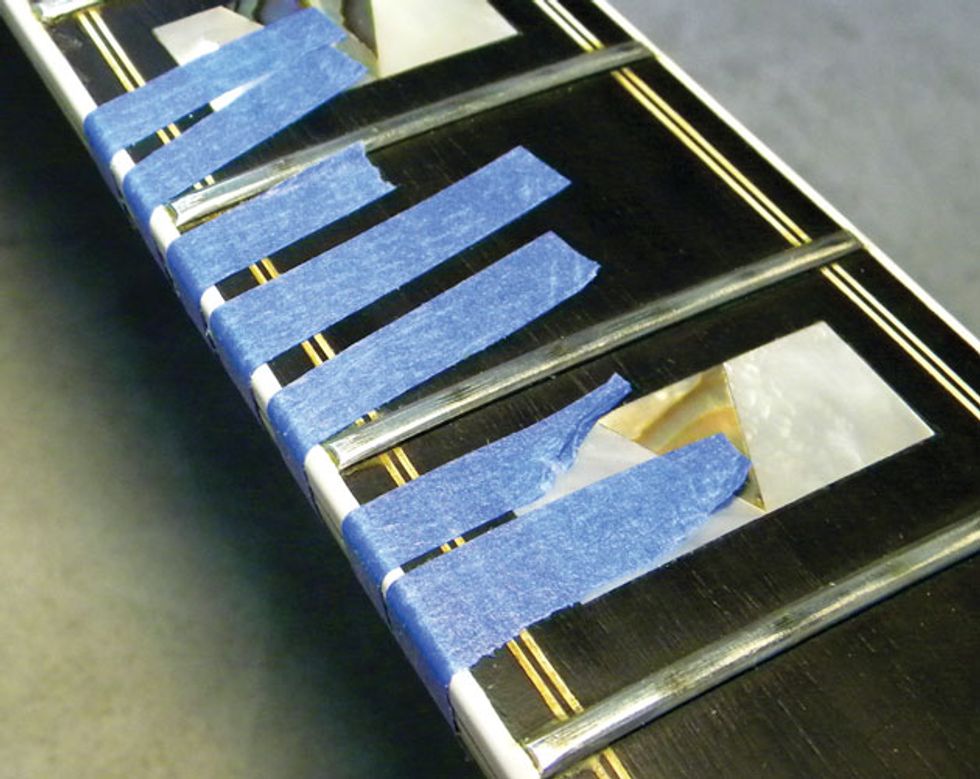
Photo 4
Next, lightly sand the glue-covered area with 600 grit paper to feather it to the edge of the fretboard or binding (Photo 4). Now gently sand it with 1500 grit paper to smooth out any scratch marks.
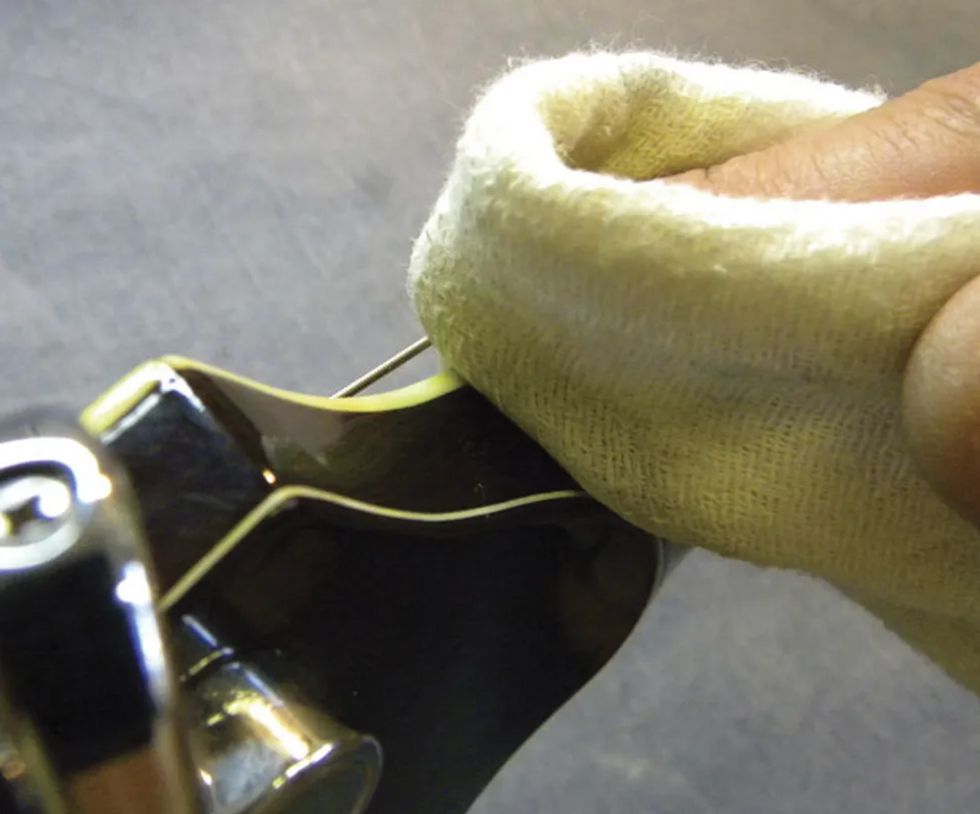
Photo 5
Finish this job using extra-fine buffing compound and a polishing cloth (Photo 5). I use Planet Waves Restore for this last stage, but you can find other buffing compounds at auto stores or online.
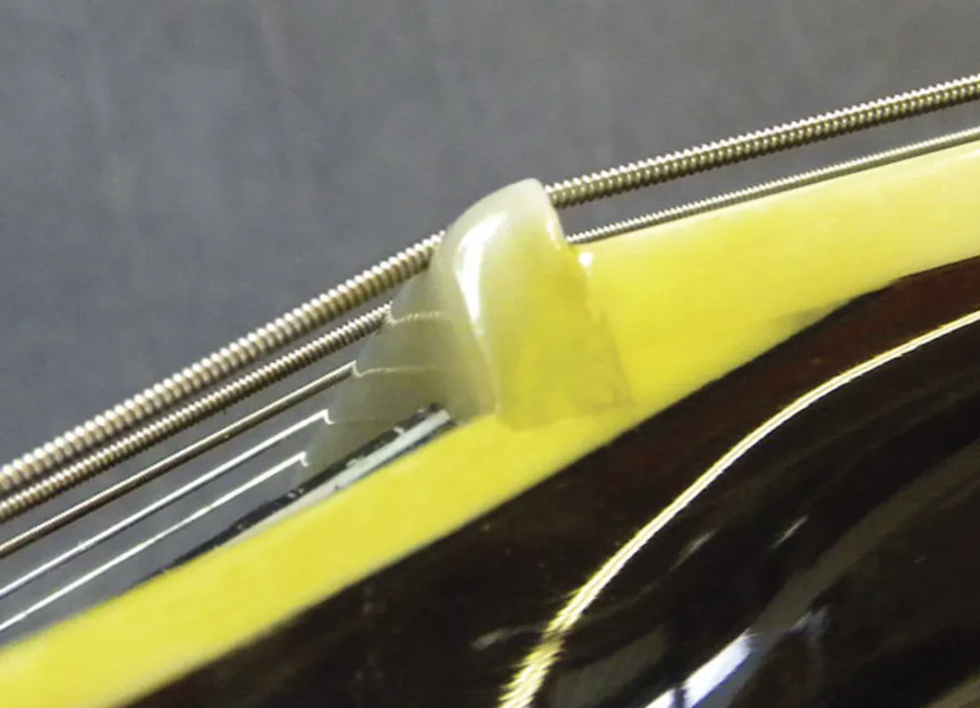
Photo 6
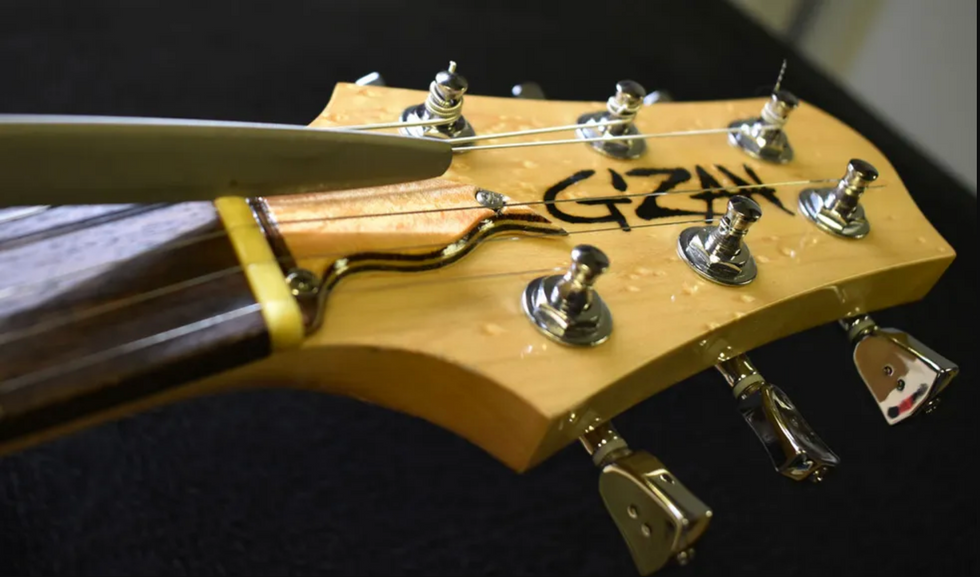
Now step back and admire your work, which should look similar to Photo 6.
After flipping the guitar over on its opposite side, position and secure it (remember to keep the neck perfectly level), and then repeat the process for the other end of the nut.
And that’s it—another task completed, thanks to super glue.
[Updated 1/20/22]