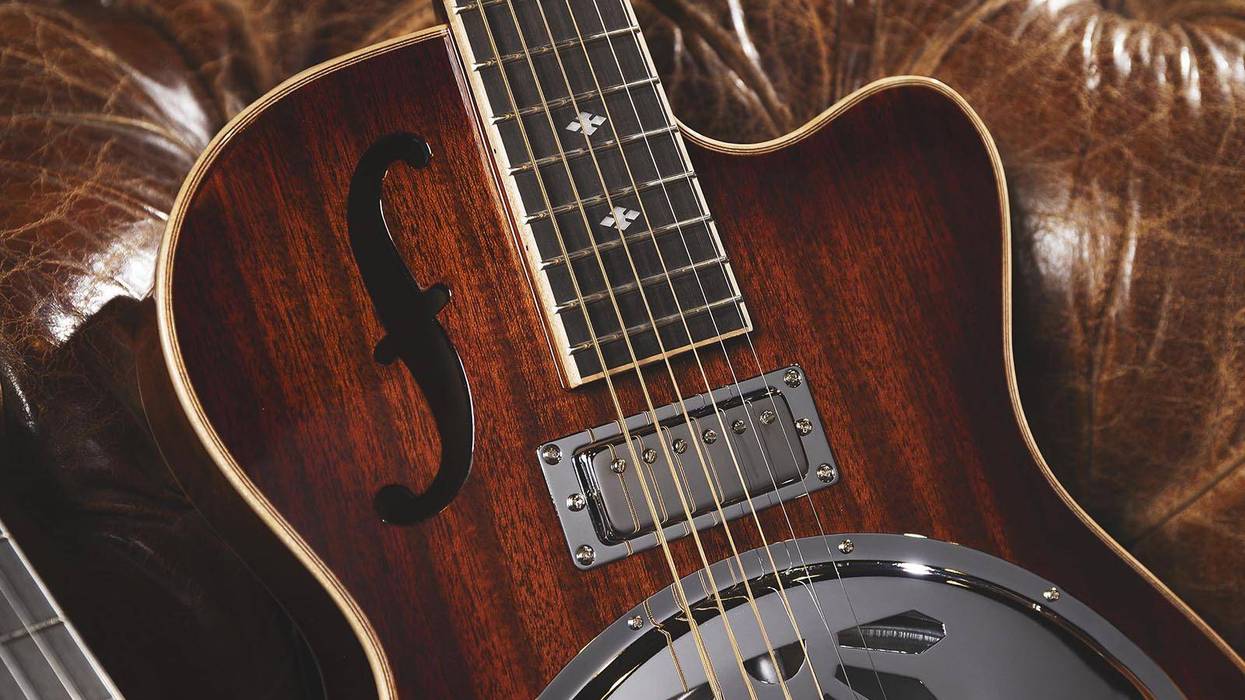

The condition of your frets will determine how well your guitar plays. Every time you press your strings against the frets, the friction between them subtly changes the shape of the frets, causing them to wear out. Over time, this metal-against-metal contact can lead to string rattle and intonation issues. The greatest fret damage is caused by capos—especially under the plain strings.
Fret wear is a normal by-product of playing your instrument. As a guitarist, it's important to know how to evaluate fret damage and understand what options you have to correct it. The big question is, can I refurbish my frets or is it time to replace them? Let's explore the subject starting with the fretwire itself.
What are frets made of?
Though fretwire is frequently called "nickel silver," it doesn't actually contain silver. Rather, it's typically composed of 18 percent nickel, 80 percent copper, and small amounts of such other materials as zinc, lead, and cadmium. Really good fret wire has more zinc and less copper. One of my favorite brands is Jescar, and their NS formula is 62 percent copper, 18 percent nickel, and 20 percent zinc. Because it's harder than traditional fretwire, it lasts longer.
Another option is stainless steel. Stainless steel is very difficult to work with, but it lasts dramatically longer than traditional fretwire. However, stainless steel frets come with a hefty price tag. Most luthiers will charge more than double to re-fret a guitar with stainless steel because it nearly destroys their tools and the job takes much longer to do. In the long run, it could be the perfect solution for your guitar since you may never have to replace the frets again!
How are frets sized?
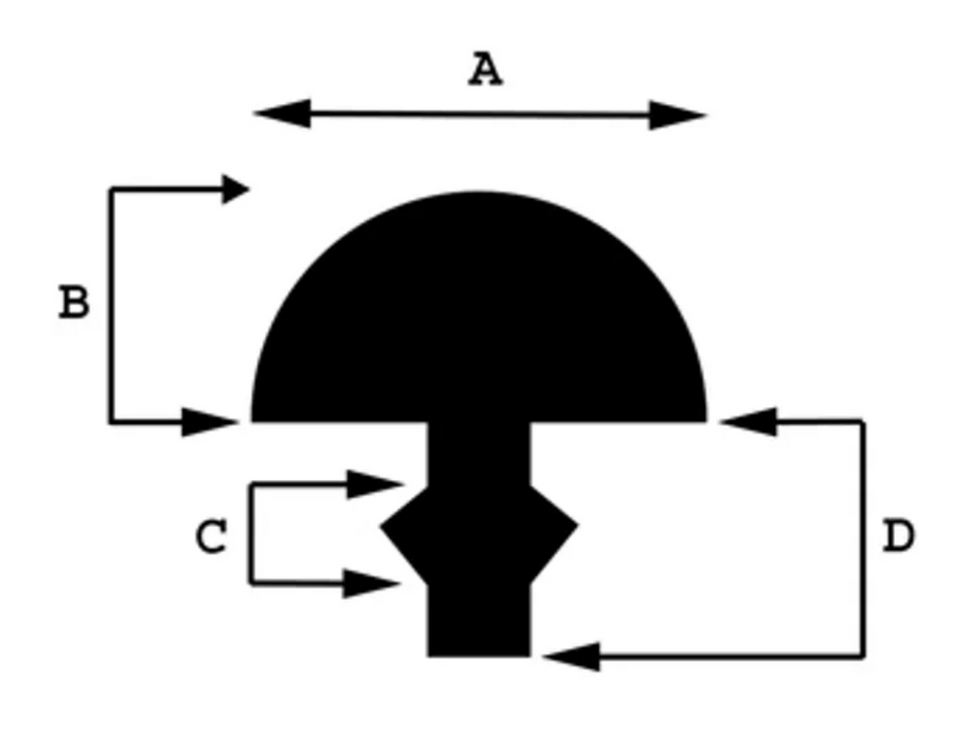
Fig. 1. Fretwire is measured by the crown's width (A) and height (B), as well as the size of the barb (C) and depth of the tang (D).
Fretwire comes in a variety of sizes and shapes. Fig. 1 illustrates the four elements that determine a particular style of fretwire. They are the width and height of the crown, the size of the barb, and the depth of the tang.
The crown is the exposed part of the fret. When you fret a note, you're pressing the string to the very top of the crown. Like a row of hooks, barbs secure the fret to the fretboard. Barb width determines the width of the fret slot and the tang determines the depth of the fret slot—i.e., how far the fretwire penetrates into the fretboard.
The size and shape of each of these four elements are specifically designed for different playing preferences and types of guitars. The crown width can vary from ultra narrow (.053") to super jumbo (.118"). The fret height can be anywhere from a short .032" to a tall .060". The width of the barbs and depth of the tang also vary from .019" to .040".
All these dimensions have a specific purpose and are important considerations when choosing fretwire. For example, wider frets can produce a stronger tone, but as they wear, the guitar's intonation "drifts" farther than with narrow frets. But narrow wire has its drawbacks, too: Narrow frets won't cause your intonation to drift as much, but they wear down faster than wide frets.
Tall frets will last longer before they need to be replaced. However, I don't recommend them for someone who plays with a strong grip. If you grip the neck tightly while playing or use a capo, the strings will pull sharp as you play. On the other hand, shorter frets wear out faster (especially if you use a capo) and need to be replaced more often.
The size of the barbs and tang have a profound effect on a guitar neck, and if you decide to install new frets, it's very important to use the correct size. If the barbs and tang are too narrow or shallow for the slots, the frets won't seat securely in the fretboard. This causes them to lift out when the weather changes and yields uneven frets and a lot of buzzy or dead notes. When the barbs and tang are too wide, they can crack and chip the fretboard, or even cause the neck to back-bow. In the case of a back-bow, you have to re-fret the guitar.
To summarize: A neck must have the correctly sized frets to match the fretboard and player. Otherwise, you'll end up with a very expensive mess!
Can the dents in my frets be repaired?
Dents always create problems with frets. But does discovering dents mean you need to replace your frets or is re-crowning an option?
It can go either way, and the answer depends on the depth of the dents. When the dents are deep, your tech would have to remove too much material from all the frets to correctly repair the problem ones. When the height of the fret is below .038" and it has deep pits and dents, chances are a re-fret is in order.
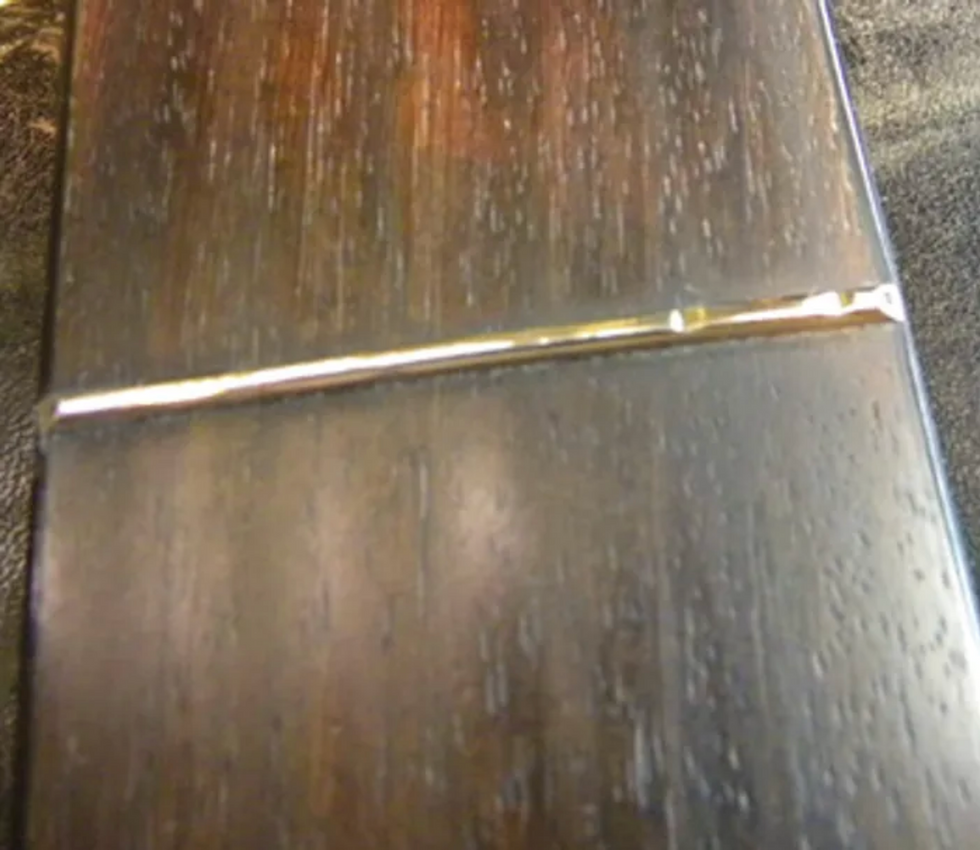
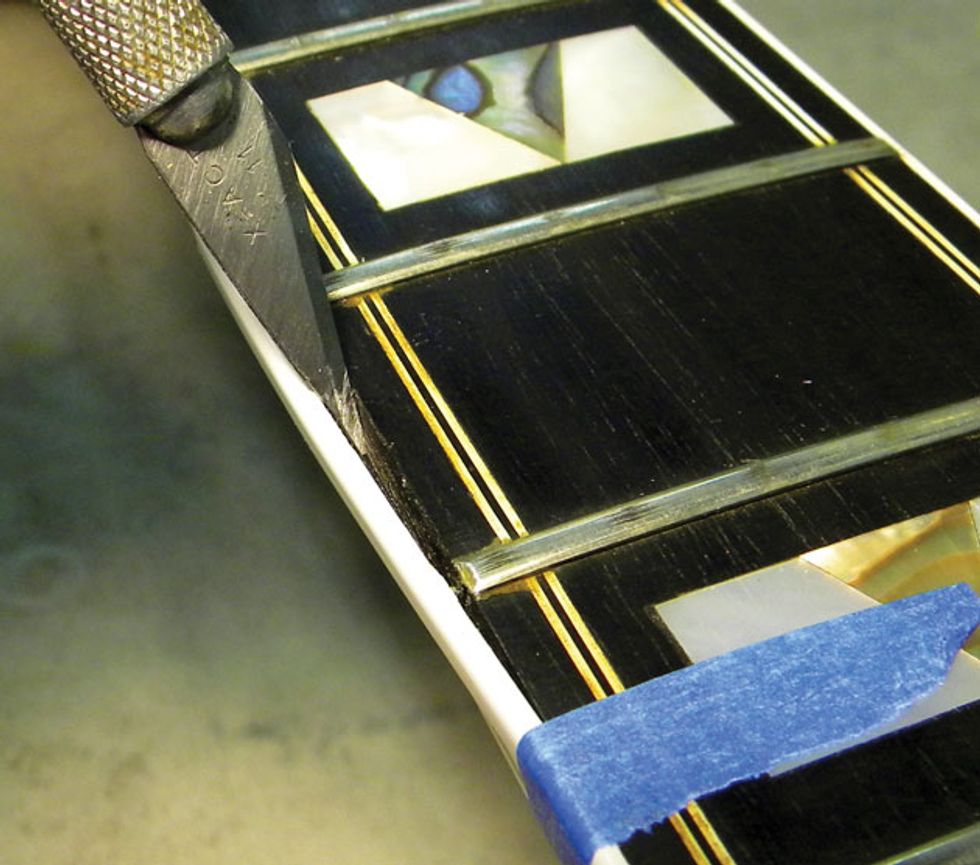
Fig. 2. A dented and pitted fret causes intonation problems, creates string rattle, and impedes smooth string bends.
Look at Fig. 2 and notice the deep pits in these frets. These dents are too deep to repair, so the frets must be replaced.
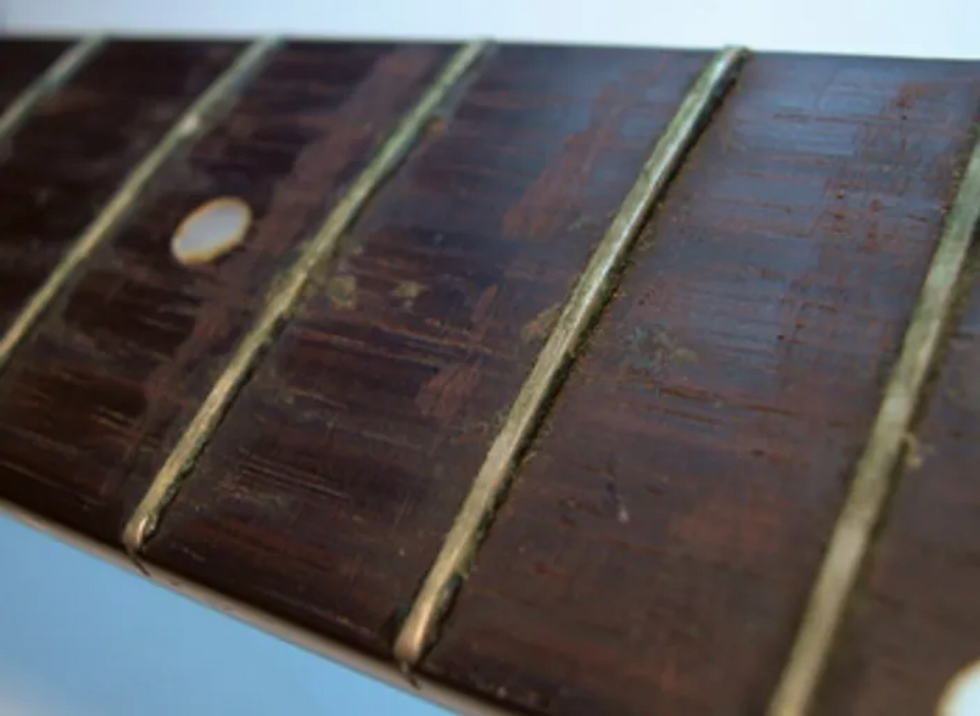
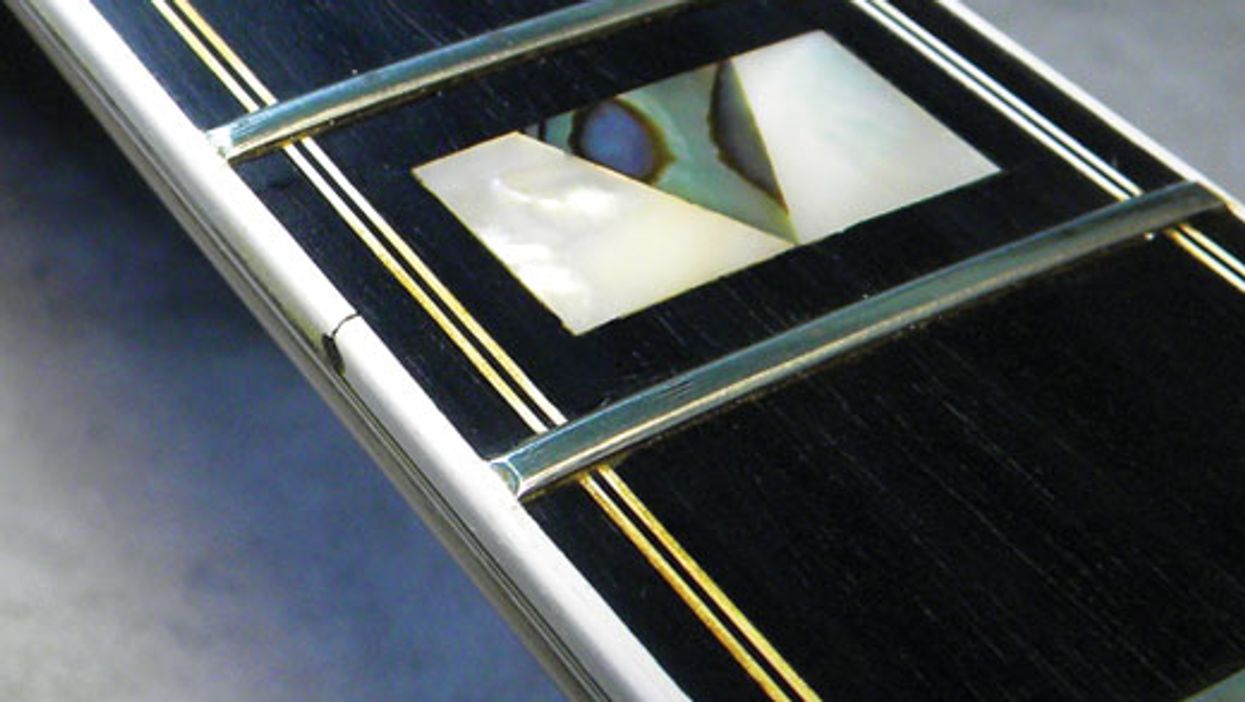
Fig. 3. A flat fret also creates rattle and intonation problems.
Dents and pits are not the only reason to replace frets. Flat spots in the frets are another culprit. For a fret to function properly, it must have a domed crown. If the crown is flat, as in Fig. 3, it will cause string rattle and intonation issues. Much like dents and pits, if the fret has a flat crown and is too short, it will need to be replaced.
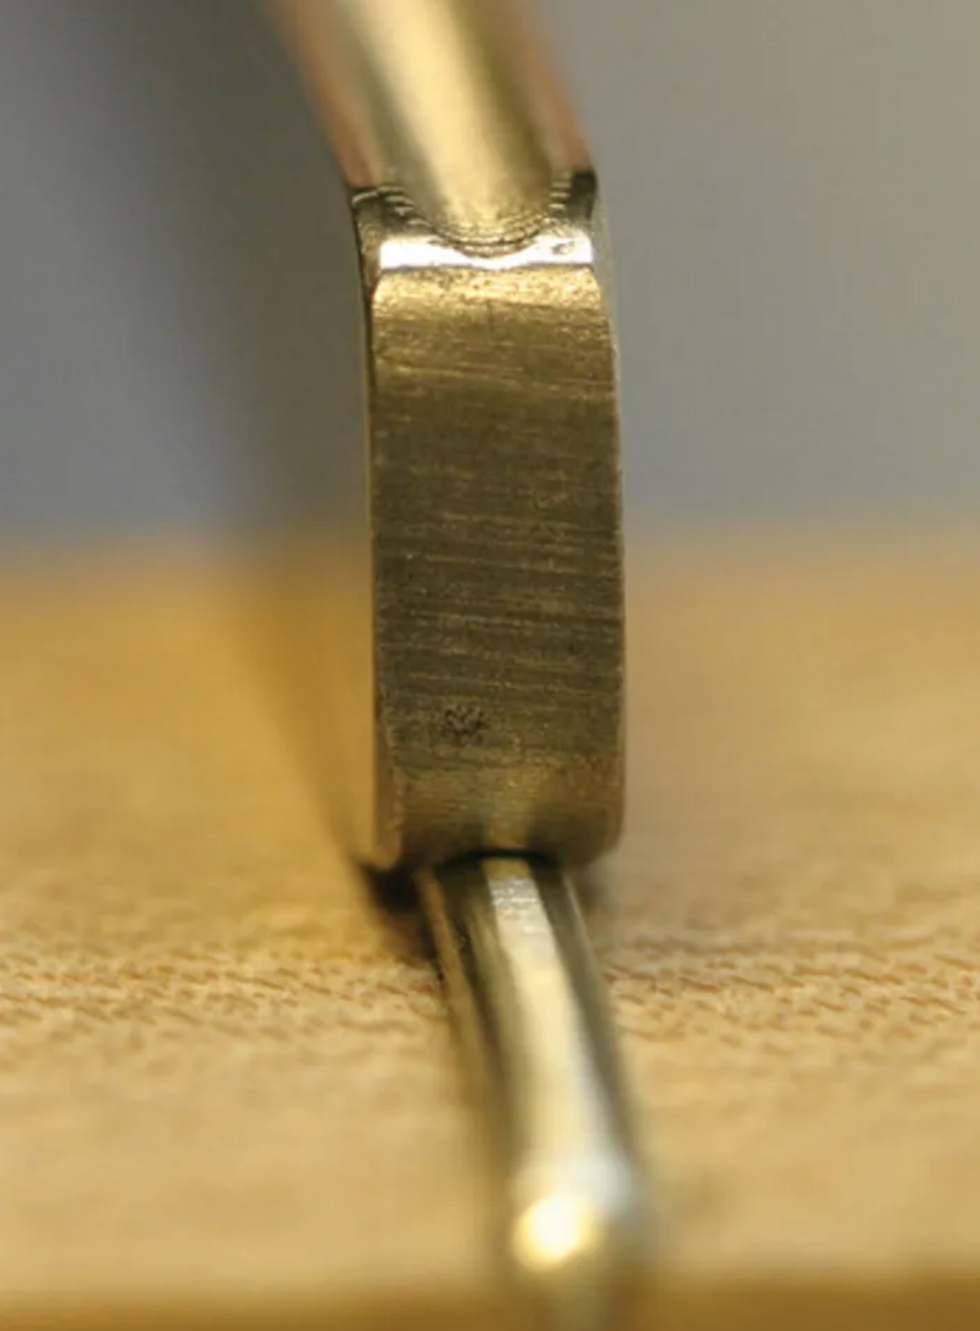
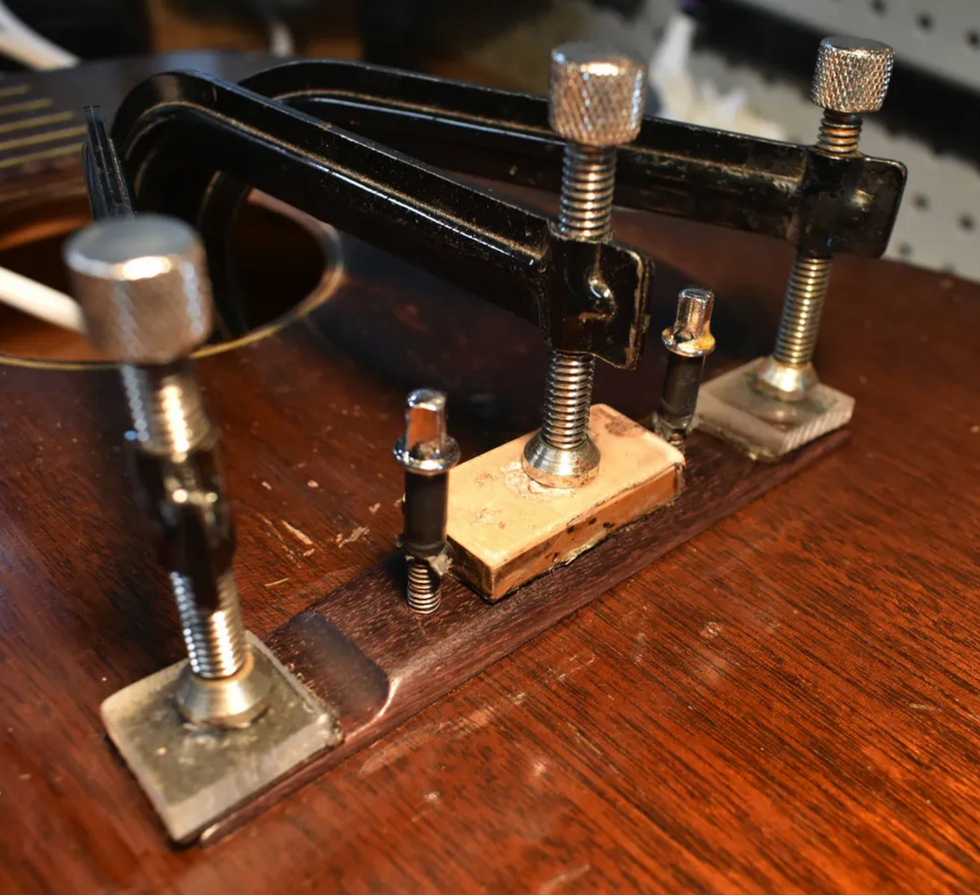
Fig. 4. Re-crowning a fret with a specialized tool.
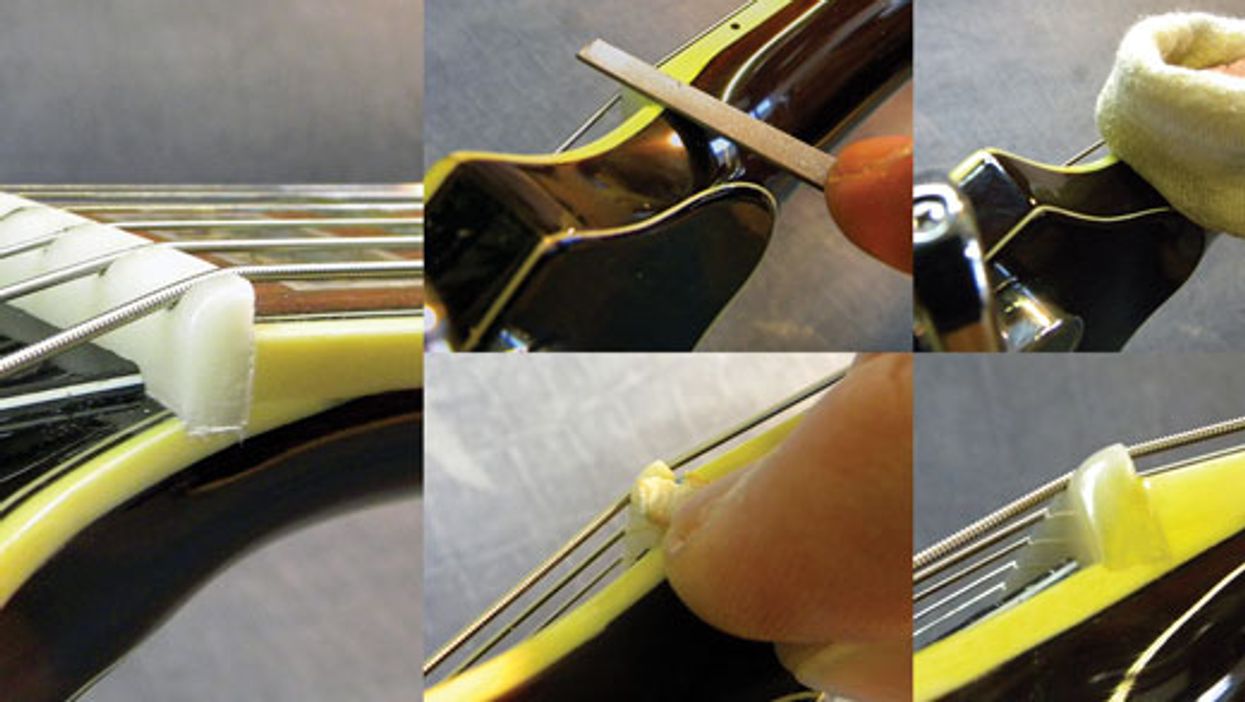
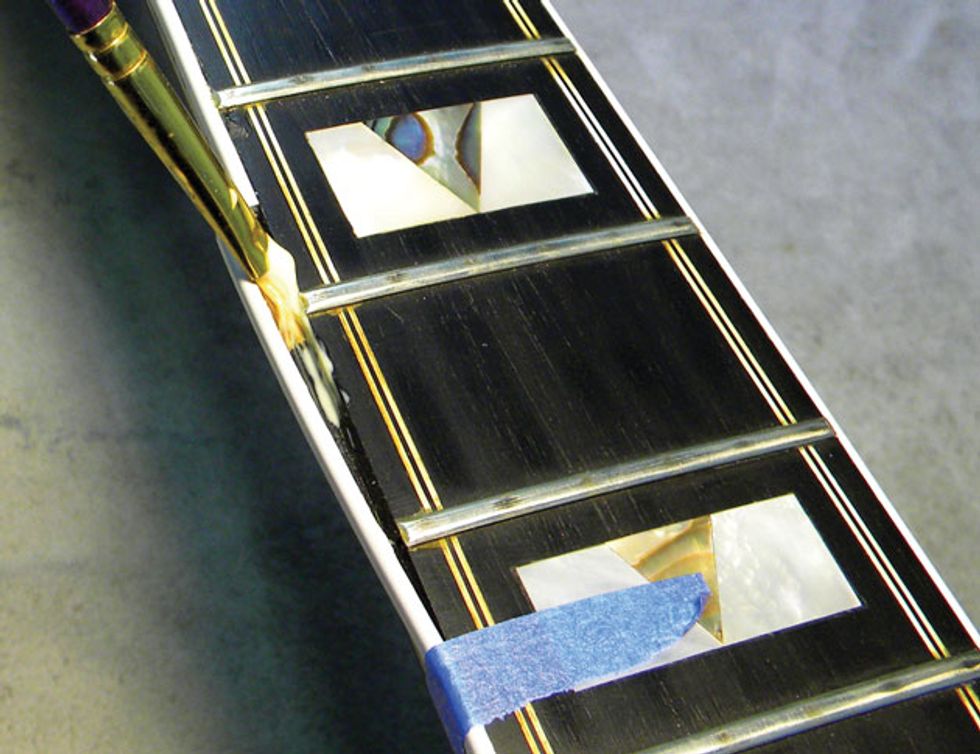
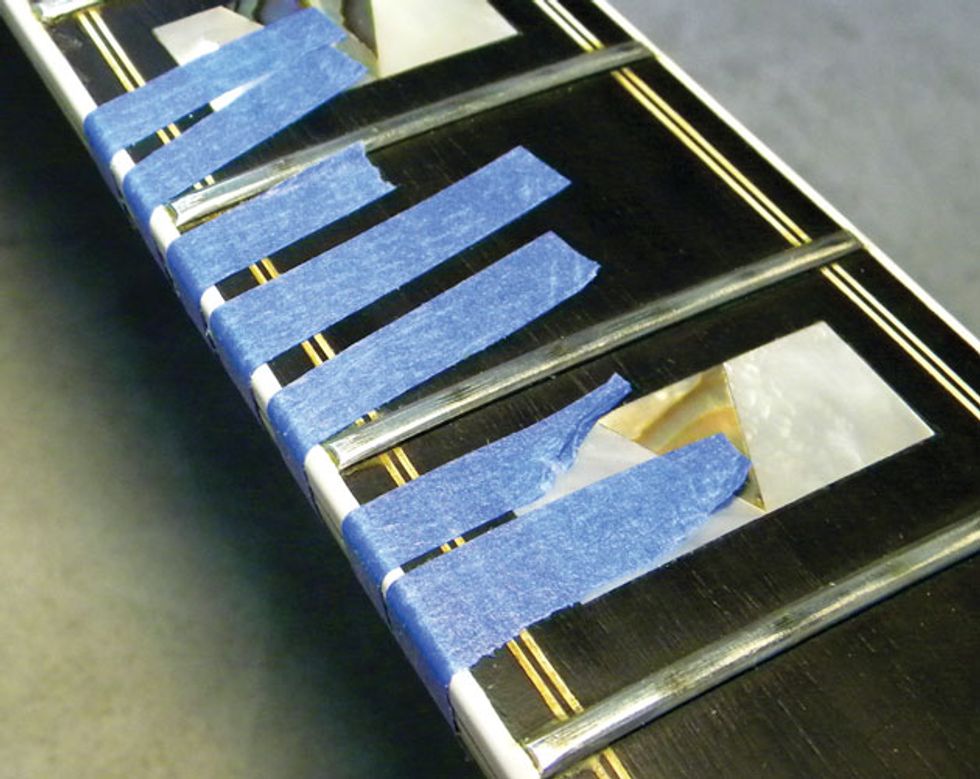
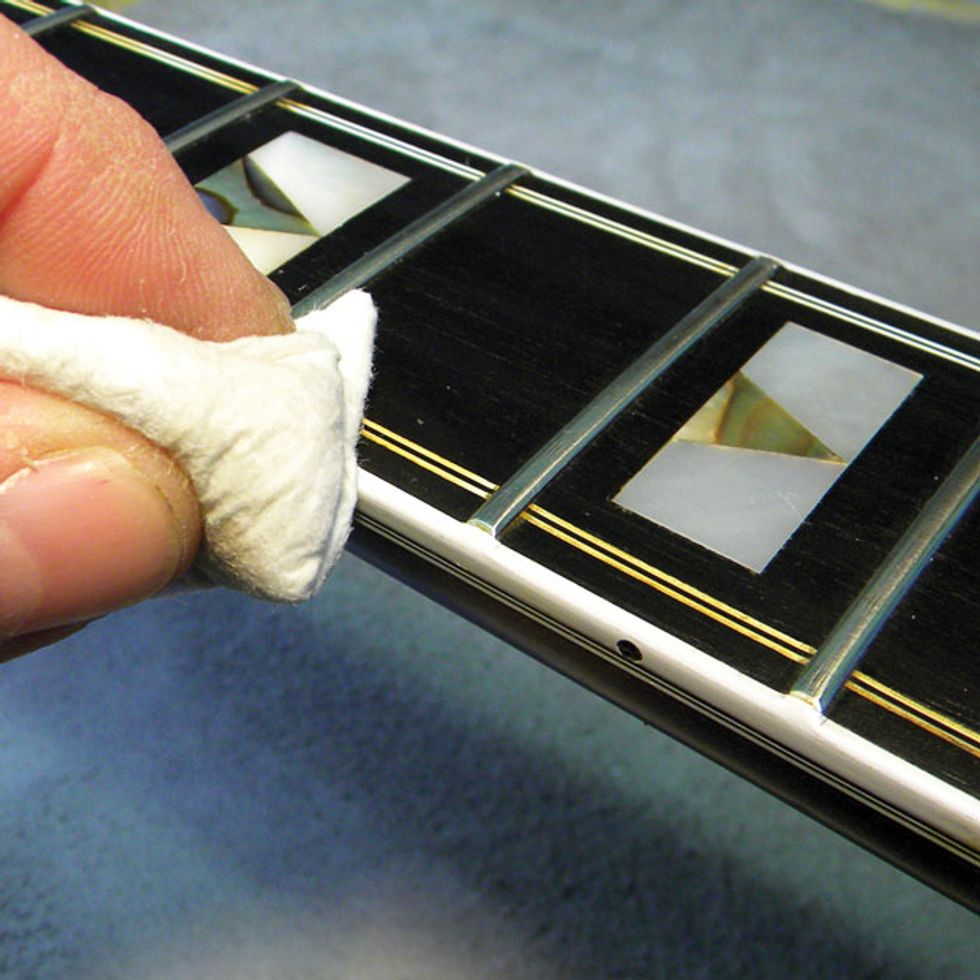
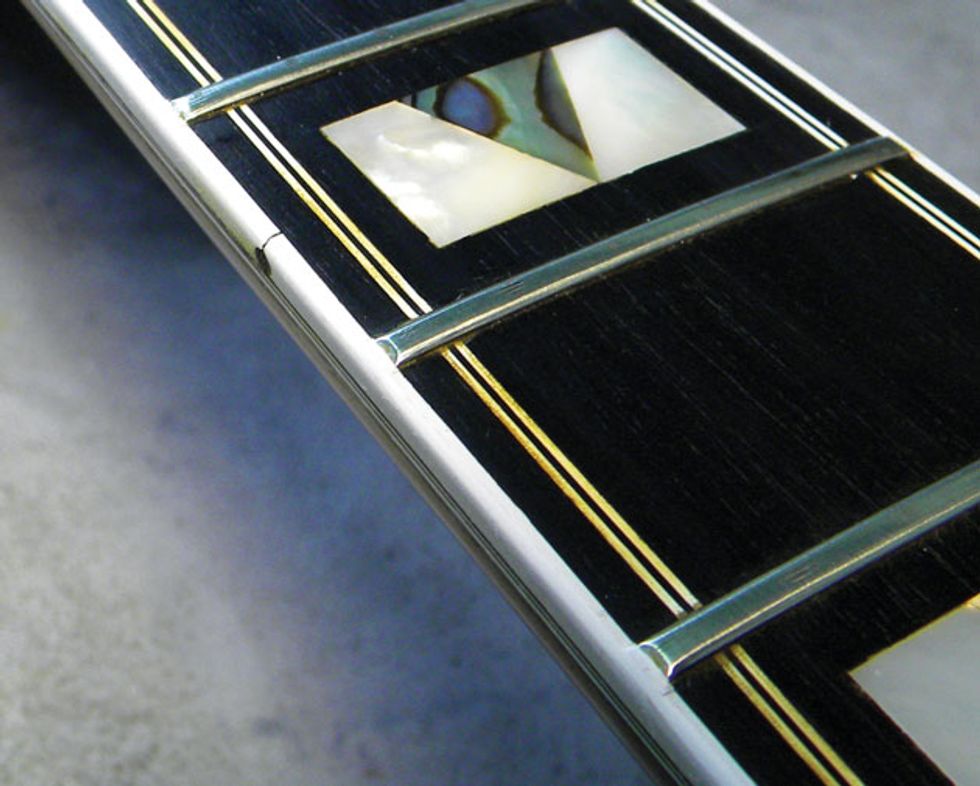
If the frets are tall enough to repair, they are first leveled and then re-crowned. To level a fret, your tech grinds and sands the frets to an equal height. This leaves the frets with a flat crown. The next step is to re-crown the fret by removing material from its sides until the crown offers a narrow point of contact for the string Fig. 4. This is a very painstaking process and it takes years of practice to develop the proper skills—definitely a job for a pro.
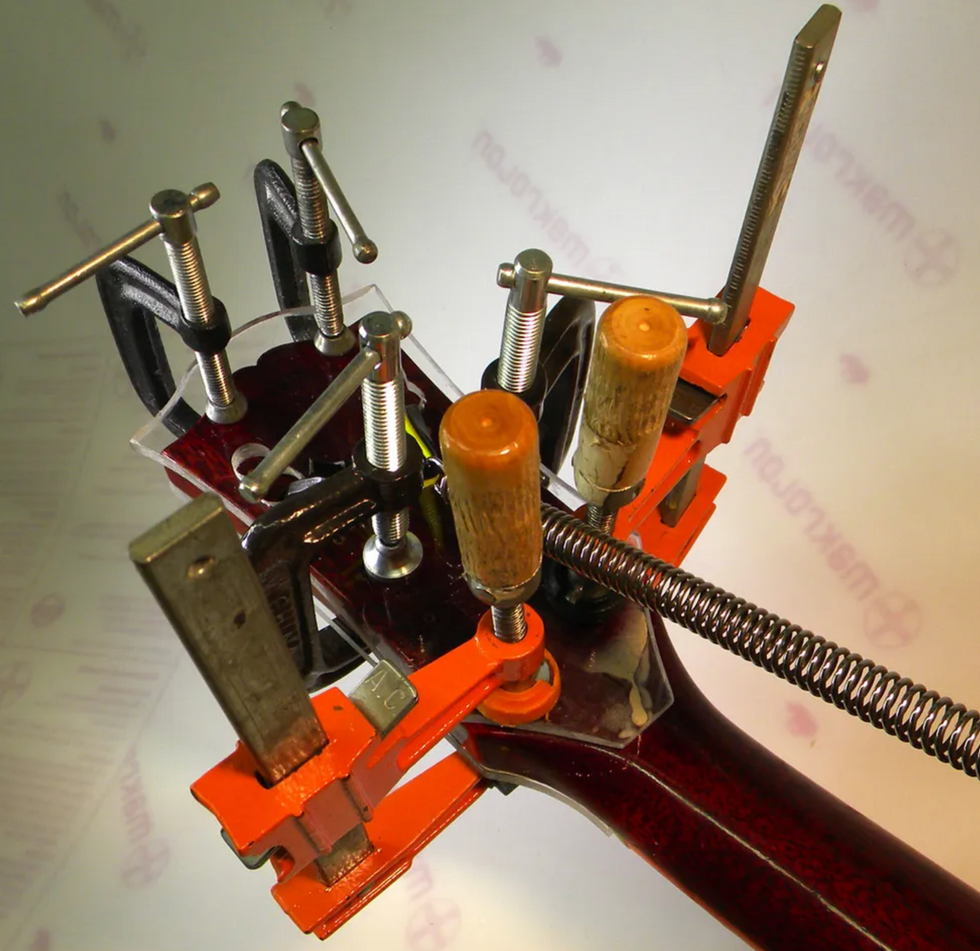
What's involved with a re-fret?
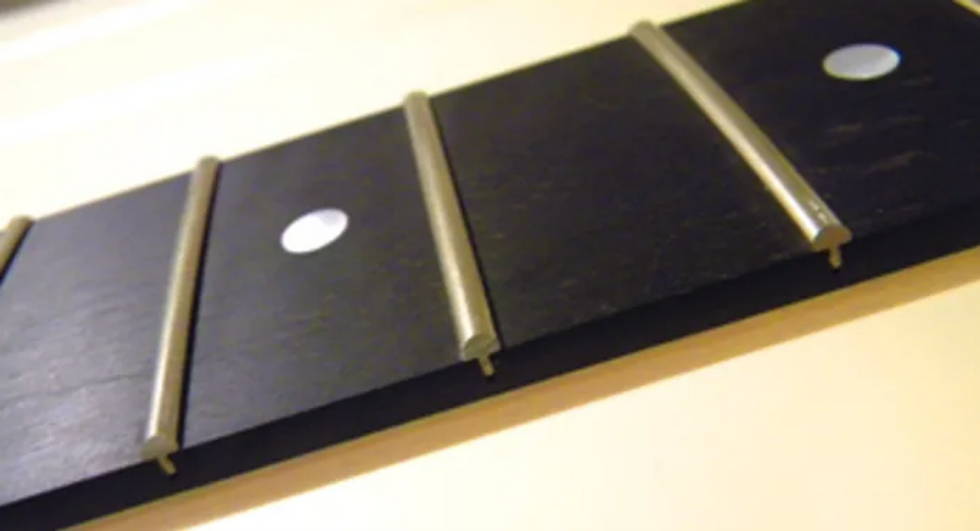
Fig. 5. A complete re-fret gives a guitar a new lease on life.
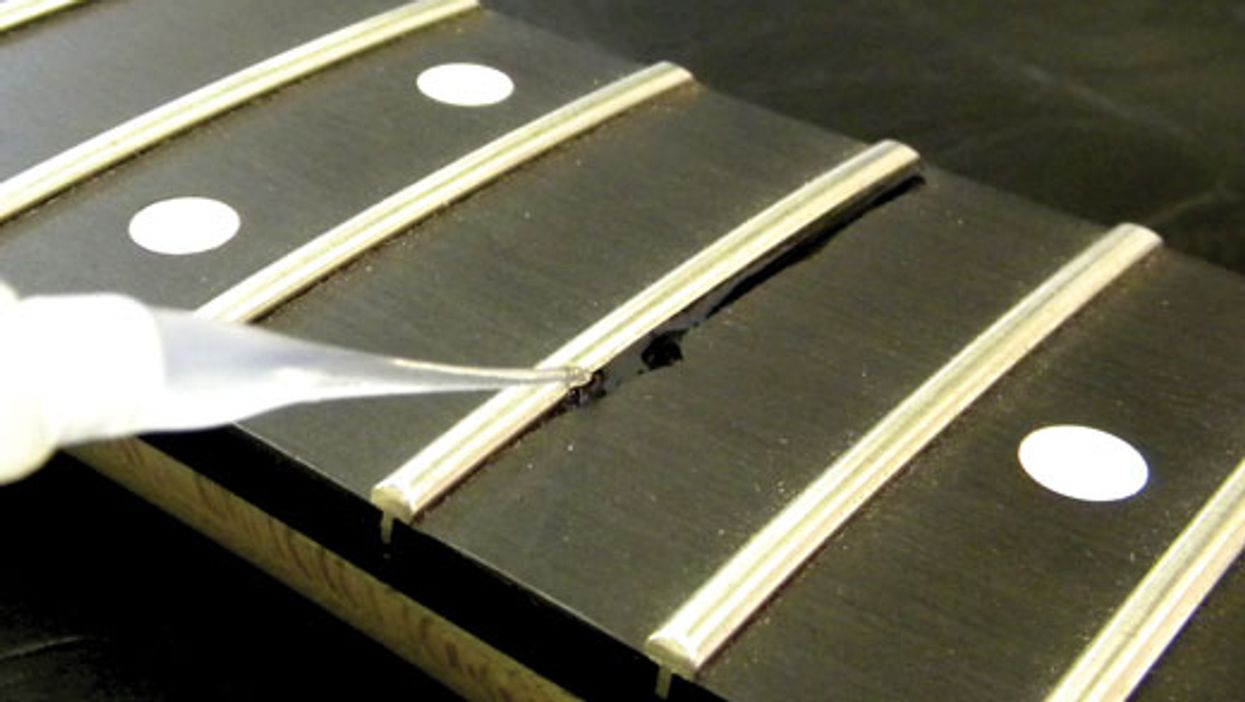
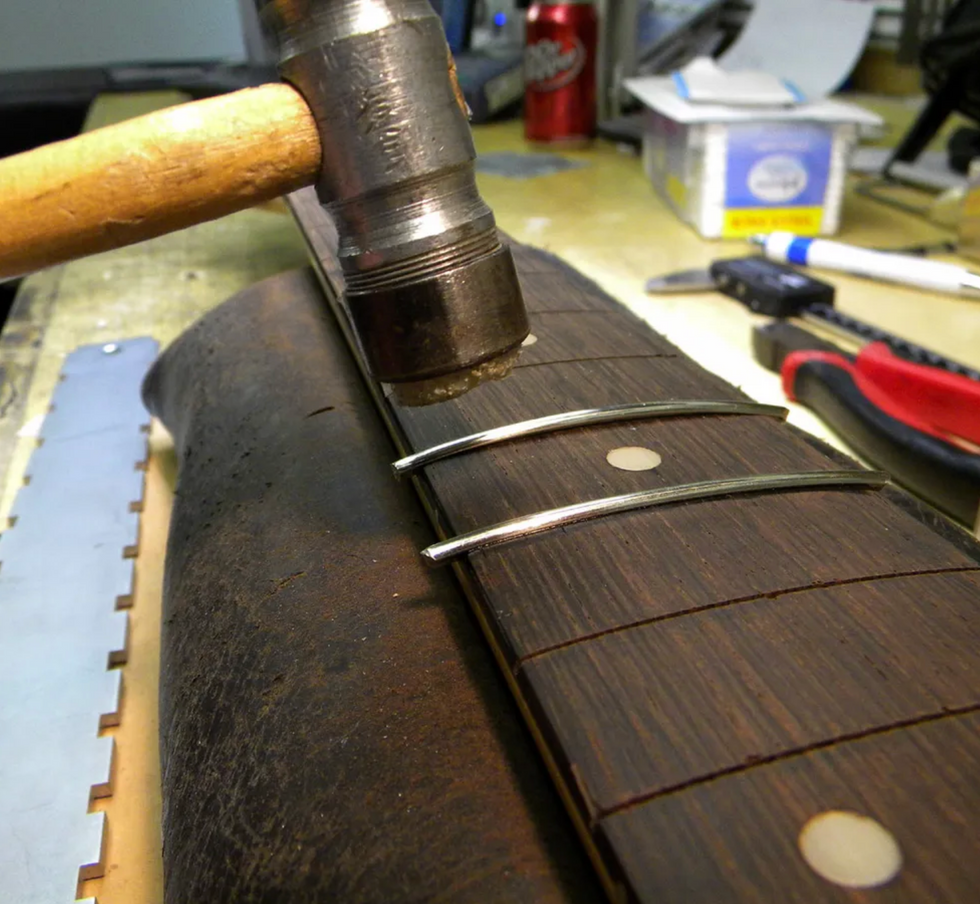
In a re-fret, all the frets in the neck are replaced. The process is very precise and requires expensive tools and great skill. The basic steps include disassembling the guitar, removing all the old frets, planing the fretboard, radiusing the fretboard, cleaning out the fret slots, installing the new frets and then leveling and re-crowning them, cleaning the fretboard and polishing the frets, and finally reassembling the guitar Fig. 5.
And this is just a basic overview of the process. There are many, many more steps—enough to fill an entire book. Re-fretting is expensive and time consuming, but generally worth the cost.
Over the years, I've had clients who choose to replace an old bolt-on neck with a new one, rather than opt for a re-fret. This can be a great choice, but beware—almost every new neck needs a fret level and re-crowning. Most guitar parts factories don't take the time that a luthier would to ensure that the frets are level. So keep in mind that by the time you pay for a new neck and the additional fretwork, you could have re-fretted the original neck and had some leftover change!
What about a partial re-fret?
Sometimes simply replacing several frets, rather than all of them, gets the job done. This is usually preferable for a neck that only has wear on the first six or seven frets and has a level fretboard. If the fretboard is in good condition and the rest of the frets are tall enough, a partial re-fret is a great way to save money. Not all guitars can qualify for this operation. If the fretboard has a twist or wave in it, a total re-fret is required.
Capo is a four-letter word.
The capo is a fret's worst enemy. Of course, I love capos because I love to do fretwork! If no one used capos, my income from fretwork would drop at least 60 percent. The more you use a capo, the more damage it does to the frets. As the capo clamps down on the strings, it smashes the strings into the frets and much harder than if you were to play a chord. As a result, frets begin to flatten and develop pits and dents. This is great news for a guitar tech, but not so good for the player.
To avoid unnecessary "capo-inflicted" fret damage, I suggest you use a capo with a tension adjustment. Many capos simply press the strings down to the fretboard without offering a way to adjust the tension. If you use a capo with a tension adjustment, you can clamp the device with just enough force to prevent string rattle, yet reduce additional fret wear.
Another great benefit to using a capo with adjustable clamping tension: It will help avoid tuning issues versus a nonadjustable capo. There are several great capos on the market that will diminish fret damage and tuning problems, including Planet Waves Dual Action capo and all the various Shubb models. If your capo doesn't offer a tension adjustment, buy one that does. This will save you a ton of money in fretwork.
[Updated 8/10/21]