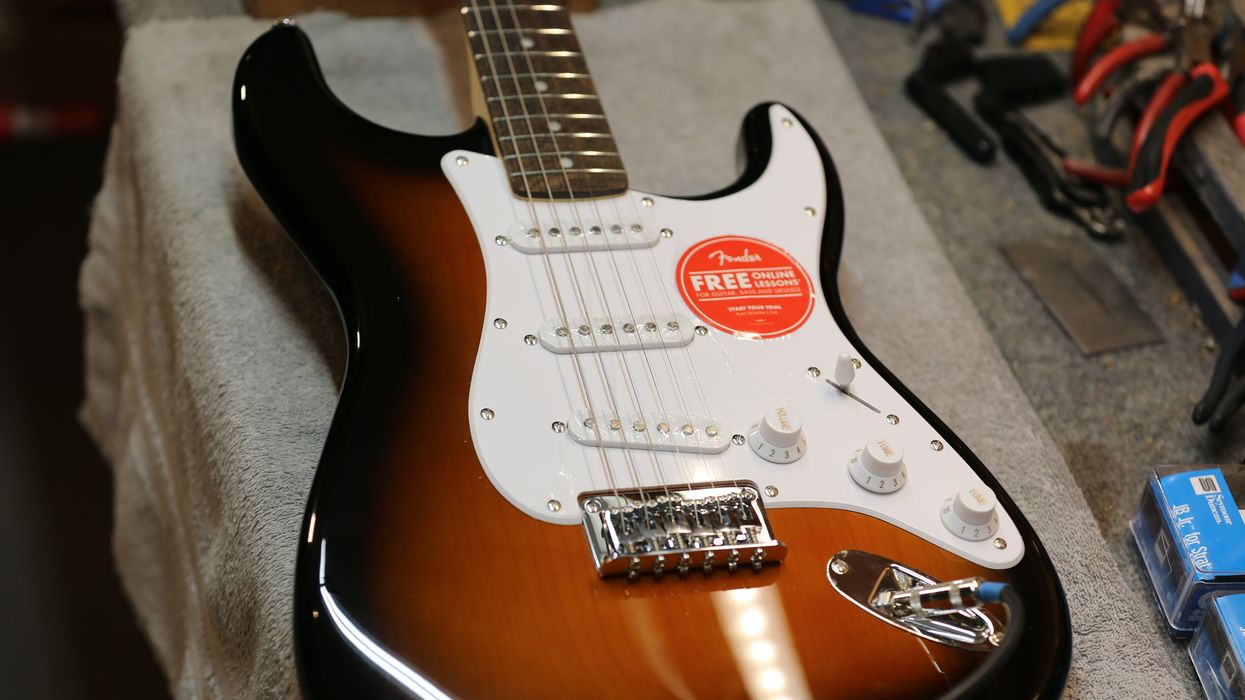
You love your guitar. You've been playing it for years, but the time has come to give it a makeover. The color was cool when you bought it (Photo 1), but now you'd like a change.
It's not too difficult to refinish a guitar. More than anything, it's a matter of patience. Taking the time to properly prep the wood and allow appropriate cure times can yield excellent results, even for the first-timer.
There are several types of finish used for guitars. Traditional nitrocellulose finishes are found on many high-end instruments as well as production guitars by Gibson and Martin, just to name a few manufacturers. Harder polyurethane finishes can be found on millions of guitars, including most Fender, Ibanez, and Epiphone models. Some manufacturers are now also using environmentally friendly waterborne finishes that are safer to handle.
For this project, we will be removing an existing polyurethane finish and refinishing the guitar with nitrocellulose lacquer in aerosol cans, for convenience. In addition to changing the appearance, this refin will likely result in a better-sounding instrument as well.
Use warm lacquer, not cold. Pro finishers spray heated lacquer because cold lacquer spatters, requiring extra work to get a level finish.
A guitar with a thin nitro finish will resonate better than one with a hard poly. But nitrocellulose is flammable and hazardous to inhale, so make sure you have a well-ventilated work area and use proper safety precautions, like wearing a respirator mask.
First you'll need to solder together and tape off the north coil finish and south coil finish (this is the series link). Then, here's a list of the items needed along with the StewMac parts numbers and amounts of the products we'll use:
- Hair dryer or heat gun to remove existing finish.
- Putty knife (#4464 and #1287).
- Sandpaper in a variety of grits for wood prep and finish work (#5562).
- Aerosol lacquer (#5886 Sonic Blue x 1, #3881 gloss clear x 3).
- Polishing cloth (#1815 x 2).
- Liquid polishing compounds (#1845 medium, #1846 fine).
- Respirator mask (#5885).
Step 1: Disassemble the guitar
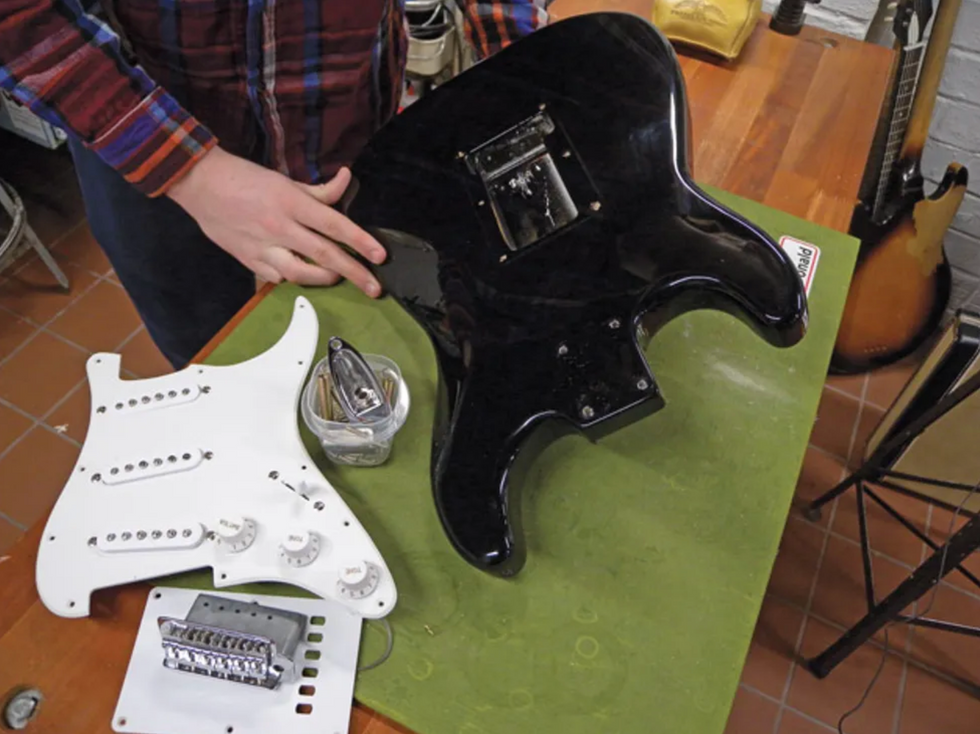
Photo 2
The first step is to take the instrument completely apart, removing all hardware and electronics (Photo 2). Keep all the parts in one place as you remove them so you don't have to hunt them down when you are ready to reassemble the guitar.
Step 2: Strip the existing finish
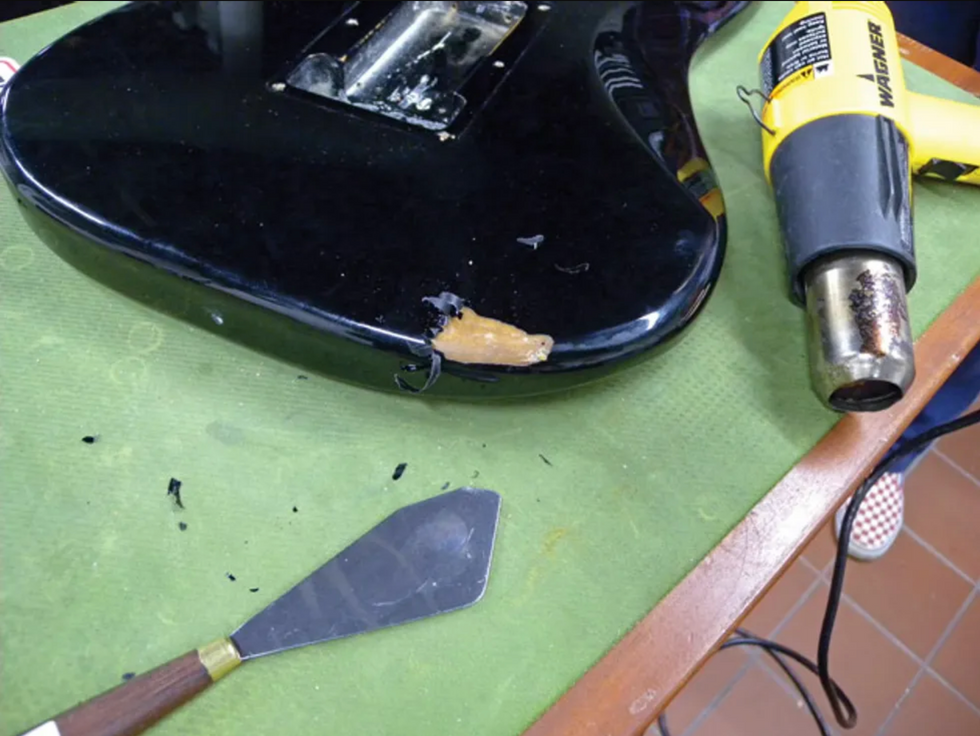
Photo 3
There are a few different ways to strip a finish. Simply sanding a finish off can be very time-consuming and dirty, and using chemical strippers can be very toxic and messy. I've found the best way to cleanly and easily strip polyurethane finish of this type is to use a hair dryer or heat gun and a flexible putty knife (Photo 3).
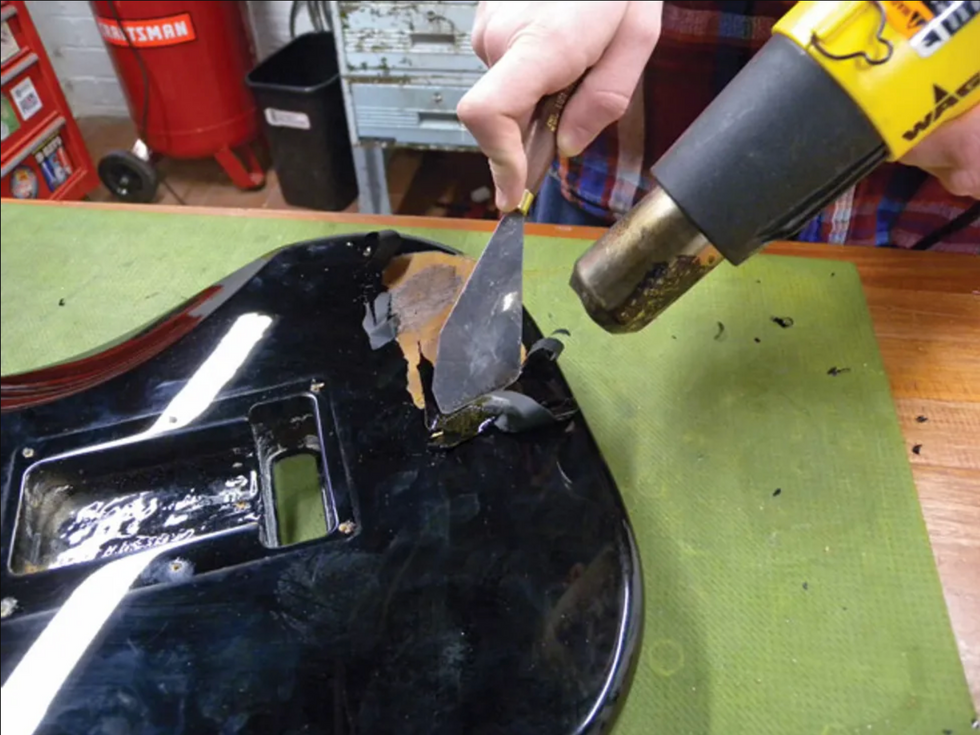
Photo 4
Lightly scoring a starting point in the finish with a sharp putty knife will give you a good entry point once the finish is heated. The idea is to soften and lift the finish without burning it, so it is important to keep the gun moving while heating. With the gun set on the lowest setting, start warming up the scored area on the guitar. When you see the finish starting to lift, work the knife underneath it and start removing it (Photo 4).
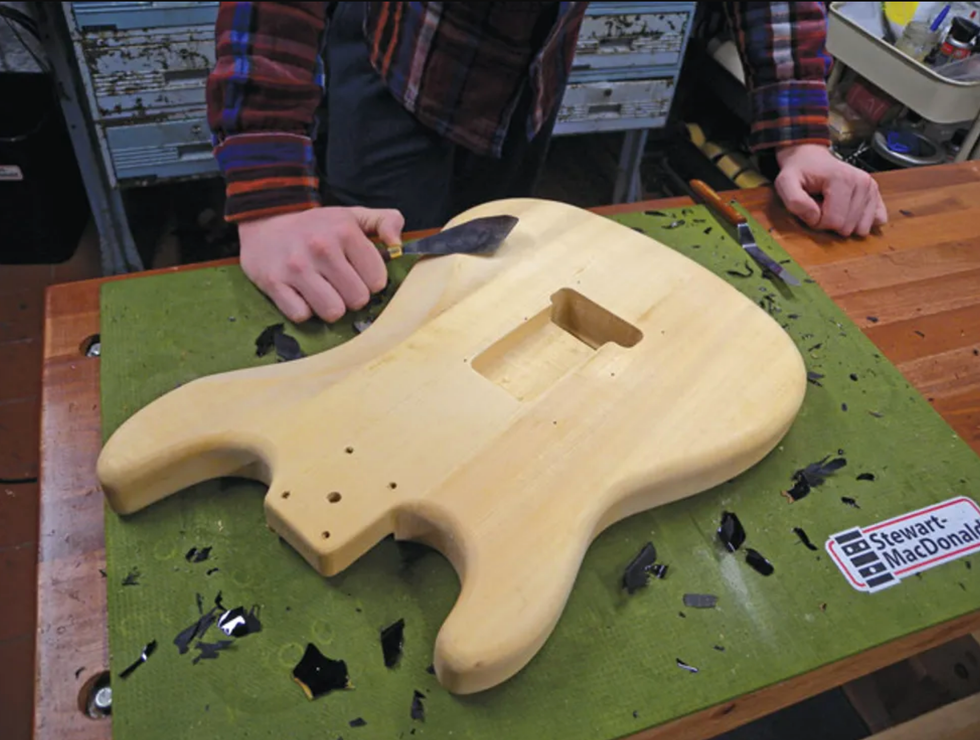
Photo 5
Once you get under the finish, the rest of the job goes pretty fast. Use care not to damage the wood with the knife or scorch it with your heat source. Remove as much of the finish as possible, including that in the cavities (Photo 5).
Step 3: Prepare the body
When all the finish is removed, it's time to prepare the body for refinishing. Inspect the body and neck for any dings, chips, or other imperfections. Small dents can be steamed out by placing a damp cloth over the dent and applying heat with a soldering iron. (For instructions on steaming out dents, see "Steaming Out Dents in a '71 Medallion Flying V.") Chips will need to be filled.
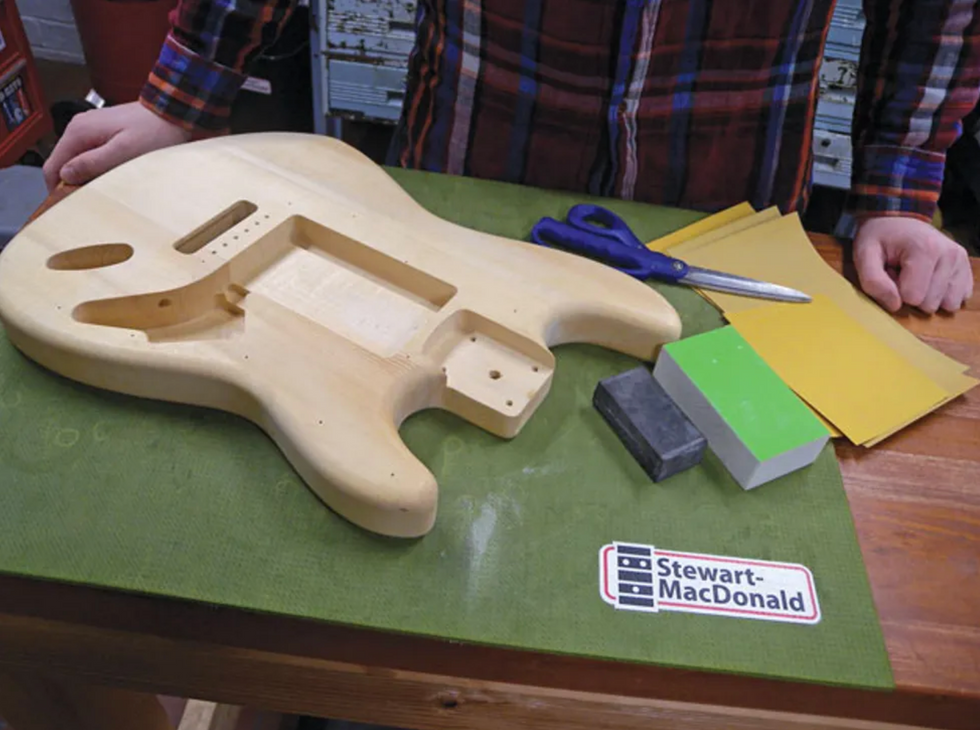
Photo 6
Once you've inspected the body and checked it for dings and chips, it's time to gather your sandpaper and sanding blocks (Photo 6).
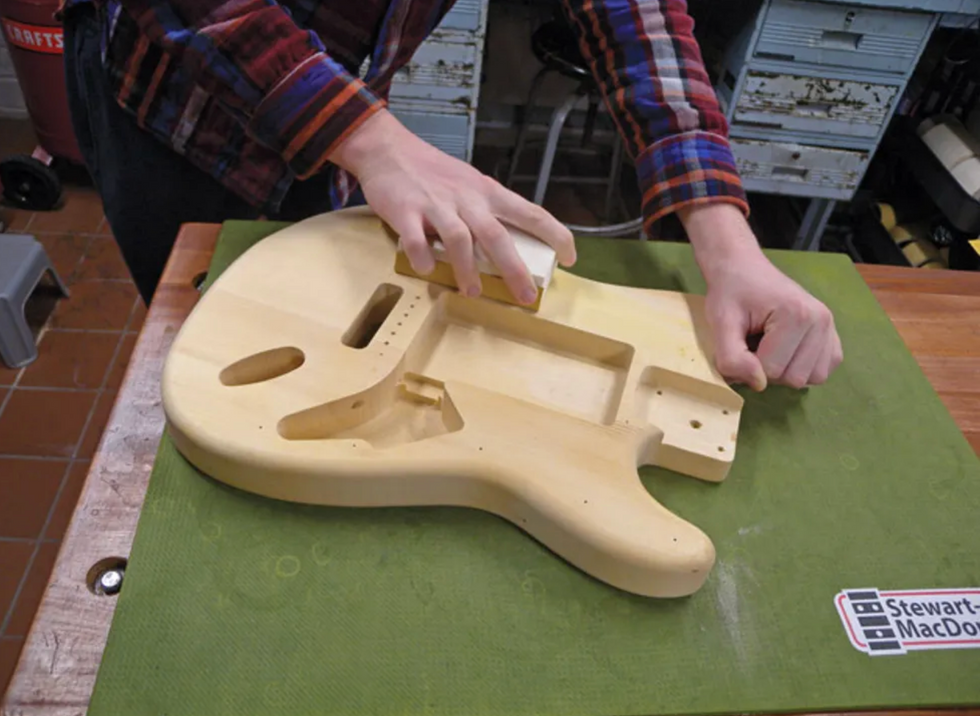
Photo 7
Using a flat backing pad and starting with 120-grit sandpaper, sand the entire body working only in the direction of the grain (Photo 7). Inspect the body to make sure you are removing any traces of finish or sealer left over from the original paint job. After a complete sanding, wipe down the body with a damp cloth to raise the grain. Let it dry, then sand with 220-grit sandpaper. Raise the grain with a damp cloth again and sand a third time, using 320-grit sandpaper. Take your time and do a thorough job during these steps to insure you get a nice flat surface to build your finish on. When you've finished sanding, wipe the body with a naphtha-dampened rag to remove any oils or grease left by your hands. From this point on, wear clean gloves so you won't contaminate the wood.
Step 4: Spraying
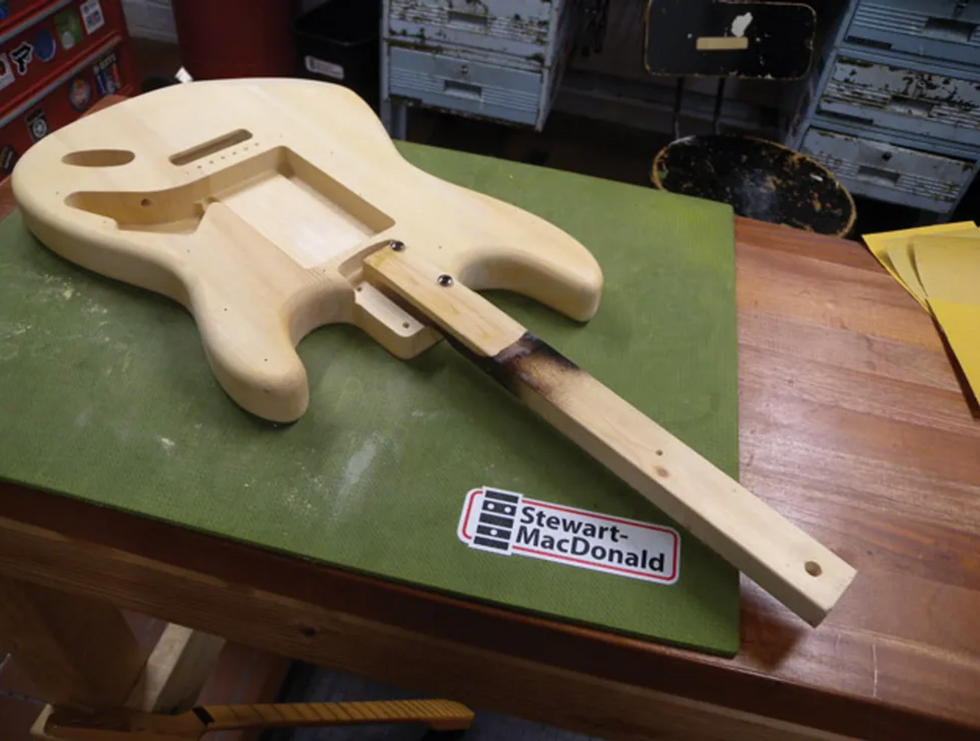
Photo 8
It's now time to spray your finish. For this you will need some kind of handle for holding your guitar and a place to hang it to dry. Pieces of scrap wood make good handles for holding the body while you spray (Photo 8). They also give you a way to hang the body while it cures. Here's where being especially patient will pay off. A professional nitrocellulose finishing job takes weeks to complete, but the end result is something you can be proud of!
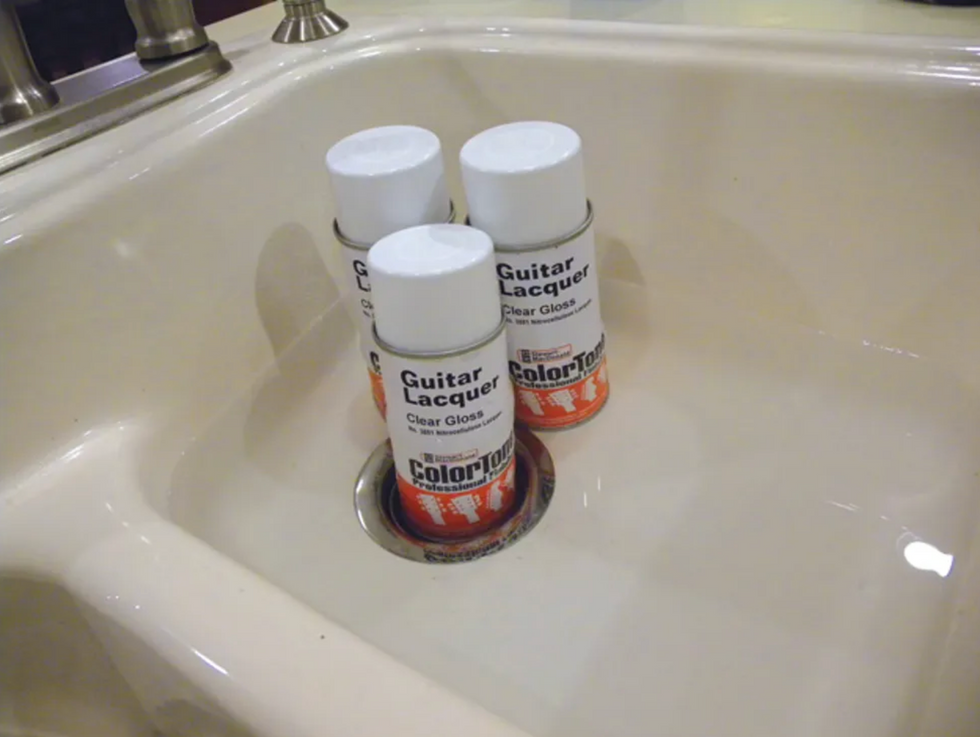
Photo 9
Tip: Use warm lacquer, not cold. Pro finishers spray heated lacquer because cold lacquer spatters, requiring extra work to get a level finish. For best results, heat your cans in a sink of warm water before spraying (Photo 9).
Day One
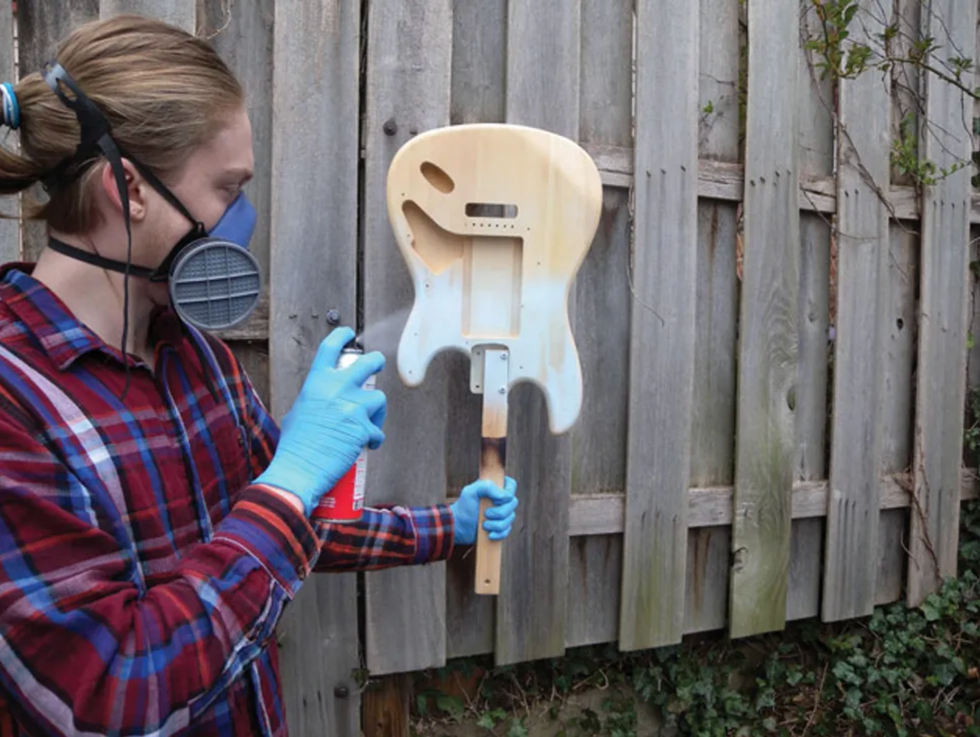
Photo 10
Day one. Spray an initial light misting or tack coat (Photo 10), followed several minutes later by a heavier wet coat. The tack coat gives the wet coat better adherence and lessens the chance of a run in the finish. Spray two to three wet coats (but not runny, thick coats) on the body, 90 minutes apart, and let them dry overnight.
Day Two
Using a backing pad on the flat areas, lightly scuff-sand the body with 320-grit sandpaper to knock off the high spots in the finish. Sand just enough to open the finish—don't try to sand out every shiny spot or sunken area in the lacquer at this stage. Clean off all the sanding residue. Spray two to three uniform color coats for complete coverage, allowing 90 minutes between coats.
Day Three
Lightly scuff-sand the finish with 320-grit paper using care not to sand through your color coats, and clean off all the residue. Spray four uniform coats of clear lacquer, one hour between coats. Let the guitar dry overnight.
Tip: If you get a run or drip in the finish, let the surface dry for 24 hours and level-sand the problem area. If you touch wet lacquer, you'll leave a deep impression that will be much more difficult to fix.
Day Four
Lightly scuff-sand the finish with 320-grit paper, leveling out any imperfections in the process, and clean off all the residue. Don't try to sand out all the shiny spots yet. Be particularly careful on the curves of the body. It's easy to sand through the edges. Once again, spray four more coats of clear, 90 minutes apart. The guitar now has six to eight topcoats of clear lacquer. Let the finish dry overnight.
If you get a run or drip in the finish, let the surface dry for 24 hours and level-sand the problem area.
Day Five
Scuff-sand the finish with 320-grit again. This time most of the shiny spots will disappear, leaving a uniformly dull look. Spray four more clear coats, 90 minutes apart, and let dry overnight.
Day Six
Lightly scuff-sand the finish with 600-grit sandpaper, to help the solvent escape. The body should now be left in a warm and dry location for two weeks to let the finish cure.
Step 5: Fine sanding and buffing
Dry-sand the body to a flat, dull sheen with 800-grit sandpaper. Clean the residue from the paper often. Orange-peel texture caused by lacquer shrinkage as the solvents cure out of the finish should be removed, but don't over sand. When all the little shiny low spots in the lacquer have been removed, you're ready to go to the next step, which is wet-sanding.
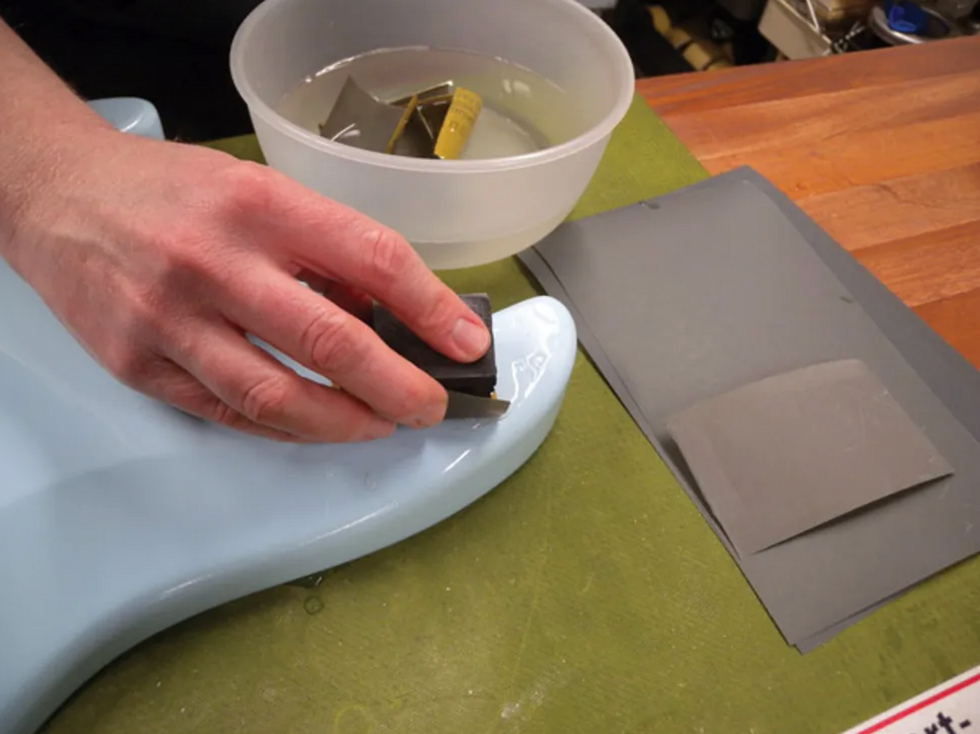
Photo 11
To bring the finish to a smooth satin surface that's ready for final polishing, wet-sand with 1200-grit micro-finishing paper and water (Photo 11). Excess water and residue should be wiped off the finish with a clean dry soft cloth as you work. Frequently rinse the sandpaper in soapy water to remove hard specks that can scratch the finish.
Tip: Soak the micro-finishing paper in water overnight before use. It will scratch less and last longer. Always keep it wet from then on.
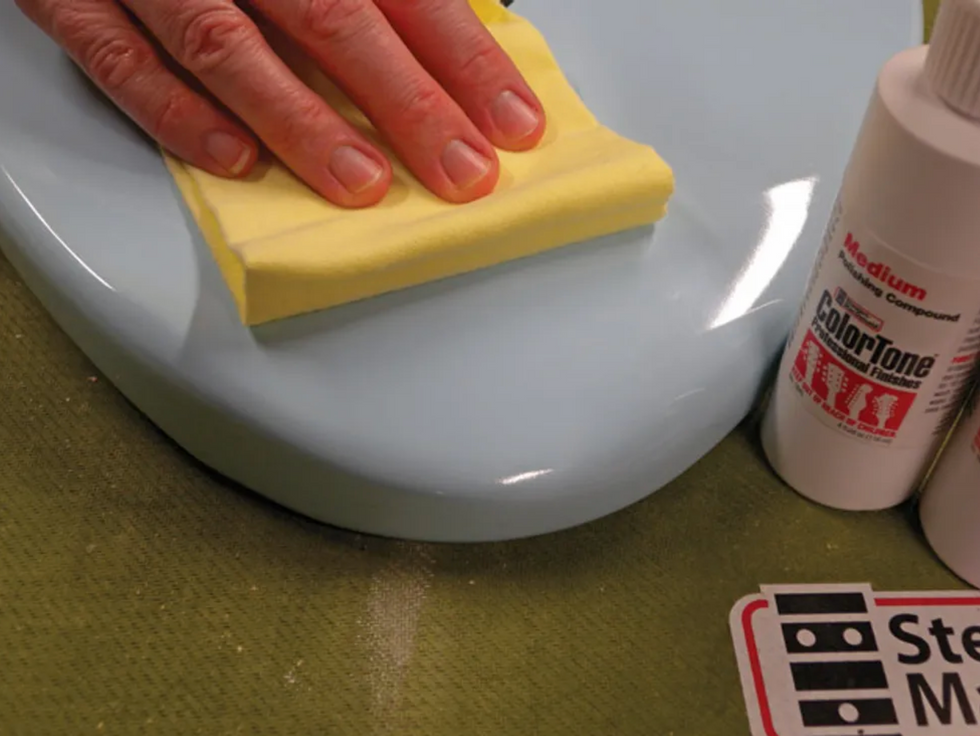
Photo 12
Using soft cloths—a different one for each compound—polish out the fine wet-sanding scratches to a final gloss with medium and then fine liquid polishing compounds (Photo 12).
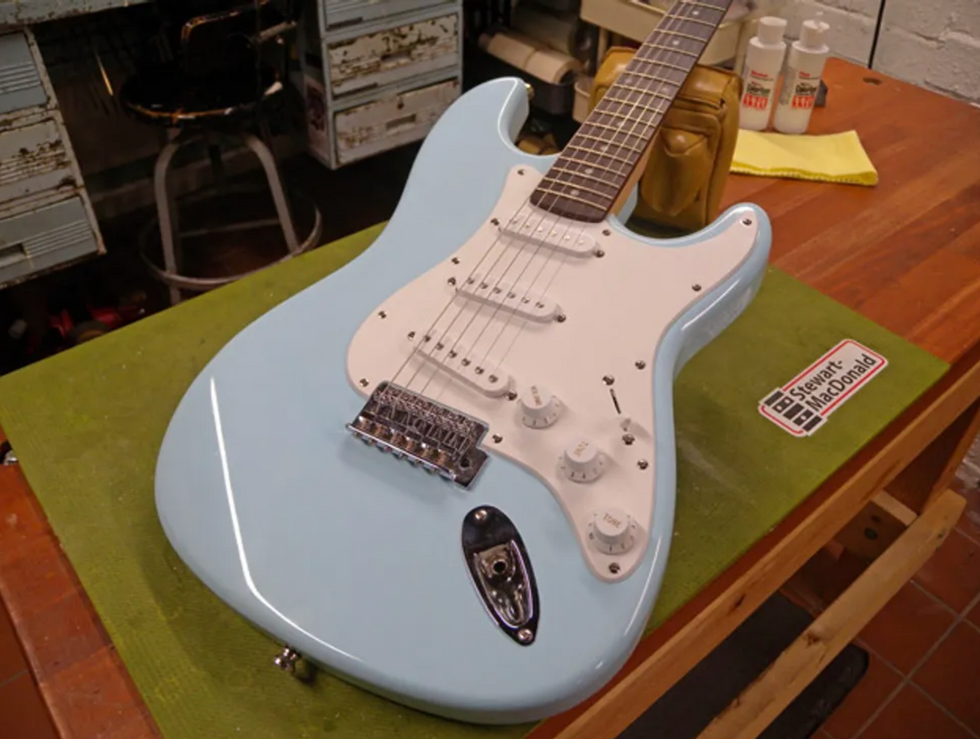
Photo 13
Once you've polished the body to a high gloss, reassemble your guitar (Photo 13) and get it back in action!
[Updated 9/10/21]