You’ve got the heaviest band on the scene, yet—when it comes time to record—it seems like that magic isn’t translating to the hard drive. Instead, you’re getting an anemic sound that’s a paltry representation of the carnage your band is destined to deliver. If this reads like a familiar scenario, you’re not alone.
To guide you along the path of capturing crushing tones on a recording, Premier Guitar has enlisted the aide of Steve Evetts and Chris “Zeuss” Harris, two of the most sought-after producers in modern metal. Evetts is the madman behind recordings by the Dillinger Escape Plan, Sepultura, and the Wonder Years, to name just a few. He also runs an online course called Studio Pass through creativelive.com. Meanwhile, Zeuss’ magic touch has graced the output of Hatebreed, Shadows Fall, Rob Zombie, and Queensrÿche, among many others. Both of these legends will take us through the various ingredients needed to first get a killer sound—offering their own personal gear preferences—then they’ll give us insider tips on properly recording these sounds and turning out a big-boned sonic masterpiece.
Gearing Up
Whether you’re a longtime recordist with a studio full of amps or a beginner looking to make your first big purchase, a good starting point is to check out what gear the pros use. This will give you an idea of some typical setups that always deliver. “It all depends on the sound you’re looking for,” said Evetts. “Generally Mesa/Boogie Mark Vs sound great, and so do original Peavey 5150s. Ibanez Tube Screamers are always a staple distortion pedal. But, the idea is to make up your own mind. If everyone used all the same gear, it would get incredibly boring!”
Zeuss also opts for some proven classics. “A go-to that always works is a Marshall and 4x12 cabs—most of the time with Celestions. It could be Vintage 30s or 75s,” says Zeuss. “I really love the JCM800s from 1986 and earlier, as well as the JMPs. But that’s not to say I don’t believe in the modern high-gain amps, too. I really love the new EVH head. I just had an Engl Ritchie Blackmore head in here, and I thought that was outstanding. I like the old VHTs … those are really cool.”
If you’re more an iPad-generation type, digital tools like Fractal Audio’s Axe-Fx and the Kemper Profiler, in addition to countless plug-ins, offer a practical way to capture gigantic sounds easily. It took guitarists a while to warm up to modeling amps, but now they are everywhere. They’re an essential tool and a first choice for many of today’s producers, including Periphery’s Misha Mansoor, a big proponent of the Axe-Fx who has captained albums for Animals as Leaders and Born of Osiris.
—Chris “Zeuss” Harris
For every new convert, however, there are many that still stand by the classic analog approach that’s worked for decades. “I’m not a fan of modeling amps,” says Evetts. “But I have mixed albums made with them and they sounded decent enough.”
Zeuss also defaults to a more traditional approach. “For me, it’s essential to mike an actual cab with an actual amp, and the guitar player’s pedals or whatnot,” he explains. “There are units like the Kemper and the Axe-Fx, and some guys prefer that—you can just plug into a box, and there’s your sound. But I’m definitely a microphone-on-a-guitar-cabinet guy—it could be a Crate or a Marshall or a Diezel. Sometimes the tone is awful and I don’t like it, but I’m, like, ‘This is that guy’s sound.’ I’m all about capturing the artist’s identity, regardless of what amp it is.” He adds, “If you can’t afford microphones, there are plug-ins, like AmpliTube, which I own and use here and there, and which can get you by.”
In addition to replicating the sounds of amps, today’s modelers offer excellent cabinet simulation and impulse responses, which model speaker profiles. But if you need to actually feel air moving from speakers, a good compromise some artists have used is to blast a modeler through a cab. Still, Zeuss isn’t totally convinced that that’s the best way: “I’ve tried those units through cabinets. If you’re emulating an amp and putting it through a power amp and a cabinet, something’s just not there, to me. It will get by and it works, but the point of the boxes is to not have to mike a cab.”
Low Gain, No Pain
It’s easy to assume that if you want the biggest tone you get the biggest amps. After all, there must be a reason for all those humongous stacks you associate with the heaviest bands on the planet. But that’s not always the best approach. Sometimes you’ll get better results with a lower-powered setup. “There are times when you want to push an amp and the cabinet will break up in a certain way and give you a certain push that you can’t get when the amp is quiet,” says Zeuss. “I’ve also found that amps break up differently with different wattages. For example, if I had a 25-watt amp, it’s going to break up faster before you turn it up. You start to turn it up and it’s already saturating, whereas with a 100-watt amp, it’s going to take a little bit more—although the higher-gain amps now, even at a quiet volume, sound pretty damn good. It really all comes down to how much of a breakup or push the cabinet might be adding to the sound, and it changes the tone as well. I just use my ear.”
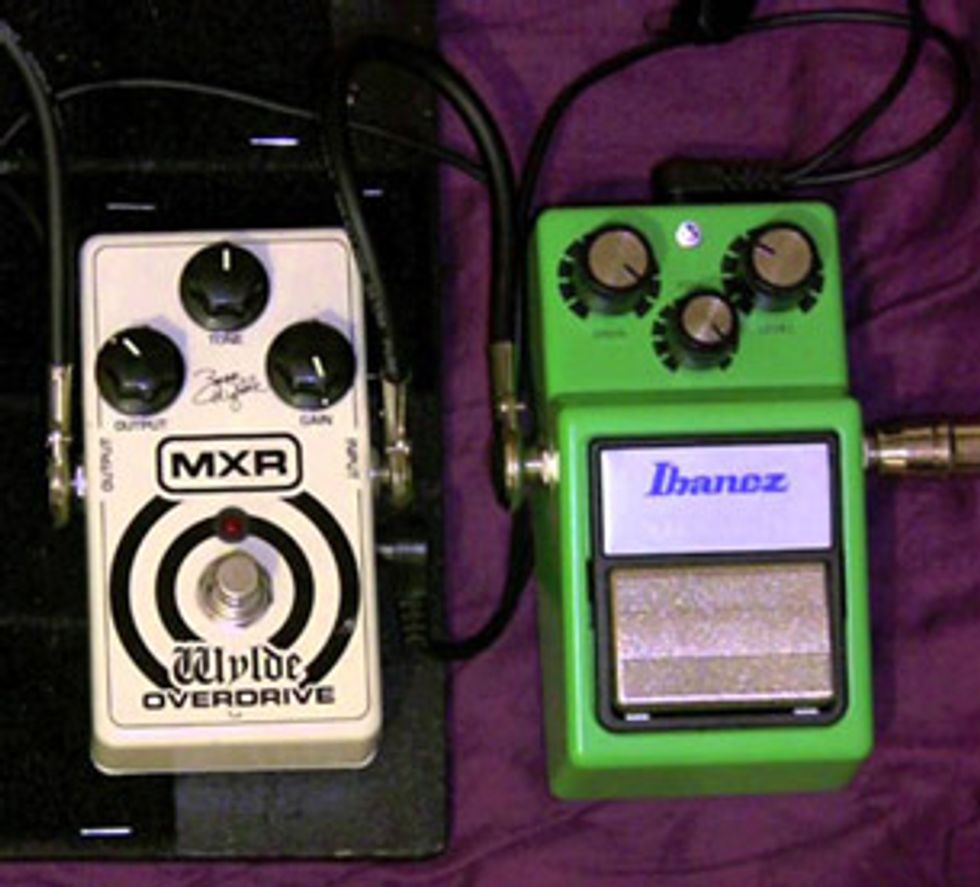
Sometimes the best amp tones are driven by stompboxes like the Ibanez Tube Screamer and the MXR Wylde Overdrive—two of Zeuss’ favorite pedals.
These considerations particularly come into play when dealing with the extended range sounds of newer metal bands. “For some of the lower tuning stuff—7- and 8-string—having it at a lower volume with maybe a lower wattage amp sounds better,” says Zeuss. “When you have a guitar tuned really low, the frequencies are falling in a spot where the speakers can’t physically take it as well as a higher-up-tuned guitar. When the amp is at a lower volume you get the full spectrum of the tone. Turn it up, and the speaker can barely take it because there’s so much low frequency. It’s making the actual cabinet work harder, yet you’re not really hearing that extra extension of low end.”
And when you’re going that low, some precautions are needed to balance the bass against these guitars that are invading its sonic territory. Evetts says, “It all depends on the tuning and if the player plays with his pick or his fingers. Generally, in the metal world I tend to add a bit of distortion to the bass to give it a bit of bite and to help cut through super-low tunings.”
Okay, so we’ve deduced that you don’t need to always have the loudest amp in the studio to generate bitchin’ tones. But even if the amp isn’t an over-powered, beast, do you need to crank the gain to get that massive wall of sound? “If I work with a band that plays a lot of notes,” relates Zeuss, “I feel that a little bit lower gain would be beneficial because all the notes will pop out better in a mix and won’t be so mushy. With a band like Revocation or one of the more melodic, shreddy guitar players, a little bit less gain works better. But then there are other guitar players or other styles of music, like [sludge-metal band] Crowbar, where you want tons of overloaded gain that will glue together the whole riff.”
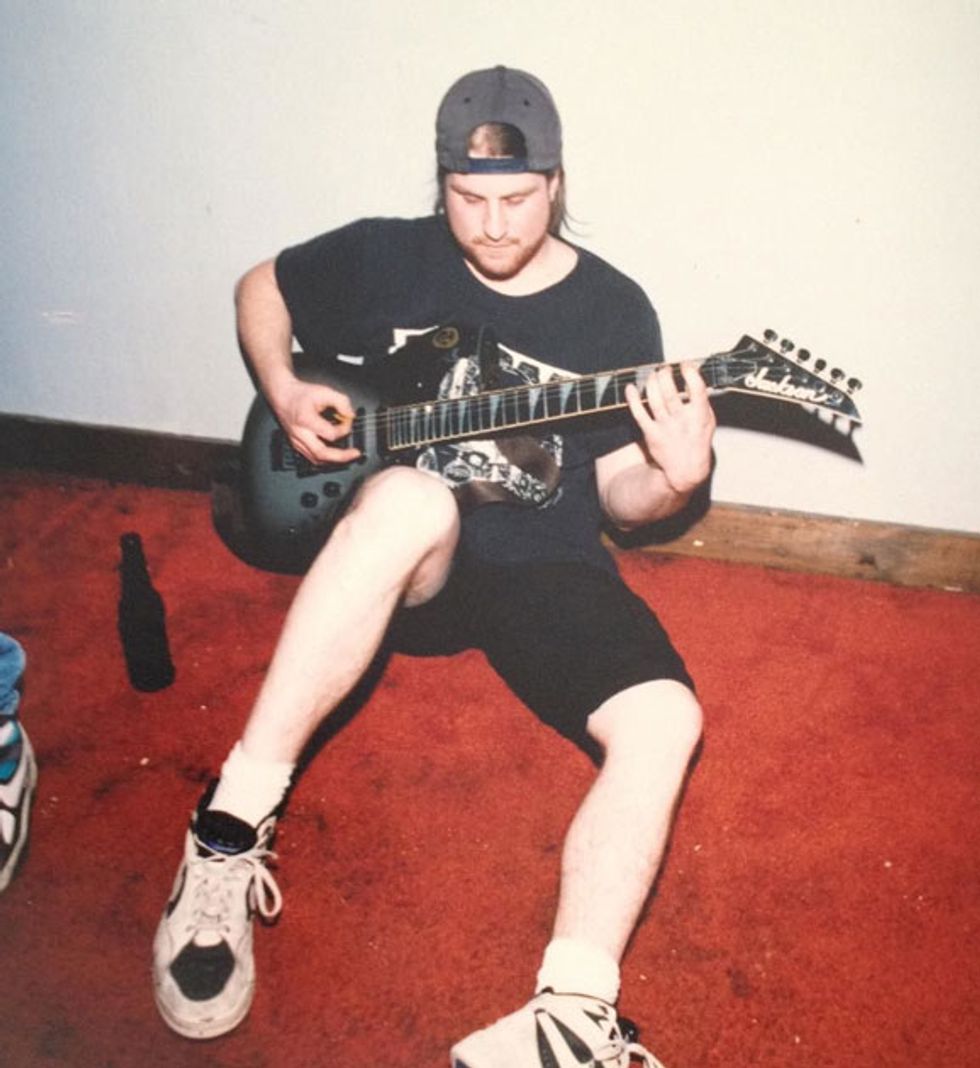
Chris “Zeuss” Harris warms up on his Jackson before a gig with his own heavyweight band, Doom Nation. “I like specific pedals to overdrive the sound,” he says.
Pedals to the Metal
The right amps or amp modelers are crucial to crafting a fundamental sound, but they’re not the only element in the tone-sculpting chain. Zeuss says, “I also like specific pedals to overdrive the sound. I always find a tone that seems to work to my liking that way. I’m currently using a Dead Horse Overdrive by Pro Tone Pedals that I absolutely love. Other ones that I like are the Maxon Overdrive Pro and the MXR Zakk Wylde Overdrive.”
The beauty of using pedals is that they can be either the sole source of dirt or used to push an already raging amp. There’s no single best way. “Sometimes with a lower-gain amp, you’re using that to create more of the distortion or saturation,” says Zeuss. “The pedal is creating most of the gain. I like this method because every pedal gives it a little different characteristic and gives you more of a unique sound. I could change to a brand-X overdrive or fuzz and it’s like, ‘Whoa!’—you’ve got another sound. Sometimes a pedal in front of the amp kind of compresses it a little bit and tightens it up.”
Once a core sound is established, a little processing can take you a long way in terms of fleshing things out. Zeuss notes, “Usually on a lead solo, I’ll have a little bit of delay and a tiny bit of reverb. If a guy is going to do a solo and be, like, ‘Give me some effects,’ I’ll put in a little bit of plug-in reverb and plug-in delay, and that works perfectly fine.”
Given how prevalent plug-ins are in studio environments, and considering their ability to precisely dial in parameters, are they the best option when recording? Or is your beloved Memory Man, for example, still viable? “I love pedal delays as well as plug-ins,” admits Zeuss. “But unless it’s something special, I’ll use the pedal. Like a brand-X analog pedal that has crazy flavor that you’ll never get in a plug-in—I’ll track it like that because the artist is actually feeling the part.”
The caveat with using pedal-based delays is that most don’t offer the ability to precisely calibrate delay times. At best, you’ll get in the ballpark. But Zeuss explains that it’s not necessary to always be clinically precise. “Sometimes that’s what makes it cool—you get as close as you can. I’m a very ‘it doesn’t have to be perfect’ type of person. On the best records ever—for example, a Led Zeppelin record—Jimmy Page would come out of nowhere with this sound, and if you heard that by itself, you be like, ‘That sounds like crap.’ But it made the part work. So sometimes it’s like the delay is barely repeating on the beat, but it’s cool.
“A lot of producers, new-school guys, are leaving it for the end,” Zeuss continues. “They’re recording direct from the guitar. I think that’s cool, and it works for certain situations, but to me, since I also just mix records, sometimes people hand me a direct signal and say, ‘Get me my sound.’ It’s like, ‘How do I know what you sound like? Why are you leaving it up to me to make you sound like how I’d want?’”
Spot-On Miking
Once you’ve got an amp and effects rig, the next step is to get a quality microphone. After all, that’s the device that captures your sound. An essential microphone for both Zeuss and Evetts is the workhorse Shure SM57, which can serve as a foundation, even as you add in other microphones.
“My favorites are a Shure SM57 and a Sennheiser MD 421,” says Zeuss. “Those are my go-tos.” But experimentation is always encouraged. “I have tried other microphones,” he continues. “Sometimes I’ve even taken a condenser microphone and pointed it, like, maybe two feet away from the cabinet and at the center, and I’ve gotten a great sound that way. These days, I find that less is more. If I just put one 57 on one speaker, I can get the tone in 10 minutes, as opposed to having 50 microphones on a cabinet and you spend three days looking for this sound that you could have gotten in 10 minutes.”
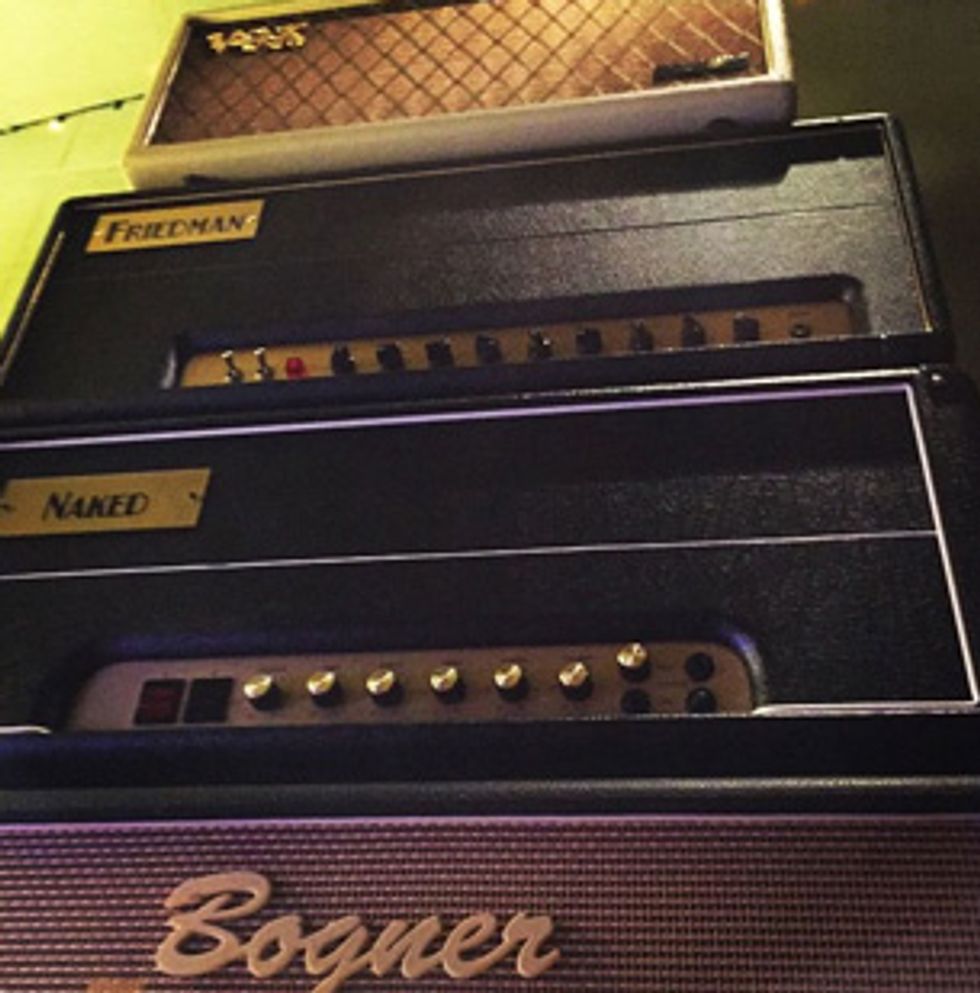
Evetts prefers to record with real amps pushing speaker cabinets. His own in-studio rack includes Friedman, Naked, Bogner, and Vox heads. He also likes Mesa/Boogie Mark Vs and original Peavey 5150s.
Microphone placement is critical in determining the sonic characteristic of a recording. Evetts offers several tips: “Center of the cone is obviously going to get you a brighter sound, and it gets darker as you go away from the center. But, again, like twiddling knobs, just move the microphone until it sounds good. Obviously if you’re doing it all yourself it’s a little more difficult, because you gotta move it, come back in and listen, and move it. If you have somebody there helping, you can have him move the microphone while you’re playing and listening to the way the sound changes, because every little fraction of an inch makes a difference in the sound. You don’t even need any EQ. You can get all the EQ you need by literally moving the microphone around and changing the angle.”
In addition to setting microphones at the right spots, there are several other things to take into consideration. “The phasing has got to be right going in,” Evetts notes of the sound phenomenon that occurs when recording two or more “versions” of the same sound via multiple microphones. Due to the different sonic qualities imparted by even minute positioning variances—even with two mics of the same make—the waveforms from both mics will not arrive at the listener’s ears perfectly matched (i.e., they will be out of phase), so careful attention must be paid to placing the mikes at distances and angles that strengthen rather than weaken the overall impact of the guitar performance. “You gotta check it. If you’re dealing with two microphone sources on two different speakers or whatever, they’re never going to be 100 percent phase-aligned. The idea is to move stuff around so the phase works for you. As long as it sounds good, there’s no right or wrong. I blend everything to one track anyway—even if I’m using four microphones. I don’t leave options open for later, because I grew up making records on tape and I’m used to having a limited amount of tracks—even though I have plenty now with Pro Tools or whatever. But it’s about committing: getting it right, getting it down, and not giving yourself 8,000 options later. That’s not a good idea.”
Listen Up
Gear and microphone placement are critical, but they are nothing without ears and savvy judgment—both of which develop and evolve over time, just like guitar playing. Evetts says, “You gotta check things on multiple sources to make sure they translate. It’s about referencing against something else so you’re not recording in a bubble. Compare what you’re recording against other records—and listen on the speakers you’re actually tracking with to see if you’re somewhere in the ballpark. You’re obviously not trying to rip off the sound, but you’ve got to at least be in the ballpark, in terms of quality, tone, and whatever. If you’re not, try something different.”
Zeuss adds, “The biggest mistake some engineers make is they put a bunch of microphones on a guitar cabinet and then they go into the control room and start listening to all of these microphones. But what does it really sound like? Sometimes it sounds awful and you’re miking up an awful sound. I’ve seen some A-list engineers do that and I never understood it. What I’ll do is listen in the control room to see how the microphone hears it. But my brain also heard it in the amp room with my ears, so I know what it really sounds like.”
The makeup of the room also has an impact on the sound. “You could have a tight room and your guitar sounds a certain way, or you could have a big open room and you’ve got a whole ’nother sound there,” says Zeuss. “The floor also has a lot to do with your sound. If it’s wood or hollow, you’re gonna get more of a low-end response. If it’s concrete or stone, you’re gonna get less low-end resonance.”
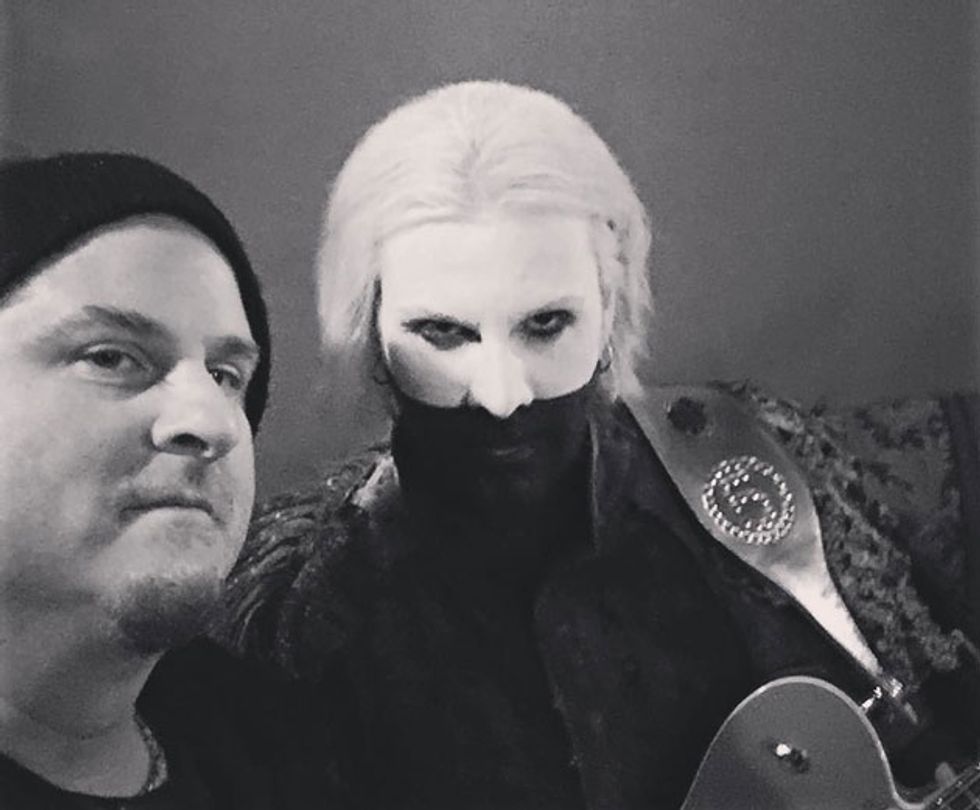
Zeuss hangs with Rob Zombie guitarist and solo artist John 5. “If a guy is going to do a solo and be, like, ‘Give me some effects,’ I’ll put in a little bit of plug-in reverb and plug-in delay, and that works perfectly fine,” he observes.
Double Up
There aren’t too many absolutes in recording, but virtually every producer worth his or her salt chooses to double guitar tracks in the studio. “I don’t think anybody just does one track on an album, except for maybe Eddie Van Halen. He’s the only guy that I personally know of that does one track. I still like two guitar tracks—left and right—for rhythm, double tracked,” says Zeuss. Evetts adds, “For the most part, we’ll double up the rhythm guitar if it’s a single guitar player. Sometimes you’re doubling up each guy’s parts [in a double-guitar band], so you’re making four tracks.”
When double-tracking, using different tones for the same parts is another way to get things to sound more multi-dimensional. “That will generally make the sound bigger,” says Evetts, “and each sound will fill in holes left by the other sound. Too much of the exact same sound can actually make things sound smaller once you start stacking things on top of each other.”
Bands with more than one guitar player can utilize several approaches in order to thicken things. The obvious course is to have both guitarists chunk away on the same part. You can also get creative and find different ways for both guitarists to express the same musical sentiment: power chords paired with octaves, high versus low registers, etc. “Have the different players try not to imitate each other,” says Evetts. “Sometimes you can split the voicings up between chords, which will make it sound bigger. You still want to play tight, but the variation between the two players will make it sound bigger.
Evetts also posits that dynamics—contrasts in volume, attack, double tracking, etc.—are hugely important, even in aggressive music. “Sometimes [having constant heaviness] can be a cool thing, but for the most part, you want to pick your spot to make the parts have impact.” Zeuss offers his take: “I’ve cut it back to where I’ll bring in some additional guitars in sections of the song to elevate them, rather than say, ‘Okay, do this three times for the left and three times for the right.’ It doesn’t really make the big picture any bigger if you have your left guitar and your right guitar for the whole song. [I prefer something like], ‘Okay, the chorus comes in here—so let’s bring in two more guitars, maybe with a little less gain,’ because it will elevate the part. Then, when it comes out of the chorus, it goes back to your left and right. I get more of an impact in the song when I do it that way.”
Evetts’ resume includes the Dillinger Escape Plan’s latest, 2013’s One of Us Is the Killer, and albums by Sepultura, Hatebreed, the Wonder Years, M.O.D., and Symphony X.
The Reduction Deduction
Many players have heard about guitarists who layer endless numbers of tracks to create a supposedly never-before-heard, massive wall of sound. But there is a point at which extra layers become a liability. First, there’s the obvious. “It can work,” says Evetts, “but it’s also very time consuming.” Then there are the unintended consequences of excessive layering. “If you’re going to layer parts, you need to be conscious about a lot of things: tone, timing, register of the notes you’re playing, chord inversions. If you’re playing everything in the same register, layering will usually make everything smaller because there’s only so much sonic space things can have.”
So how many layers are optimal? Zeuss suggests two. “One left and one right for rhythm sounds fine to me. I’ve done records where I’ve done six tracks with different tones and you try to make this monster wall of sound. Sometimes that works, but sometimes it doesn’t add anything in the end.”
The Final Cut
Despite all the facets of recording we’ve discussed—from guitar gear to mics, miking, and layering—in the end these two incredibly experienced producers agree on a point that simultaneously sounds empty and cliché and like a big “duh.”
“It’s got to be up to the player,” says Evetts. “Turn knobs and don’t be afraid to trust your ears. Don’t rely on a setting—like, ‘This setting will produce this tone.’ There are some guidelines, but for the most part, turn knobs until it sounds good. I have stated in many other interviews and classes that tone comes from your hands! The best metal guitarists will make a bad practice amp sound heavy just from how they play the guitar. And the other thing is, record until it feels right. Don’t look at the damn screen. That’s a huge thing and it happens constantly! Recording used to be about listening to what’s coming out of the speakers. Now it’s about what it looks like on the screen.”
YouTube It
Producer Steve Evetts and the Dillinger Escape Plan’s Ben Weinman explain effective microphone placement for guitars amps in the studio.
And if you still can’t get what you’re looking for, it might be time to call in the big boys. “Sometimes it takes a professional to do it,” says Zeuss. “I’m not against people doing it at home—that’s how I learned. What people forget is that an engineer and a producer lets you worry about your music and not worry about the technicality of it. People are cutting that out now, and that’s why you’re hearing bad songs and bad bands.”