
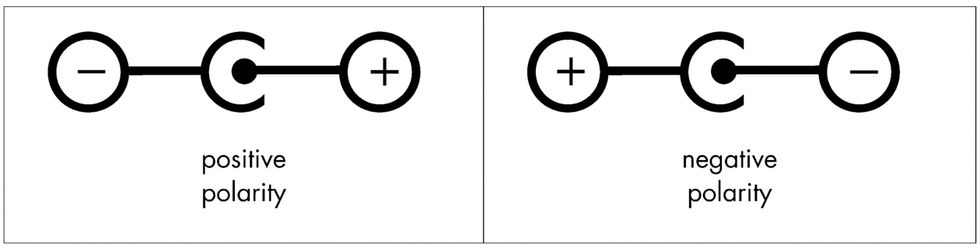
Image 1 — Illustration courtesy singlecoil.com
This month we'll launch one of two new Mod Garage series that are inspired by emails I've received from PG readers around the globe. (I really appreciate getting messages and requests, so if you've reached out, thank you.) One series will explore how to “relic" guitar parts and the other will focus on making DIY tools for your home workspace. We'll begin with the latter.
Why make your own tools? After all, today we have unprecedented access to specialized tools for building, repairing, and maintaining guitars, basses, and amps. If you're running a professional guitar repair shop, you already know the value of purchasing high-quality tools that will serve you for decades. But if you're a hobbyist, do you want to spend a small fortune on professional tools? If you're a tool hoarder or fetishist the answer will be “yes." And I understand that. It can really feel good to be surrounded by top-notch tools, even if you don't use them very often.
On the other hand, you can derive great pleasure from making your own tools for only a few bucks. It's not merely a matter of saving money. Nothing beats the feeling of using DIY tools that work great and get the job done. If you haven't experienced this before, I urge you to give it a try.
Take, for example, a budget electrolysis tool. I'll show you how to build one that works as well as any professional device. In fact, for our purposes, it may even be better. Not only will this device let you clean grimy metal parts, you can use it to remove rust and corrosion from hardware. In layman's terms, we're using electricity and iron to remove the gunk. I really like this method of cleaning hardware because it's super simple, it works perfectly, and—best of all—it removes dirt and rust without affecting that patina we admire so much on vintage hardware. Your parts will still look aged, but will be restored to full functionality. You know how string saddles can be hard to adjust when they get caked with sweat and rust? Give them an electrolysis bath and they'll be as good as new.
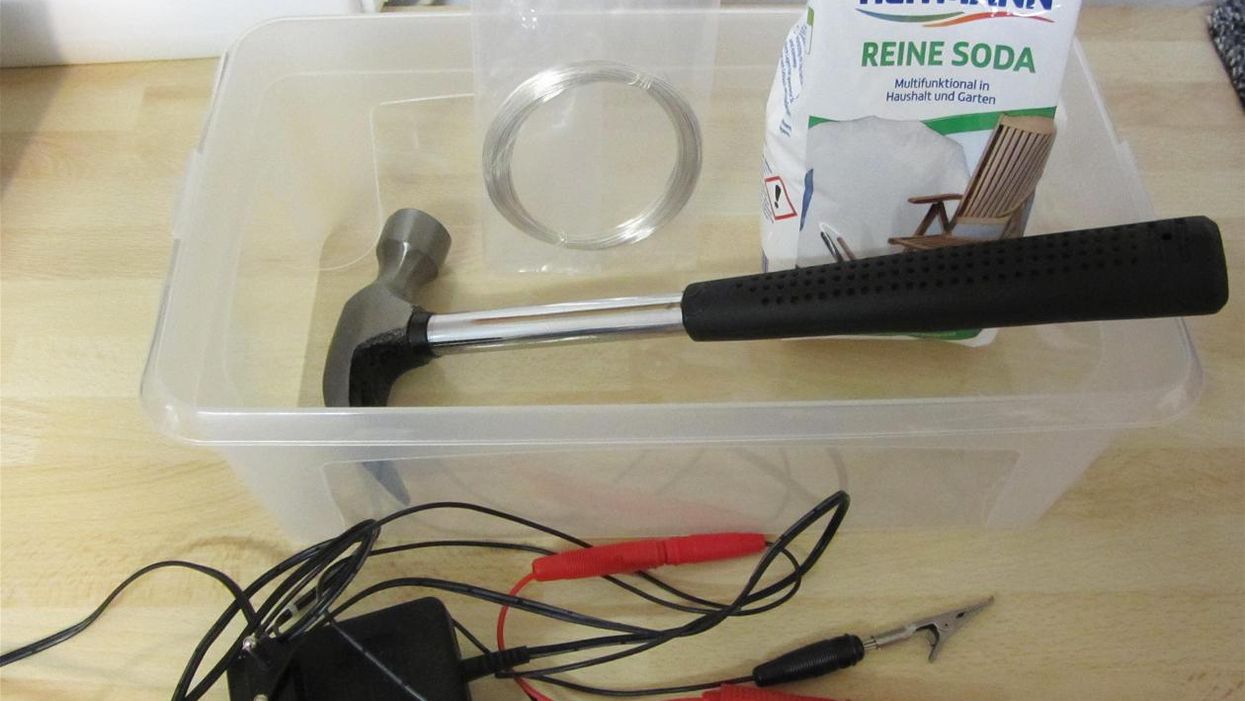
For starters, here's your supply list:
1. A wall-wart or power adaptor that matches your local primary line voltage—anything from 6 to 24 volts will work. A perfect solution is a 12/24-volt battery charger rated at 2 amperes or higher, but a power-supply for a notebook or stompbox will work too. The more power and wattage it has, the shorter the cleaning time. Chances are good you can dig up an unused wall-wart from your gear closet, but if not, inexpensive units are available at your local home-improvement store.
2. A glass or plastic dish that's large enough to accommodate the hardware you want to clean or de-rust. Don't use a conductive metal dish!
3. A piece of iron. I like to use a hammer with an iron handle. Use a magnet to test and confirm that the item is made of iron and not another material, such as aluminum.
4. Two standard 4 mm banana plugs—one red and one black.
5. Two clamps: A small alligator clip for gripping fine wire and a larger one that can attach to your hammer handle or the piece of iron you're planning to use.
6. A spool of uncoated copper wire.
7. Hot water.
8. Baking soda.
9. Rubber gloves and safety goggles.
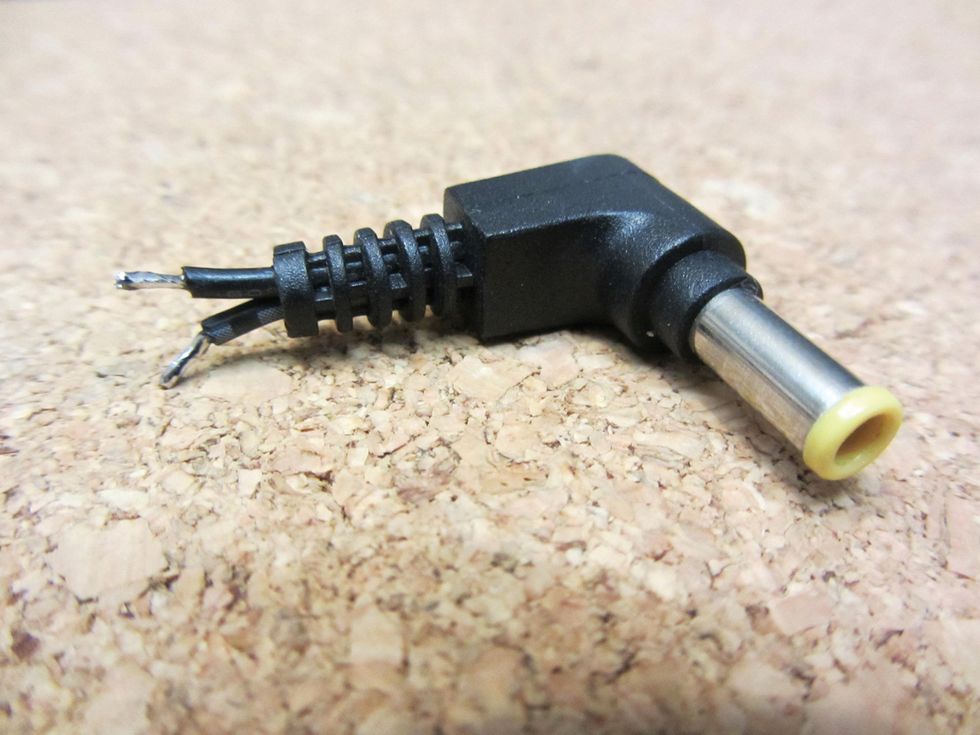
Image 2 — Photo courtesy singlecoil.com
That's all you need. Depending on what you already have at home, these supplies shouldn't set you back too much. Let's begin by preparing the power supply.
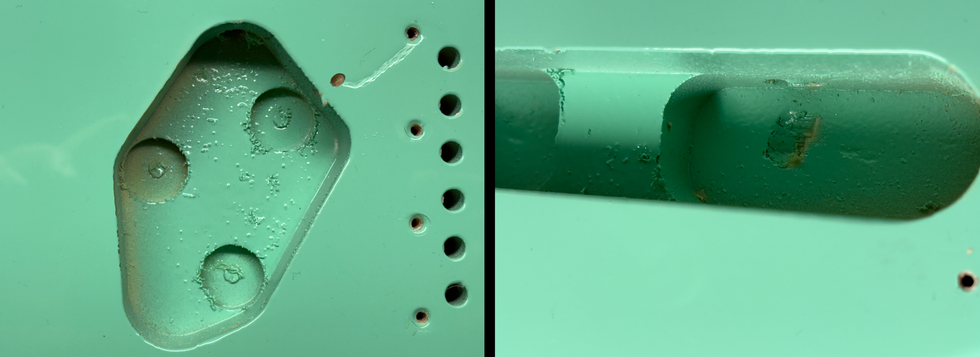
If you use a wall-wart or standard power supply, you'll find one of two logos on it to indicate the polarity (Image 1). Negative polarity means the negative is inside the tip and the positive is the sleeve, and vice versa for positive polarity. Usually one of the two wires is marked with a dashed or solid line, but you can't see where the wires attach inside the plug.
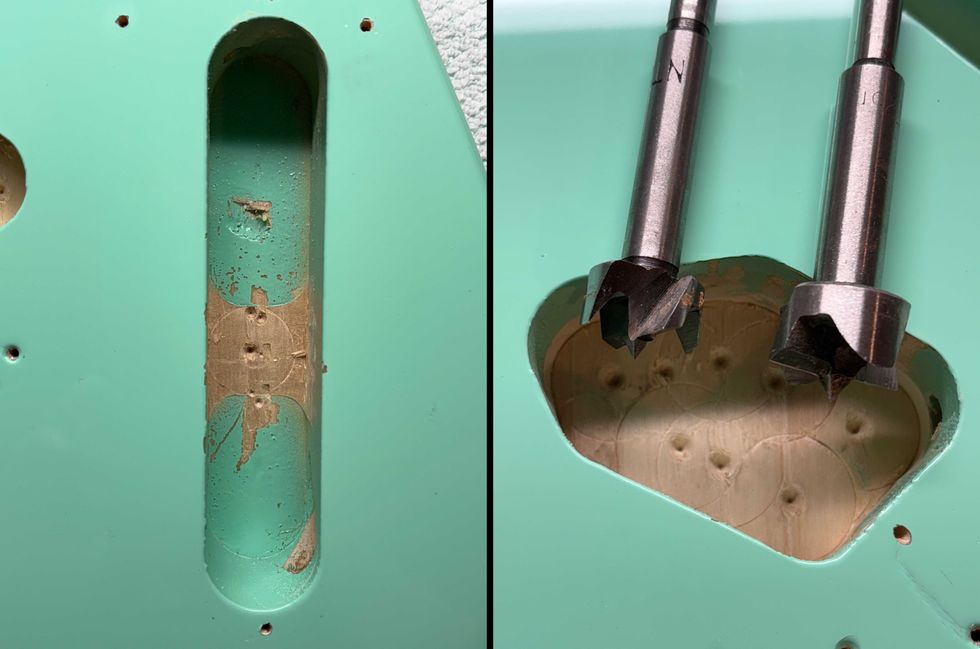
So how do you determine which wire goes to the tip and which goes to the sleeve? Here's a neat trick to help you figure this out: Cut off the plug from the power supply, leaving some wire on the plug so you can see which one has the line printed on it. Take note of this, and then strip both wires and tin both their ends, as shown in Image 2. (On this plug, the dashed line is on the lower wire.)
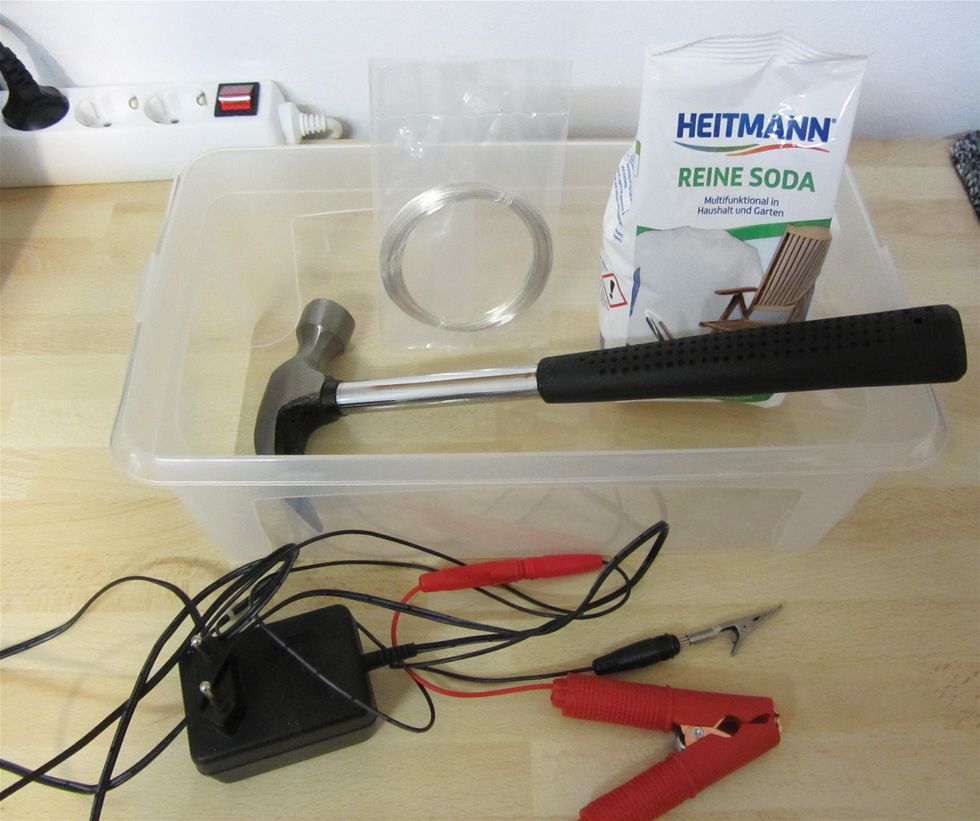
Image 3 — Photo courtesy singlecoil.com
Now set your digital multimeter to continuity, put one probe inside the tip and touch the other to each wire to see which of them is making contact. Depending on whether your power supply has positive or negative polarity, you'll know which wire does what. In our case, the marked wire is positive.
Now split apart the two wires connected to the power supply. Separate them right down to the strain relief, so you can work with them independently. If the wires are really long, you can secure them near the power supply with a small cable tie to keep them manageable. Strip the two ends and solder a banana plug to each one: The plug with the red sleeve connects to the positive wire; the black one goes to the negative wire.
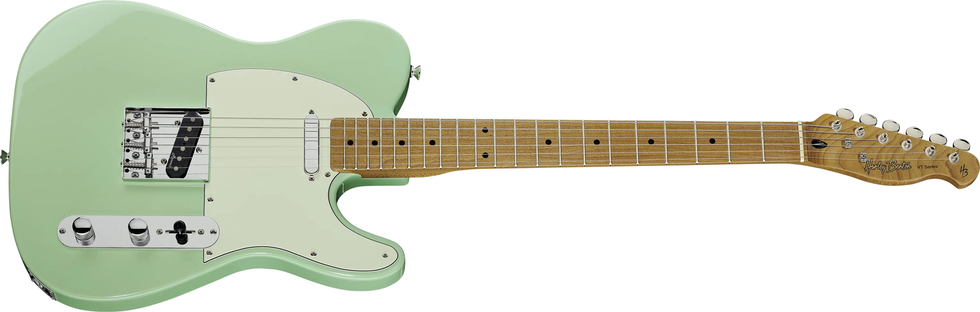
Attach the black banana plug to the small alligator clip, and the red banana plug to the bigger clamp. Image 3 shows the DIY electrolysis bath we use in the shop.
That's it ... at least for now. Next time, we'll tackle another guitar mod before returning to our new DIY electrolysis tool to learn how it works. Until then ... keep on modding!