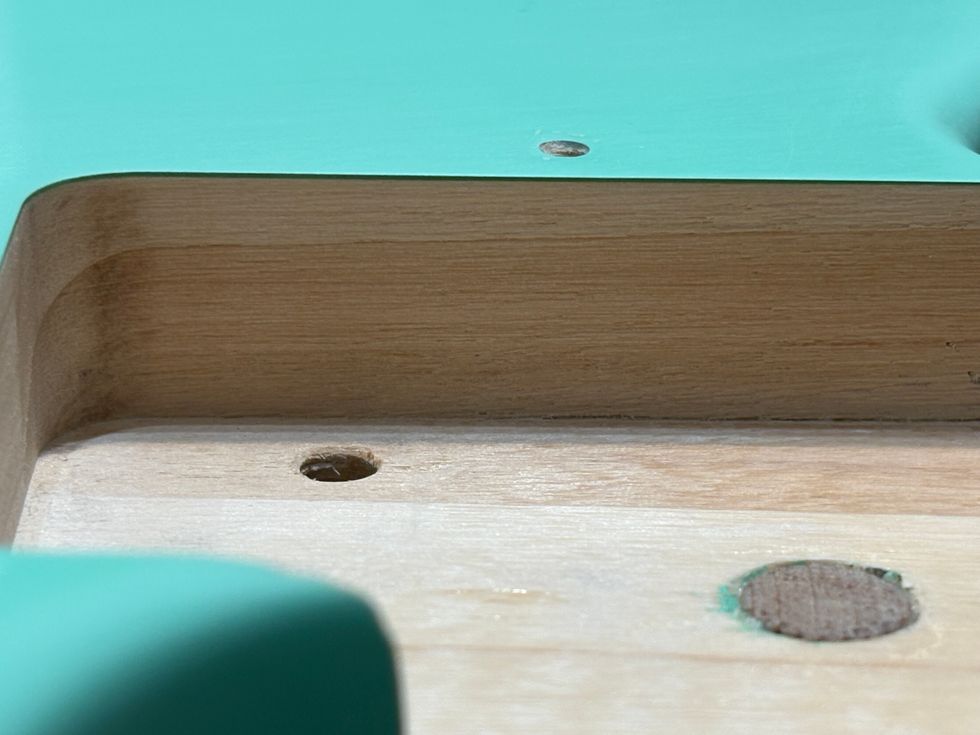

Photo 1 — Photo courtesy of singlecoil.com
Over the course of the last few months, we've taken time to explore different types of wire typically used inside electric guitars and basses. Knowing how to work with specific types of wire is a fundamental skill for any modder, and there's more to it than meets the eye. In fact, the success or failure of a project can hinge on such knowledge.
We began by discussing essential tools and how to work with cloth-covered “push-back" wire that started it all in the 1950s. If you missed that, I'd suggest reviewing “Working with Wire." This lays the groundwork for our series. In “The Pros and Cons of Plastic-Coated Wire," we examined the most common type of wire used in modern production builds. Now it's time to dive into two more types: Teflon-insulated wire and standard shielded coax wire.
Teflon-insulated wire. Though the “rolling wire" stripping method I described in the plastic-coated-wire column also applies to Teflon-insulated wire, the stripping procedure is a little more complicated and requires more practice than plastic-coated wire. That's because the Teflon insulation feels much more rubbery (and even sometimes sticky) compared to plastic insulation, and this texture makes it more challenging to roll across your smooth surface while cutting the insulation. (You'll see a photo of this technique in my previous plastic-coated wire column.) Also—depending on your blade's material and sharpness—you may find it difficult to cut through the Teflon jacket, so expect to spend some time experimenting to find what tool works best for you.
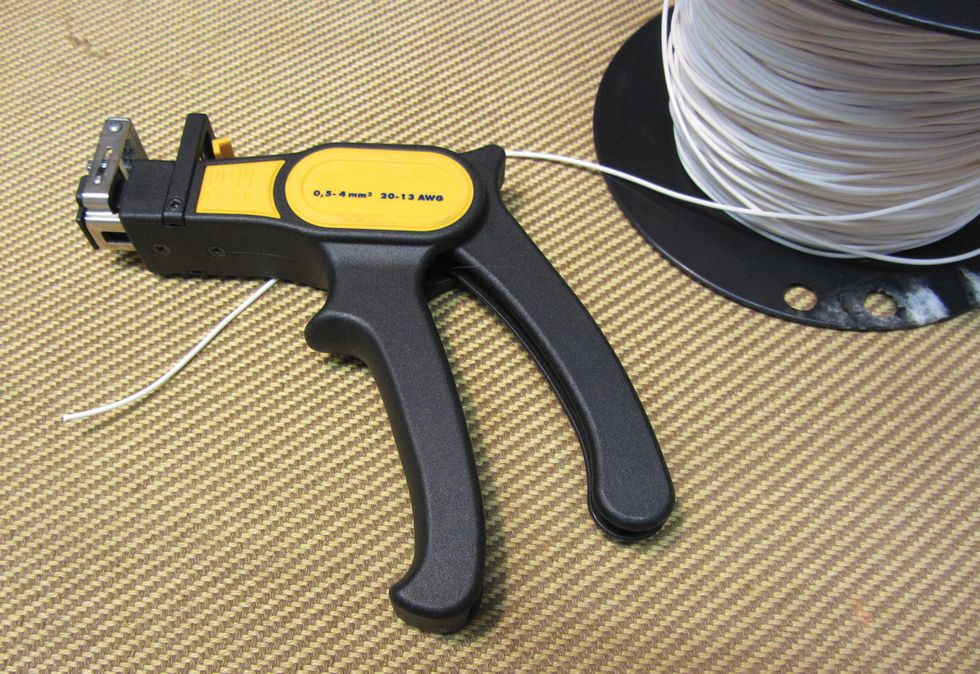
Yes, there are specialized tools for stripping Teflon-insulated wire (Photo 1), but they're designed exclusively for this kind of insulation and can be really expensive. Tools for plastic-coated wire usually fail with Teflon insulation, so your best bet is to invest the time to master the “rolling wire" stripping method.
Given that Teflon-insulated wire is trickier to strip, why bother with it? To understand what it offers, we first need a bit of background info. Teflon is the brand name for a compound material DuPont discovered by accident in 1938. Its scientific name is polytetrafluoroethylene, typically abbreviated as PTFE. A synthetic fluoropolymer of tetrafluoroethylene, Teflon has the highest heat resistance of all fluoroplastics, a trait that's especially valuable for soldering novices.
When you're wiring up a guitar or bass, chances are good you'll touch the insulation with the tip of your soldering iron. If you're using standard plastic-coated wire, you'll melt the insulation away in a second, exposing the individual strands inside. This is a recipe for accidental shorts. Teflon insulation is heat-resistant up to 300 degrees centigrade, which is more than 570 degrees Fahrenheit, so it won't immediately melt if it contacts your soldering iron. That's a huge plus.
High-quality, audiophile wire typically sports Teflon insulation, so if you want to use the kind of wire many boutique builders use, you'll need to learn how to wrangle Teflon-insulated wire. It comes with the territory.
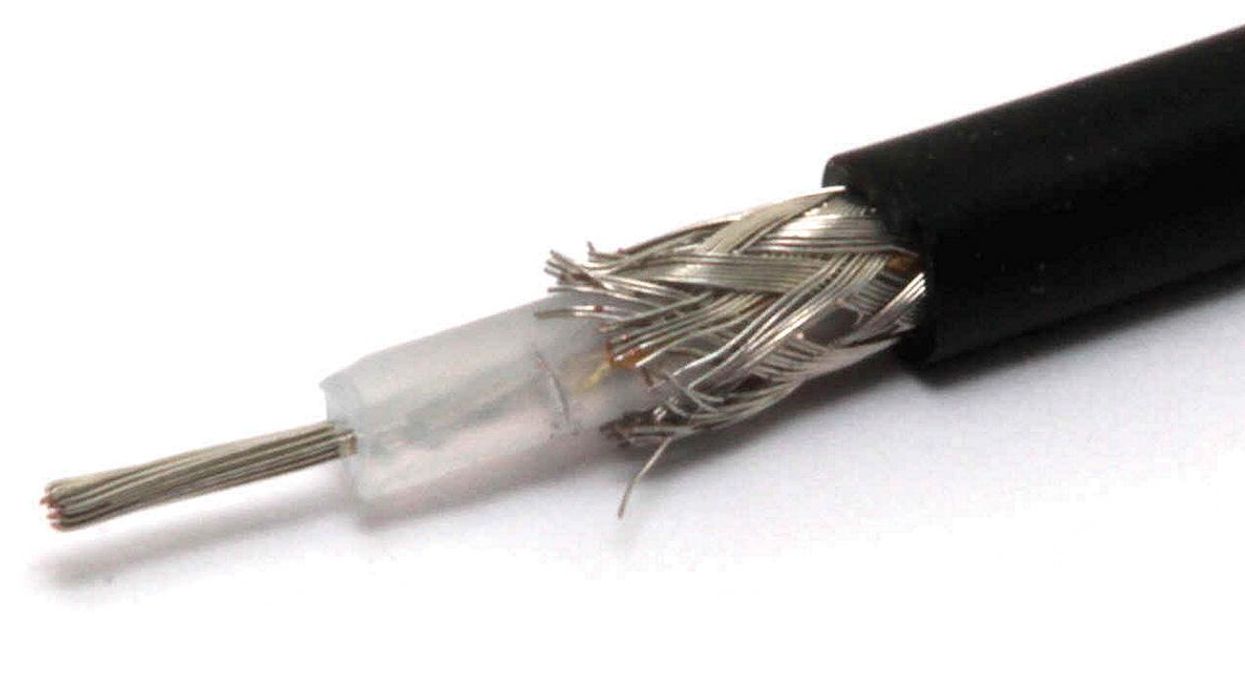
Shielded coax wire. Here's another type of wire found inside guitars and basses. Often used to connect an instrument's electronics to the output jack, shielded coax wire is also used throughout many acoustic-electric guitars.

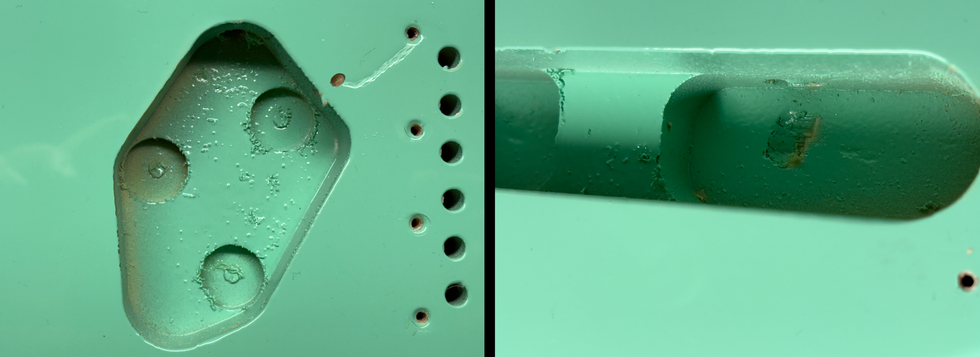
Photo 2 — Photo courtesy of singlecoil.com
“Coax" is short for coaxial, and this type of cable is constructed in tubular layers. It has an inner conductor surrounded by an insulating layer that's in turn surrounded by a conductive shield, which is then enclosed in a plastic jacket (Photo 2). In guitar lingo, this is simply called “shielded wire" and it's basically the same type of cable our guitar cords are made from.
When buying shielded coax, you'll find a wide range of options in terms of diameter, flexibility, and quality. This isn't the place to cut corners: I've seen lots of cheap coax break when you strip it. And I've seen high-grade stuff that's as flexible as an anvil or thick as a Havana cigar, which obviously makes it impossible to use inside a guitar's control cavity. But if you search, you'll find flexible, high-quality coax that's thin enough for our needs and offers excellent shielding.
And speaking of our particular needs—effective shielding—coax only works when the shield and the inner conductor are connected on both ends. Usually the inner conductor is the signal feeding path and the shield goes to ground. I've seen a lot of guitars wired using coax with only the inner conductor connected—this yields no shielding at all.
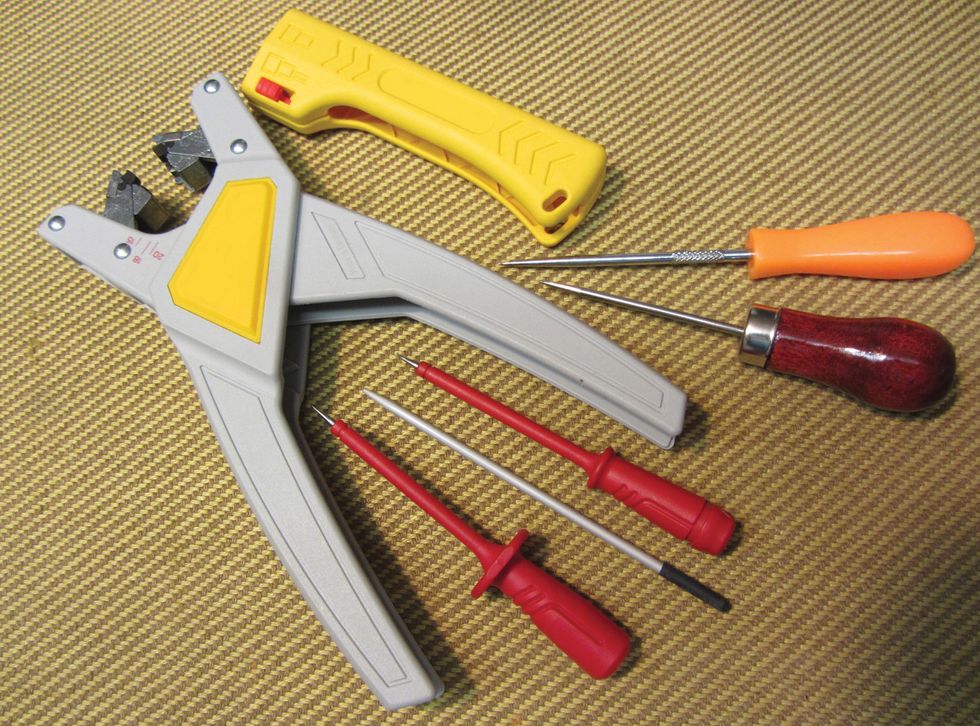
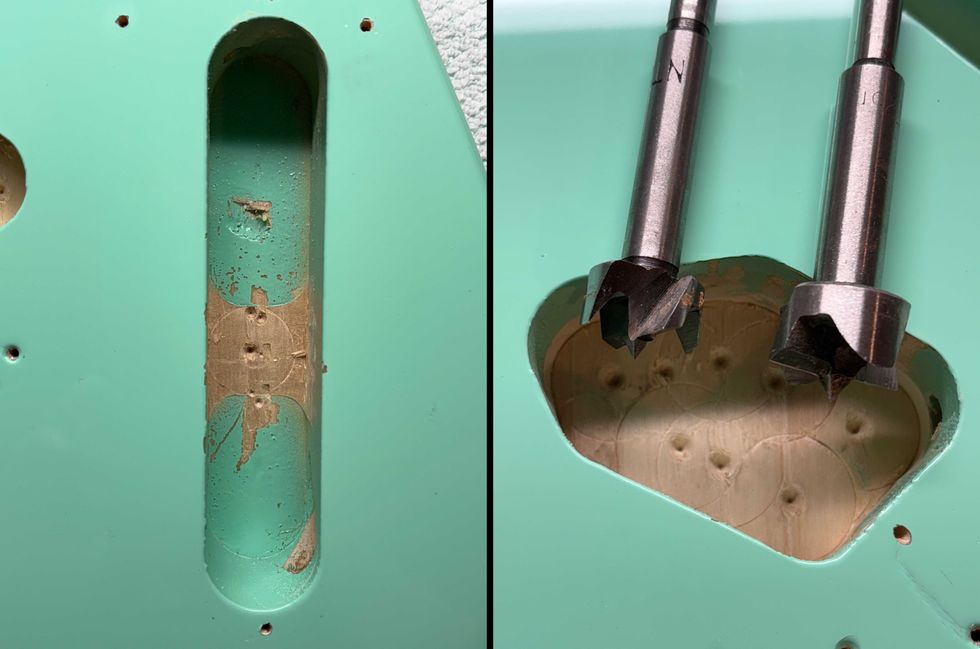
Photo 3 — Photo courtesy of singlecoil.com
You can buy special tools to strip the outer insulation from coax cable without damaging the shield underneath. But that's not essential. You can also do fine with our standard stripping kit used for plastic-coated wire. But you will have to add a new tool: something thin and sharp at one end, like a small stitching awl, a thick needle, a nail, or my favorite tool for this—a multimeter probe. Photo 3 shows specialized coax stripping tools, as well as the less expensive options.
Okay, here's how to strip coax with a minimum of tools. This is the procedure I recommend, although there are other ways to do it.
Step 1. Cut the wire to length. Place it on your smooth underlay, holding it in place with your index finger.
Step 2. Usually coax cables sport a plastic (PVC) outer insulation, but there are also versions with a Teflon jacket. With your utility knife or scalpel, carefully cut into this outer insulation. You only want to cut through this protective sheath—not into the braided shield. This requires skill and a lot of practice.
After your initial cut, use your index finger to roll the wire 90 degrees towards you to expose fresh insulation, and cut again. Repeat this rolling-and-cutting action until you've scribed a 360-degree cut around the outer insulation and you can pull the “sleeve" off.

Photo 4 — Photo courtesy of singlecoil.com
Step 3. Now you need your new tool—again, I prefer a multimeter probe—to unravel the shield (Photo 4). Start from where you cut through the outer jacket and work your way to the end of the wire. To avoid damaging the shield, don't pull too fast or too vigorously. Instead, just ease your tool through the weave, picking it apart a little at a time. After you unravel the entire section of exposed shield, twist it and tin it with solder, as in Photo 5.
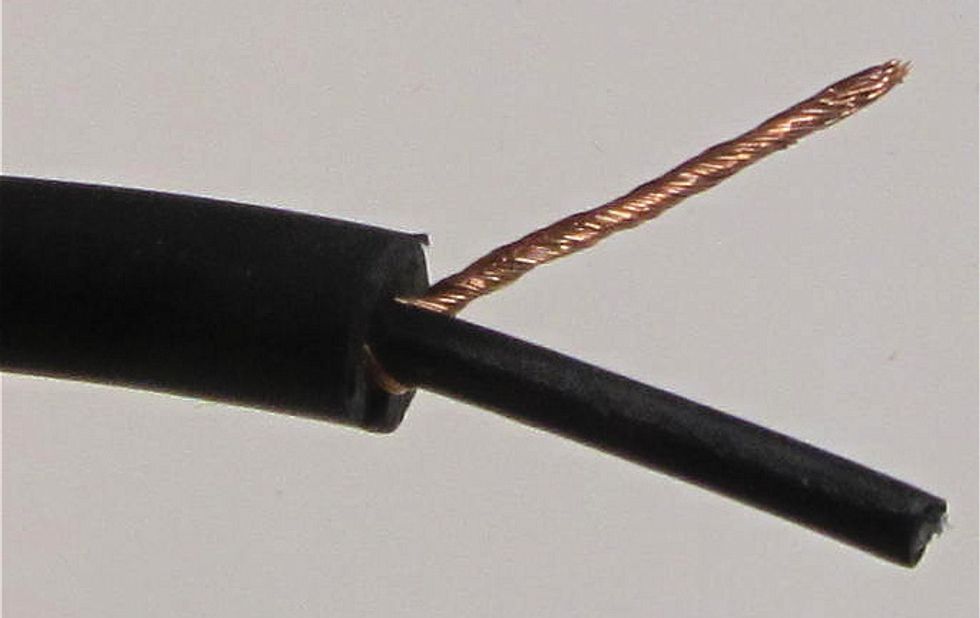
Photo 5 — Photo courtesy of singlecoil.com
Note: Some people like to use a scalpel or small pair of scissors to simply snip along the whole length of exposed shield and then pull the shield apart. While this technique works, it generates a lot of very fine, short metal strands. If you take this approach, you must carefully vacuum away all these small wires so they don't get into your guitar's electronics. And you don't want these little rascals in your fingertip! And if you use a scalpel for this, you must be extremely careful not to cut into the conductor's inner insulation.
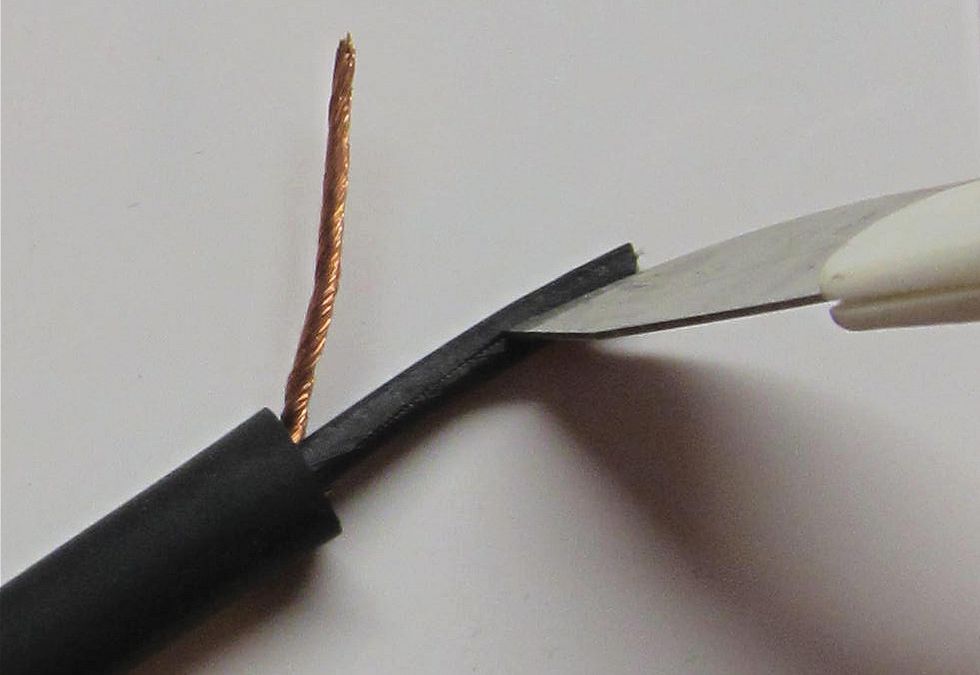
Photo 6 — Photo courtesy of singlecoil.com
Step 4. On some coax cables, there's an additional conductive shield (typically made of carbon and therefore black) between the braided shield and the conductor's inner insulation. If that's the case, cut the whole length carefully with a scalpel (Photo 6) and pull it away so it can't touch any signal-carrying portion of your wire, and thus create an accidental short.
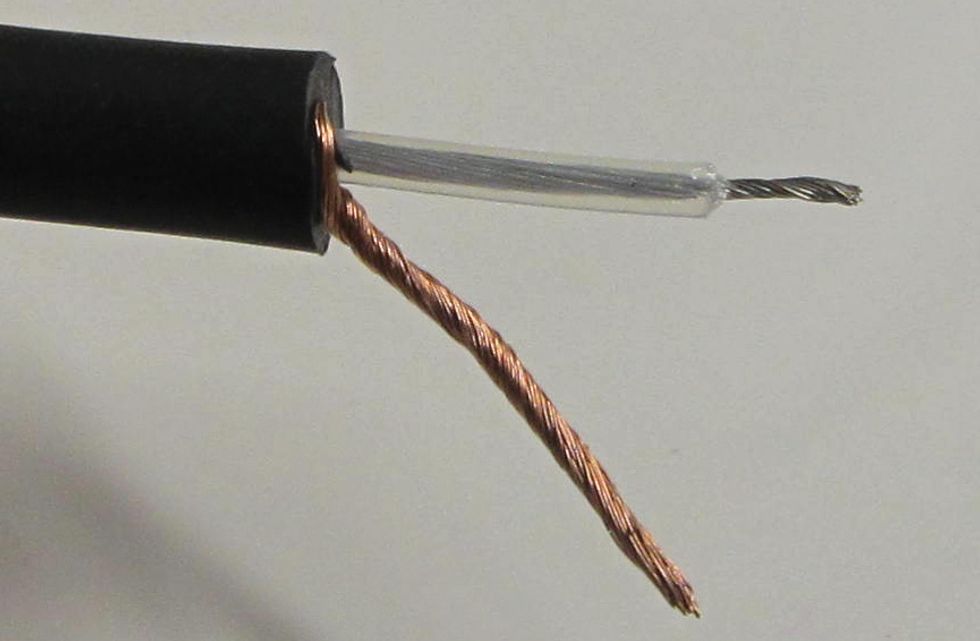
Photo 7 — Photo courtesy of singlecoil.com
Step 5. Repeat Step 2 with the conductor's inner insulation, being careful not to cut into the conductor itself. You only need to remove enough of this inner insulation to expose a tip of wire for soldering. Twist the conductor and tin it with solder—it should look like Photo 7.
After repeating these steps at the other end of the cable, you're ready to solder it into your guitar.
That's it! In a future column, we'll conclude our “how to work with wire" series by examining vintage braided wire. But next time, we'll dive into another guitar mod while taking a close look at Yamaha's “Dry Switch." Until then ... keep on modding!


![Rig Rundown: Russian Circles’ Mike Sullivan [2025]](https://www.premierguitar.com/media-library/youtube.jpg?id=62303631&width=1245&height=700&quality=70&coordinates=0%2C0%2C0%2C0)