Bass amplification has evolved though many stages, but the basic notion of an amp and speaker in a single enclosure has served bassists well for more than 60 years. The current generation of bass combos make bassists’ lives a little easier with back-saving portability, great tones, and floor-shaking power.
This roundup covers the smaller end of the combo world: the latest 1x12 options. Models of this caliber are often deemed bedroom or practice amps, but here, the manufacturers have more in mind. We often need something smaller than our stadium rig for intimate gigs, writing rooms, or rehearsal, and all these combos bring enough beef to be considered more than practice tools.
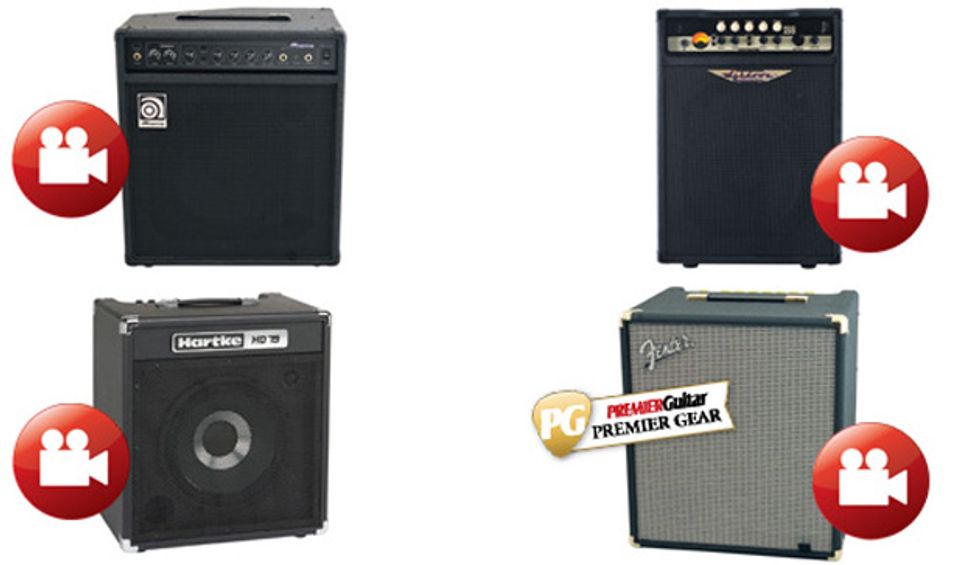
We examine the Ampeg B-112, Ashdown Rootmaster 220, Fender Rumble 100, and Hartke HD75 from top to bottom. In each case, the manufacturer attempts to capture its signature big-amp sound in a compact combo that speaks louder than its modest footprint might suggest. In the bass arena, where bigger often seems to be better, these little powerhouses remind us that it’s not about the size of the rig, but how you use it. And did we mention they’re all under $500?
Click the amp you're most interested with or hit next and start with the Ampeg BA-112.
Ampeg BA-112
Ashdown Rootmaster RM-C112-220
Fender Rumble 100
Hartke HD75
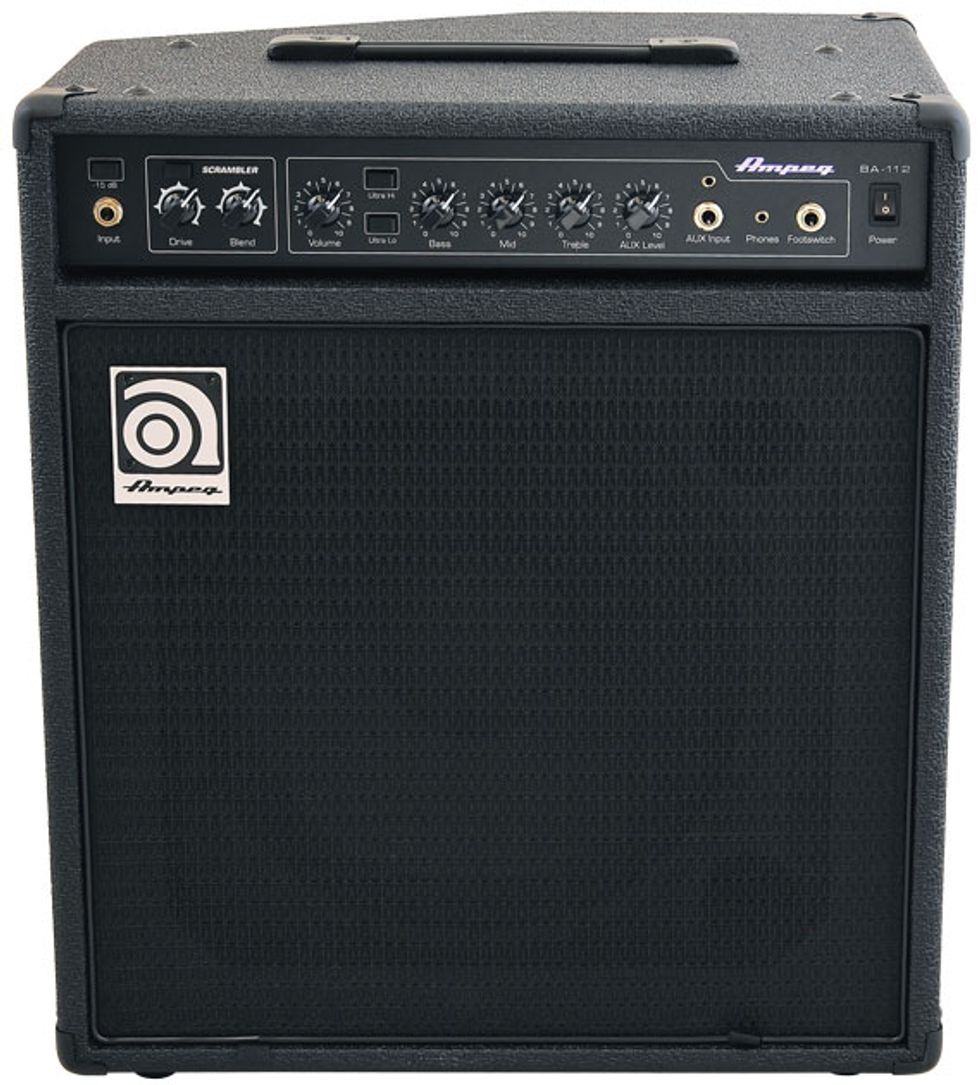
Ampeg BA-112
Ampeg has long been famous for its iconic, all-tube bass amps—specifically, the vintage “flip-top” B-15 and various iterations of the thundering SVT head. But for many years the company has also offered the BA series of smaller, more practical alternatives for working musicians with humbler means and needs. The entire BA line was recently revamped, and here we’re taking a look at the newest edition of the BA-112, an affordable, 75-watt 1x12 combo that packs a punch with smart, usable features—including a taste of the signature SVT tone.
Ratings
Pros:
Big tones. Impressive feature set. Dirt on demand—including SVT-style tones—with the Scrambler circuit.
Cons:
A little heavy for its size. No DI or tuner output.
Tones:
![]()
Ease of Use:
![]()
Build/Design:
![]()
Value:
![]()
![]()
Street:
$249
Ampeg BA-112
ampeg.com
Tilt Back and Fly
The BA-112 features what the company calls its Legacy preamp, a 3-band EQ with ultra-hi and ultra-lo pushbuttons, as well as a Scrambler circuit whose name might confuse some vintage-stompbox aficionados: It’s intended to emulate an overdriven SVT, not the short-lived Scrambler fuzz pedal that Ampeg released in 1969 (and reissued about nine years ago). The BA-112 also has a -15 dB input pad for active basses, and both 1/4" and 1/8" auxiliary inputs, with a single front-panel level control.
The amp weighs 42 pounds—a little heavy in my book—but its footprint is not much bigger than your typical live monitor wedge. Interestingly, the BA-112’s cabinet also features an angled design that lets you turn it horizontally and lean it back to a 60-degree angle for stage-friendly monitoring. I’ve played many a small stage with my amp primarily blasting away at my knees rather than my ears, so kudos to Ampeg for this practical design feature.
Scrambled and Rocked
I tested the BA-112 with a ’75 Fender Jazz reissue, and with the EQ set flat the amp’s character had a lot of what many players envision when they think “Ampeg”—it’s bold and unapologetic. The Scrambler circuit, which is activated via a front-panel pushbutton, features drive and blend controls. Blending just a hint of the overdrive signal is key to getting SVT-ish tones (higher settings can sound pretty harsh). For me, the sweet spot was with drive at noon and blend at about 10 o’clock. This gave my bass a big bottom end with the perfect amount of grit. I was also impressed at how the ultra-lo switch helped me coax even more oomph from my J.
The Verdict
The BA-112 has a lot of Ampeg attitude wrapped up in a svelte, solid package. The all-steel chassis and solidly braced cabinet seem ready to endure a long life of being schlepped from rehearsal to gig and back home again. Of course, big tone and punchiness are just as important, and this amp’s got both. Considering the BA’s humble power rating, it’s no surprise it doesn’t move mountains, volume-wise. However, it is well suited to its purpose: It’s a really good rehearsal amp at a fair price. The Scrambler overdrive is a nice bonus, but even without it this is one great little combo. Tilt it back and let it rip!
Watch the Review Demo
Ashdown Rootmaster RM-C112-220
Fender Rumble 100
Hartke HD75
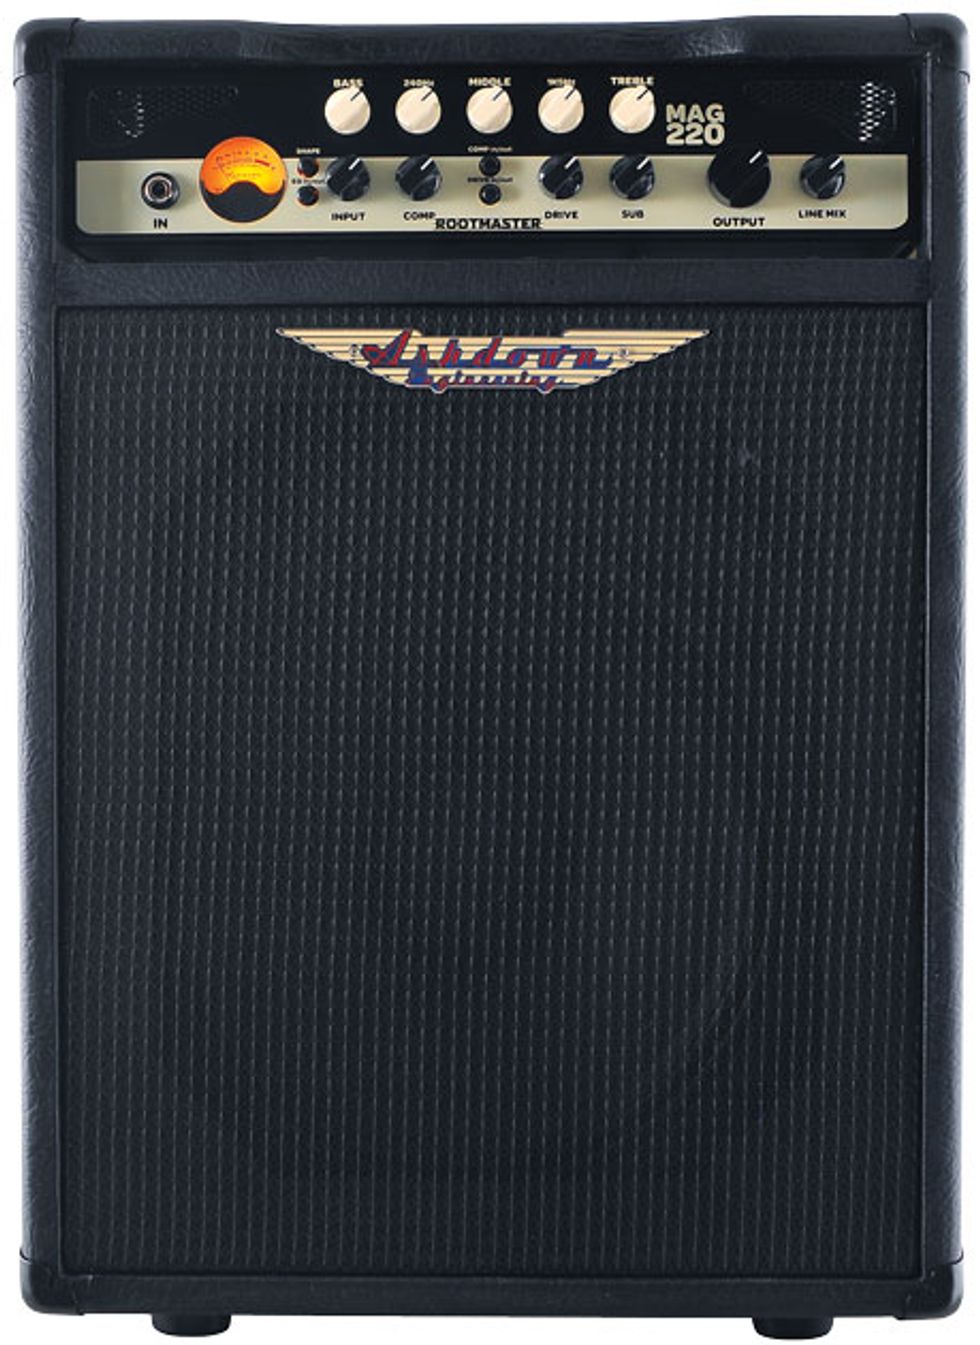
Ashdown Rootmaster RM-C112-220
Ashdown Engineering has been anchoring the low end on some of the world’s biggest tours for the better part of two decades now, boasting such notable artist endorsees as Foo Fighters' Nate Mendel, U2’s Adam Clayton, and Pino Palladino (the Who, John Mayer). In addition to their high-end ABM line and all-tube custom-shop designs, Ashdown offers the Rootmaster series of amps and combos for everyday players. The new RM-C112-220 we’re checking out here packs beauty and features inspired by high-end Ashdown amps into a compact, affordable package.Deep Roots
At almost 50 pounds and 220 watts, the 220 is a stout bugger in every sense. (Ashdown says they have since brought the weight down to 36 pounds.) It’s loaded with a single 12" Ashdown speaker and a full-featured front panel. Top-row dials control the 5-band EQ, while the bottom row governs more nuanced functions. At far left, the shape button engages a scooped-mid EQ response, while EQ in/out completely bypasses the top-tier knobs to serve up the amp’s bare, foundational tones. Both options are great, though I wish you could control them with the optional footswitch. Next in line are dials for input gain, compression level, compression and drive on/off buttons, drive level, sub harmonics, output level, and line mix (which governs the rear-panel 1/8" aux input).
Ratings
Pros:
Great tonal range. Speaker and DI outs are mighty practical.
Cons:
Onboard effects sound good but could use more controllability.
Tones:
![]()
Ease of Use:
![]()
Build/Design:
![]()
Value:
![]()
Street:
$499
Ashdown Rootmaster RM-C112-220
ashdownmusic.com
The rest of the back panel is worth mentioning, too, because Ashdown provides useful expansion and output options: a 1/4" DI output, effects send and return, and a Speakon connector that lets you add an extension cab to make this a true small-club amp.
Rooting for Rumble
The 220 made it easy for my Yamaha BB1025X to get a great, full tone right out of the box. The shape control proved to be a quick flavor enhancer, and pairing it with deft top-row EQ tweaks made it even more useful. I gave the low end a healthy bump and the amp still handled the Yamaha’s 5th string with ease.
As you’d expect from its control set, the 220 offers up a heap of tonal options—from edgy to round and everything in between. At its core, the amp is all Ashdown: midrange-y and warm. It’s pretty easy to get a mix-friendly tone in no time. The sub-harmonic feature is great to have, although you have to crank it all the way up to get full-on, octave-dive coolness. The drive control is useful when you want some edge to your sound but don’t want to bring a separate overdrive pedal. I dug the range I could achieve while working the circuit in tandem with the EQ, as I was able to muster everything from subtle grit to nasty lead tones. My only warning is to not get too taken with all the bells and whistles: Too much of a good thing can be bad, and with everything on the great tones can go away rather fast.
The Verdict
The Rootmaster RM-C112-220 is one of the more complete bass combos I’ve encountered—especially in this price range. Ashdown has jammed about 8 pounds of hammers into a 7-pound sack. And if you’re just getting into effects like overdrive and compression, this amp could be a great place to try them out without having to shell out cash for extra devices. All said, the 220 will carry you from rehearsal to a small-venue gig with ease.
Watch the Review Demo
Ampeg BA-112
Fender Rumble 100
Hartke HD75
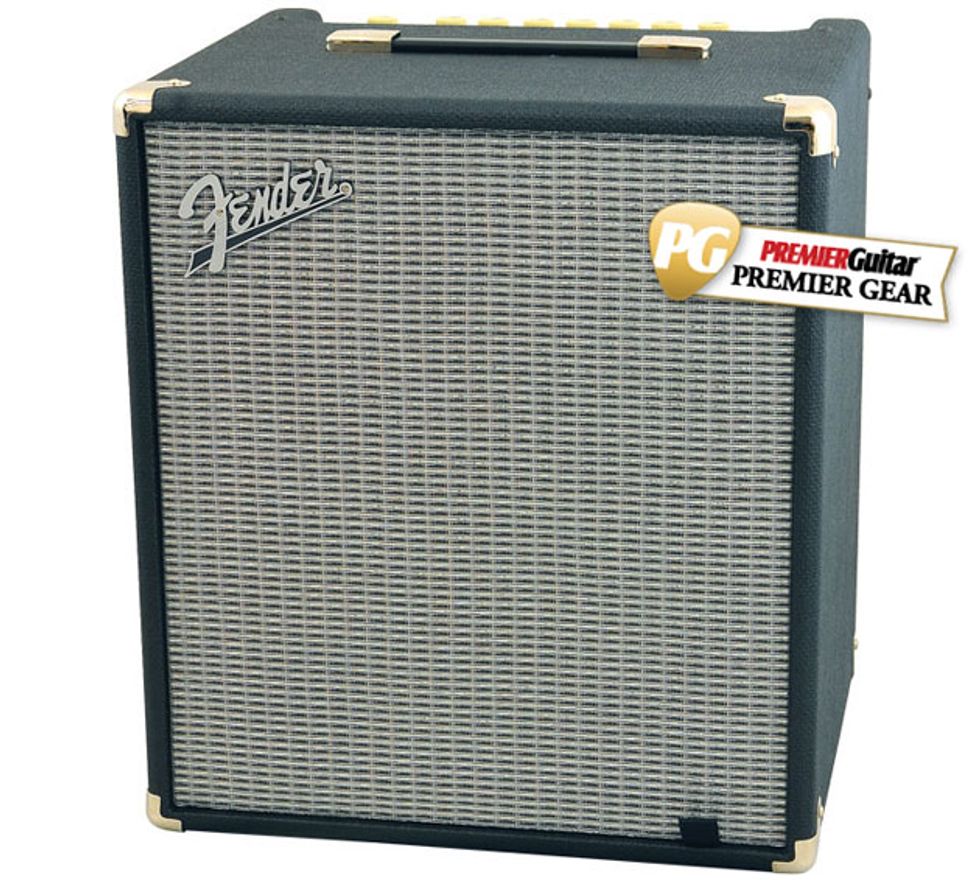
Fender Rumble 100
Introduced about a decade ago, Fender’s Rumble line of combo amps was designed to offer power and portability at a reasonable price. True to form, the latest Rumble 100 provides all the tools a working bassist needs. It’s compact yet authoritative, competitively priced, and it can veer from springtime sweet to winter brash with a few small adjustments.
To Rumble is Human
The Rumble 100’s layout is one of the better I’ve seen on a combo amp. The front is dressed with Fender’s vintage-sparkle grille cloth, and the controls are wisely situated on the back edge of the amp’s top. (The ivory peanut-butter-cup knobs are a nice touch.) The only ornamentation is a simple Fender logo.
The control panel includes a gain control, three pushbutton tone presets (bright, contour, and vintage) and an overdrive section with drive and level controls. There’s 4-band EQ (with low-mid and high-mid controls) and master volume. The rear panel hosts inputs and outputs and the power switch. There’s effect send/return, a pair of 1/8" inputs (aux in and headphones), a jack for the optional footswitch, and an XLR out with ground-lift.
Ratings
Pros:
Super portable. Great tones. XLR output.
Cons:
No tilt-back option.
Tones:
![]()
Ease of Use:
![]()
Build/Design:
![]()
Value:
![]()

Street:
$299
Fender Rumble 100
fender.com
No Tumble, Just Rumble
The Rumble 100 is remarkably light—I could lift the 22-pound amp with a single finger. It earns top marks for portability.
Plugging in a ’78 Fender P immediately yielded great tones. I started with the EQ flat, where the amp gave the truest representation of my bass. The EQ provides excellent tone shaping, and I really dug the low-mid control, because some rooms need more of these frequencies for the bass to cut through. Meanwhile, the single 12" Eminence speaker can handle everything the 100-watt amp can throw its way without loss of punch.
The real fun, though, was cycling through the pushbutton options. The vintage setting does the amp justice with a bottom-end bump that eases up the tone’s warmth. It doesn’t necessarily cop the sound of a particular vintage model, but such tones are always welcome from a combo. The contour setting provides modern slap-friendly tones that lent my passive P an active feel. The bright setting is akin to a clarity switch, bringing my bass to life with just the right dose of added highs. You can use the voicing buttons alone or in combination, which can be very effective with the overdrive.
Fender didn’t equip the Rumble 100 with heavy overdrive, so you need a pedal for extreme tones. But the onboard overdrive breaks up the sound in just the right way, maintaining the integrity of the native bass tone. There’s a perfect amount of grit, and when paired with the tone switches, it can work wonders for such a compact amp. Engaging the bright switch with the overdrive dimed lends a cool, shiny guitar-like presence. (Given the current trend of two-member bands, who needs a guitarist?)
The Verdict
Fender’s Rumble 100 is a loud, smart combo that will make a nice fit in many a working bassist’s arsenal. Such a wide range of tones is refreshing, as is the simple layout and modest overall weight. Yes, this combo is definitely ready to rumble.
Watch the Review Demo
Ampeg BA-112
Ashdown Rootmaster RM-C112-220
Hartke HD75
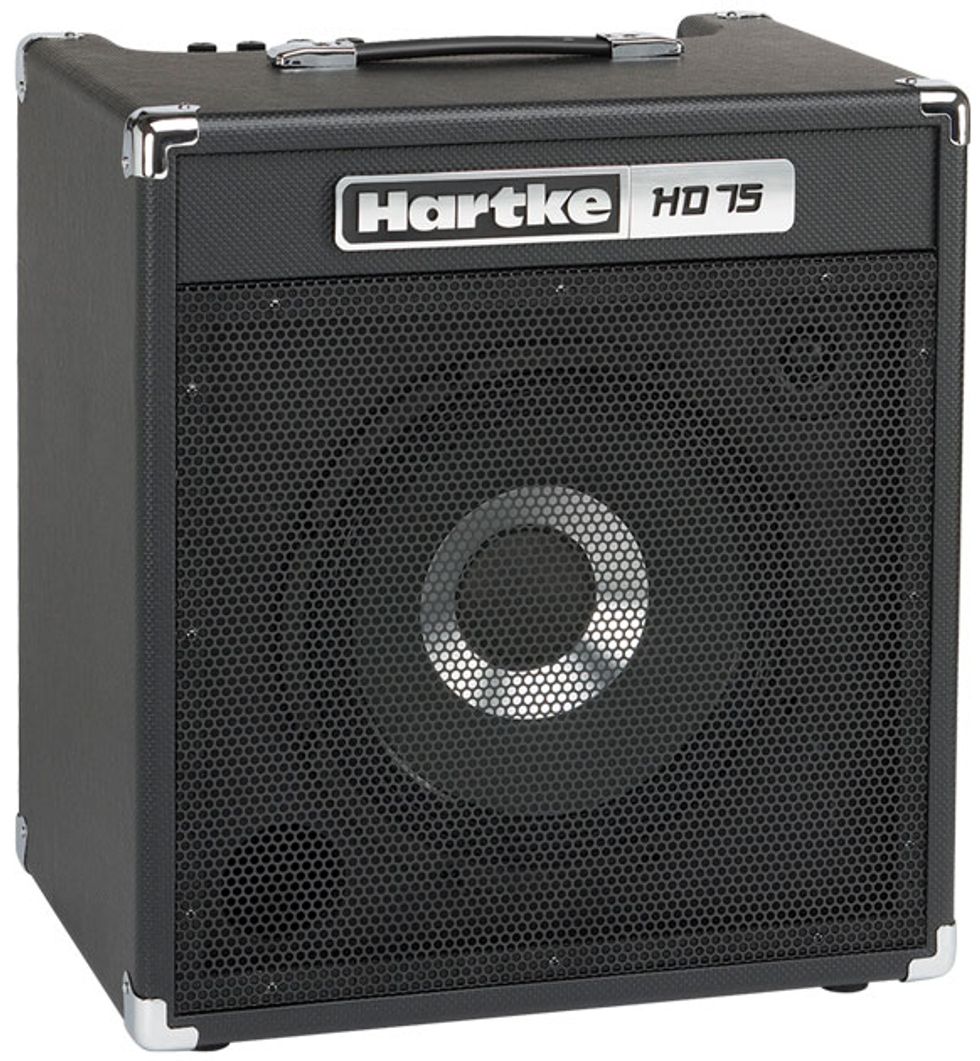
Hartke HD75
In 1985, Back to the Future was a box-office hit, the Live Aid concerts were huge successes, and Larry Hartke introduced aluminum-cone speakers to unsuspecting bassists shortly after building a cab with the drivers for Jaco. Hartke’s new HD-series combo amps sport an even more radical speaker design. Let’s look at the compact HD75.Hartke the Herald Angels Sing
The HD75 is a straight-ahead 75-watt amp with a single 12" HyDrive speaker. The HyDrive isn’t all-aluminum, but part metal and part paper cone. The goal is a speaker with the snap of aluminum and the warmth of paper.
Without effects, a tuner, or superfluous functions, the HD75 does one simple job: amplifying your bass. Some players prefer built-in extras, but I’d rather have an amp that sounds great with no distractions than a mediocre rig with clutter.
At a little over 48 pounds, the HD75 it is a touch heavy for a smaller amp. With little on the back panel beside a power plug and on/off switch, a balanced DI out would have taken the amp one step further, and a top-panel power indicator would be more convenient than having to look around back. But on a $250 amp, these are small-beans issues.
Ratings
Pros:
Flexible EQ. Attractive vintage-meets-modern tones.
Cons:
No DI. A bit heavy. Power-indicator light on rear only.
Tones:
![]()
Ease of Use:
![]()
Build/Design:
![]()
Value:
![]()
![]()
Street:
$249
Hartke HD75
samsontech.com
The top-panel controls are straightforward: There’s a master volume control, and then two EQ sections: a modified tone-stack design with bass, mid, and treble pots, and 7-band graphic EQ with a +/-12 dB slider for each frequency. Next come an 1/8" auxiliary input, 1/4" effect send (which can also serve as a line out) and return jacks, and a 1/4" headphone jack that mutes the speaker for private practicing.
Rock and a Hartke Place
I plugged in a stock Fender Squier Precision Bass and started with the bass, mid, and treble controls at noon and the graphic EQ zeroed out. The first tones out of the HD75 did not disappoint. I happen to be a paper-cone guy, so hearing the sound as advertised with no EQ was impressive. Tones have nice attack, and while there’s a little more bite than I’m used to, the wide-ranging EQ section helps tremendously. Just turning the bass pot up to +3 (1 o’clock) made the combo feel warm and familiar.
The HD75’s EQ controls are fun and effective, but they may be a bit daunting for the untrained. Boosting too much of any one thing can quickly make the amp too harsh or too boomy, and novices might mix themselves right out of rehearsal if not careful. But even with the high-frequency EQ controls pushed way up, the feared shrillness of an aluminum speaker never appears—just über-crisp tones.
Despite its size, the HD75 shouldn’t be relegated to the bedroom. It’s got enough oomph for jazz-brunch and coffeehouse gigs or small rock rehearsals. (I did try pushing the HD75 to the edge, but its built-in limiter ensures safe levels, protecting the gear.)
The Verdict
I like this sharp-looking, no-nonsense combo. Its blend of modern and vintage sounds via the hybrid speaker gives the amp a unique identity. It’s a great option for beginning players, who can practice, rehearse, and play small gigs without needing to upgrade.
Watch the Review Demo
Ampeg BA-112
Ashdown Rootmaster RM-C112-220
Fender Rumble 100


![Rig Rundown: AFI [2025]](https://www.premierguitar.com/media-library/youtube.jpg?id=62064741&width=1245&height=700&quality=70&coordinates=0%2C0%2C0%2C0)
 Shop Scott's Rig