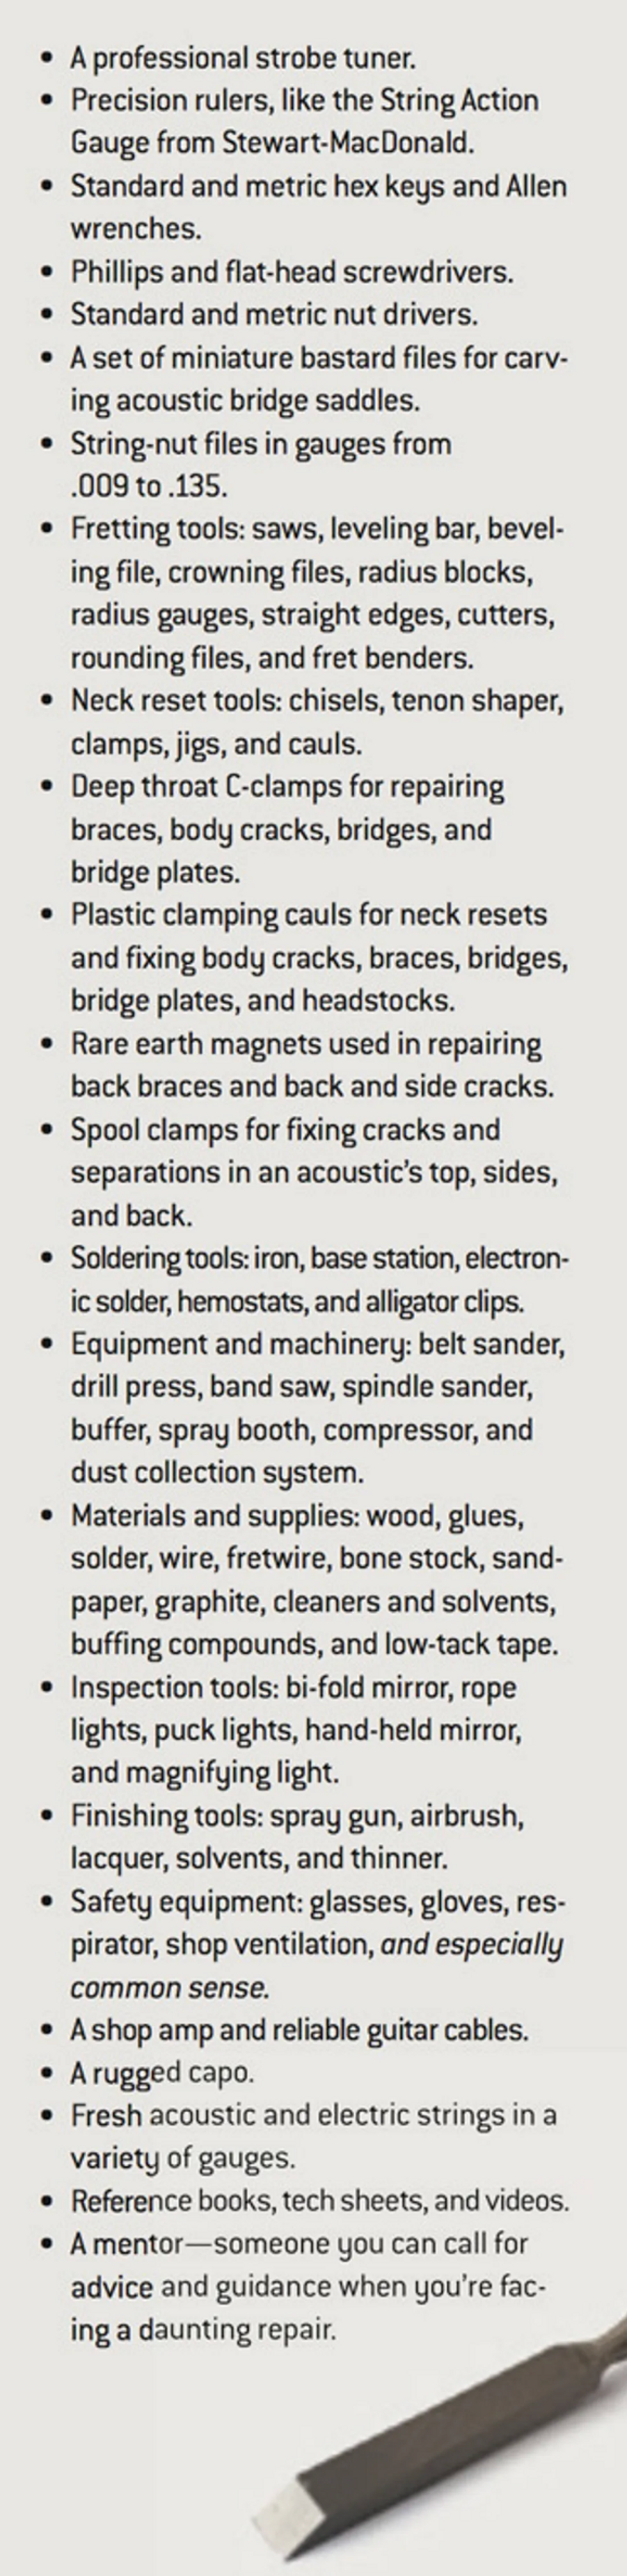

Last week, a client brought in an Ibanez solidbody for a setup. Overall, it was in great condition, but the Edge tremolo was out of adjustment and the action at the locking nut was ridiculously high. My client wanted to perform with the guitar, but it was unplayable in its current condition. At first glance, it looked as if it was going to be a typical setup, but as you'll see, looks can be deceiving.
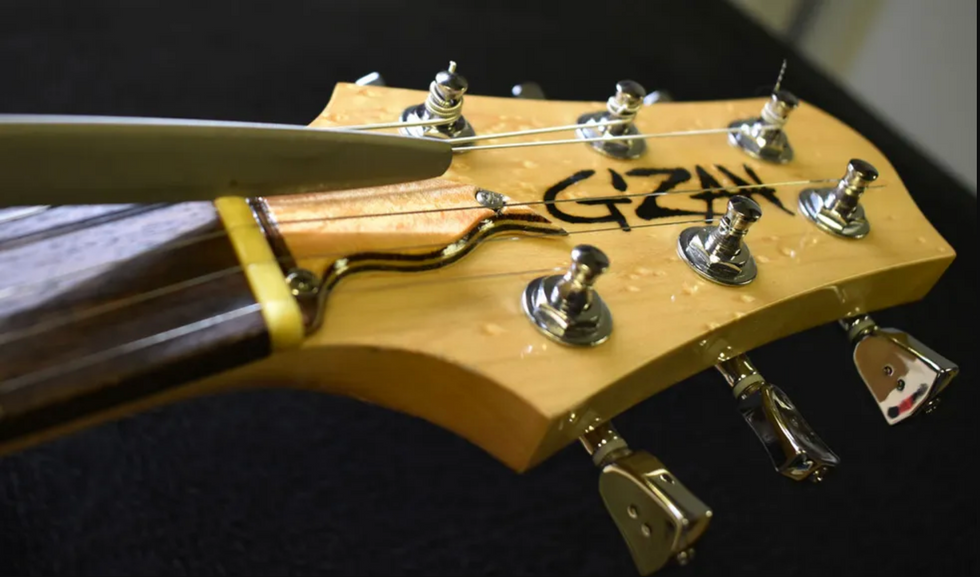
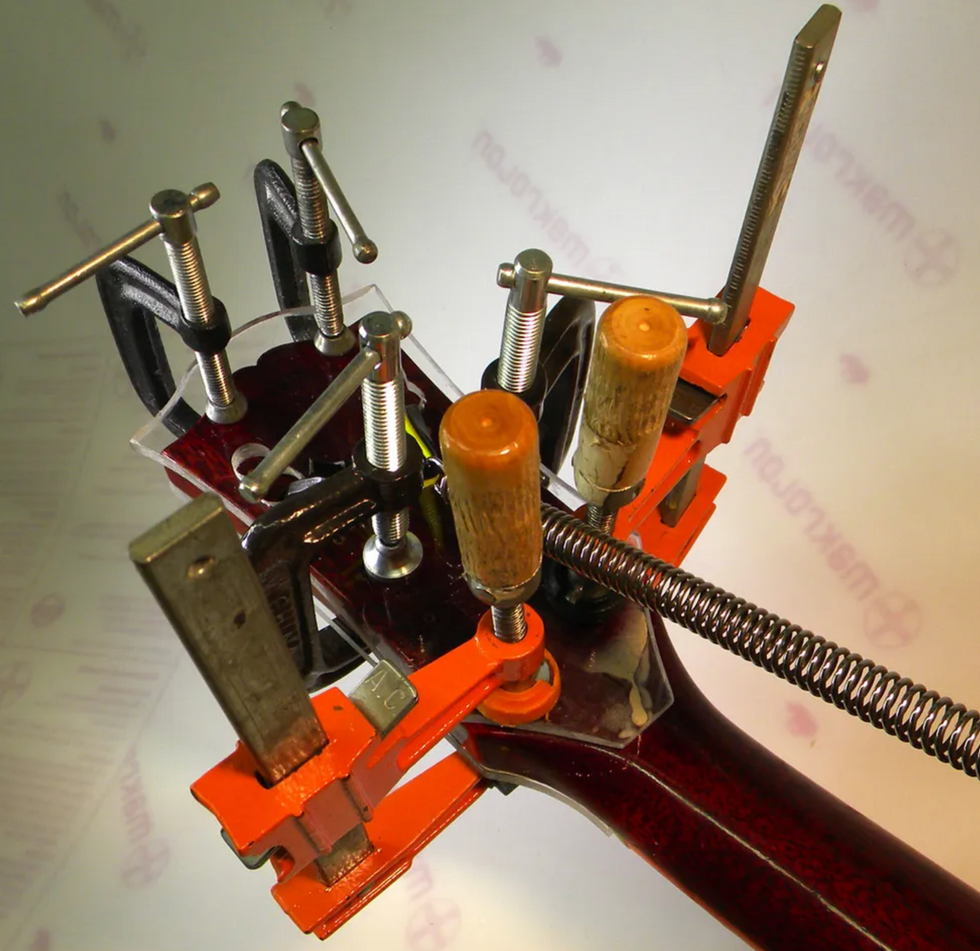
The project guitar.
The instrument we're dealing with is a 1987 Steve Vai signature model Ibanez Jem. My client wanted it set up in standard (A-440) tuning with D'Addario EXL120 strings, which are gauged .009–.042. The guitar appeared to have been previously set up (and I use that term loosely) for a .010 set of strings. The action was very high and the tremolo was tilted back against the body (Fig. 1). This guitar is designed to have a "floating" tremolo, which means it should have been level with the body. However, my biggest concern was the locking nut.
Locking Nut Pitfalls
There are three common issues I run into with the locking nuts in a Floyd Rose-style tremolo system:
- The radius of the locking nut doesn't match the fretboard radius.
- The locking nut sits too high and there are no removable shims.
- There are deep grooves in the string blocks caused by overtightening.
When the radius of the locking nut is rounder or flatter than the fretboard, the action will be inconsistent at the nut. When the nut is too curved, the middle strings will ride higher than the two E strings. When the nut is too flat, the middle strings will be low and the E strings will be too high. Make sure you have the correct locking nut for your guitar.
If the entire locking nut assembly is too high—as in this project—you'll probably have to remove some of the wood under it. Don't try this unless you have the proper tools and training to do it correctly.
Take great care when you tighten the string blocks at the nut. If you overtighten them, it will ruin the blocks and you might strip the bolts. The blocks just need to be snug. When grooves appear in the blocks, it's time to replace them. Otherwise, the blocks won't lock down the strings and can cause them to break.
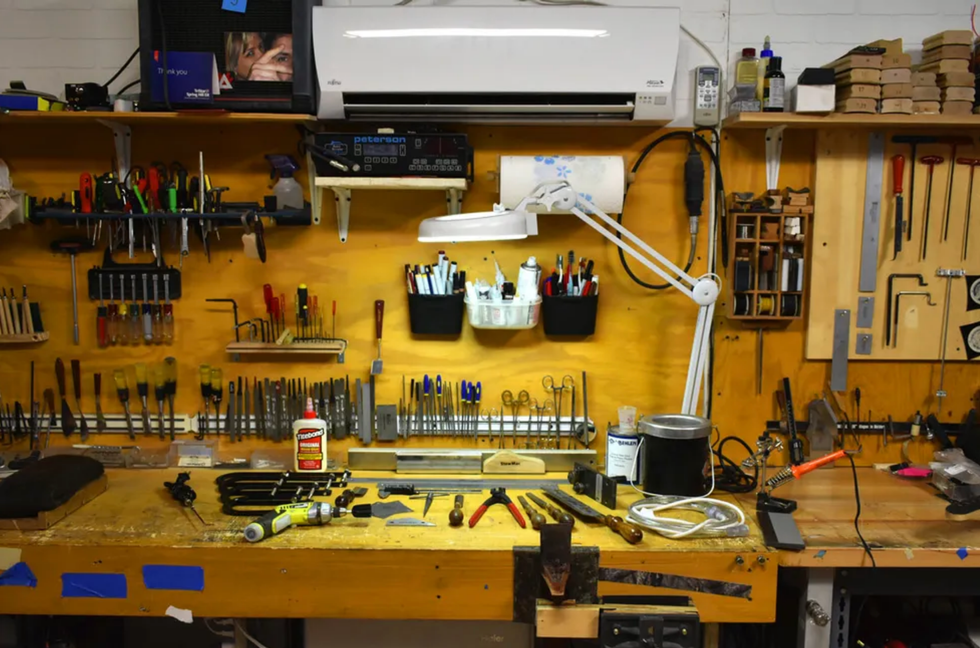
Preliminary evaluation.
The first step in evaluating a guitar's condition is to tune it to concert pitch and take four primary measurements: action (string height) at the 12th fret, neck relief (or gap between the strings and frets), action at the 1st fret, and intonation.
To measure the action, I place a capo on top of the 1st fret and then use an action gauge (a specialized ruler available from stewmac.com) to measure the string height at the 12th fret. Measuring from the bottom of the string to the top of the fret, the string height was 3/64" on the 1st string and 5/64" on the 6th string. The action was way out of balance!
To measure the amount of relief in the neck, I hold down the 6th string at the last fret and measure the greatest distance between the bottom of the 6th string and the top of the frets. The relief was .020"—a little more than necessary.
For string height at the 1st fret, I remove the capo and measure again with the action gauge. At the 1st fret, the 1st string was 2/64" and the 6th string was just over 3/64". Again, this is extremely high action at the locking nut. To make this guitar playable, I'd need to slightly tighten the truss rod, float the tremolo, and lower the locking nut.
Adjust the truss rod.
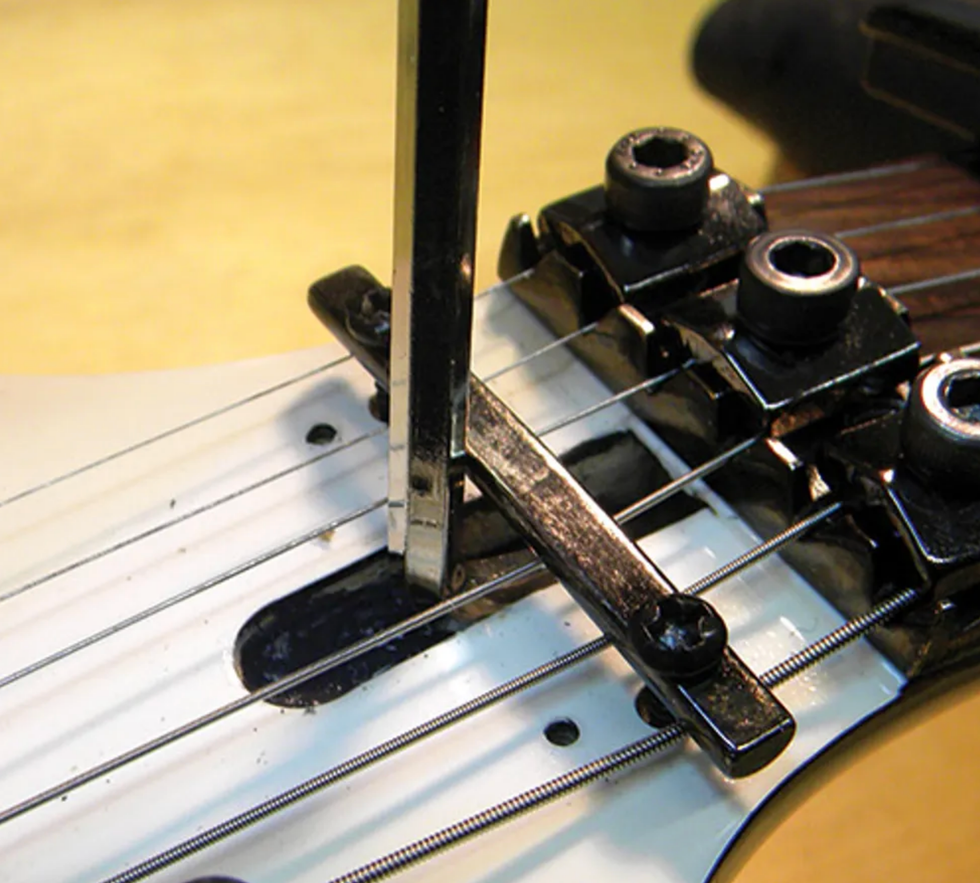
Fig. 2: Adjusting the truss rod to reduce neck relief.
With the guitar tuned to concert pitch with .009 gauge strings, I began by adjusting the truss rod (Fig. 2). Tightening the truss rod reduced the relief from .020" to .012"—the proper amount of relief for my client's shred-oriented playing style.
Note: On single-action truss rods, clockwise motion tightens the rod, lessening the relief. Counter-clockwise motion loosens the rod, increasing relief. Just think "lefty-loosey, righty-tighty."
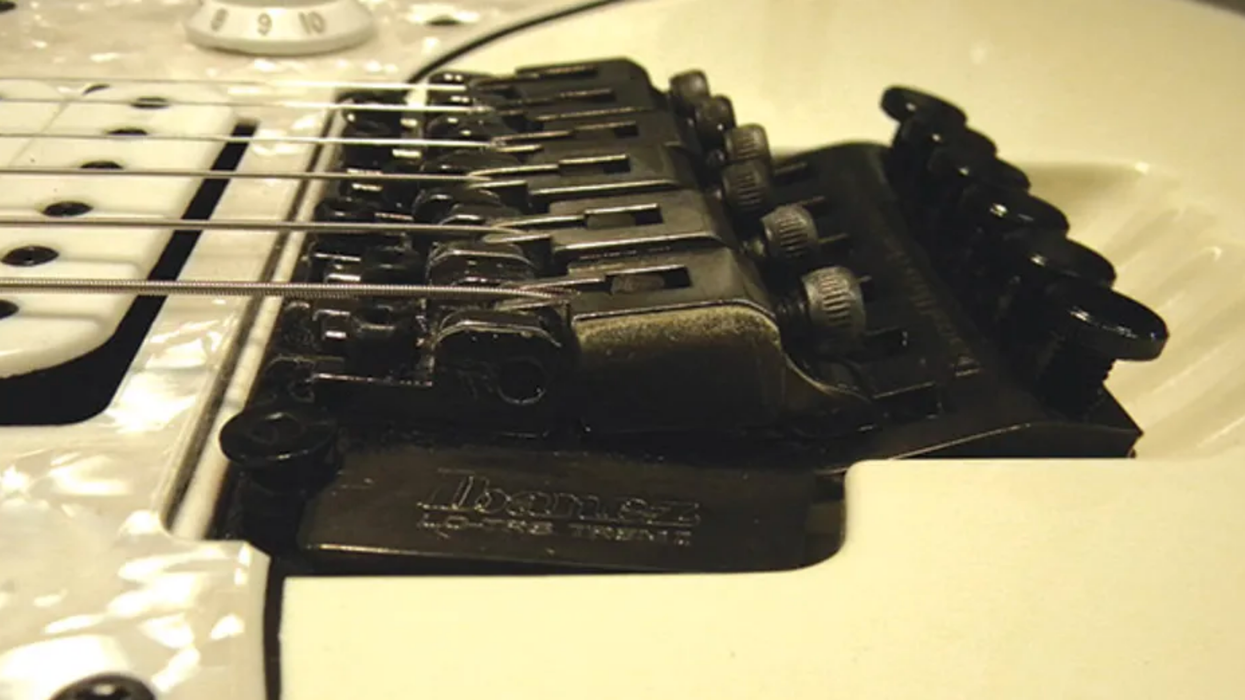
Adjust the trem claw and bridge base.
As I mentioned, the Edge tremolo was tilted back against the guitar body. On a Floyd Rose-style system, you can't use the tremolo to its full potential if the bridge base isn't level with the body. When properly adjusted, the tremolo should be able to pivot forward and backward.
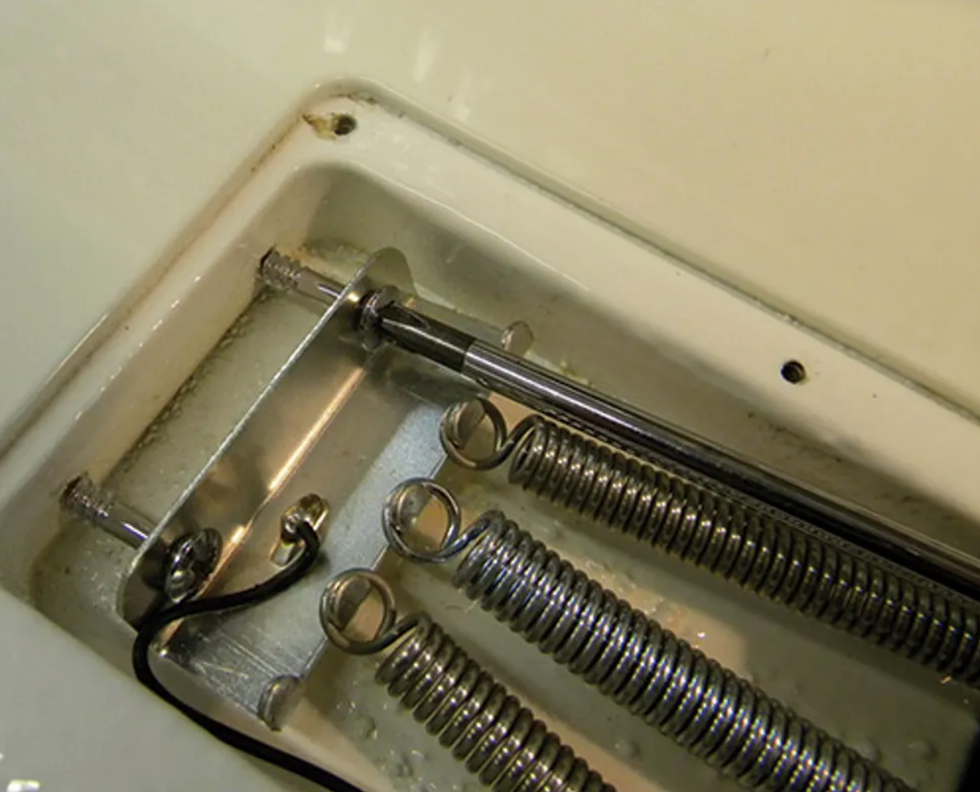
Fig. 3: Adjusting the trem claw to bring the bridge base level with the guitar body.
Using a medium Phillips screwdriver, here's how I adjust the trem claw to get the bridge base level with the body:
- Tune to pitch.
- Check the tremolo to see if it's tilting back toward the body or lifting up too much away from the body.
- Inside the trem-string cavity, adjust the two screws holding the claw to the body of the guitar (Fig. 3). Loosen the screws to lift the bridge base away from the body. Conversely, tighten the screws to pull the bridge base back toward the body. Always adjust both screws equally.
- Retune the guitar and inspect the tremolo to determine if it needs more adjustment. Expect to turn the claw screws and retune repeatedly before you level the bridge base.
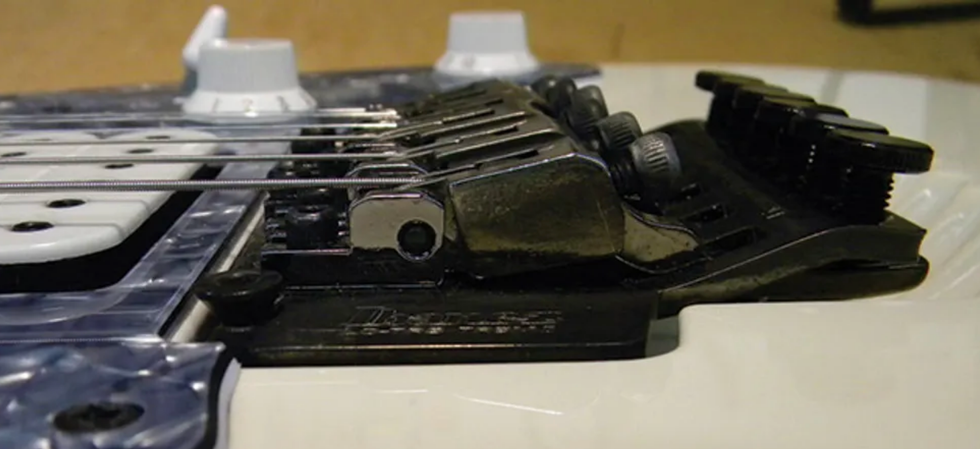
Fig. 4: On a correctly adjusted Floyd Rose-style trem, the bridge base is level with the body.
After several attempts, I finally got the bridge floating parallel to the body with just enough clearance to pull the tremolo in both directions (Fig. 4).

Fig. 5: Adjust bridge height by raising or lowering the two screws located on either side of the bridge assembly.
Once this task is complete, adjust the overall bridge height by raising or lowering the two screws located on either side of the base (Fig. 5). The goal is to raise the bridge to have enough clearance to actually use the tremolo. Note: This is a balancing act between the amount of "float" and "height."
The measurements that matched my client's playing style were a little lower than on a typical guitar. I set the action at the 12th fret to 2/64" on the 1st string, graduating to 3/64" on the 6th. This was a comfortable action that worked perfectly for my client's preferred .009 set of strings.
Adjust the action at the nut.
When the action is too high at the nut, the strings will pull sharp when you fret them. And, of course, the guitar is tough to play—we don't want that.
As we know from the preliminary evaluation, the string height at the 1st fret was extremely high on this Jem. Usually, you can lower the locking nut by removing it and taking out small metal shims.
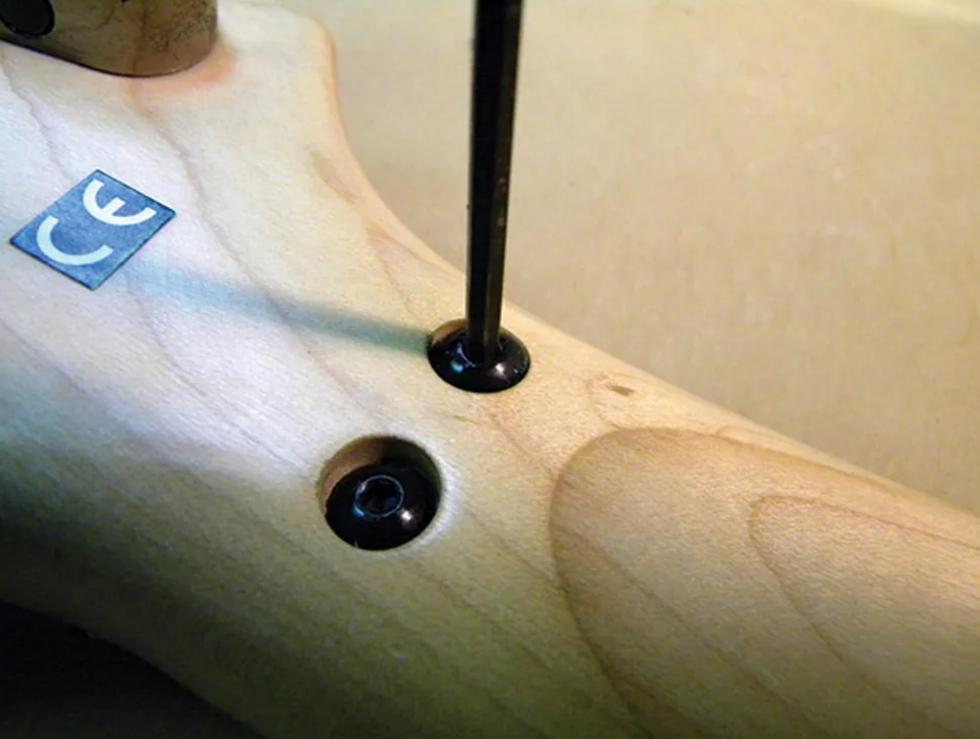
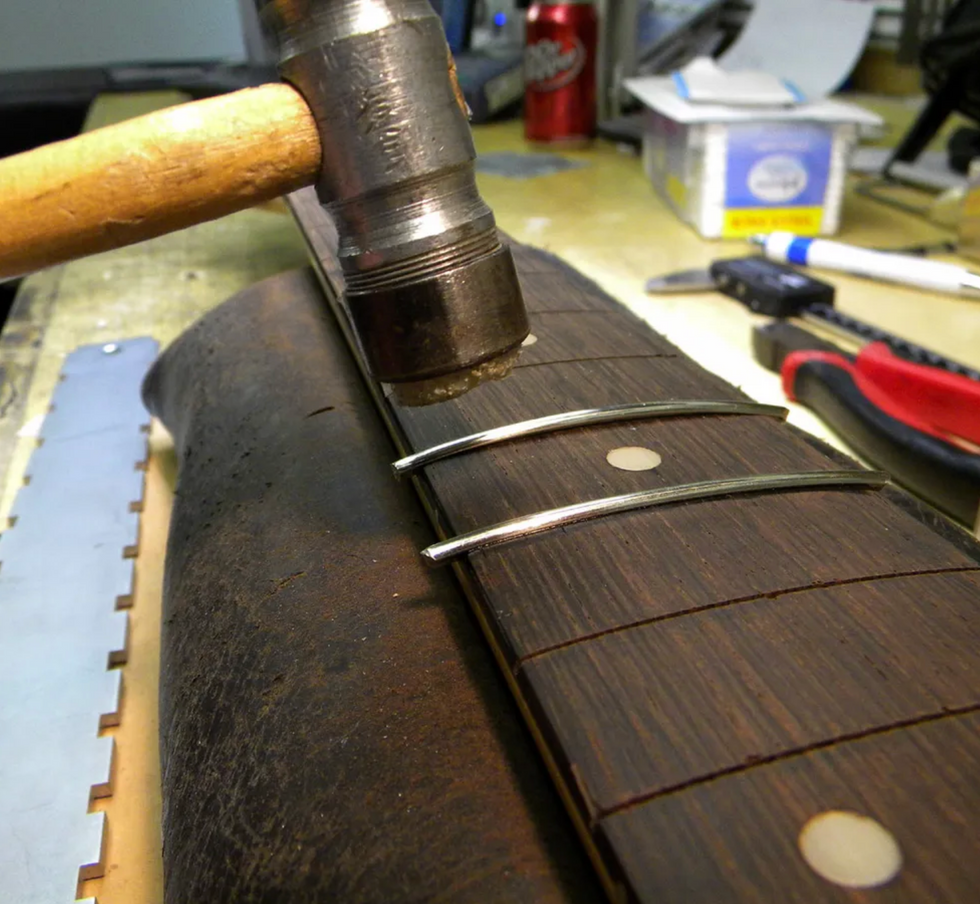
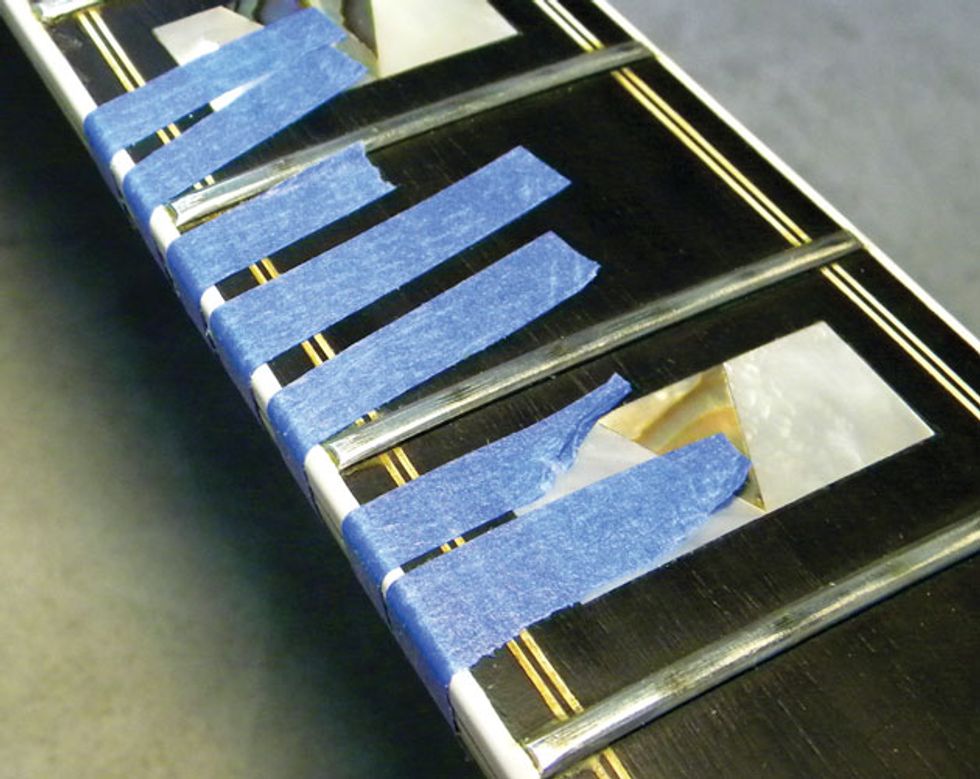
Fig. 6: To remove the locking nut, take off the strings and then undo these two screws.
But when I took off the strings and removed the locking nut (Fig. 6), there weren't any shims. This is one of those little "surprises" you'll run into from time to time working on guitars.
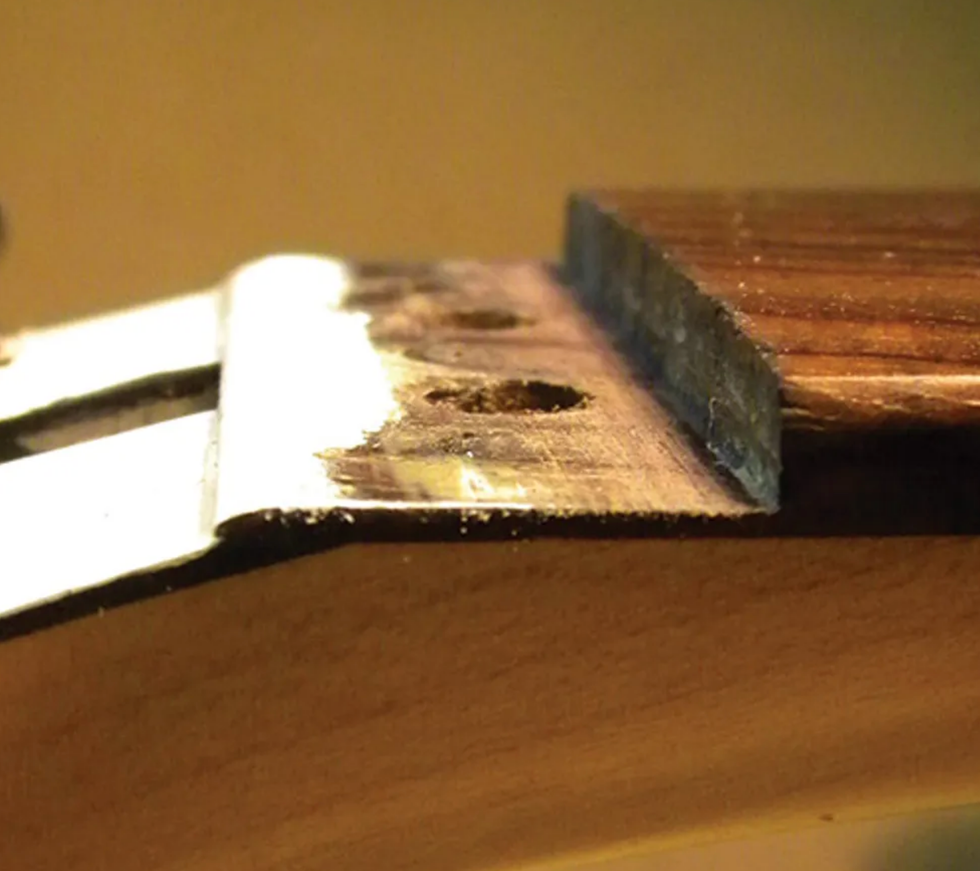
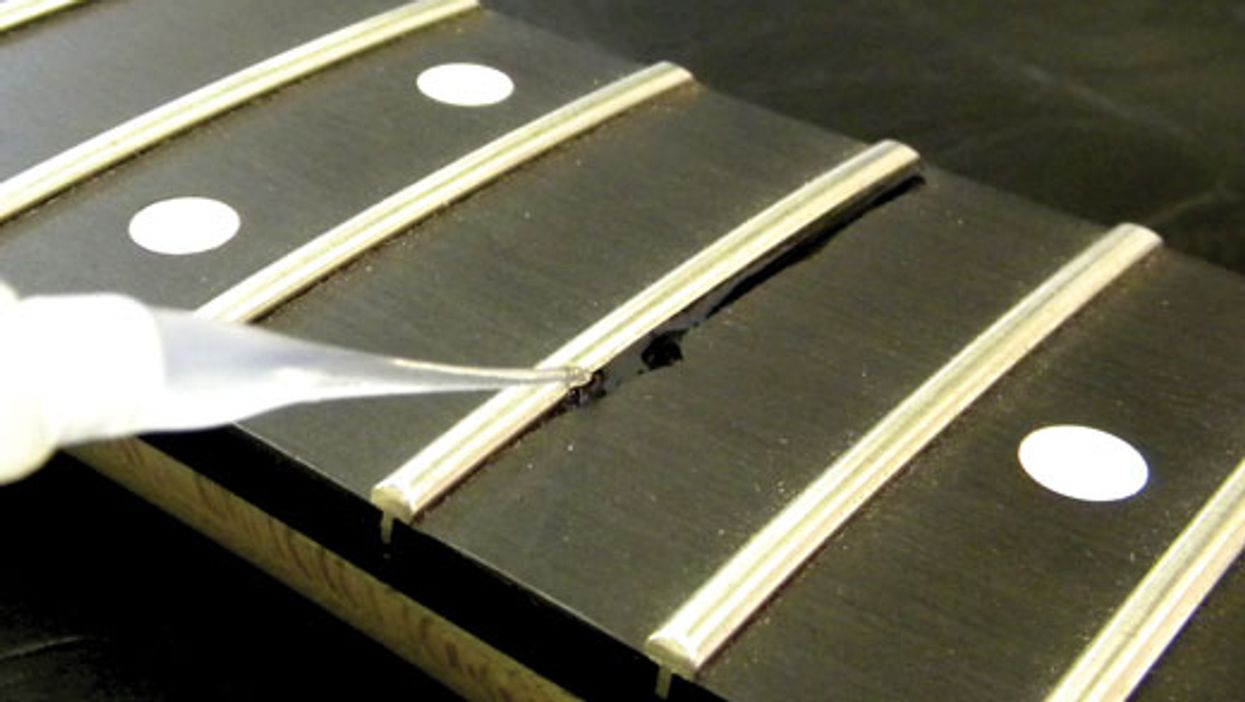
Fig. 7: The paint glob under the locking nut acted like a shim.
Instead of shims under the locking nut, I found a big glob of paint (Fig. 7). This raised the locking nut, so it had to be removed. When a locking nut is jacked up too high, the best way to deal with the problem is to measure the depth of the rosewood slab that's under the locking nut to determine if you can remove any wood without compromising the structural integrity of the neck.
Caution! If the action at the locking nut is too high, consult a qualified luthier or guitar tech before attempting to sand the neck.
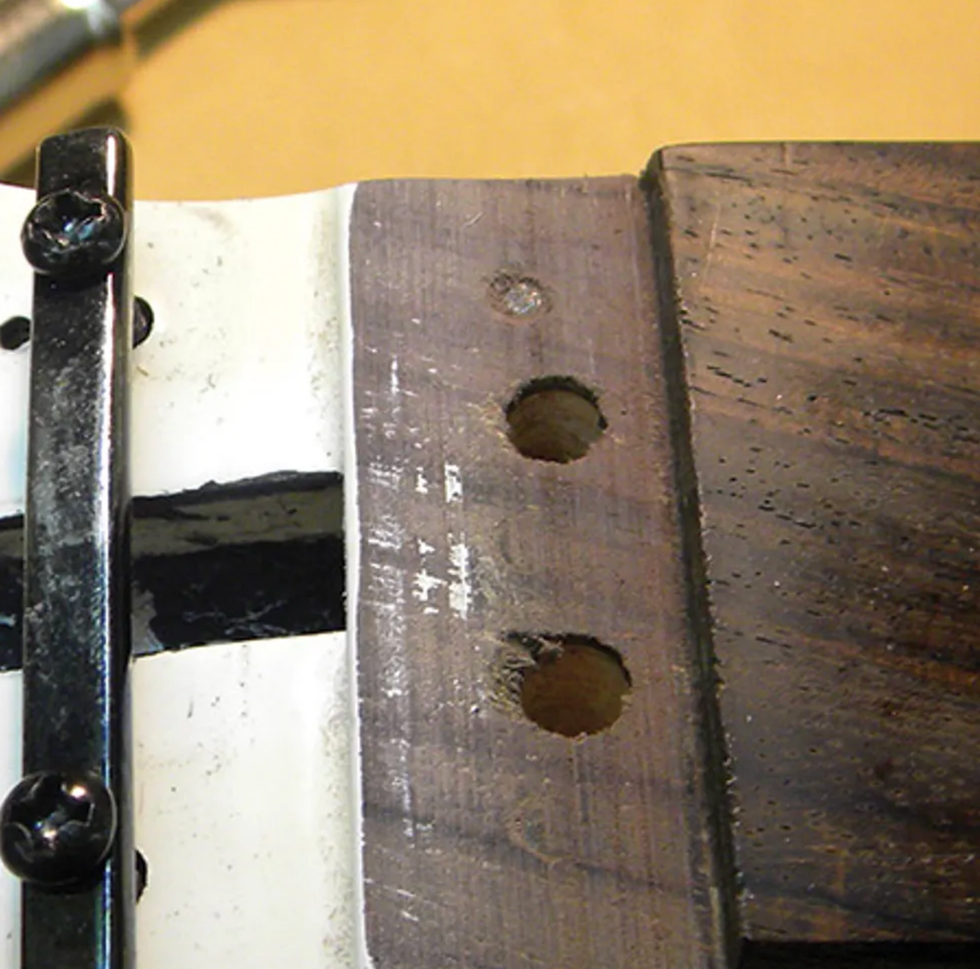
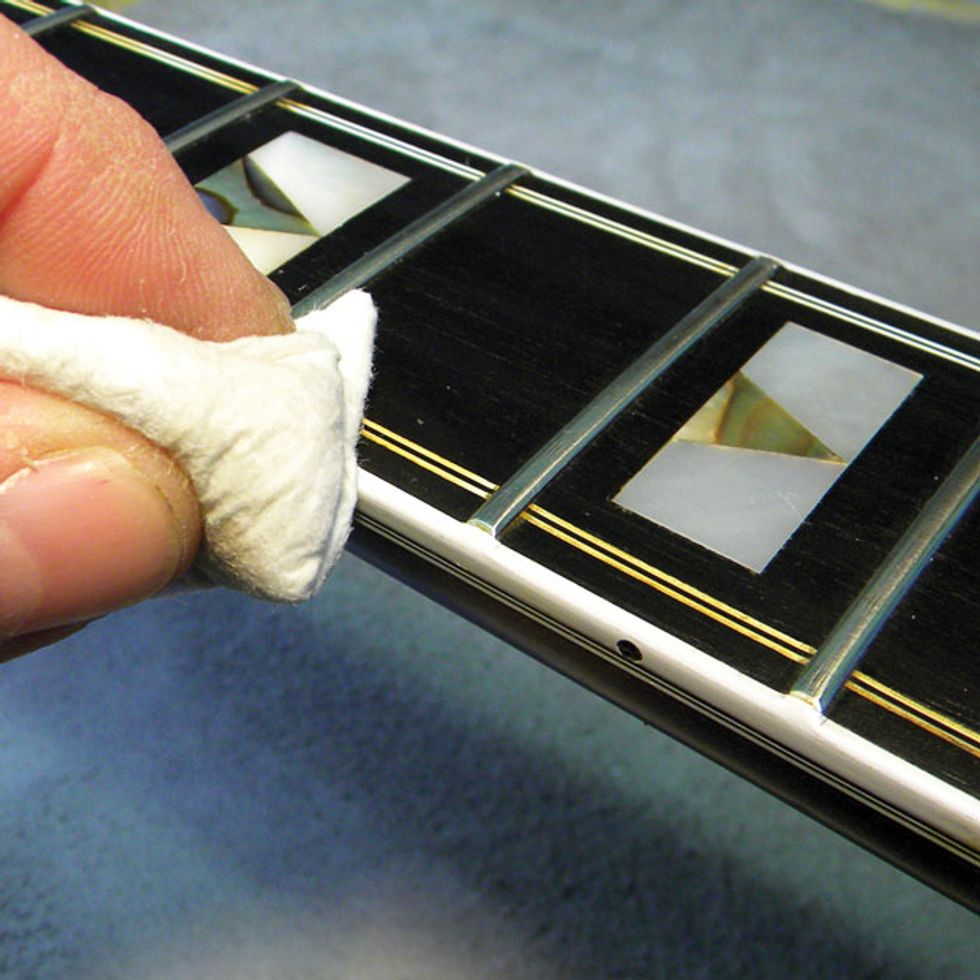
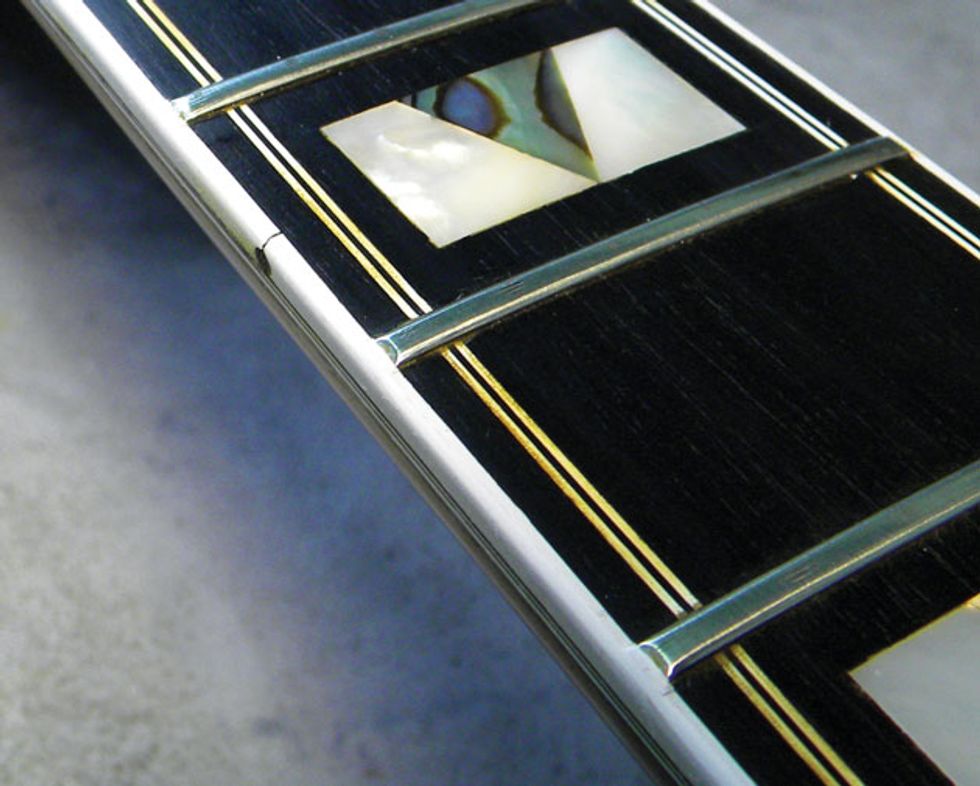
Fig. 8: Sanding off the paint and 1/64" of wood lowered the locking nut and improved the guitar's playability and intonation.
Fortunately, the slab was thick enough that I could safely remove both the paint and some rosewood to lower the locking nut. I sanded off the paint and then about 1/64" of wood (Fig. 8) and reinstalled the locking nut.
After tuning the guitar to pitch, I again measured the action at the 1st fret. It had 1/64" clearance at the 1st string and 2/64" at the 6th string. This is perfect action for the string nut—just high enough to prevent open strings from rattling on the 1st fret, but low enough to keep the strings from pulling sharp when fretted.
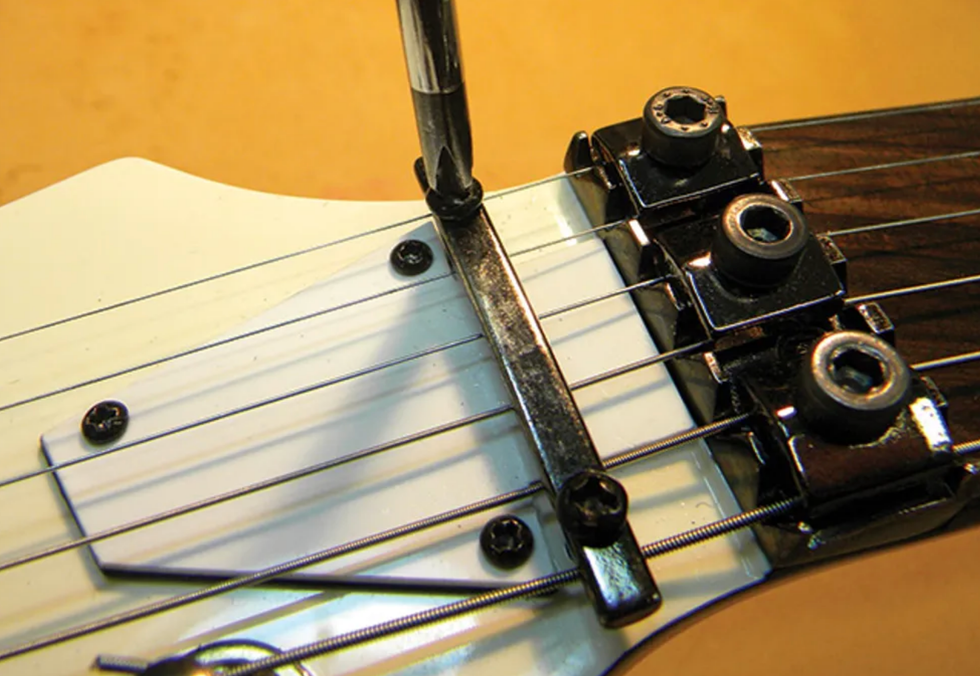
Fig. 9: Adjusting the string retainer.
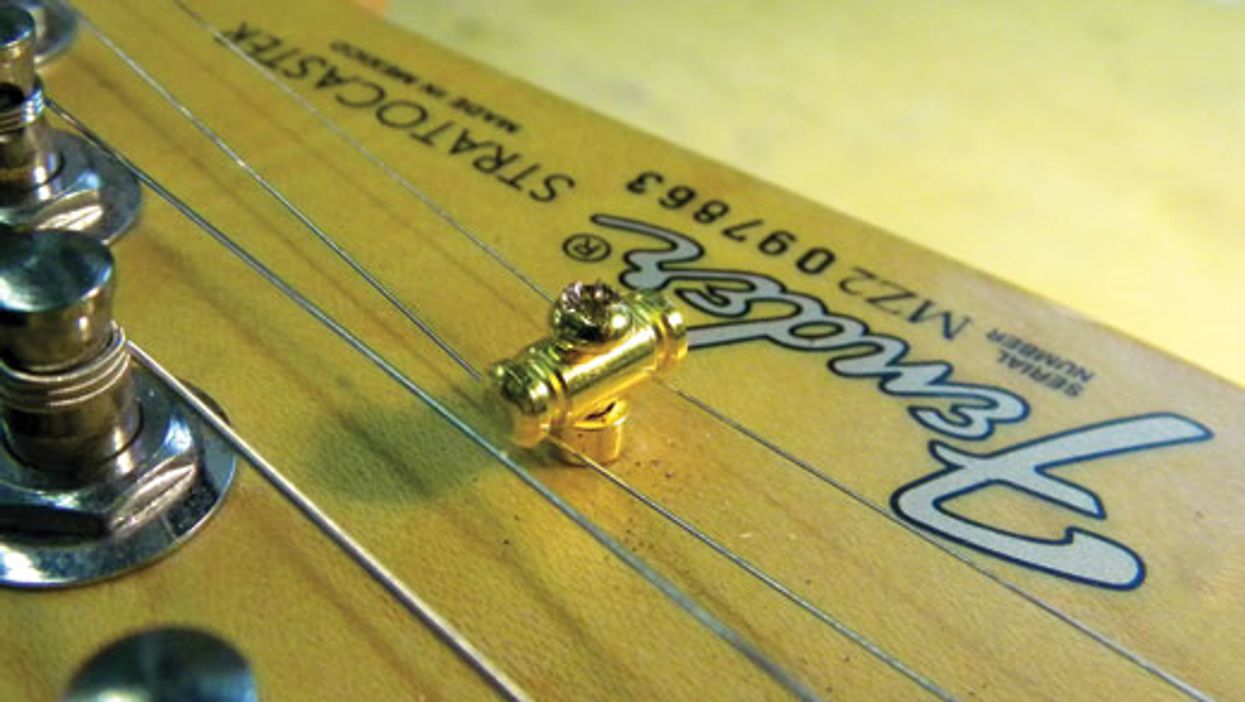
Next, I adjusted the string retainer behind the locking nut (Fig. 9).

Fig. 10: The string retainer should provide just enough downward tension that the strings don't change pitch when you tighten the string blocks.
Here, the goal is to lower the retainer just enough that the strings don't change pitch when you tighten the string blocks (Fig. 10).
Adjust the intonation.
Adjusting the intonation is the final step in setting up a guitar. I've covered this process in detail in "DIY: How to Set Up a Fender Stratocaster." Here's a summary: Intonating a guitar involves adjusting the length of each string so the instrument will play in tune. I use a strobe tuner for this. First, install new strings and tune the 12th-fret harmonic on each string to pitch. Then, fret each string at the 12th fret and compare it to the 12th-fret harmonic, which is the reference. If the fretted note is sharp, move the saddle away from the neck. If the fretted note is flat, move the saddle toward the neck.
Some tips: Remember to always retune after every adjustment. Also make sure you strike the string as you would when playing. In other words, if you normally strike the string lightly, then use the same technique when tuning and checking the intonation.
On this guitar, some of the strings fretted sharp and others flat—the variation was between 5 cents flat to 8 cents sharp (a cent is 100th of a half-step). No wonder this Jem wouldn't play in tune. Most locking tremolo systems, including the Edge tremolo, require a hex key to loosen the bolt that holds the bridge saddle in place. After you move the saddle to the correct location, tighten the bolt, retune, and check the intonation for that string. Take your time—it's important to get this right.
[Updated 10/6/21]


![Rig Rundown: Russian Circles’ Mike Sullivan [2025]](https://www.premierguitar.com/media-library/youtube.jpg?id=62303631&width=1245&height=700&quality=70&coordinates=0%2C0%2C0%2C0)