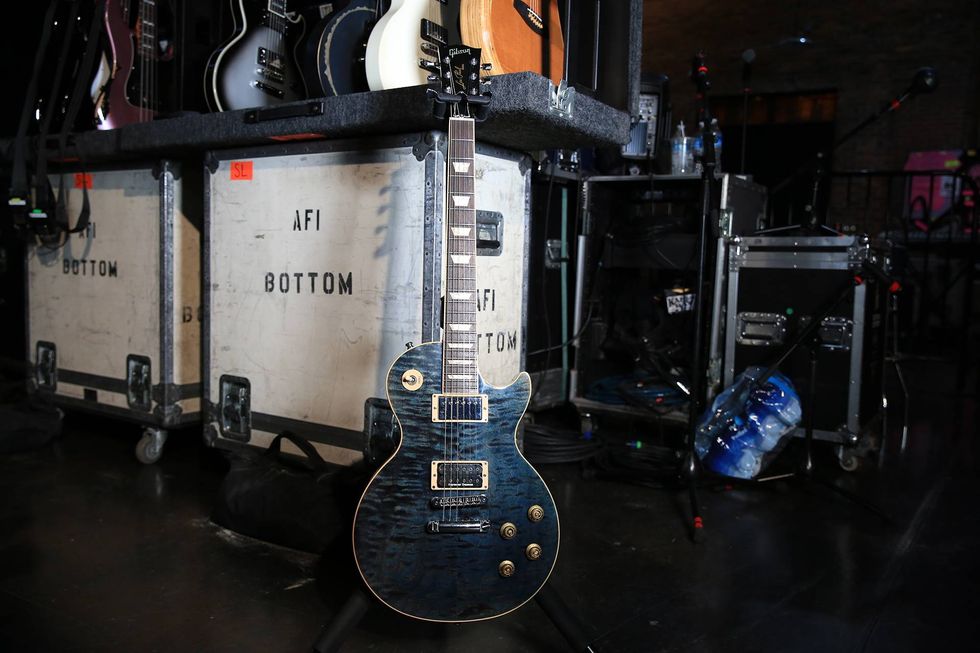
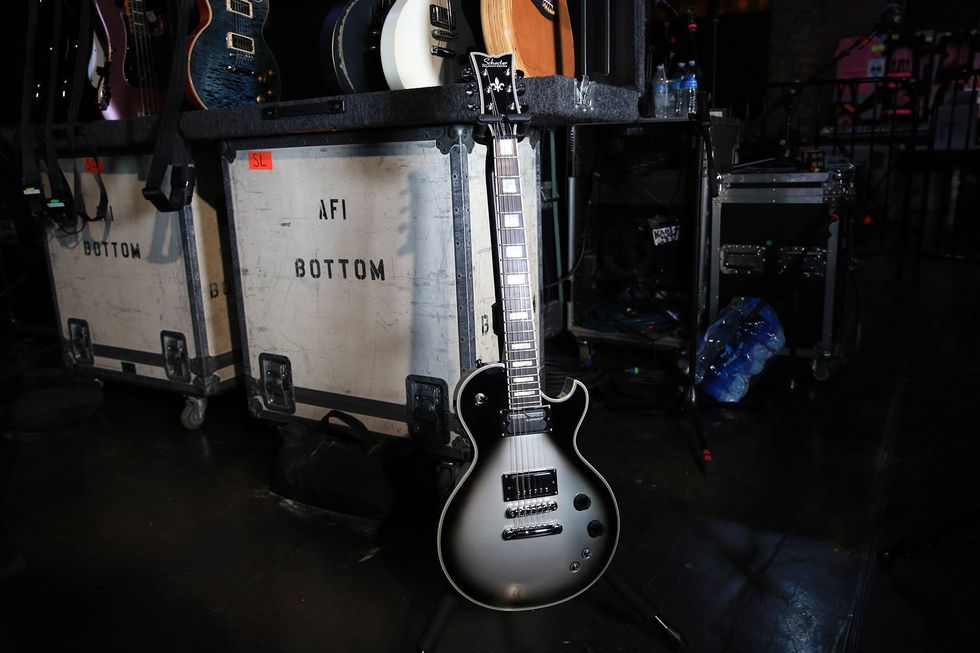
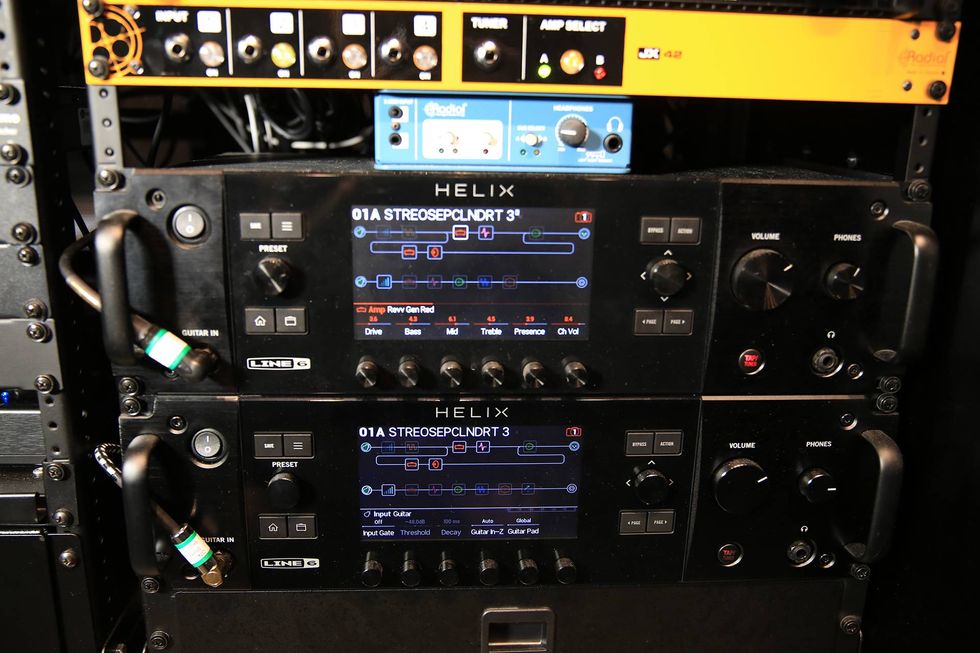
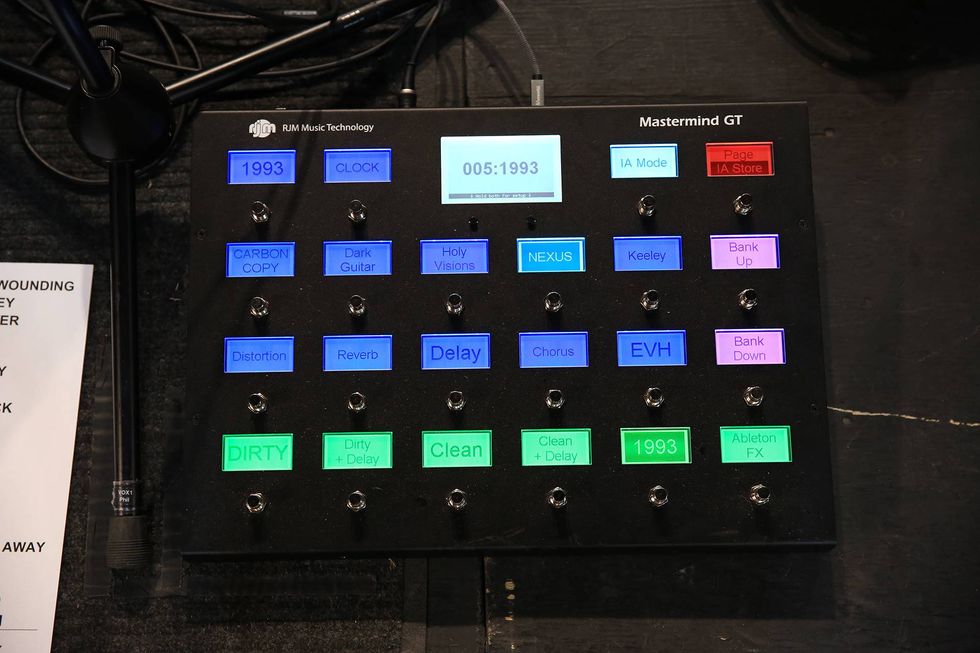
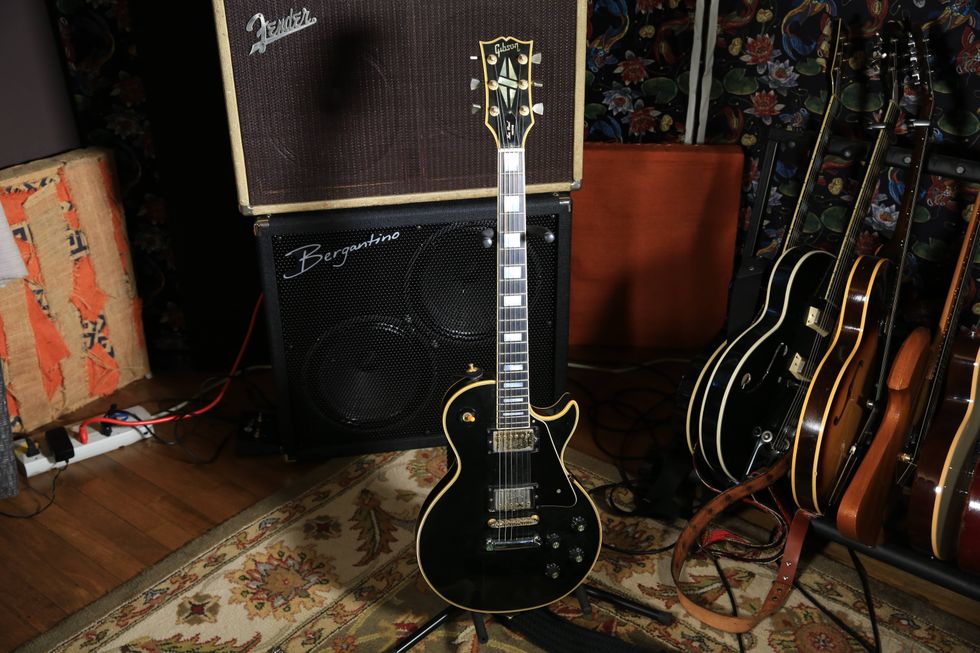
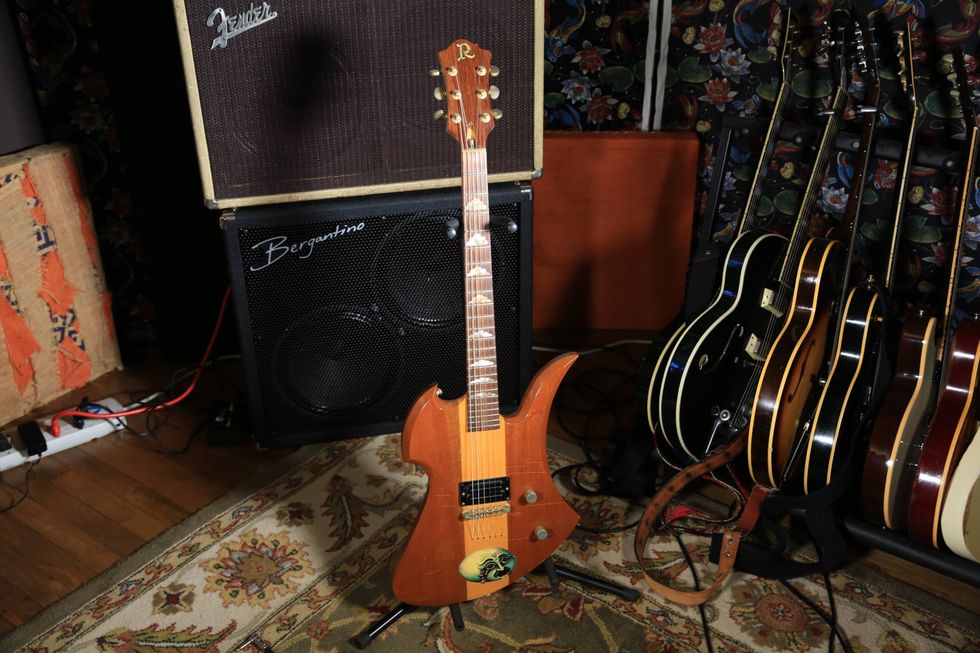
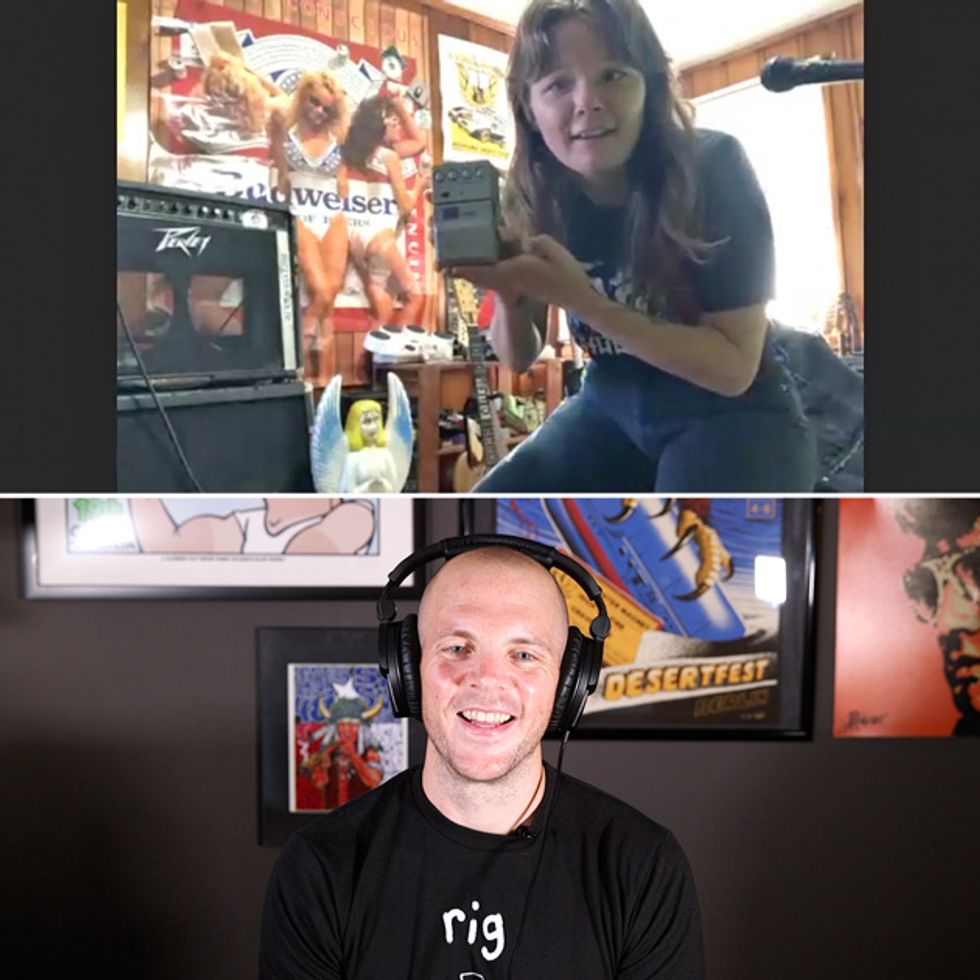
Punk-rock riffin’, patriarchy-smashin’, struttin’ shredder LG introduces us to her custom axes—a "Fancy" SG & skateboard Tele—and fave signal agitators.
Facing a mandatory shelter-in-place ordinance to limit the spread of COVID-19, PG enacted a hybrid approach to filming and producing Rig Rundowns. This is the 33rd video in that format.
Founding guitarist/frontwoman Lauren “LG” Gilbert took some time in between recording episodes for her podcast (Queen of Shit Mountain) and virtually welcomed PG’s Chris Kies into her undisclosed tone bunker. In this Rig Rundown, she opens up about commissioning two custom builds (one that was eventually used for onstage self-defense), explains why she’s a “Peavey princess,” and implores gearheads (providing proof) to get off the internet and hunt for their missing tone link in pawn shops and guitar stores.
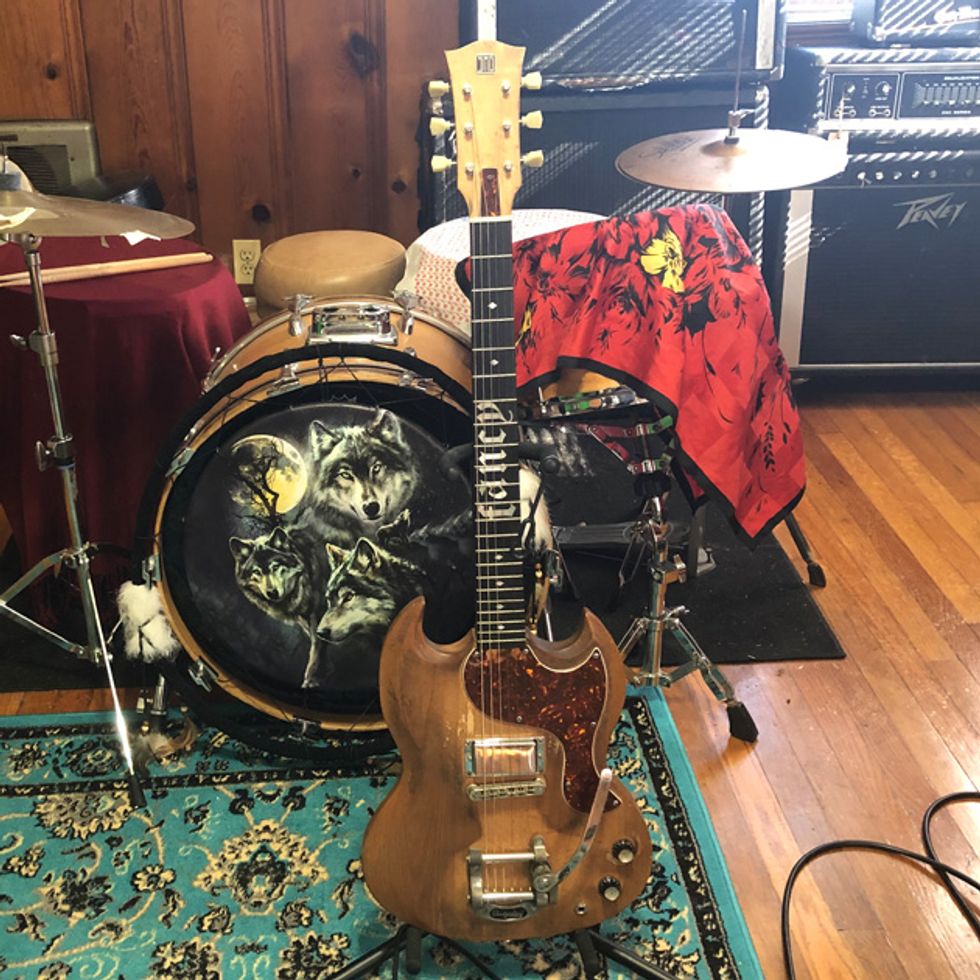
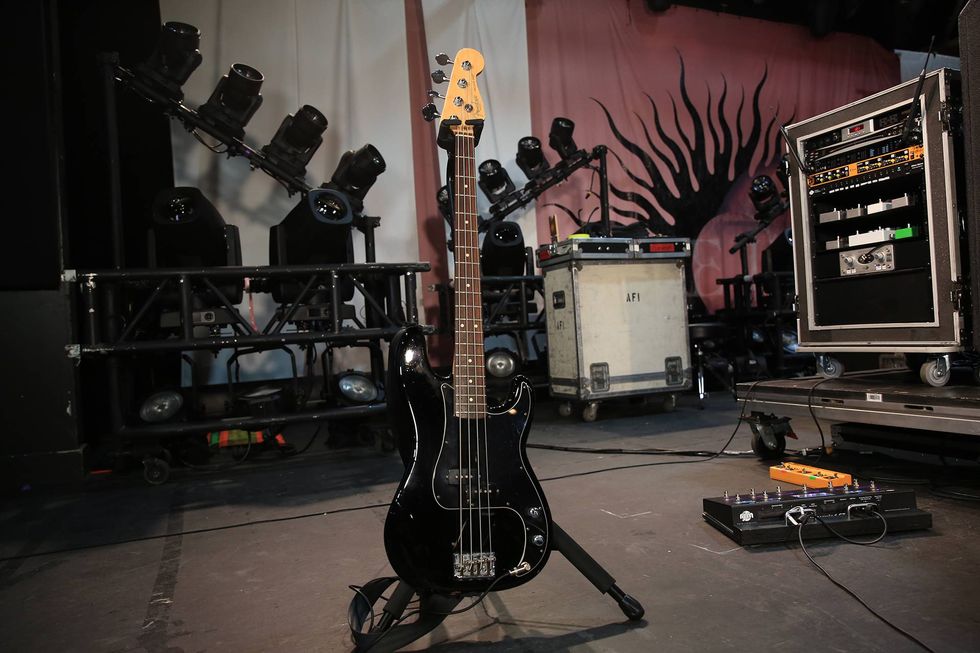
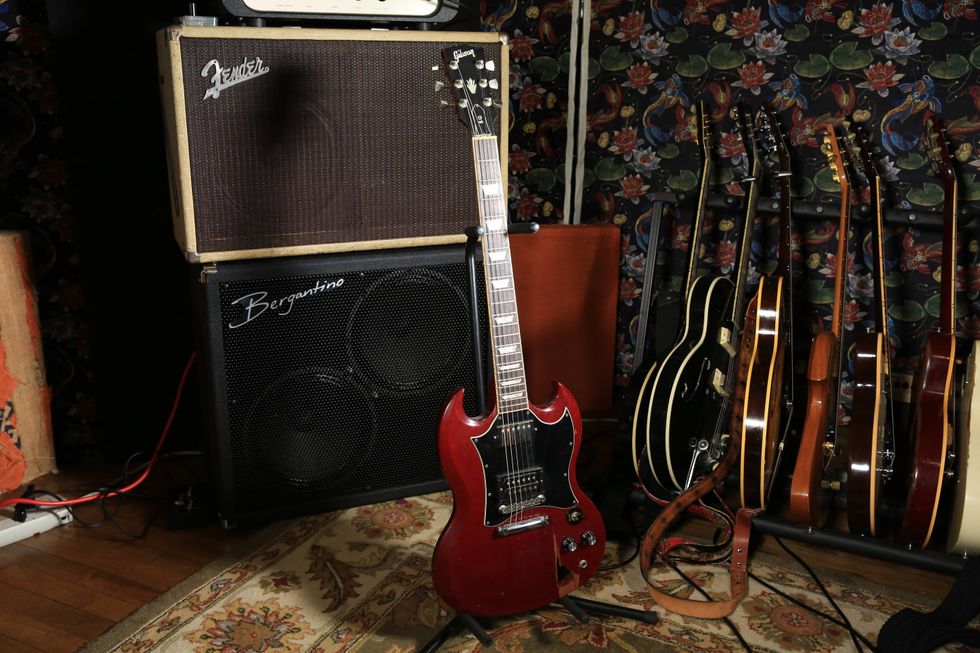
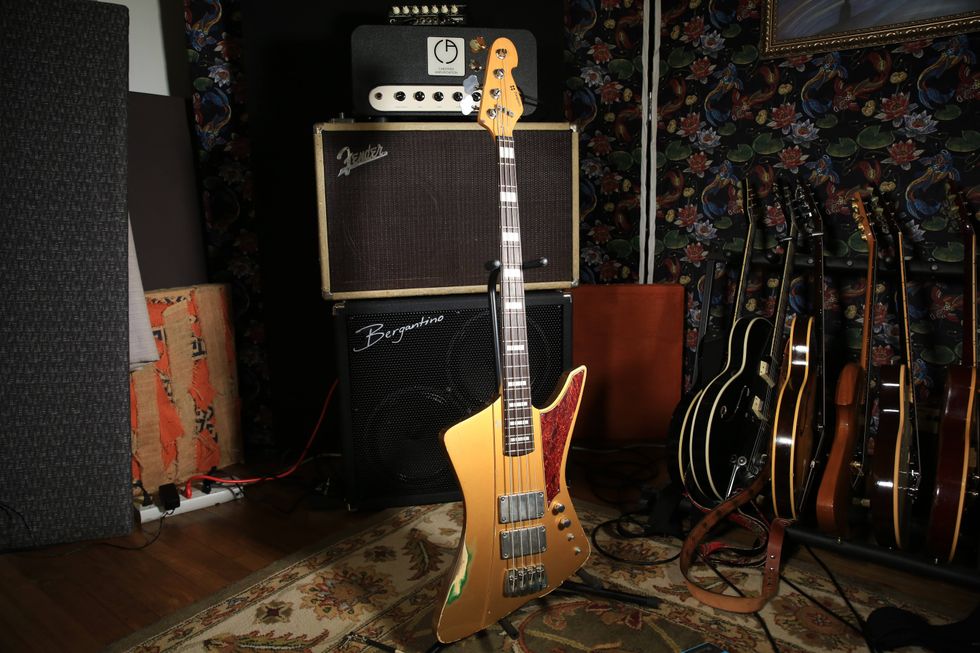
“This was my first nice guitar,” remarks LG. Nashville luthier Dave Johnson (Scale Model Guitars) built this custom ride from a photograph LG provided of an early ’60s, natural-finish SG Special that was owned by her uncle. It has a single Burstbucker 1 humbucker and the Bigsby was acquired for “party time” and was gifted to her by Fly Golden Eagle. She requested that Johnson keep the gun-oil finish to a minimum, so it didn’t stay “new” for too long. The “Fancy” fretboard inlay is an ode to her favorite “white trash” song penned by Bobbie Gentry and popularized by Reba McEntire.
Gilbert uses Ernie Ball Super Slinky Classic Rock N Roll strings (.010–.046) and plays in standard tuning.
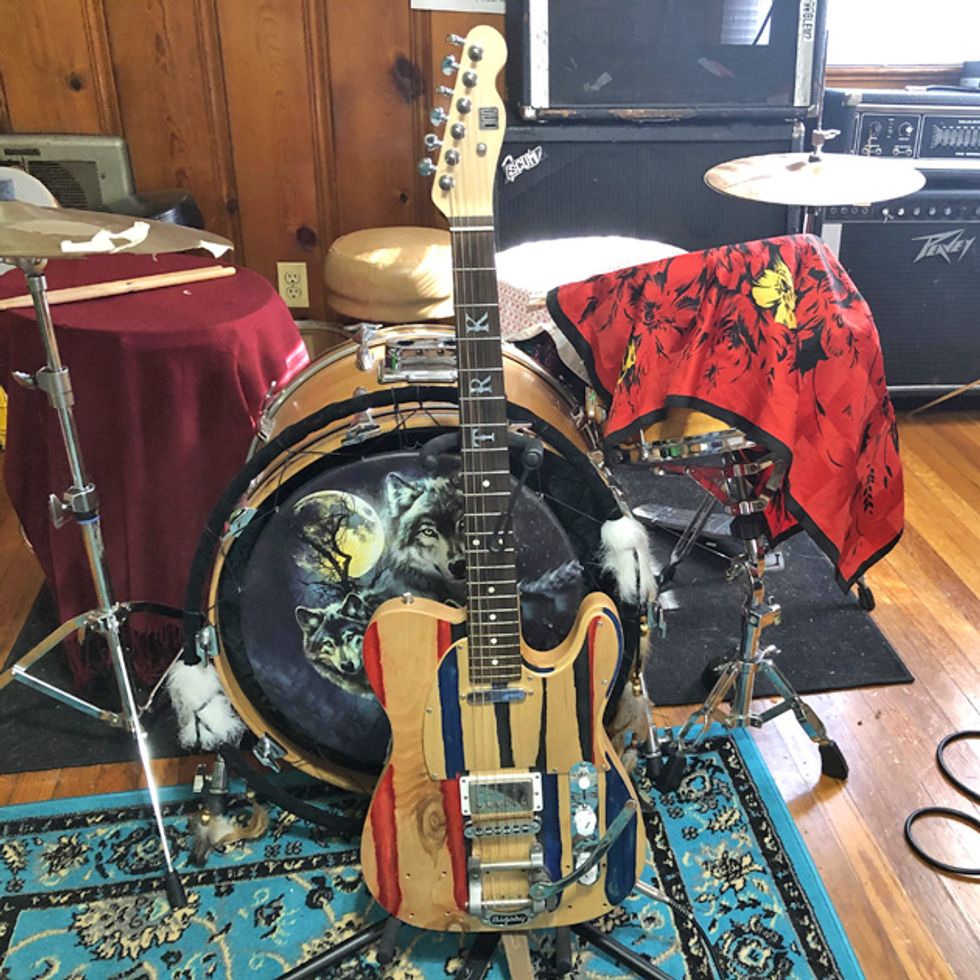
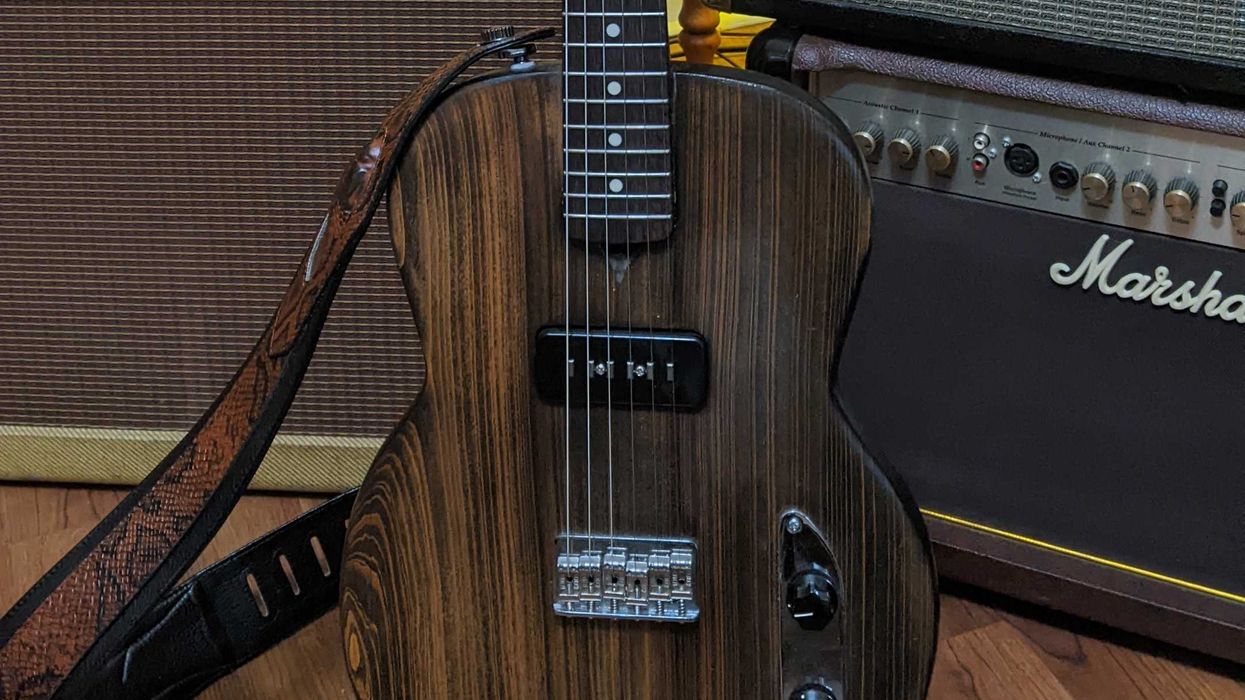
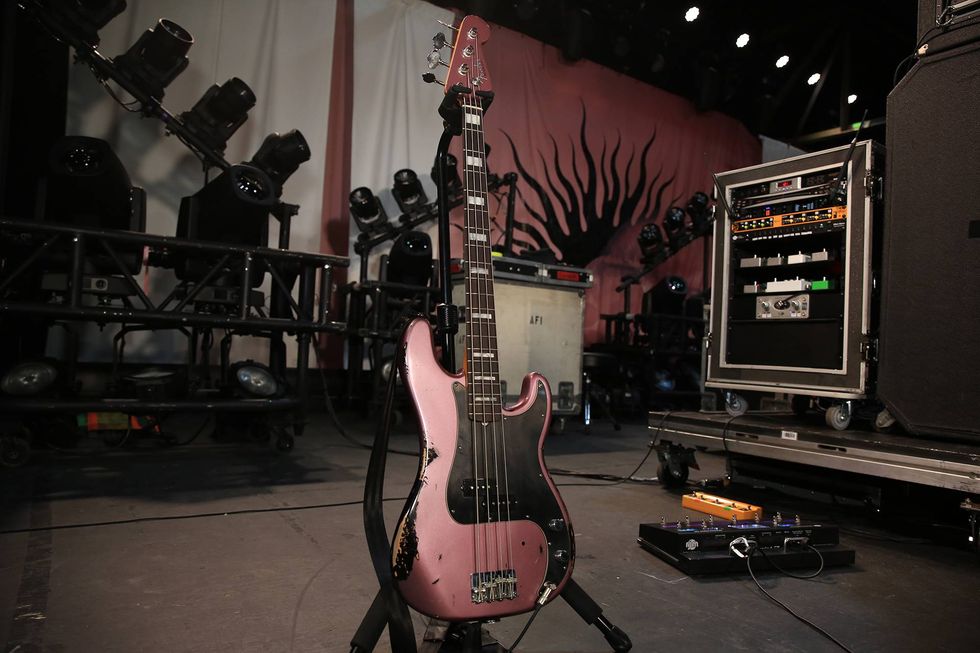
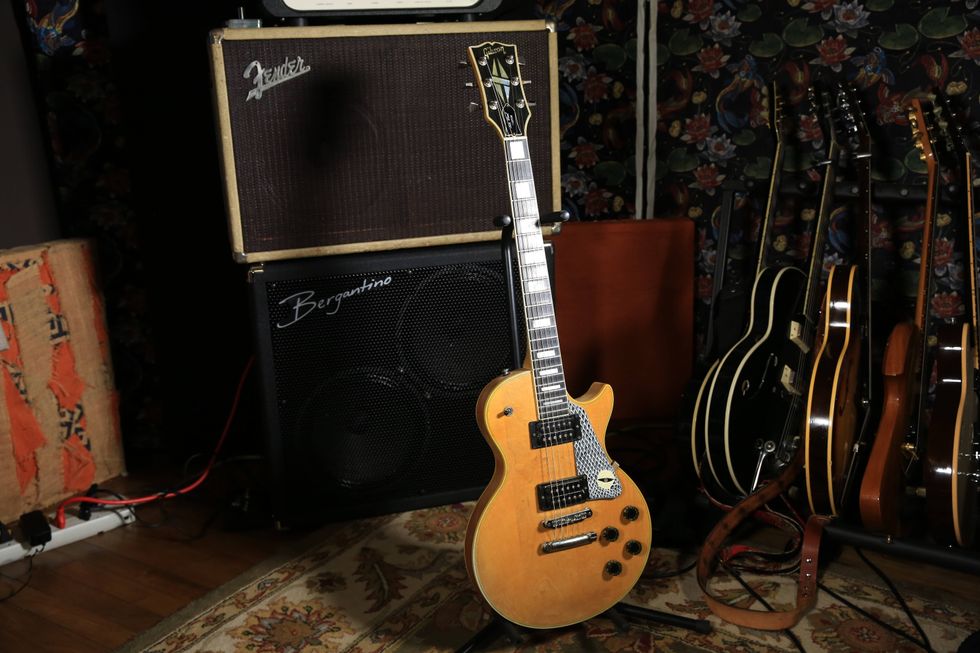
A chance meeting at a NAMM booth and love for reusing old materials directed her on a quest for a guitar that incorporated a skateboard deck. Again, relying on Scale Model Guitar’s Dave Johnson to bring it fruition, he used old skate decks LG found for the body and pickguard. The “T.R.K.” fretboard inlays on this one is a nod to LG’s grandfather (“because he’s the reason I play guitar”) who built and sold guitars during her youth. And even though this guitar is a pain in the neck (literally, it’s over 10 pounds), she loves how it sounds onstage thanks to the Bare Knuckle Yardbird pickups.
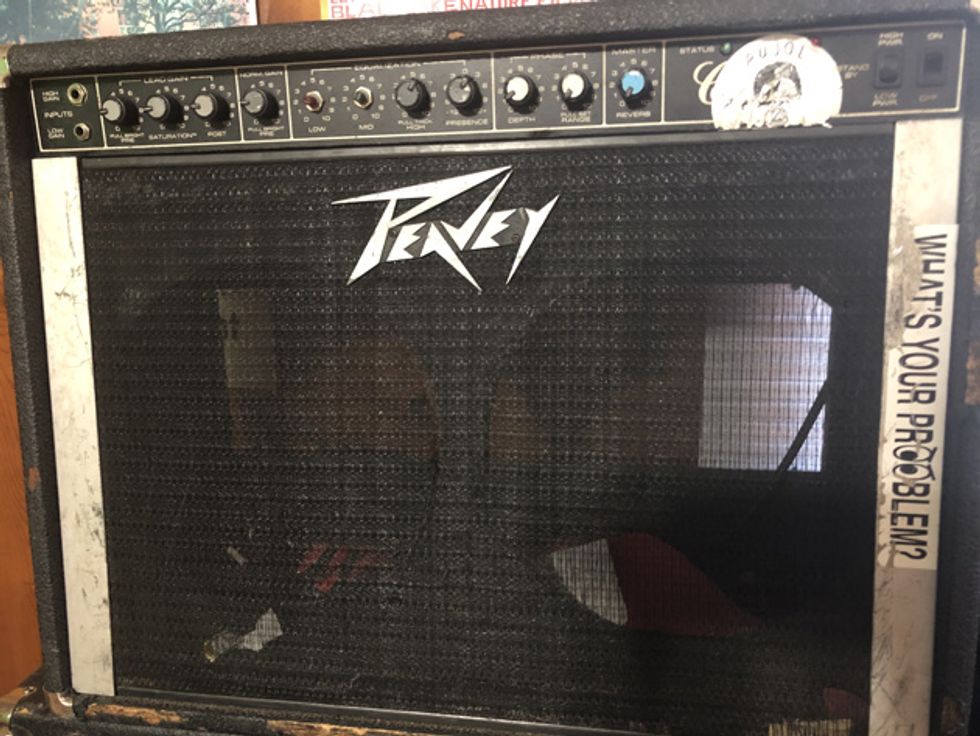
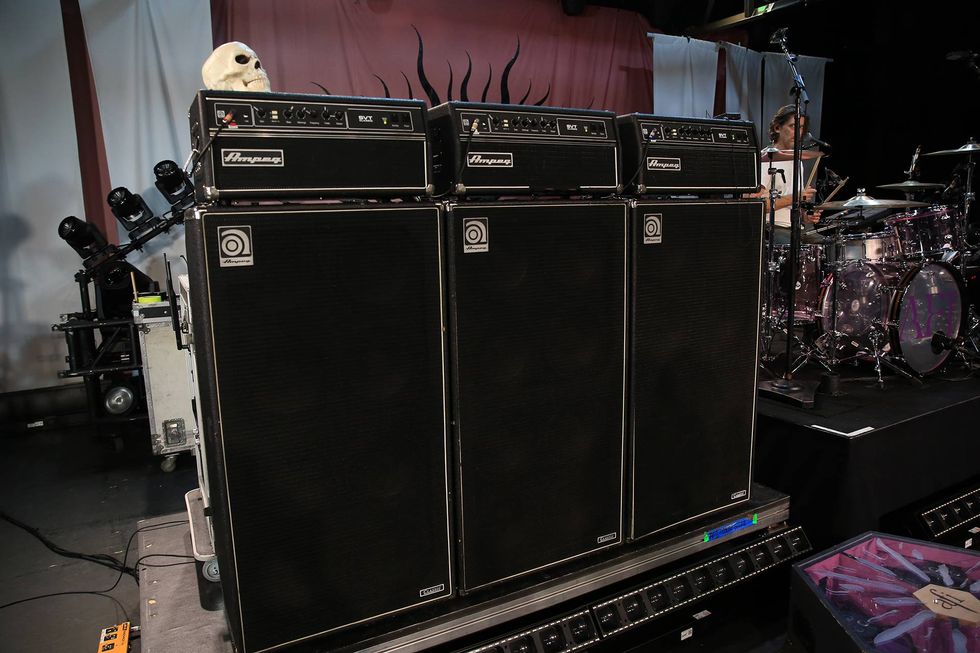
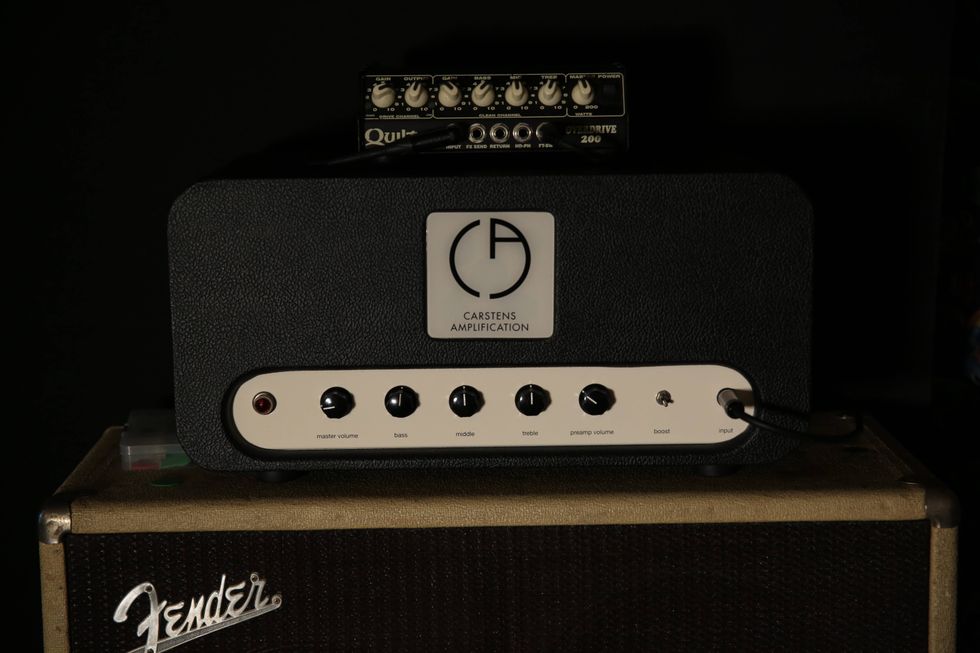
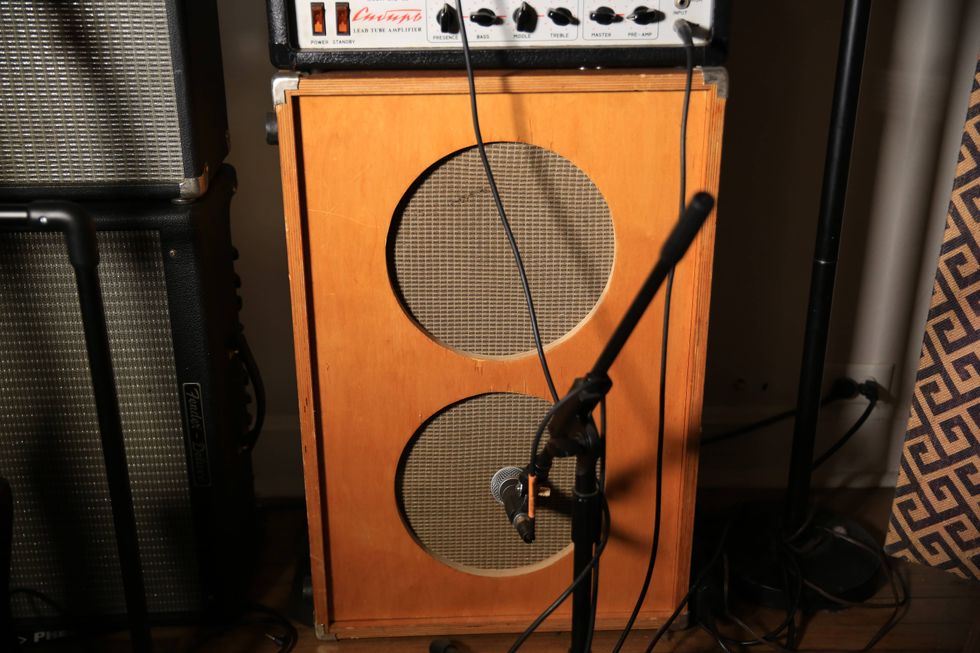
“A true Peavey should be able to be thrown off the Empire State Building and then play a fucking arena,” laughs LG. She loves this ’80s Peavey Classic VTX Series 65-watt 2x12 combo. She took the 12" speakers out and now routes it through a Fender 4x10 cab with Celestions that has added clarity and focus to her tone.
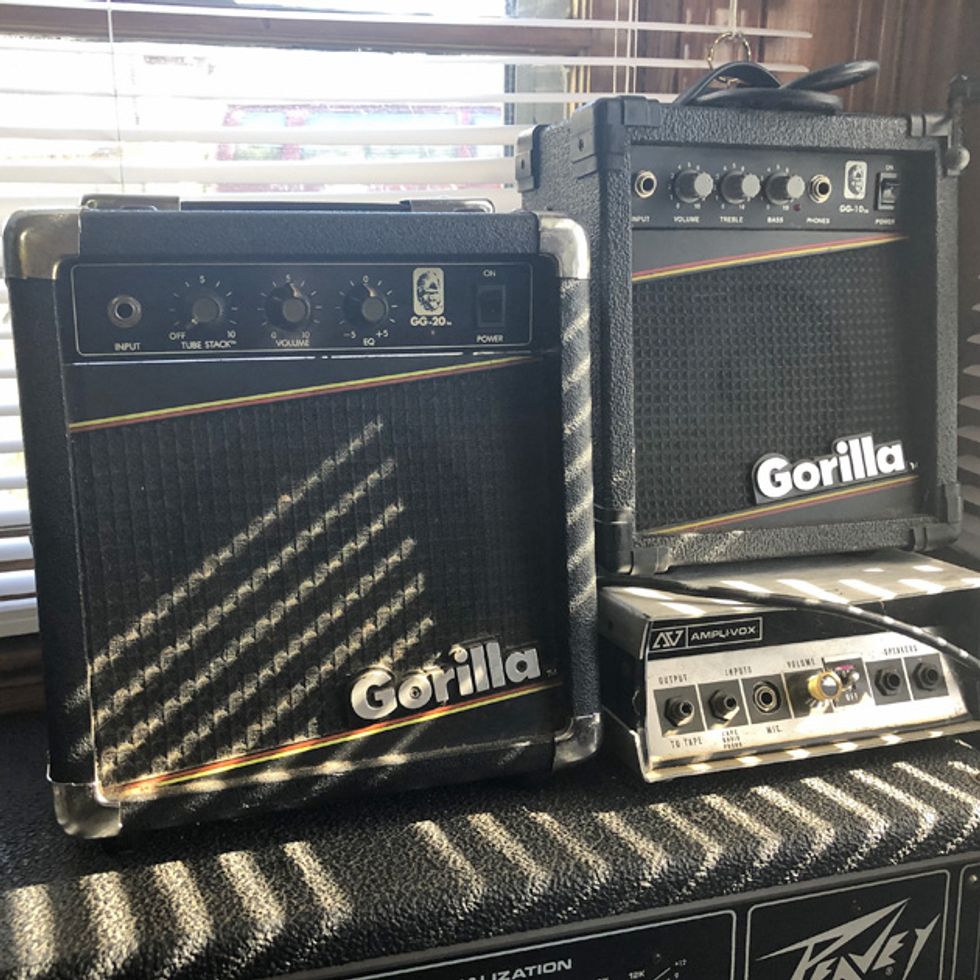
“I wouldn’t even play this thing at home,” says LG. However, she did use the Gorilla GG-20 to record the bulk of her 2019 record, Fuck, Marry, Kill.
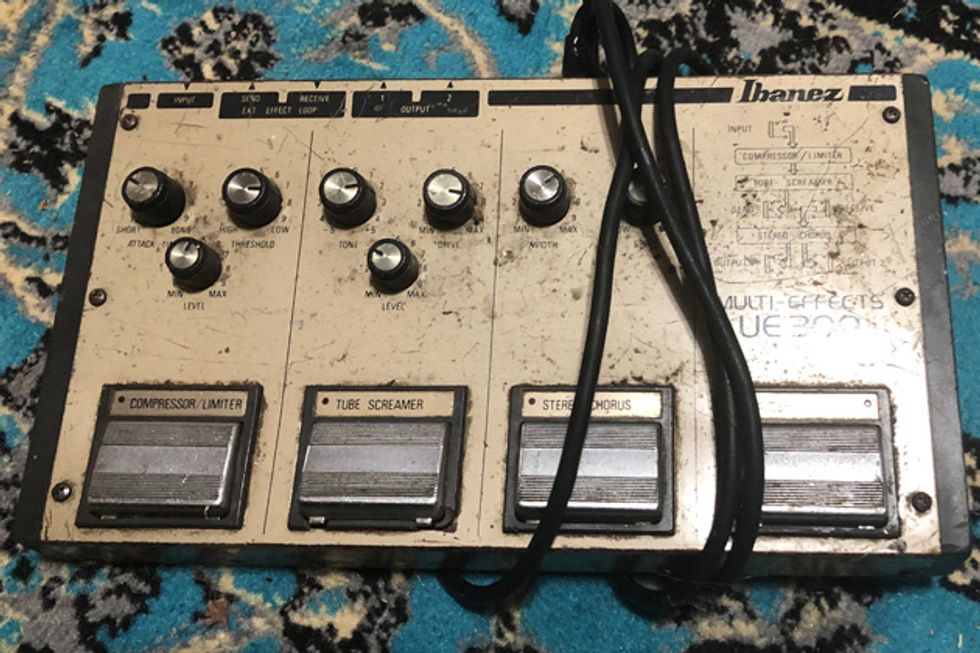
Her longtime stage steward was this Ibanez UE300 multi-effects unit that houses a compressor/limiter, Tube Screamer, and a stereo chorus. It became too finicky and encroaching beers gave her too much anxiety, so she has retired it from the road.
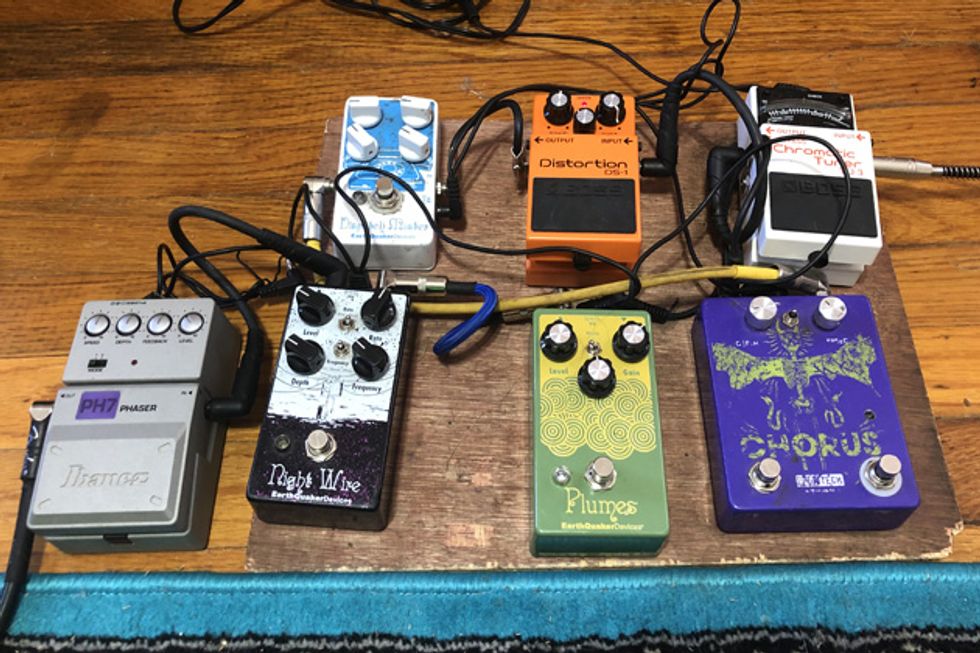
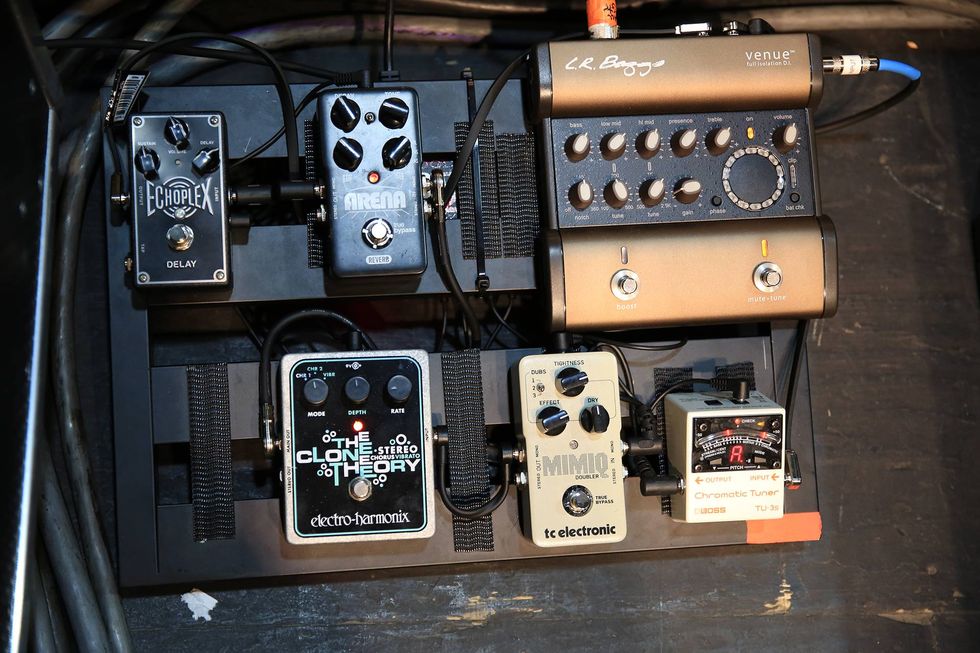
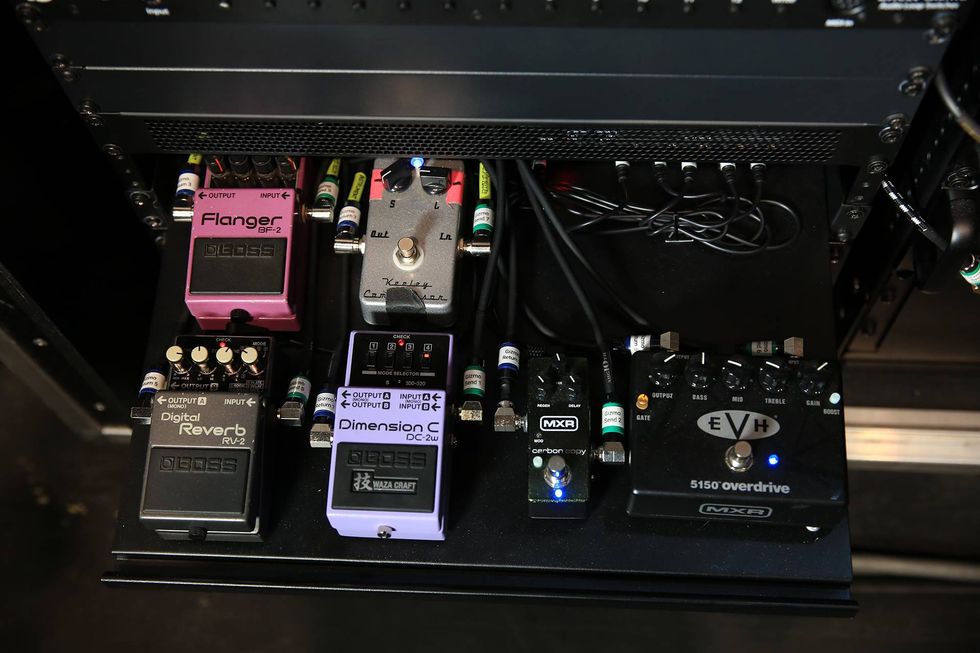
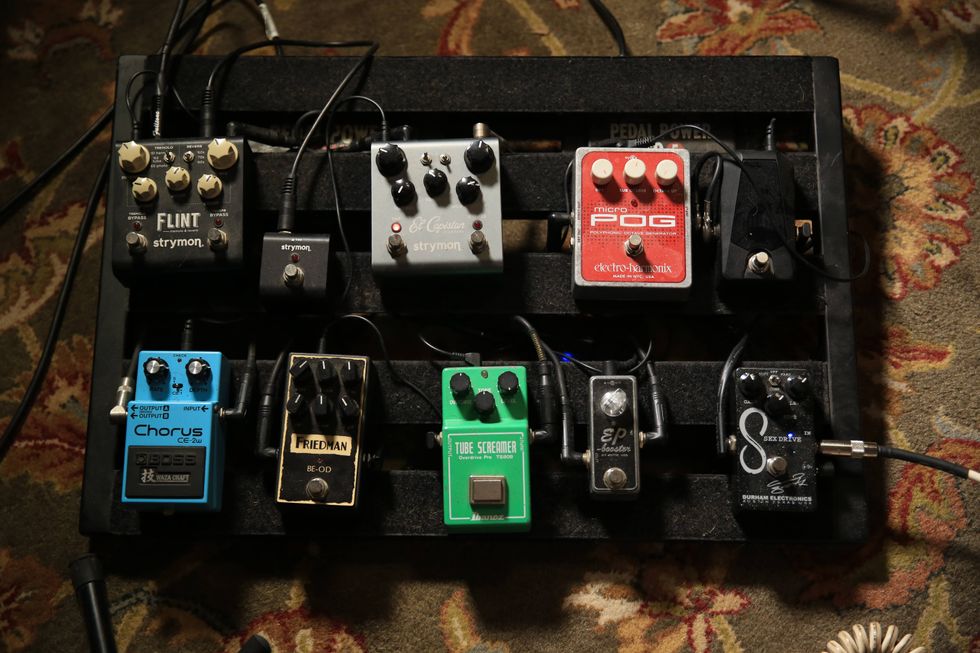
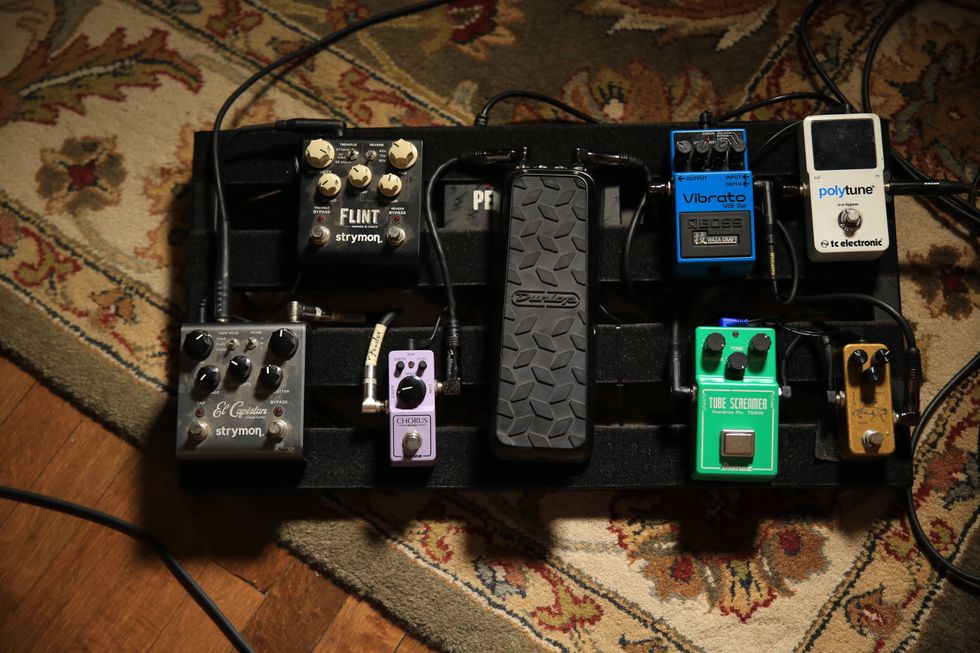
Covering the void (and adding some new mayhem) left by the UE300 is her shapeshifting board that currently has a trio of pedals from her former employer EarthQuaker Devices (Dispatch Master, Night Wire, and Plumes). Other stomps include an Ibanez PH7, Boss DS-1 Distortion, and a Rude Tech Chorus. A Boss TU-3 Chromatic Tuner keeps her guitars in check.
Click below to listen wherever you get your podcasts:
D'Addario Auto Lock Strap:https://ddar.io/AutoLockStrap
Here are a few tips to get you started on your way to becoming an old-school Fender amp tech.
Back in 1995, when my journey with vintage Fender amps started, I knew little about tube amps. Over 30 years, I’ve gradually learned the hard way how to acquire, play, service, and give advice. If tube amps are to become a hobby for you, I recommend learning some basic maintenance. You’ll be better off in terms of time and money, and even more important, the knowledge about how circuits and components affect tone will give you a wider array of sounds to play with. But where should you start?
Here’s my list of relevant topics that you should be able to master with a little patience and curiosity. My goal is to get you started on your journey to becoming a Fender amp handyman. The topics are sorted by gravity, and you’ll need in-depth studies from reliable sources on each topic. On my website, fenderguru.com, I’ve tried to explain things easily for musicians, but there are many other good Fender amp resources out there.
Safety. First and foremost: There are lethal voltages inside tube amps, much higher than in transistor amps—even after powering some of them off. Learn how to discharge DC voltages before opening an amp. In my website’s buyer’s guide to vintage Fender amps, I have laid out a procedure on how to safely power off and power up these amps by inserting tubes in a specific order.
Speakers. I strongly recommend learning impedance and wiring methods and experimenting with various internal speakers and cabinets. The mathematical formula 1/Rt = 1/R1 + 1/R2 calculates the total impedance for two speakers coupled in parallel; Rt is the total impedance, and R1 and R2 are the impedances of the two speakers. Remember that all Fender amps can tolerate an impedance mismatch from -50 percent up to +100 percent.
Pots and jacks. Fixing scratchy pots is a common task for all amp owners and is usually solved by a rotating exercise that freshens up the oxidized metal surfaces inside the pots. If it’s sticky, get yourself a contact cleaner like WD-40 and spray inside the pot.
“When you get more advanced, you can calculate specific bias currents based on measured plate voltages and a specific tube’s dissipation factor.”
Reverb tank. Reverb failure is common and often explained by bad phono cables or plugs. It is easy to learn the mechanics of the reverb tank by simply unplugging everything, changing cables, and opening the reverb tank to look for detached reverb springs and broken soldering joints.
Replacing power tubes and adjusting bias. A power tube requires a correct combination of plate voltage and bias current to operate safely and at full power levels. Since there are different tubes, component drift/variation in caps and resistors, and different voltages in houses and buildings, some tube amps come with an adjustable bias pot.
You need a bias-meter tool to measure bias currents or voltages when replacing power tubes, or diagnosing an amp that lacks clean headroom or has nasty distortion. When you get more advanced, you can calculate specific bias currents based on measured plate voltages and a specific tube’s dissipation factor. Until then, a general rule is to aim for 35 mA for 6L6 amps (except for the Vibrolux, which has a higher bias current at 38 mA) and 22 mA on 6V6 amps. Use your ears, too!
Caps. Old, dried-out electrolytic capacitors should be replaced for both tone and safety’s sake. With a soldering iron, it’s very easy to replace each of the 10 to 11 caps in a black- or silver-panel Fender amp, one by one. Be careful with the polarity, and make sure to drain out all DC voltages (see “Safety,” above).
Preamp tubes. Replacing preamp tubes is easy—no bias adjustment is required. Replacing preamp tubes systematically can solve your problem or help you narrow it down. You then need to learn the function of each preamp tube and which channel they serve. If you want to modify your amp, simple tube swaps can easily change the behavior of your amp, like altering the threshold where your preamp or power amp starts breaking up.
Transformers. I rarely come upon damaged transformers, but sometimes I swap them to get a bigger and firmer bass response, or if I want different speaker impedances. By looking at the soldering job, cutting of isolation, wire lengths, and layout, I can easily spot an amateur’s work. To prevent all kinds of safety, hum, and interference problems, a transformer replacement must be done cleanly and robustly. The risks are high.
Understanding the signal chain. If you have more complex problems that tube replacement doesn’t solve, you must learn how to inspect an amp and isolate problems to various circuit functions. This will require you to learn some circuit theory and schematics. The good news is that since Fender amps are all very similar, once you learn to work on one, you can easily learn to work on them all.Saxophonist Charlie “Bird” Parker’s challenging version of a 12-bar blues is one of his most enduring contributions. Learn how to navigate these tricky changes by combining bebop and blues.
Chops: Intermediate
Theory: Intermediate
Lesson Overview:
• Use IIm–V7 progressions to add interest to a blues progression.
• Combine the blues scale with Mixolydian and Dorian to create swinging phrases.
• Increase your rhythmic awareness by using triplets and syncopation.
Click here to download a printable PDF of this lesson's notation.
A big part of the bebop spirit was learning how to navigate through seemingly unrelated chords at speedy tempos. Saxophonist Charlie “Bird” Parker was a pioneer in the bebop movement and he combined his love of the burgeoning style with a deep appreciation for the blues. It’s easy to look at bebop in 2017 and think of it as a complicated and overly intellectual genre, but adding in a blues sensibility can make the changes a bit more approachable.
When looking at a traditional I–IV–V blues, there’s not all that much harmonic information to outline, so bop players like Parker would add chord substitutions. His composition “Blues for Alice” is an example of what’s become known as “Bird Blues.” The changes Parker used on this tune of become so accepted that other composers have written contrafacts—a different melody written on the same changes.
To fully digest these changes, it makes sense to examine the progression in small chunks and see how it relates to the traditional blues form. First, let’s look at the “Bird” changes below. (Remember, in jazz circles a triangle means a major 7 chord and a dash means minor 7 chord.)
When looking at a traditional 12-bar blues in F, the first four measures are usually an F7 (I) moving to a Bb7 (IV) in measure 5. In this version, Parker works backwards from the IV chord with a series of IIm-V7 moves that descend in whole-steps. Measures 4 and 3 are “major” IIm–V7s, but the second measure uses a “minor” version with a half-diminished chord for the IIm. Finally, Parker changed the chord in the first measure from a dominant 7 to a major 7 to place us squarely in the key of F. (It also helps with voice-leading across the first four measures.)
YouTube It
Saxophonist Charlie “Bird” Parker was the figurehead of the bebop era. Listen to his relaxed, swinging take on “Blues for Alice,” which is one of his most popular compositions.
Ex. 1 demonstrates one way to navigate the first four measures. Let’s break that down a bit. I stick entirely within the F major scale (F–G–A–Bb–C–D–E) for the first measure. Easy enough. In the second measure, for the sake of simplicity, I am just implying A7 through both chords. The first two beats outline A7 (A–C#–E–G) and the remaining notes are plucked from the A Super Locrian scale (A–Bb–C–Db–Eb–F–G).
Click here for Ex. 1
I’m using a similar concept in Ex. 2, working with the F major scale in the first measure and thinking A7 in the second. I’m using the D melodic minor scale (D–E–F–G–A–B–C#) over the third measure while targeting the 3 of Cm7 (Eb) on the downbeat of the fourth measure. To create an altered sound over the F7b9, I use a Gbdim7 arpeggio (Gb–A–C–Eb) to nail the b9 (Gb).
Click here for Ex. 2
This next example (Ex. 3) takes cues from great piano players so it requires some quick position shifting. The first shift happens in the first measure, where we move from 5th position up to 8th on the “and” of beat 2. In the second measure, we imply an A7b9 sound using a Bbdim7 (Bb–C–E–G) arpeggio that touches on the #9 (C) and b9 (Bb).
In the second and third measures of this example, we’re basically using the same concept. Because D Dorian (D–E–F–G–A–B–C) and G Mixolydian (G–A–B–C–D–E–F) contain the same notes, we’re simply adding some chromatic passing tones that help the chord tones line up on strong beats. Move the whole concept down a whole-step (to C Dorian/F Mixolydian) for the next measure.
Click here for Ex. 3
The next section of a blues in F might look something like: Bb7–Bb7–F7–F7. Or, if you think of a traditional jazz-blues progression, it might be Bb7–Bdim7–F7–D7. Looking ahead, Parker wanted to target the Gm7 in measure 9. What’s the best way to lead into that chord? Simply add a IIm–V before it. Parker used backcycling to create a series of descending IIm-V7 progressions that connect the Bb7 in measure 5 to the Gm7 in measure 9. Rather ingenious, huh?
While these chords are easy enough to play with basic chord forms, it’s much trickier to solo through them in an authentic way.
Ex. 4 uses the Bb Mixolydian scale (Bb–C–D–Eb–F–G–Ab) over the Bb7 before moving to Eb Mixolydian (Eb–F–G–Ab–Bb–C–Db) for Bm7–Eb7. In the third measure, we move to A minor pentatonic (A–C–D–E–G) before coasting through an Abm7 arpeggio (Ab–Cb–Eb–Gb) for the last measure.
Click here for Ex. 4
The next lick (Ex. 5) demonstrates how you can use simple melodies to navigate this chord progression. The first measure is a simple lick based on the Bb7 chord, then we create a melody just using the F major scale—it’s all about landing on the Gm7 chord at the right time.
Click here for Ex. 5
Our final example over this section (Ex. 6) is just as loose with the chords, but makes sure to hit them as they land. The first measure uses the Bb major pentatonic scale (Bb–C–D–F–G) before using some outside notes that resolve to the root of the Am7 chord. At this point you should be seeing that a big part of the bebop genre is based on rhythm. The mixture of triplets and heavy syncopation is an essential part of the sound.
Click here for Ex. 6
The final section of a blues in F usually goes: C7–Bb7–F7–C7, but that’s too basic for beboppers. In Bird blues, we use a two-measure IIm-V7 progression before increasing the harmonic rhythm with F7–D7–Gm7–C7. In Roman numerals, this translates to I7–VI7–IIm7–V7.
I find the best way to play over this section is to remember you’re playing a blues, so some blues scale ideas might not be a bad idea, as shown in Ex. 7. We’ve even included some slight bends!
Click here for Ex. 7
This final example (Ex. 8) feels like another melody rather than something clever. Remember, we’re playing music, and often the best music is the type that your audience can sing along to. So don’t be afraid to hold off and play something melodic.
Click here for Ex. 8
Lastly, here’s a short backing track to help you practice these ideas, and then come up with some of your own. Keep listening and copying and before long you’ll be soaring like Bird!
Less-corpulent, Big Muff-style tones that cut in many colors.
Unique, less-bossy take on the Big Muff sound that trades excess fat for articulation. Nice build at a nice price.
Some Big Muff heads may miss the bass and silky smooth edges.
$149
Evil Eye FX Warg
evileyefx.com
Membership in the Cult of Big Muff is an endless source of good times. Archaeologically minded circuit-tracers can explore many versions and mutations. Tone obsessives can argue the merits of fizzier or fatter tone signatures. The Ace Tone FM-3 is one of the less famous branches on the Big Muff evolutionary tree, but one that every true Big Muff devotee should know. It came out around 1971 and it was among the first in a line of often-imaginative Japanese takes on the circuit.
Evil Eye Warg Fuzz - MAIN by premierguitar
Listen to Evil Eye Warg Fuzz - MAIN by premierguitar #np on #SoundCloudEvil Eye’s Warg Fuzz marks another generation in this evolution. It uses the FM-3 as a design foundation and inspiration, and shares many of its tone characteristics. It’s most overtly a buzzier, less bass-hefty take on the V1 “Triangle” Big Muff, which serves as the FM-3 design’s launch pad. But the Warg also adds a midrange boost switch that makes the pedal better suited to mixes and environments where a little extra presence serves the musical setting.
Close Cousins
If you look at schematics for a V1 Big Muff and an Ace Tone FM-3 (minus its largely superfluous “boost” circuit) side by side, you’ll see a near-mirror image. But the small differences are significant. On the Ace Tone and Evil Eye Warg, the volume pot is positioned before the output gain stage rather than after, as it is on a Big Muff. A few filter and feedback capacitor values are smaller than those on the Big Muff, and there are a few extra resistors and an extra capacitor. Those changes aside, the two circuits would be hard to differentiate at a glance. But as we’ll hear, the audible differences are often profound.
Though Evil Eye was careful to replicate the Ace Tone circuit as closely as possible, the company added a second path for reshaping the output in the form of the “scooped and flat” toggle. Big Muffs are generally pretty scooped in the midrange, which is one of the breed’s distinguishing qualities, no matter the version. But that doesn’t keep newer manufacturers, like EarthQuaker and Stomp Under Foot, to name a few, from building Big Muff clones that add a midrange boost. Here, a variable boost knob is replaced by the flat-switch setting, which still offers ample tone reshaping utility.
“In a band mix, there’s more contrast with a burly bass.”
Build quality on the Philadelphia-made Warg is very nice. The circuit board is tidy, arranged along four rows of components that make the circuit relatively easy to trace. Input and output jacks as well as the footswitch are mounted to the chassis rather than the circuit board. The footswitch is a soft-relay unit. The pedal also looks bitchin’ (though the namesake wolf beast on the enclosure looks a little slender for a mythical, massive Warg). Given the careful, high-quality execution, the $149 street price is an especially good value.
Less Woof in This Wolf
Situating the Warg alongside any Big Muff makes the sonic family resemblance very clear. For comparison, I used a Sovtek Big Muff as well as really nice Ram’s Head and Triangle Big Muff clones. And while the Triangle is very clearly the closest cousin, in an audible sense, in the mid-scooped setting, the Warg shares a powerful, thick, high-gain profile and feel with all three Big Muff types. Where it’s most pronouncedly different is in its relatively light bottom end. For Big Muff hounds that savor the unique, bassy Big Muff ballast, the difference will probably sound pretty stark. But there’s lots of upside to the Warg’s less fat and sprawling profile. In a band mix, there’s more contrast with a burly bass. It will inhabit a much more individual space in a mix, too, which can open up mixing and arrangement options once you’ve laid down your tracks. And for this Big Muff fan, the less-bass-forward profile meant I could coax thick, grindy tones that were a touch more evocative of mid-to-late-’60s fuzz tonalities and felt less shackled to fat stoner-rock templates or late-Gilmour butter-sustain cliches without sacrificing a Big Muff’s sense of wide-spectrum chord aggression.
In the flat frequency mode, I found that the closest sonic likeness to the Warg was an EarthQuaker Hoof with an enhanced mids setting. The EQD probably offered more range on the traditional, bassy side of the Big Muff spectrum. But almost none of the pedals I tested against the Warg could match the Evil Eye’s high-mid clarity in chording situations and melodic leads.
The Verdict
Ascertaining how the very apparent, but sometimes subtle, differences between Big Muff types and the Evil Eye Warg fit your tone ideals and musical needs will probably take a shootout of your own. But if, like me, you’re a Big Muff user that sometimes wearies of that pedal’s smooth, fat, bluster, Evil Eye’s alternative is attractive and intriguing. It’s a great study in how different the basic Big Muff architecture can sound. And at just less than $150, you don’t have to feel too scared about taking a chance on this very interesting fuzz
You might not be aware of all the precision that goes into building a fine 6-string’s neck, but you can certainly feel it.
I do not consider my first “real” guitar the one where I only made the body. In my mind, an electric guitar maker makes necks with a body attached—not the other way around. (In the acoustic world, the body is a physics converter from hand motion to sound, but that’s a different article for a different month.) To me, the neck is deeply important because it’s the first thing you feel on a guitar to know if you even want to plug it in. As we say at PRS, the neck should feel like “home,” or like an old shirt that’s broken in and is so comfortable you can barely tell it’s on.
A couple articles ago, I talked about things on a guitar you can’t see, but are of the utmost importance to the quality of the instrument. I’d now like to go deeper into some of those unseen details in guitar neck making that make a difference. This list is a small percentage of what’s really going on, so please take each one as an example of the craft.
Gluing in the frets. In my old repair shop, there were several instruments that kept returning after gigs because the frets had again become unlevel. If I took a very flat file and started to level the frets, the volume of the squeaking of the frets as I filed was really loud. I realized that these guitars had never had their frets glued in. It seemed clear that the fretshad to be glued into the slots, so when someone sweats into the instrument at a gig, the frets do not change height. I learned, after interviewing Ted McCarty, that the Gibson factory in Kalamazoo in the ’50s glued the frets in with fish glue. I tried it once. It stunk, and I never used it again. But gluing frets in has been important to me since day one. The glue makes a mold around the teeth of the fretwire to hold the frets in place. Another reason to glue the frets in is that on some ’60s Martins, for example, the frets would lift up on the treble side and the high-E string would get caught underneath the fret. So, glue the frets in or you’re going to have a long-term problem. By the way, using a water-based glue is like adding all the water back to the fretboard that you spent months drying out. I like super glue because it doesn’t have any water in it.
“Terry Kath, the great guitar player from Chicago, once told me, ‘Most guitars won’t play in tune down near the nut, and I search and search for guitars that will.’”
Fret positions. When I was young, there was an article in Guitar Player that described how to calculate fret positions by using the 12th root of two. The number is 1.0594631. And the reason I remember the number is because calculators didn’t have memory at the time, and I had to keep entering the number over and over again. One day, someone came into my shop and said, “I can’t play in tune with the keyboard player when I am playing lines near the nut.” I said, “That’s hard for me to believe, but I’ll check it.” Sure enough, the first few frets were out of tune with the open nut even though I had calculated the 1st frets’ positions perfectly. Turns out the nut needed to be moved so that it would play in tune down there (in the same way you have to adjust the intonation at the bridge end). Terry Kath, the great guitar player from Chicago, once told me, “Most guitars won’t play in tune down near the nut, and I search and search for guitars that will.” Getting the frets, the nut, and the bridge in the right positions is incredibly important. You’d be surprised that this is not always a given.
Neck shape. I was once at Dave’s Guitar Shop in La Crosse, Wisconsin, in his upstairs guitar museum, and got to compare early ’50s Tele, old Les Paul, and early Strat neck shapes. What was so surprising was how close the neck shapes were, including the thumb round-over (where the side dots are). I was later able to scan a lot of these necks and compare them with a computer, and, damn, they were really close. What was different was the radius of the fretboards. Some of them were more curved than others, and the old Gibsons’ radii were not what the internet says they should be. So, it’s pretty hard to understand from the specs alone how a neck is going to feel in your hands. In my mind, there’s a common shape that your hand feels comfortable with, and then all the extensions that make 7-string guitars, 12-strings, acoustic instruments, and modern Ibanez/flat-radius type instruments are other artforms altogether.
At PRS, we often think of guitars in terms of looks, feel, and sound. If it looks good, you’ll probably pick it up. If it feels good in your hands and rings for a long time when you strum it acoustically, you’ll probably plug it in. If it sounds good plugged in, there’s a good chance you’re hooked.