Image 1
Let's look at the wiring and innards of our project guitar and make some swaps before we age them.
Hello and welcome back to Mod Garage. This month we'll continue with our aging series that began in May 2020 ["DIY Relic'ing: Break the Shine"]. Let's take a closer look at the electronics of our Harley Benton DC-Junior guitar, which is a copy of a Gibson Les Paul Junior double-cut, and consider some part swaps before we keep relic'ing. If you need a refresher, we covered aging of the pickup in the last part of this series ["Mod Garage: DIY Relic'ing—Aging a P-90 Pickup"].
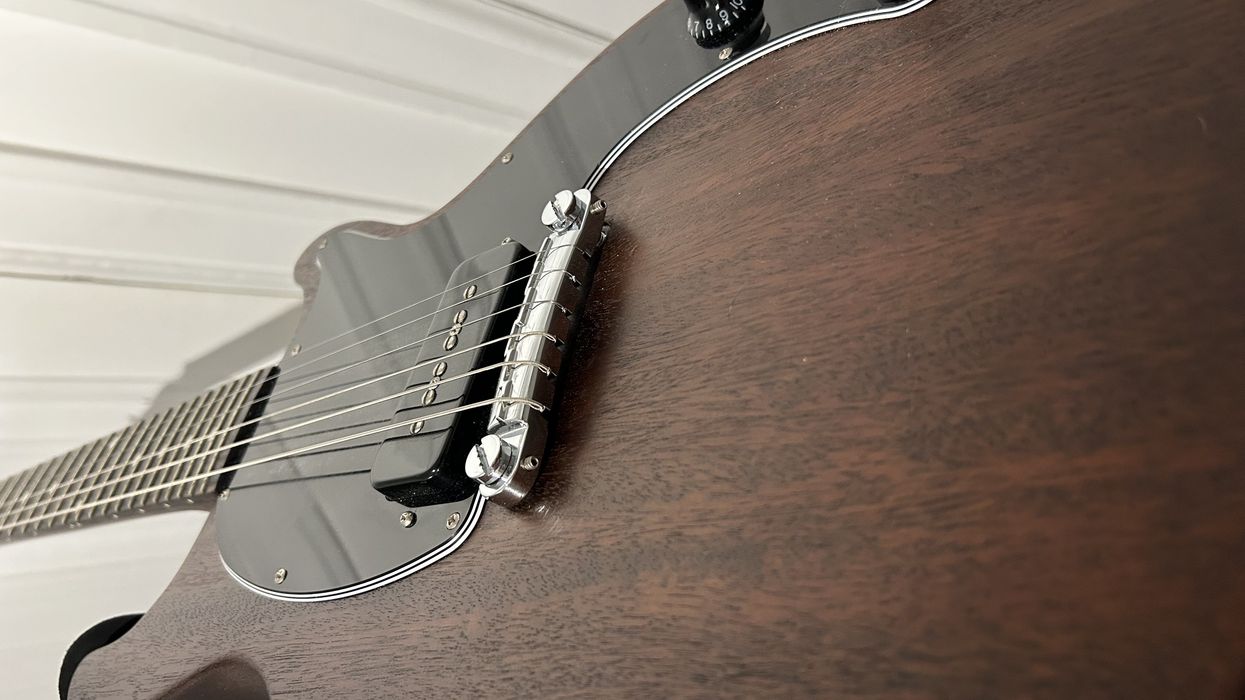
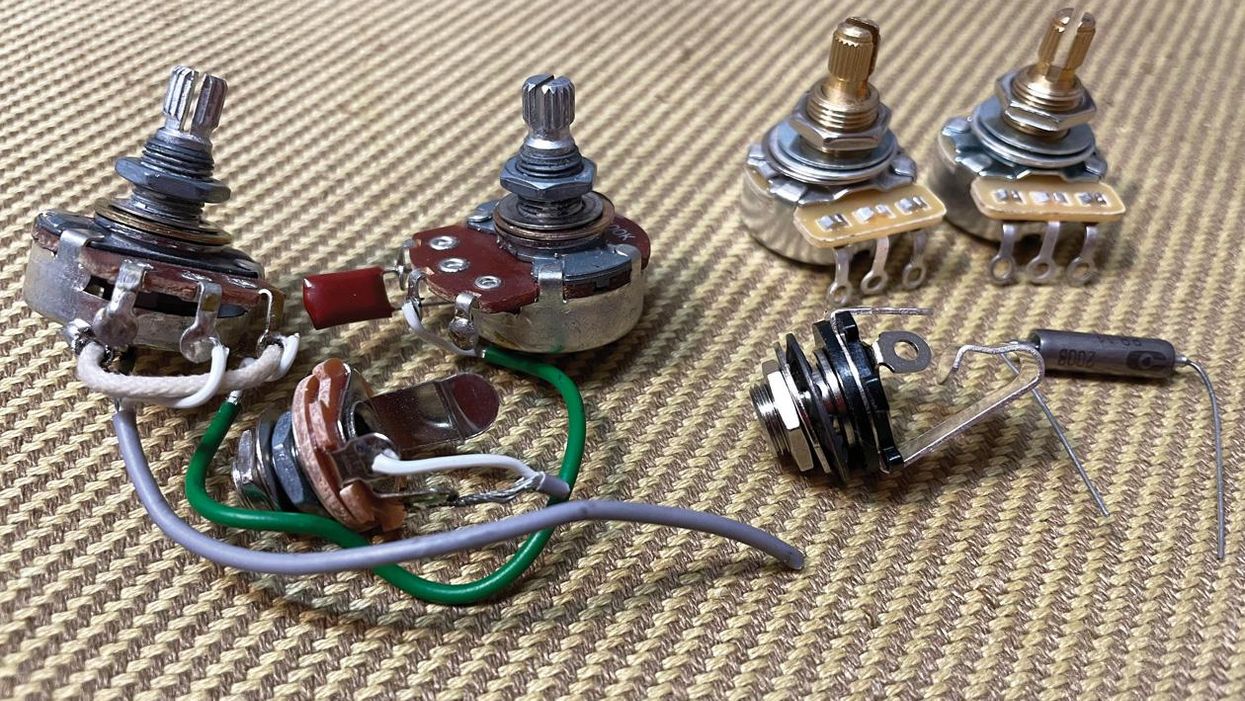
When doing aging work to the body and the neck of this guitar (which we'll cover in a later part of this series), it's important to remove everything from the guitar that's removable, so I took out all of the electronics. Taking a closer look at the removed guts, I found two metric standard (24 mm) sized pots from the Alpha company: a 500k linear pot for the volume and a 500k audio pot for tone with a 0.022 uF polyester film cap attached to it, all connected with plastic-coated shielded wire. I also found a small-sized budget output jack, connected with plastic-coated shielded wire.
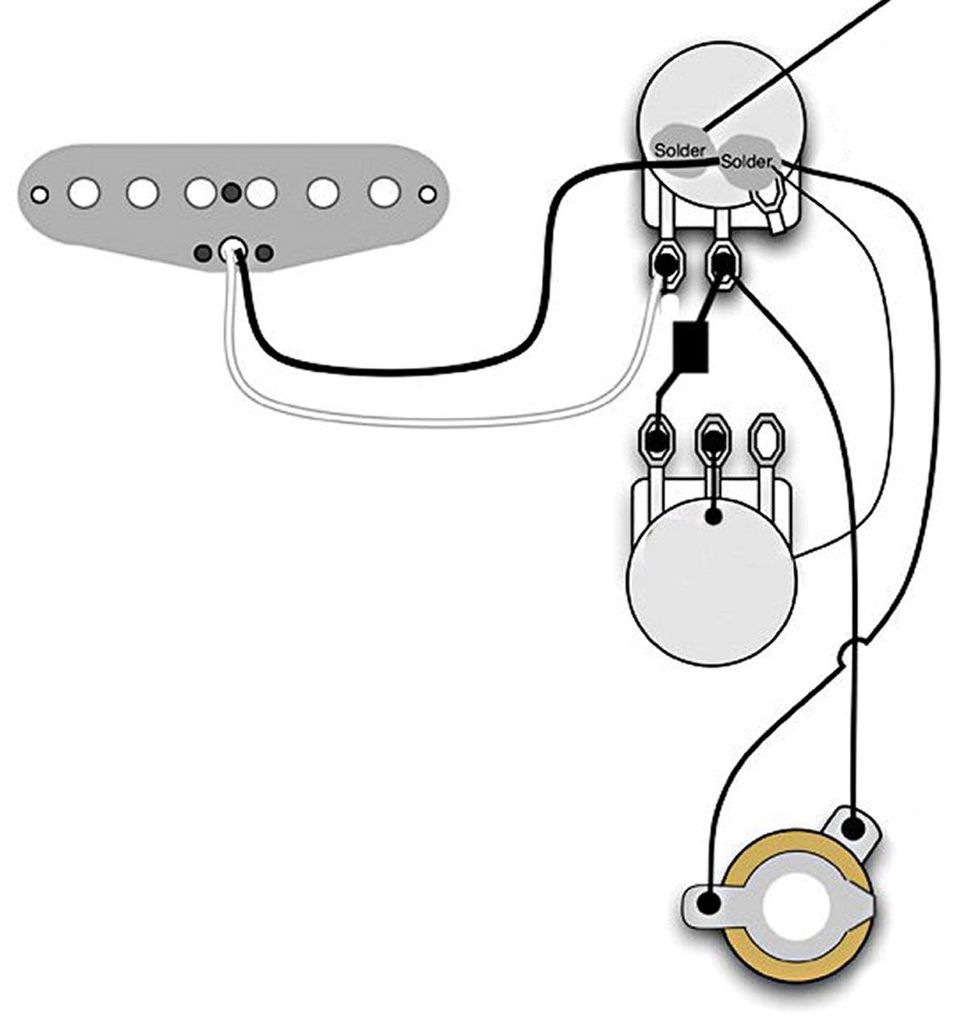
The circuit of the guitar was wired in the typical "modern" style, and you can take a look at it on the website for Roswell, which is the company that makes the P-90 pickup on this guitar.
While the overall quality of the electronics isn't bad, there's still some headroom that could be added to enhance everything and put it a little closer to the vintage Les Paul Junior tone we're going for. To spruce up usability, here is my list of electronics and optional mods for tweaking this guitar. You can see a photo of the "guts" in Image 1.
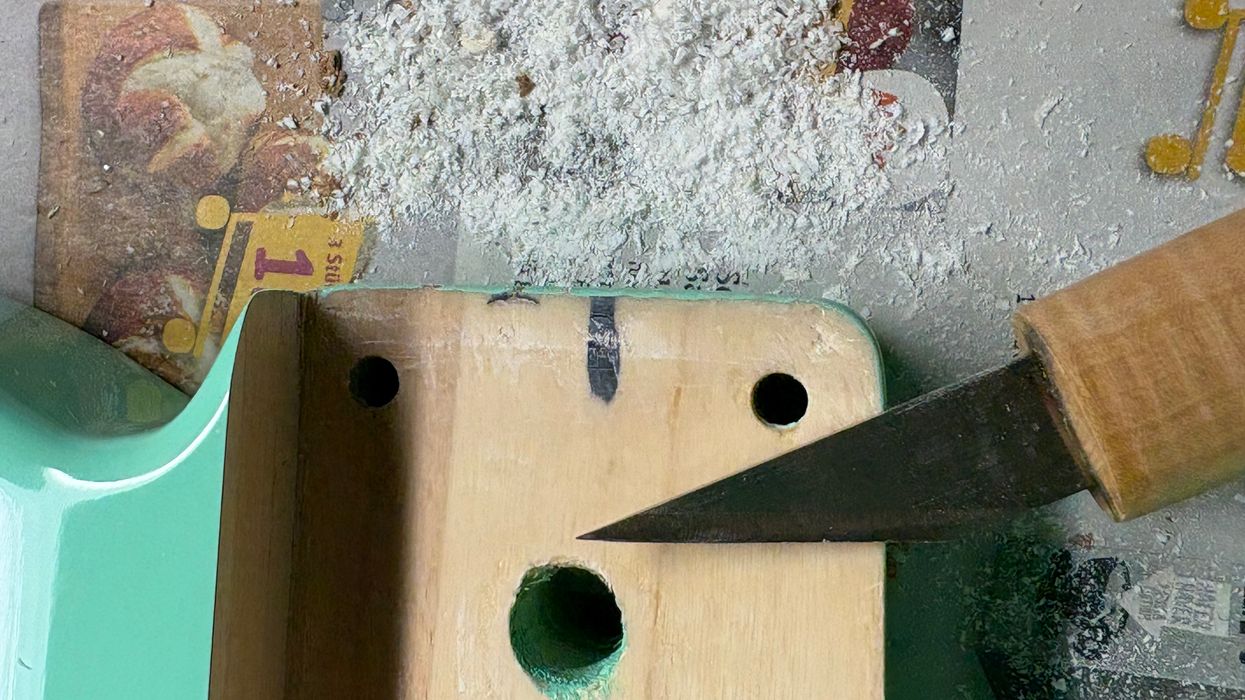
I've known players who've gotten serious cuts on their hands from these. To avoid this, I prefer blunt-tip pointers with rounded tips and minimized risk.
1. Pots
Using two 500k pots follows the original formula of the Les Paul Junior, but using a linear volume pot in a passive guitar circuit doesn't make any sense. It should have two audio pots for much better usability, preferably with a 60:40 or at least 70:30 taper. In the last part of this series on aging the pickup, we discussed the stock pickup's treble response.
If you decide to keep the stock pickup like me, it's a good idea to use a mixed configuration with a 250k audio volume and 500k audio tone pot to get the best of both worlds. The 250k pot will smooth the high-end a little bit, and, as a positive side effect, the sweep control is much better compared to a 500k pot with the same taper—the nature of the passive beast. I decided to use two U.S. inch-measurement military-grade audio pots with a 60:40 taper: 250k for volume and 500k for tone.
To make these pots fit, you'll have to slightly enlarge the metric holes in the guitar. You can easily do this with a reamer or a simple half-round file. Because it's only a smidge, you should stay away from any other method! To minimize the risk of damaging the wood, don't use a drill press with a super sharp milling drill bit, etc.
2. Tone Caps
While 0.022 uF is the quasi-standard for single-coil pickups and the correct value if you want to stay as close as possible to a Les Paul Junior (0.02 uF), I decided to change the tone cap and convert the tone control into a warmth control—something we've covered in Mod Garage before. I decided to use a NOS military-grade 3300 pF paper-in-oil cap on this guitar, which will add some oomph to the tone. With the extremely low capacitance of the cap, it'll be possible to fine-tune the high-end and treble response of the pickup very precisely. If you want super dark jazzy tones, you should stay with the 0.022 uF value. This is a wide field to experiment with if you're inclined. Gibson also used paper-in-oil tone caps in their early Juniors—the famous Sprague "Black Beauty" caps.
3. Wire
While plastic-coated wire works, I decided to use the vintage stuff from the '50s, just like in the original guitars: cloth-covered wire.
The original vintage wire was AWG22 7-strand, tinned copper, consisting of seven individually tinned and twisted copper strands, with a woven Celanese overwrap, followed by a waxed cotton overbraid. Such wires are available as reissues from several companies. I also decided to skip the plastic-coated wire from the volume pot to the output jack, like in the original wiring, using shielded braided wire. The length of this wire is very short, so there's not much chance for hum and noise to creep in. If you want to stay as close as possible to the original, use cloth wire and shielded braided wire for connecting the output jack.
4. Output Jack and Wiring
The quality of the stock mini output jack is very decent, but upgrading it to a full-sized version is a good idea in terms of reliability and longevity.
The early Juniors were set up with '50s wiring, which is part of their special tone, and different from the modern-wiring style our Harley Benton came with. Because I will have to rewire everything already when I put this guitar back together, I decided to convert it to the traditional '50s wiring as shown in Fig. 1. This is also why I decided not to use an additional treble-bleed network on the volume pot. Usually, the treble response is perfect the way it is with traditional '50s wiring when rolling back the volume.
5. Knobs
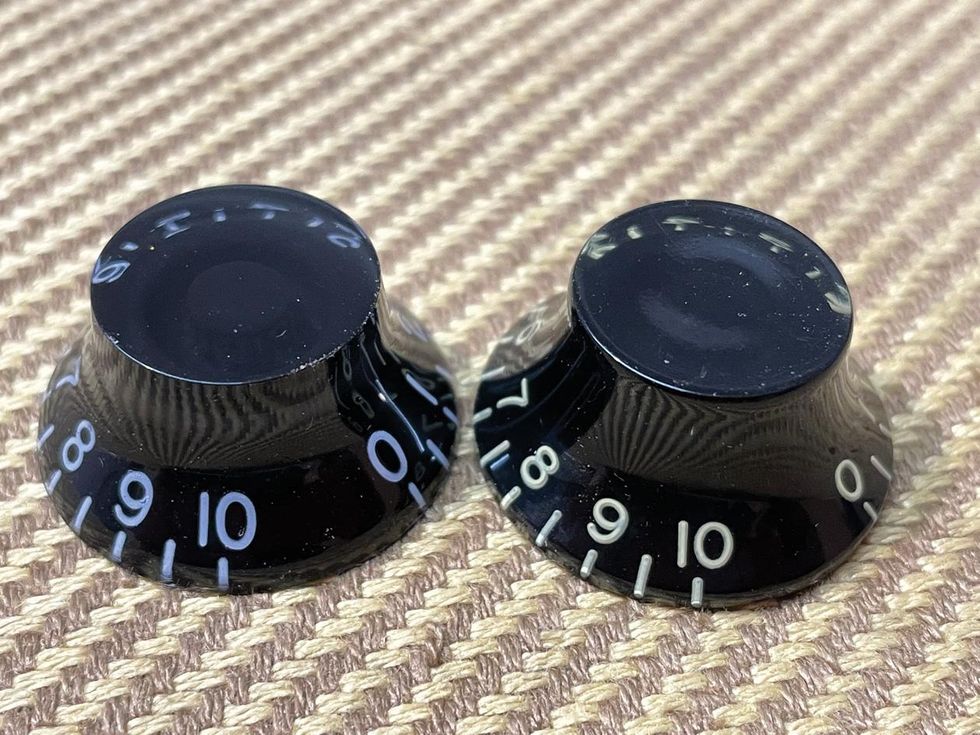
Image 2
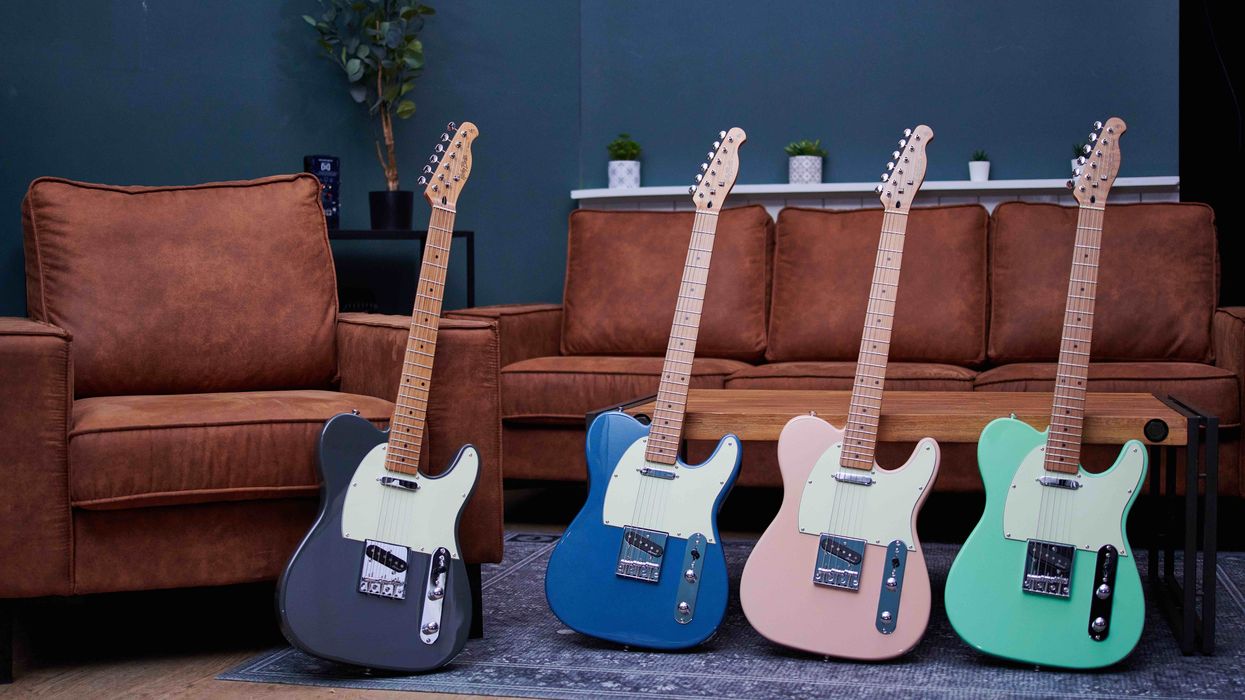
Using U.S. inch pots, the stock metric knobs will not fit anymore, so you'll need new knobs for the guitar. Taking a closer look at the stock knobs shows that Harley Benton uses the right and historically correct knobs (black "top hats" with bright numbers), but the size of the numbers is not correct (too big), and the printed numbers are pure white. The numbers on vintage guitar knobs usually turn a yellowish color over the years—something that's difficult (but not impossible) to mimic when you have knobs with pure white printing. So, I decided to get a new pair of knobs that fits U.S. inch pots and has the yellowish discolored embossed numbers in the correct size. You can clearly see the difference between the two knobs in Image 2. The stock knobs are made with modern plastics while the new knobs use vintage material from the '50s: fully tinted cellulose acetate butyrate (CAB for short). Besides the different look, the feel is also different to the touch.
6. Pointers
The guitar comes stock without any pointers, but, for a more vintage look, I decided to add them. Take care to get pointers with the right hole for your pots (metric or U.S. inch). Enlarging holes that are too small is not a fun project. Vintage correct are nickel pointers with 90-degree pointed arrowhead tips. Personally, I don't like the very sharp tips of these pointers because the risk of injury is high. I've known players who've gotten serious cuts on their hands from these. To avoid this, I prefer blunt-tip pointers with rounded tips and minimized risk to hurt you.
7. Jack Plate
Gibson used nitrate 3-ply (black/cream/black) jack plates on their early Juniors, while our Harley Benton guitar comes with a single-ply, solid-black jack plate. Initially, I wanted to swap the jack plate for a vintage-correct one, but while doing so I realized the Gibson jack plate won't fit the Harley Benton, which uses a smaller jack plate. Sure, it would be possible to make a custom jack plate out of the correct 3-ply material using the stock plate as a pattern, but I decided to simply leave the stock jack plate on the guitar, sacrificing some of the vintage look. Because I decided to upgrade the output jack to a full-sized version, I had to slightly enlarge the hole in the plate with a reamer. The four stock screws are chrome, so I decided to swap them for nickel versions, which will provide a more authentic look when aging them later.
8. Back Plate
Gibson used a black nitrate single-ply back plate in the '50s. Harley Benton did the same, but with modern plastic material. This is okay for me and will look very close to the original after aging it a bit. The two stock screws are chrome, so I decided to swap them for nickel versions for a more authentic look when aging them.
That's it for now. In the next part of this series, we'll cover the aging process for the hardware parts listed above and take a closer look at the pickguard.
Until then ... keep on modding!
- Mod Garage: Decouple Your Les Paul's Volume Controls - Premier ... ›
- Mod Garage: '50s Les Paul Wiring in a Telecaster - Premier Guitar ›
- Mod Garage: Three Ways to Wire a Tone Pot - Premier Guitar ›
A dual-channel tube preamp and overdrive pedal inspired by the Top Boost channel of vintage VOX amps.
ROY is designed to deliver sweet, ringing cleans and the "shattered" upper-mid breakup tones without sounding harsh or brittle. It is built around a 12AX7 tube that operates internally at 260VDC, providing natural tube compression and a slightly "spongy" amp-like response.
ROY features two identical channels, each with separate gain and volume controls. This design allows you to switch from clean to overdrive with the press of a footswitch while maintaining control over the volume level. It's like having two separate preamps dialed in for clean and overdrive tones.
Much like the old amplifier, ROY includes a classic dual-band tone stack. This unique EQ features interactive Treble and Bass controls that inversely affect the Mids. Both channels share the EQ section.
Another notable feature of this circuit is the Tone Cut control: a master treble roll-off after the EQ. You can shape your tone using the EQ and then adjust the Tone Cut to reduce harshness in the top end while keeping your core sound.
ROY works well with other pedals and can serve as a clean tube platform at the end of your signal chain. It’s a simple and effective way to add a vintage British voice to any amp or direct rig setup.
ROY offers external channel switching and the option to turn the pedal on/off via a 3.5mm jack. The preamp comes with a wall-mount power supply and a country-specific plug.
Street price is 299 USD. It is available at select retailers and can also be purchased directly from the Tubesteader online store at www.tubesteader.com.
Reader: T. Moody
Hometown: Myrtle Beach, South Carolina
Guitar: The Green Snake
Reader T. Moody turned this Yamaha Pacifica body into a reptilian rocker.
With a few clicks on Reverb, a reptile-inspired shred machine was born.
With this guitar, I wanted to create a shadowbox-type vibe by adding something you could see inside. I have always loved the Yamaha Pacifica guitars because of the open pickup cavity and the light weight, so I purchased this body off Reverb (I think I am addicted to that website). I also wanted a color that was vivid and bold. The seller had already painted it neon yellow, so when I read in the description, “You can see this body from space,” I immediately clicked the Buy It Now button. I also purchased the neck and pickups off of Reverb.
I have always loved the reverse headstock, simply because nothing says 1987 (the best year in the history of the world) like a reverse headstock. The pickups are both Seymour Duncan—an SH-1N in the neck position and TB-4 in the bridge, both in a very cool lime green color. Right when these pickups got listed, the Buy It Now button once again lit up like the Fourth of July. I am a loyal disciple of Sperzel locking tuners and think Bob Sperzel was a pure genius, so I knew those were going on this project even before I started on it. I also knew that I wanted a Vega-Trem; those units are absolutely amazing.
When the body arrived, I thought it would be cool to do some kind of burst around the yellow so I went with a neon green. It turned out better than I imagined. Next up was the shaping and cutting of the pickguard. I had this crocodile-type, faux-leather material that I glued on the pickguard and then shaped to my liking. I wanted just a single volume control and no tone knob, because, like King Edward (Van Halen) once said, “Your volume is your tone.”
T. Moody
I then shaped and glued the faux-leather material in the cavity. The tuning knobs, volume knob, pickguard, screws, and selector switch were also painted in the lemon-lime paint scheme. I put everything together, installed the pickups, strung it up, set it up, plugged it in, and I was blown away. I think this is the best-playing and -sounding guitar I have ever tried.
The only thing missing was the center piece and strap. The latter was easy because DiMarzio makes their ClipLock in neon green. The center piece was more difficult because originally, I was thinking that some kind of gator-style decoration would be cool. In the end, I went with a green snake, because crocodiles ain’t too flexible—and they’re way too big to fit in a pickup cavity!
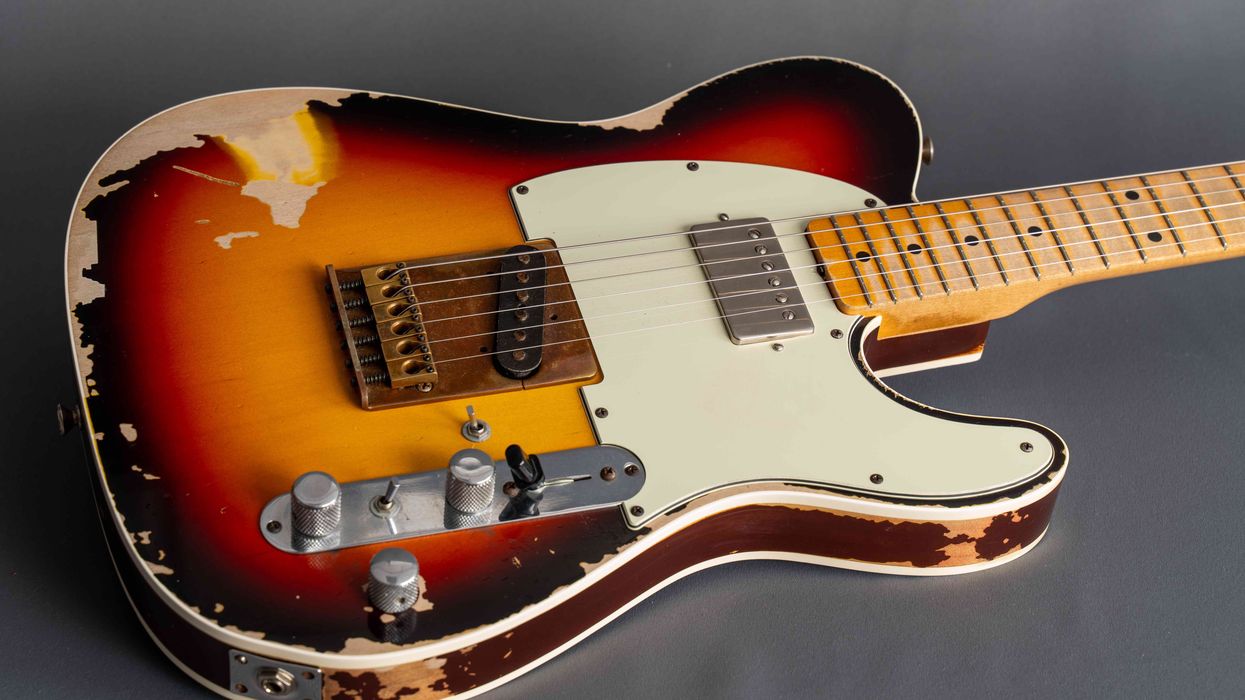
The Green Snake’s back is just as striking as the front.
This hollowbody has been with Jack since the '90s purring and howling onstage for hundreds of shows.
Our columnist’s Greco 912, now out of his hands, but fondly remembered.
A flea-market find gave our Wizard of Odd years of squealing, garage-rock bliss in his university days.
Recently, I was touring college campuses with my daughter because she’s about to take the next step in her journey. Looking back, I’ve been writing this column for close to 10 years! When I started, my kids were both small, and now they’re all in high school, with my oldest about to move out. I’m pretty sure she’s going to choose the same university that I attended, which is really funny because she’s so much like me that the decision would be totally on point.
The campus looks way nicer than it did back in the ’90s, but there are similarities, like bars, shops, and record stores. Man, our visit took me back to when I was there, which was the last time I was active in bands. Many crash-and-burn groups came and went, and it was then that I started to collect cheap guitars, mainly because it was all I could afford at the time, and there were a lot of guitars to find.
In that era, I was using an old Harmony H420 amp (made by Valco), a Univox Super Fuzz, and whatever guitar I was digging at the time. I was so proud to pull out oddball guitars during shows and just have this totally trashy sound. Squealing and squeaking and noisy as heck, my style was reminiscent of Davie Allan, Ron Asheton, and Chuck Berry. Of course, I was way worse than all of them, but I did have a frenetic energy and I covered up my lack of skill with feedback. During the ’90s, there was a great punk revival, and I loved bands like the Mummies, Teengenerate, the Makers, the New Bomb Turks, and a bunch of others. Bands were embracing lo-fi, and I was planted firmly in that vein. Plus, the guitars I liked to use already sounded lo-fi.
“This was about the trashiest-sounding guitar, but in a good way!”
For a short spell I was using this Greco guitar and, man, this was about the trashiest-sounding guitar, but in a good way! See, Fujigen pickups (like the ones here) have this echoey voice that I describe as an “empty beer can” sound. My Super Fuzz would just destroy these pickups, and I wish I had some recordings from that era, because it was a real scene! I believe this Greco was a flea-market find but it was much later that I found out it was called a Greco Model 912. This was actually a copy of a German-made Framus guitar, but with a lot more glitz and a crazier headstock. Four pickup selector switches, volume/tone knobs, and a rhythm/lead switch rounded out the electronics. Again, these pickups are instant spaghetti-Western movie tone. Airy and bright, the bridge area is like instant, gnarly surf music. Tom Morello of Rage Against the Machine has a similar guitar and John Barrett of Bass Drum of Death was also fond of these pickups. Interestingly enough, these particular Grecos were made in small numbers, ranging between 500 to 600 in total (including all pickup combinations).
The Greco brand was initially owned by the U.S.-based Goya Corporation, but in the late 1960s, Fujigen bought the brand name (for $1,000) and produced a few truly gonzo guitars, including this Model 912. Originally called the GE-4, the four-pickup version sold for $99.50 in 1967. My particular 912 was sold at Sid Kleiner Guitar Studios in Califon, New Jersey (which I learned thanks to the attached store sticker on the headstock).
Aside from the chrome coolness and the four pickups, this model featured a cute little flip-up bridge mute that was all the rage at the time. The body also had some tasteful German carvings around the edges, and as I write this, I am missing this guitar tremendously! But not even close to the way I’m going to miss my girl in a few months. At least I know that she can shop at the same record stores!