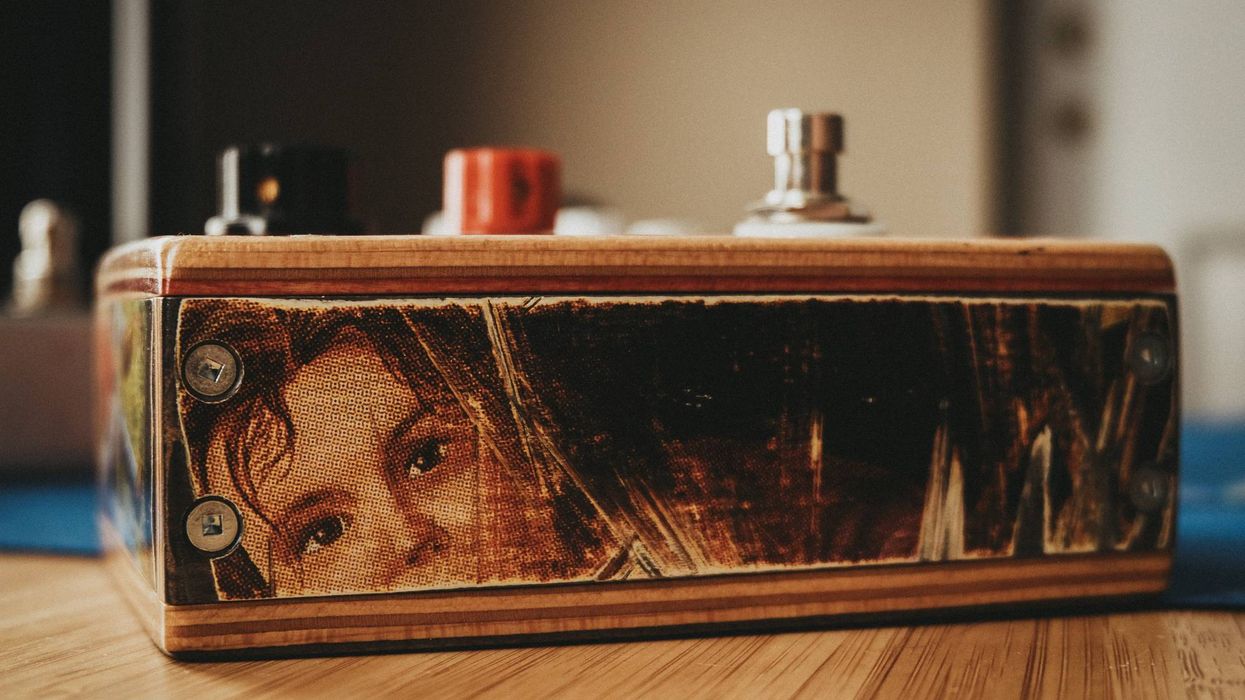
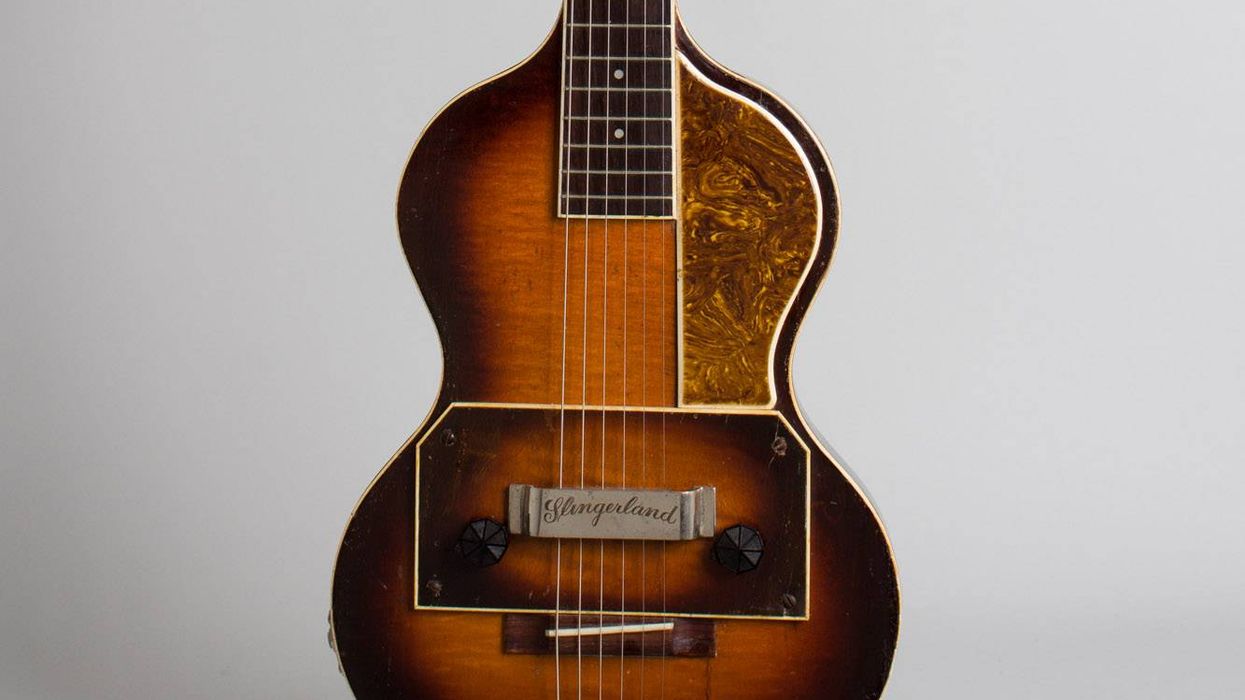
Founded in 1947, Danelectro is an innovative company with a long history of creating unique and funky guitars and basses. Let’s go under the hood.
Hello, and welcome back to Mod Garage. This month, we’ll take a closer look into the wacky world of Danelectro and their typical wirings.
Danelectro is a very old and authentic American guitar company, founded in 1947 by the genius Nathan “Nat” Daniel (a NYC native, born in 1912 as the son of Lithuanian immigrants) in Red Bank, New Jersey. Daniel had his own approach and was always thinking outside the box. This was the main key for his unique designs and his success, influencing the guitar world even today.
Throughout the late 1940s, the company produced amplifiers for Sears and Montgomery Ward, under the Silvertone and Airline branding. Later, Danelectro added hollowbody guitars, constructed of Masonite and poplar to cut production costs, and increase production speed. The main goal was to produce plain, budget guitars but with the best possible electrified tone. These instruments came in two sales lines and were branded either as Danelectro or Silvertone for Sears. The famous lipstick pickups were used exclusively for these guitars, and Danelectro started to use fancy colors and knobs to establish their own design trademarks. Throughout his career, Daniel filed several patents, but he missed the chance to patent a lot of his innovations, such as the 6-string bass or the first hybrid tube/solid-state amplifier.
Interestingly, Danelectro introduced the 6-string bass guitar in 1956, which was tuned like a standard guitar but one octave lower. Fender introduced their Bass VI model five years later in 1961, so this was another Danelectro first. Six-string basses/baritone guitars weren’t popular then, but they found an enduring niche in the ’60s studio world for “tic-tac” or “click” bass lines, which are a doubled bass line one octave higher. A famous Danelectro 6-string bass player is Carol Kaye, the “First Lady of Bass Guitar.” The Danelectro 6-string bass is still used in studios today, and studio legends like Brent Mason and Reggie Young have had one in their arsenal.
Danelectro was sold in 1966 and closed in 1969, before the brand was reanimated in the late ’90s for China-made reissue guitar models, amps, and stompboxes. Daniel died on Christmas Eve 1994, at age 82.
Now that we know the history, let’s go inside these guitars. When looking at Danelectro wirings, we mostly perceive these noticeable features:
- Lipstick pickups
- Stacked pots (aka “tandem pots”)
- Series, instead of parallel, wiring when combining two pickups
- Weird pot resistances like 100k for volume and 1M for tone
- Different tone caps for bridge and neck pickups
So, let’s break it down piece by piece.
The lipstick pickups are single-coil pickups with a very special construction, with the guts totally encased in a chrome-plated metal tube. The early lipstick pickups were, in fact, manufactured using real lipstick tubes, hence the name. The coil was wrapped around an alnico 6 bar magnet, and then wrapped in tape before being inserted into the tube. This bobbin-less pickup type is called “air coil,” and is a pain to repair. The pickups had a 3-conductor wiring, which is the beginning and end of the coil, plus a separate ground.
Using stacked pots was another Danelectro first. The Fender Jazz Bass also used stacked pots from 1960–1962, but Daniel did this some years earlier. This configuration uses less space, offering two independent controls in the space of one pot. We still find a lot of stacked pots today in the bass world.
Most Danelectro guitars combine the pickups in series rather than in parallel, which is part of their unique sound that can be described as fat, loud, and beefy in the middle position. This was decades before other companies started to offer such a feature, too.
"The early lipstick-tube pickups were, in fact, manufactured using real lipstick tubes, hence the name."
Using 100k pots for volume and 1M for tone in a passive guitar is, for sure, strange. A 100k audio volume pot will give you very good control over its whole rotation but will dampen some high end in a passive wiring. On the other hand, a 1M pot will give you close to zero control over its rotation, but there is a lot of high end present. The lipstick pickups have a very jangly tone, full of high end, so I think Daniel chose 100k to benefit from the perfect control range and wanted to compensate for the high end by using 1M pots for the tone control. Not a bad move. The tone of the pickups could handle the 100k, and still had enough high end. But using 1M for the tone control was not a good idea at all.
To enhance such a typical Danelectro wiring, I would personally use 250k audio pots for volume and 500k audio pots for tone control. Regarding high-end chime, it’s always better to have it and not need it than to need it and not have it. It’s easy to tame with the tone control, but impossible to add in a passive wiring when the high end is not already there.
Using different tone caps for the bridge and neck pickup is a very clever move, and other guitar companies needed decades to realize this. But Daniel wouldn’t be Daniel if he hadn’t done it his own way. Instead of using the “smaller” cap for the neck pickup to keep some high-end chime intact when rolling back the tone, he did it exactly the other way around. You can often find 0.01 uF caps for the bridge and 0.047 uF for the neck pickup, resulting in a super-dark and woolly tone when closing the tone pot for the neck pickup. If you don’t need this lifeless bass-y tone, it’s a cool upgrade to change the tone cap for the neck pickup.
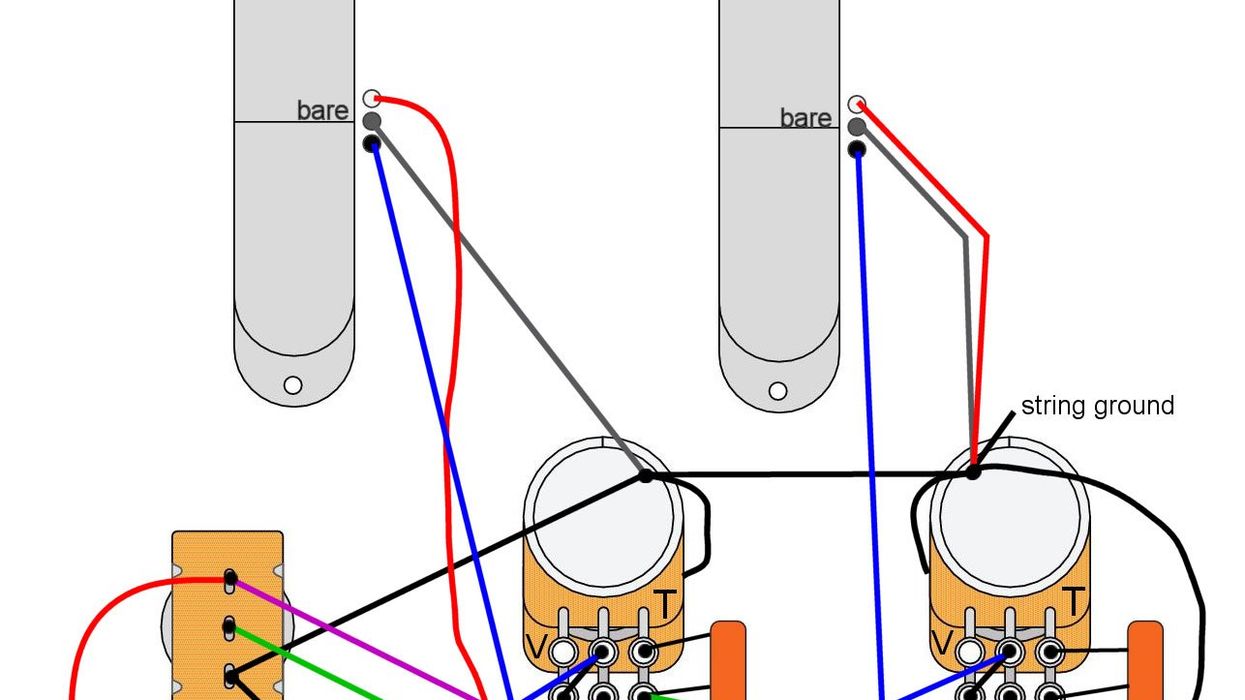
So, let’s now have a look at a typical Danelectro wiring using two lipstick pickups, two concentric pots, and a series wiring for the middle position of the pickup switch. There is one 100k/1M stacked pot for each pickup, sporting volume (100k) and tone (1M). The tone cap for the neck pickup is 0.047 uF, and the bridge pickup tone cap is 0.01 uF. We talked about possible upgrades above. The pickup-selector toggle switch is a single pole on-off-on switch, offering the following sounds:
- Bridge pickup alone
- Bridge + neck pickup in series
- Neck pickup alone
The wiring is typical Daniel and really outside the box. With the bridge pickup engaged, the neck pickup is shorted out with its hot and ground connected, and the bridge pickup is directly connected to the output. With the neck pickup engaged, the output of the bridge volume pot is connected to ground. In the middle position, both pickups are connected in series.
So, here is the wiring, as seen in Fig. 1. I’m showing the wiring with the original concentric pots, but if you want to use four individual pots, it’s the same identical wiring. Please note that both casings of a concentric pot must be connected to ground and that there is no connection between the two casings by stock. The best practice is to solder a short jumper wire from the lower to the upper casing, so you have a connection between both casings. You can test this with your digital multimeter (DMM) set to continuity and afterwards connect only the upper casing to ground which will make things much easier.
Because of this speciality, I decided to show all ground connections in Fig. 1 as a wire, not using the ground symbol as usual, to keep the diagram as clean as possible.
That’s it, for now. Next month, we’ll honor and remember the great Jeff Beck by taking a deeper look into his guitar setup and analyzing how you can come close ... at least electrically. Until then ... keep on modding!
- Mod Garage: The Johnny Marr Fender Jaguar Wiring ›
- Mod Garage: Swap That Tone Knob for a Warmth Control ›
- Mod Garage: Deep Diving into Treble-Bleed Networks ›
- Rare Bird: A Laboz Bison Guitar - Premier Guitar ›
- Danelectro Nichols 1966 Pedal Review - Premier Guitar ›
Walrus Audio's MAKO MkII Series offers premium all-in-one, multi-algorithm pedals with improved tonality, new UI, and added controls for versatility. Featuring new amplifier models, OLED navigation screens, and updated programs based on user feedback, these pedals are designed for inspiring studio-grade tones.
Walrus Audio is excited to announce the release of their highly ambitious and highly anticipated MAKO MkII series. With the original MAKO line, players were offered premium all-in-one, multi-algorithm models for with the D1 Delay, R1 Reverb, and M1 Modulation, as well as top-of-the-line amp and cabinet simulation with the ACS1. After four years of real-world use and experience with the first generation, the team went to work applying everything they learned and heard from players to make the next generation of MAKO pedals even better.
Each pedal in the MAKO Series has been redesigned and rebuilt for vast improvements in tonality, new UI with the addition of an OLED navigation menu screen, and added secondary controls for even greater versatility. Dialing in these inspiring studio grade tones has never been easier and has never sounded better.
The ACS1 MkII features three new amplifier models to go with the three existing models, all inspired by high-gain amps for heavy-style players to get people moving:
- The distinctively raw and punchy Peavey® 5150.
- The warm, rich, and harmonically complex Orange® Rockerverb.
- The world-famous, in-your-face Mesa Boogie® Dual Rectifier.
Additional updates on the series are as follows:
- OLED navigation screen menu for improved UI.
- Increased headroom and lowered noise floor for tonal improvement.
- Rebuilt and fine tuned programs based on user feedback.
- All six R1 programs completely rebuilt from the ground up.
- All new Grain Delay algorithm on the D1.
- Six additional cabinet models for the ACS1, designed by Justin York at York Audio.
- Total BPM Control and BPM Readout on screen for time-based effects.
- Now 128 on-board presets.
- Many new program controls (ex. size control on R1, noise gate on ACS1).
- Flanger sound added to the Chorus algorithm on M1.
MAKO MkII Series pedals are packaged in custom anodized aluminum enclosures. Exact sizes for all four pedals is 4.9” x2.52” x 2.64”. Power requirement for all four pedals is 9VDC (300mA minimum).
Walrus Audio is offering the R1 MkII, D1 MkII, and M1 MkII for $399.99. The ACS1 MkII is offered at $449.99. All are available for preorder now at walrusaudio.com and through authorized dealers with expected shipment starting in mid-October.
For more information, please visit walrusaudio.com.
Here’s how to recreate the wide-ranging Epiphone Tone Expressor system on your guitar.
Hello and welcome back to Mod Garage! This is the second part of the Mod Garage look at the Epiphone Tone Expressor system (Pt.1), which is found on the Al Caiola signature model that was built from late 1963 until 1969. After discussing the individual parts and settings last month, we will now bring it all together and see how to use the system in a modern guitar.
In general, it’s possible to use the Varitone/Tone Expressor system in any electric guitar as long as you have enough space to squeeze all the stuff into it. You can mimic a lot of different pickups with this system, but because it’s designed for guitars with humbuckers, that’s how it works best. It’s also possible to use it the other way around and thicken up single-coil pickups instead of slenderizing humbucker tones, and in a future column I’ll talk about what I like to call the “reverse Varitone” system.
For a good and simple overview about all the details from last month, I decided to use a technical drawing to show the isolated Varitone system, so it’s easy for you to identify the individual parts:
Diagram courtesy of SINGLECOIL
This is the basic structure of the Gibson Varitone system with the original values Gibson used. The inductor is a 1.5 H choke. The Epiphone Tone Expressor system is identical but uses a 15 H choke as an inductor. There is a second version of the Tone Expressor system found on the Al Caiola model using the same structure but with different values for the parts. I think this was because different pickups were used, so here are the values for the version of the system in the Al Caiola guitar:
• 15 H choke as an inductor instead of 1.5 H
• Replace the single 100k resistor with a 33k resistor
• .0033 µF cap is used instead of the .001
• .01 µF cap is used instead of the .0033
• .022 µF cap is used instead of the .01
• .047 µF cap is used instead of the .03
• .1 cap µF is used instead of the .22
For best results, use the original Gibson Varitone values along with PAF-style humbuckers—the second version will work best with mini-humbuckers or similar pickups. Depending on the pickups you use, you can experiment and make your own custom version out of it.
“You can mimic a lot of different pickups with this system, but because it’s designed for guitars with humbuckers, that’s how it works best.”
The differences are:
• Using a 15 H instead of the 1.5 H inductor will shift the notches of the filters created by the Tone Expressor system down approximately a fifth for a fuller and fatter tone. Because it is possible to combine several caps with this wiring, choosing a 15 H inductor was also a clever move to keep the tone clearer and more present. You can experiment with this, too. A choke with something between 7 and 10 H will be in the middle of both versions.
• Using a 33k instead of the 100k coupling resistor fits pickups with a lower output like the mini-humbucker perfectly, while the 100k is great for pickups with more output like a PAF.
• The different cap values also correspond to the combination of different pickups and chokes, e.g., for a twangy, Telecaster-type tone, you need a 0.22 µF cap along with a PAF humbucker, while a 0.1 µF cap will do the same along with a mini-humbucker.
So, here we go with the Al Caiola wiring, starting with how it looks in the original guitars from the ’60s. You can clearly see the big, silver-cased choke on top of the electronics as well as the caps, resistors, and the individual switches.
Photo courtesy of Bonfires Vintage
And here is the drawing of the Tone Expressor system I made for you:
Drawing courtesy of SINGLECOIL
All switches are DPDT switches, the tone and volume pots are both 500k audio, and the tone cap is 0.022 µF. A is the coupling resistor (33k or 100k), B is the five 10M ohm pulldown-resistors (one on each switch), which prevent popping noises when engaging a switch, and C is an additional 33k decoupling resistor on each switch that is necessary to decouple the switches from each other when you want to combine their settings. You don’t need that on the Varitone because you can’t combine several caps with the rotary switch.
Besides experimenting with the parameters of the choke, the caps, and the coupling resistor, you can enhance your tonal palette quick and easy by using a pickup selector switch that can engage both pickups together.
In closing, here is a scaled-down version of this wiring, in case you don’t want to use a choke or can’t find one.
Drawing courtesy of SINGLECOIL
As you can see, the coupling resistor (A) and the decoupling resistors (C) are removed. That’s because in the system with the choke (second order filter system), these are necessary, but without a choke, they’re not.
That’s it. Since we are still in the year of the Strat, next month we will have a look into the Fender Cory Wong Stratocaster, so stay tuned!
Until then, keep on modding!
Whether you’re tired of slinging combos and bigger into your car’s trunk or looking for reliable backup and backline power, these pedal-sized options have plenty to offer.
Here’s a rundown of six amps in a stompbox format. Carry soft, play loud!
Blackstar Amplification AMPED 2
A portable 100-watt pedal amp with onboard effects that’s perfect for the guitar player that wants an all-in-one watt-cranker and an effects processor
blackstaramps.com
NUX Amp Academy (NGS-6)
This compact workhorse offers 18 amp models, seven signal blocks, independent outputs, and a robust IR loader—plus, it functions as a USB audio interface.
nuxaudio.com
MayFly Audio Sunrise Amp Simulator
The MayFly emulates the classic sound of black-panel amps, including their preamp, power amp, speaker cabinet, and spring reverb. It's intended to plug directly into a PA or DAW, and includes a stereo headphone output jack.
mayflyaudio.com
Friedman IR-D
The IR-D dual-channel tube preamp is an entire Friedman rig, inspired by the JTM45, in a compact pedalboard-friendly package.
friedmanamplification.com
Strymon Iridium Amp and IR Cab Pedal
The Iridium offers three iconic tube amplifier models and nine super-high-resolution, 500 ms impulse response speaker cabinets, along with size-adjustable IR-based room ambience.
strymon.net
Revv Anniversary Series G3
The new Anniversary Edition Revv G series pedals feature new aesthetics and even more amp-like feel and tone—modeled after Revv amps’ purple channel.
revvamps.com
Polyphonic pitch shifting, adjustable ramp speed, and three-way tone switch.
Octa Psi Features:
- Instant Effect Order Switching: Solve the classic question "Octave/Pitch before or after fuzz?" with ease –just hold down both foot switches.
- Flexible Output Configuration: Switch between AllWet or Wet/Dry blend with a quick double-tap of Blend.
- Momentary or Latching Octave/Pitch: Switch between latching or momentary octaves for completecreative control, simply hold the Fuzz switch.
Polyphonic Octave and Pitch Shifter:
- Three Modes: Up, Down, and Dual modes for creating nearly every harmonic interval, includingpower chords, stacked fourths, and diminished chords.
- Momentary Mode: Perfect for dive-bombs and wild multi-octave bends.
- Adjustable Ramp Speed: For creatively timed pitch bending, just like having an onboardexpression pedal.
Transfigurating Fuzz Circuit:
- All-Analog, Transistor-Based: Delivers incredible sound with wave after wave of gain staging leading to hard clipping.
- Three-Way Tone Switch: Carve out the perfect fuzz tone with Scoop, Punch, or Psi mode.
- Massive Sound: Makes your guitar pickups sound enormous at any volume.
Stunning Design and Ease of Use:
- High Octane Circuitry – Housed in a proprietary angled aluminum enclosure for simplicity and durability.
Upgrade your sound and explore new sonic possibilities with the Octa Psi Transfigurating Fuzz Pedal.Prepare yourself to experience the ultimate in pitch-shifting, octave generation, and analog fuzz!
Octa Psi Highlights:
- Polyphonic Pitch Shifter:○ +/- Two Octave Range and nearly every harmonic interval.
- Low latency and fast-tracking for great tone in dropped tunings or wild bends.
- Switchable All-Wet ⇆ Wet/Dry Blend by double tapping the Blend control.
- Momentary or Latching Octave and Pitch Shifter by holding down the Fuzz stomp.
- Adjustable Ramp Speed for the pitch shifter by holding Octave down and adjusting Blend.4
- Three pitch-shifting modes (Up/Dual/Down) for multiple octaves, crazy intervals, chords,and even chorus modulation.
- Analog Transistor Fuzz:
- Super thick, analog transistor fuzz and distortion.
- Three-way bass response: Scoop, Punch, or Psi mode for massive undertones.
- Order switching between Fuzz ⇆ Octave (Pitch) by pressing and holding both Octave andFuzz.
Tech Specs:
- Pedal Type: Octave Fuzz and Pitch Shifter
- Switching: Momentary or Latching Pitch Shifter
- Analog/Digital: Mixed, Analog Fuzz & Digital DSP
- Effects: Polyphonic Pitch Shifter, Octave, Fuzz, Distortion
- Inputs/Outputs: TS 1⁄4” jacks
- Bypass: True Bypass or Silent Buffered Bypass, user selectable
- Power Requirements: 9-18 VDC, 150mA (high current power supply sold separately) - No battery
- Height: 2.7”
- Width: 3.9”
- Depth: 5”