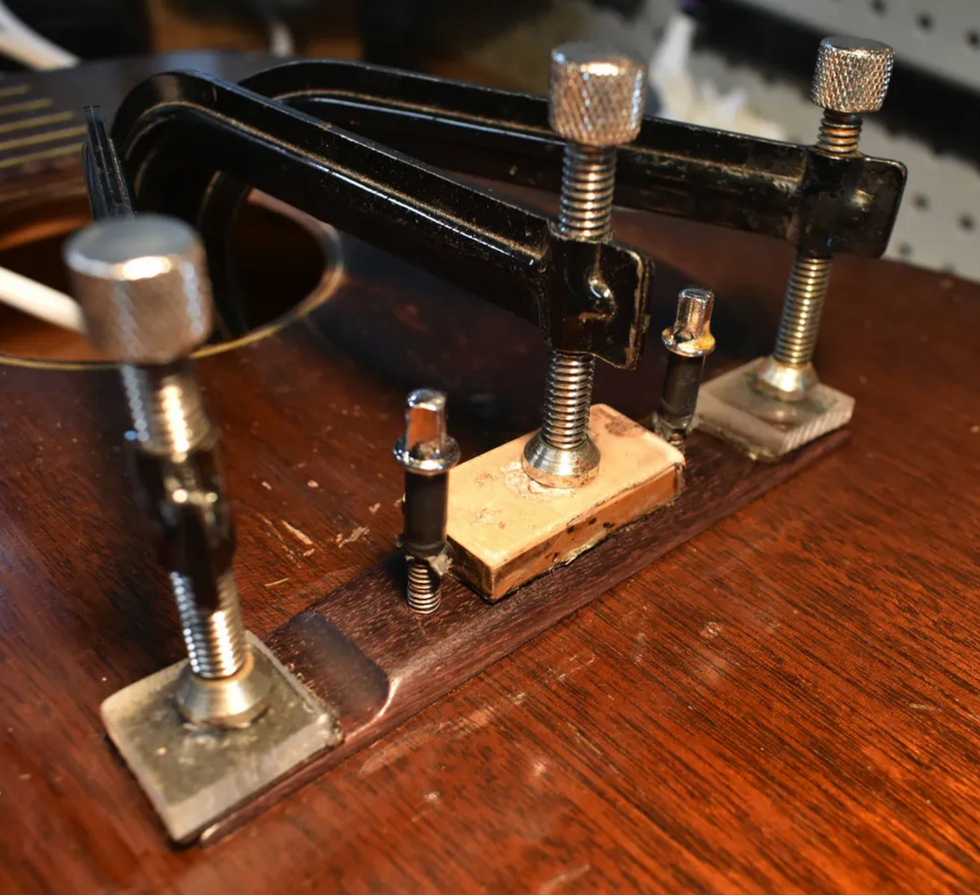
Recently I had a client bring in his guitar with a common complaint: The back of its neck felt sticky against his fretting handwhen he was rocking out onstage. I hear this a lot, especially from players who have guitars with the type of high-gloss finish shown in Photo 1. The truth is, any neck—even one that comes from the factory with a matte satin finish—can eventually develop a sticky feel from hand oils, sweat, and playing grime.
Over the years I've seen players try to resolve this issue in different ways. Some of these approaches work, while others can ruin the value of a guitar. Like many luthiers, I have my own way of dealing with a sticky neck. It's a simple process, so let's explore it. We'll also discuss what not to do if you want your neck to feel smooth and slick.
Cleaning house. Over time, dirt and oils build up along the back of the neck and this film causes the finish to become sticky or even break down. Nitrocellulose lacquer is particularly susceptible to this, especially if you don't keep the finish clean and don't wash your hands before you play. If you've ever encountered a vintage guitar with a smudged or tacky finish, that's probably what happened—the finish had deteriorated to the point of softening up.
And lacquer isn't the only offender. Many new guitars ship with thick polyester finishes covering their necks, and these too can create friction against your hand when you slide rapidly up and down the neck. Fortunately, the fix is easy and inexpensive.
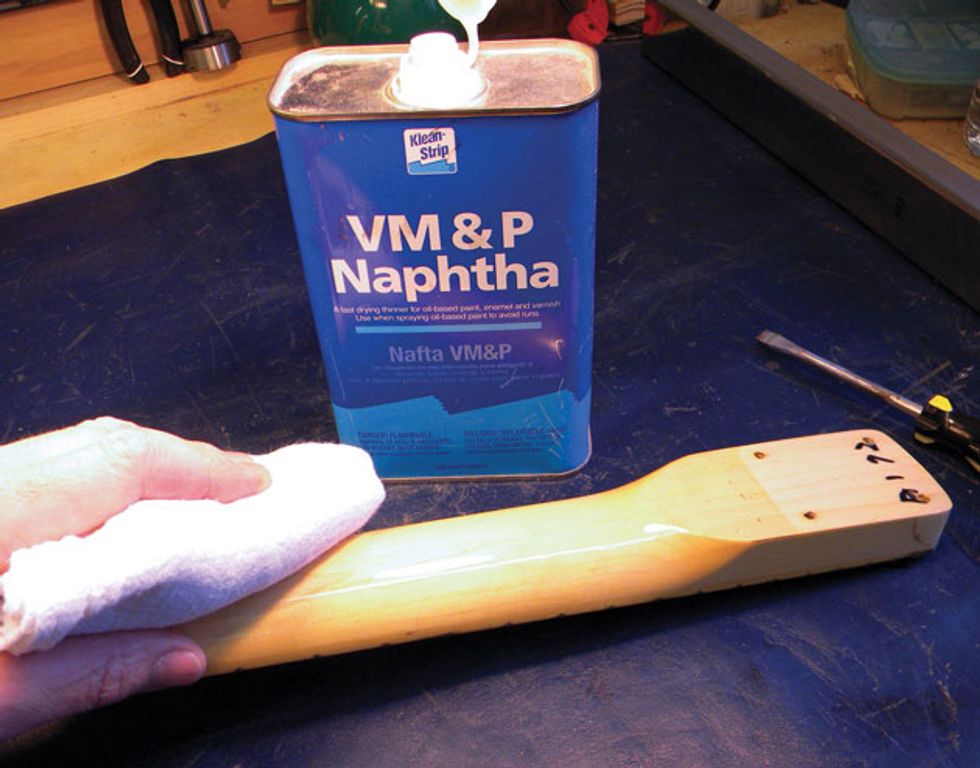
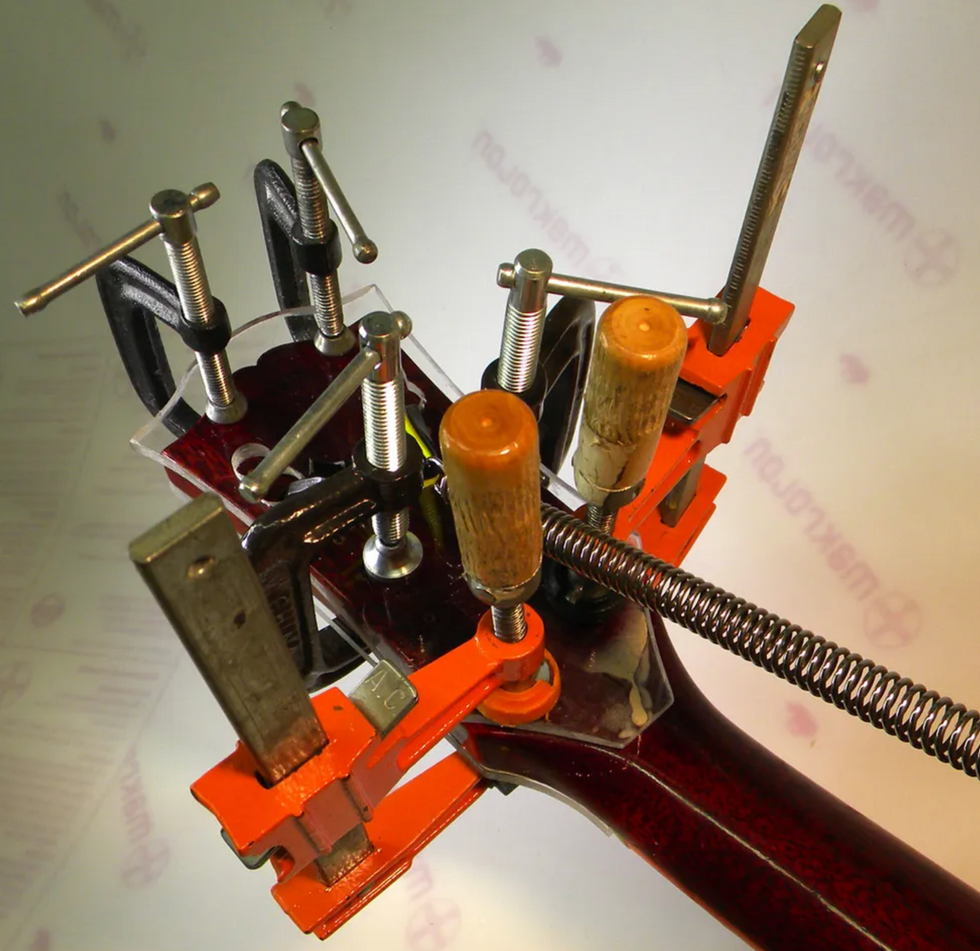
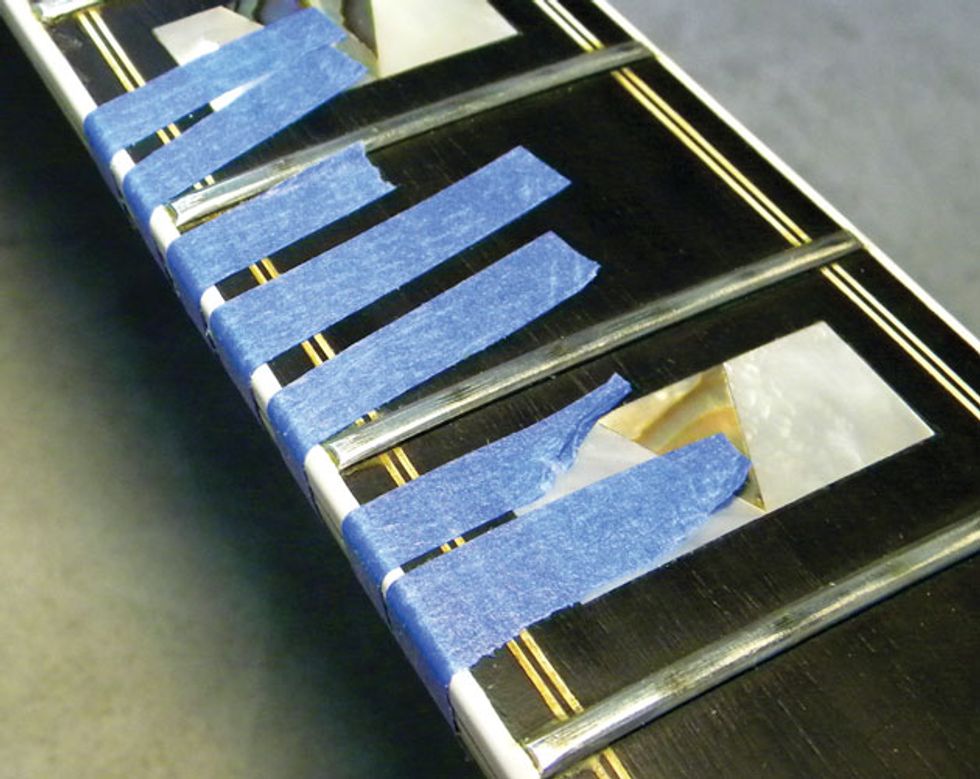
Photo 2
The first step is to thoroughly clean the neck. I use naphtha for this job (Photo 2). A gentle solvent that's available at hardware and home improvement stores, it's safe for most finishes and will remove the dirt and oils that accumulate on the back of a neck.
Warning: Naphtha is flammable—think lighter fluid—so never use it around fire or flame.
Dampen a clean cloth (a microfiber or cotton polishing cloth is ideal) with a little naphtha and wipe down the neck. Use light strokes and turn the cloth as you work to keep the soil you remove from getting back on the neck. The goal here is to just lift off any junk that's built up on the finish, so go easy. If you rub too hard, it will polish the neck and make it even glossier. Or if you are too aggressive with an old, distressed finish, you may end up rubbing it off, which will then necessitate refinishing the entire neck.
Once the neck is clean, you can take an additional step and “scuff the finish." How you approach this depends on whether the neck has a satin or high-gloss finish. We'll look at both instances, but, in either case, it's important to remove only the minimum amount of finish. You must retain a protective barrier on the neck to prevent moisture from entering the wood and potentially warping it.
Before you begin the process, protect the guitar to prevent any sanding dust or steel wool debris from collecting on the body or pickups. If you have a bolt-on neck and are comfortable with removing it, take it off the body. If you're not keen on removing it, or if your guitar has a set neck, then slip the body into a plastic trash bag and seal it. Painter's tape works great to seal the bag, and it's easy to remove when you're done.
Using steel wool on a satin finish. Satin or matte finishes are very comfortable, but can become somewhat glossy over time. To remove this glossy buildup, rub the back of the neck with 0000 steel wool. This will leave the neck feeling smooth without that sticky sensation. Remember, only use 0000 steel wool. If you use more aggressive steel wool (000 or 00) you'll run the risk of rubbing through the protective satin finish.
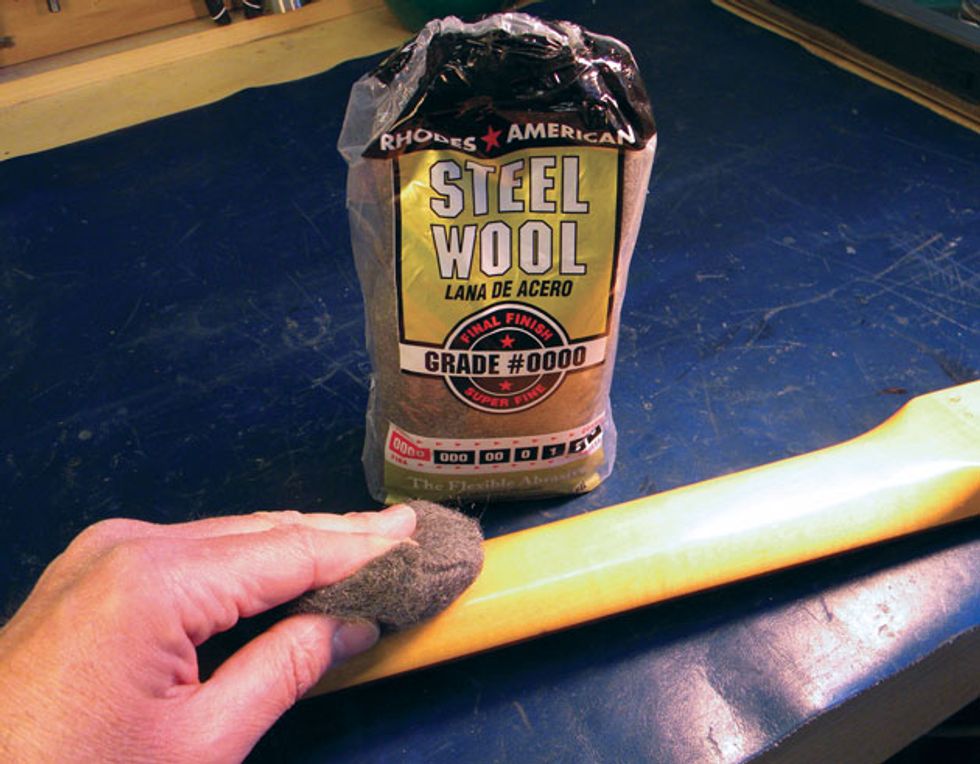
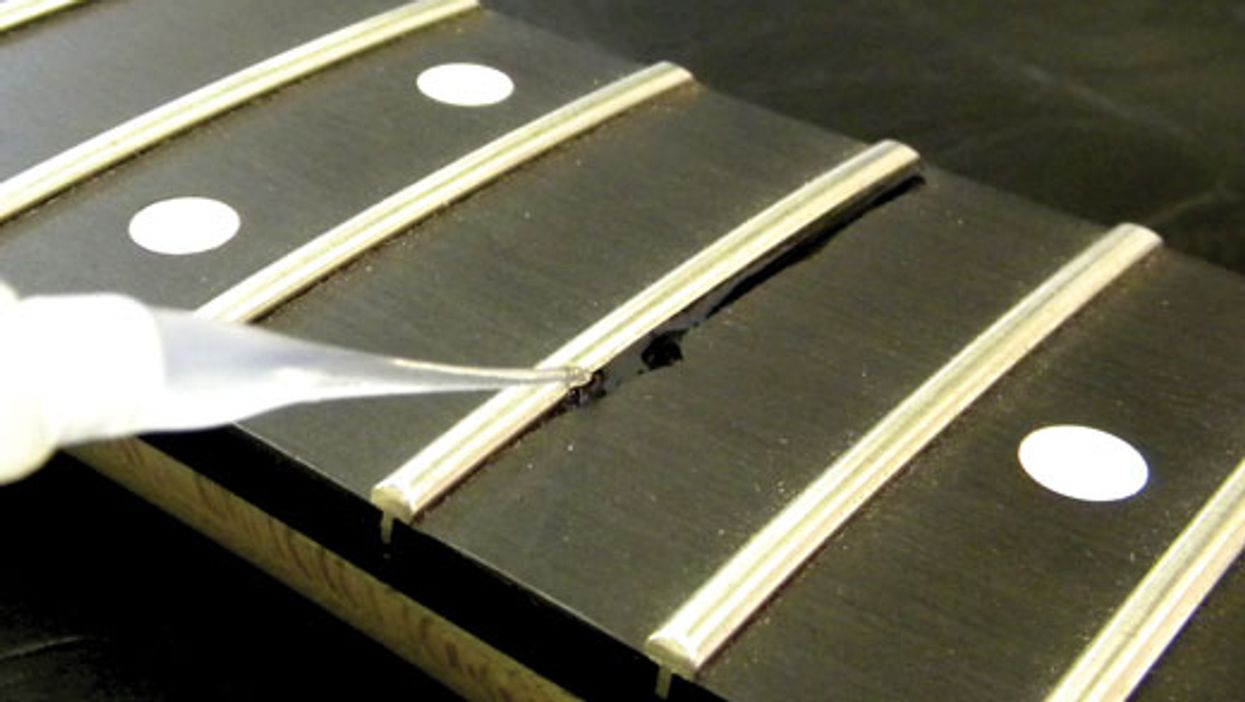
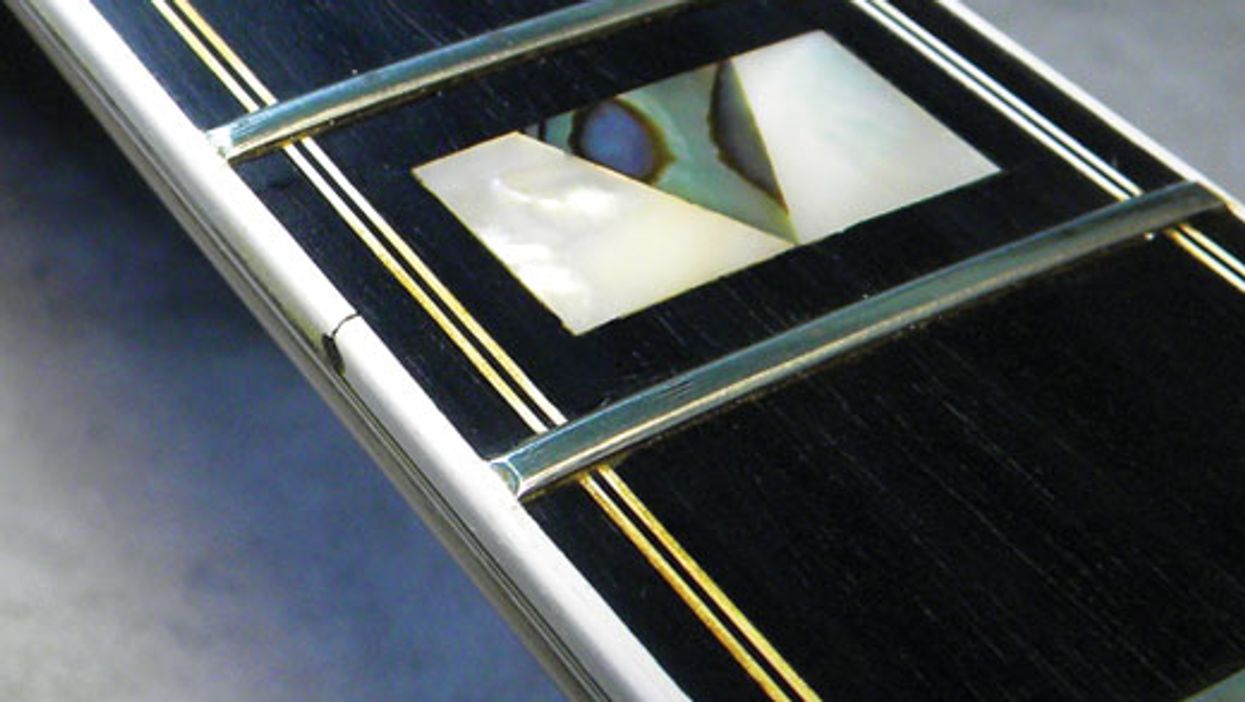
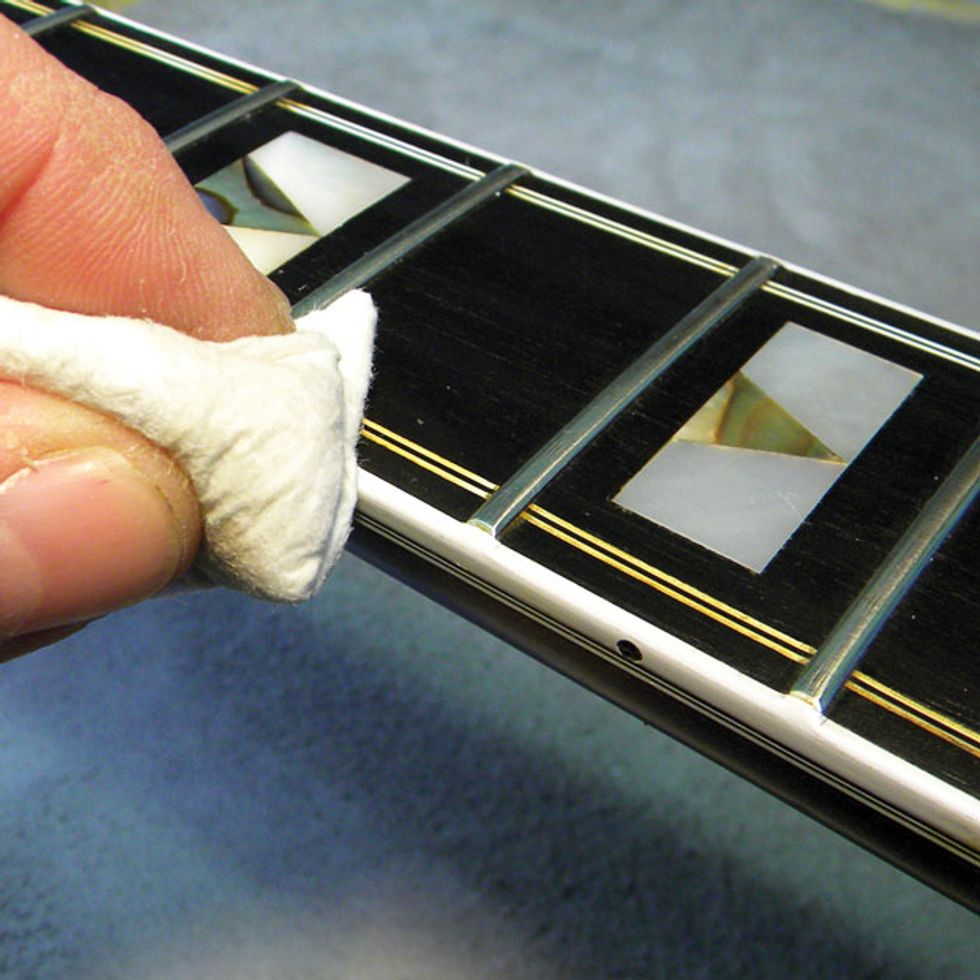
Photo 3
As shown in Photo 3, gently rub the steel wool along the neck following the direction of the grain, which is parallel to the strings. So you don't remove too much of the finish, rub in only one direction, rather than going back and forth. To monitor your progress, keep touching the back of the neck as you work, and stop rubbing as soon as the finish feels nice and smooth.
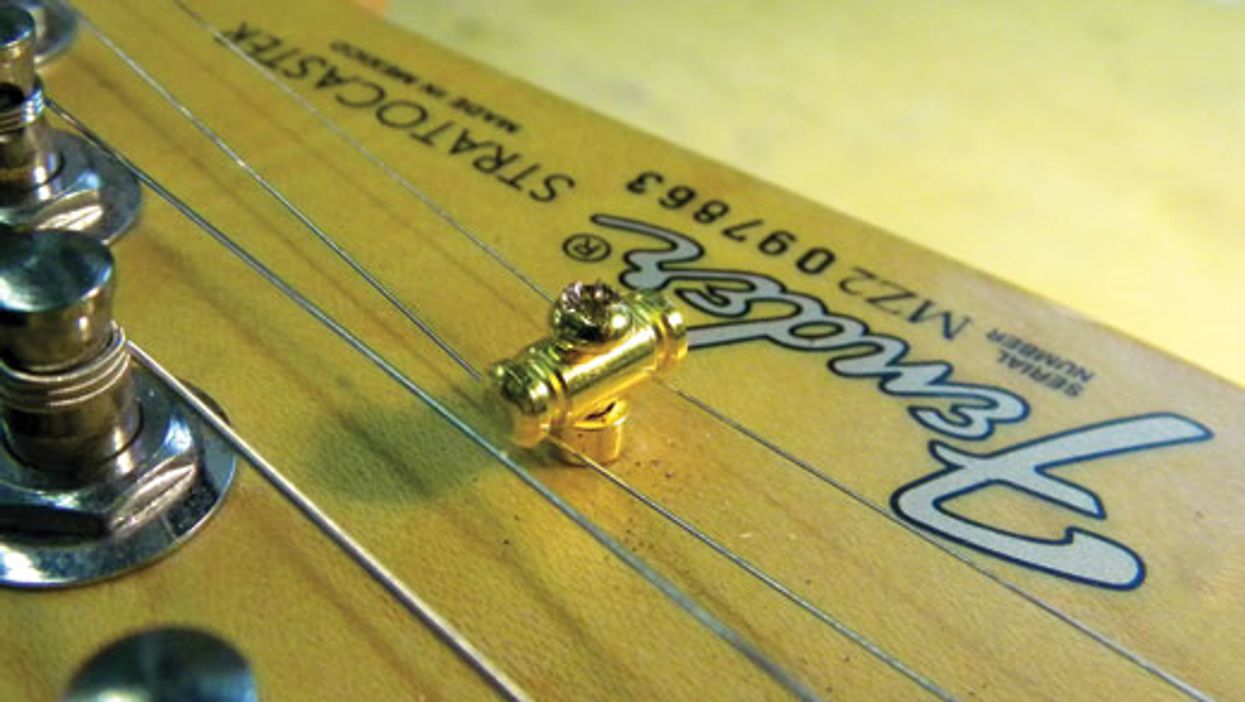
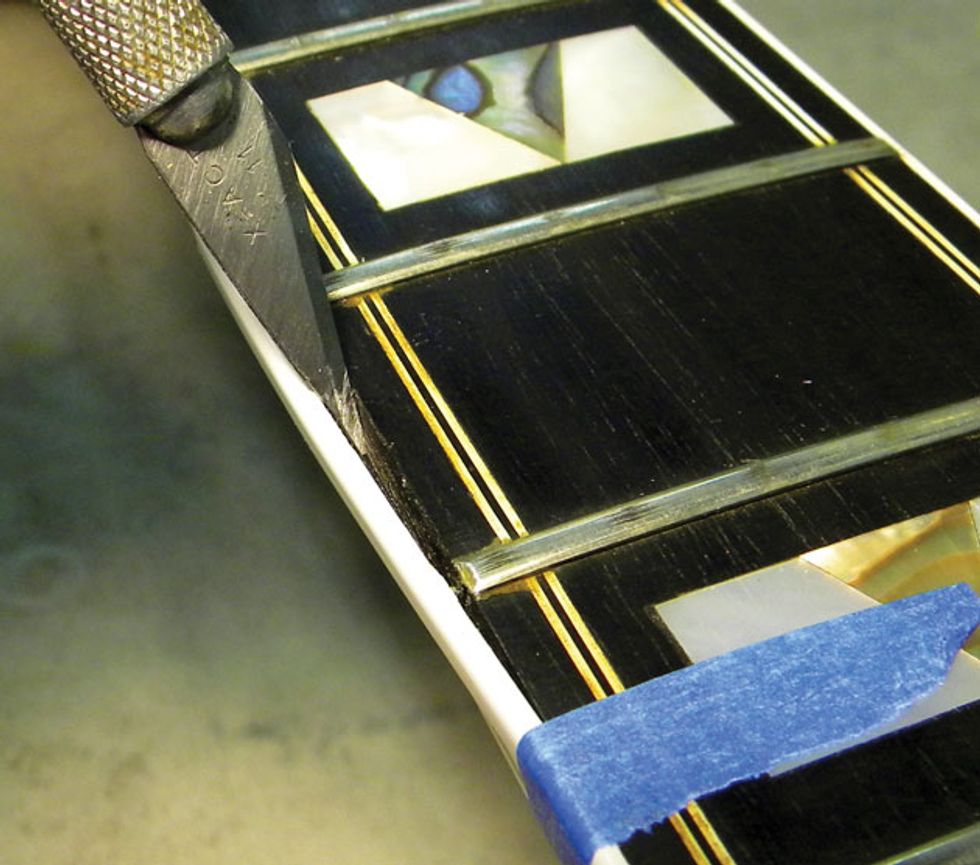
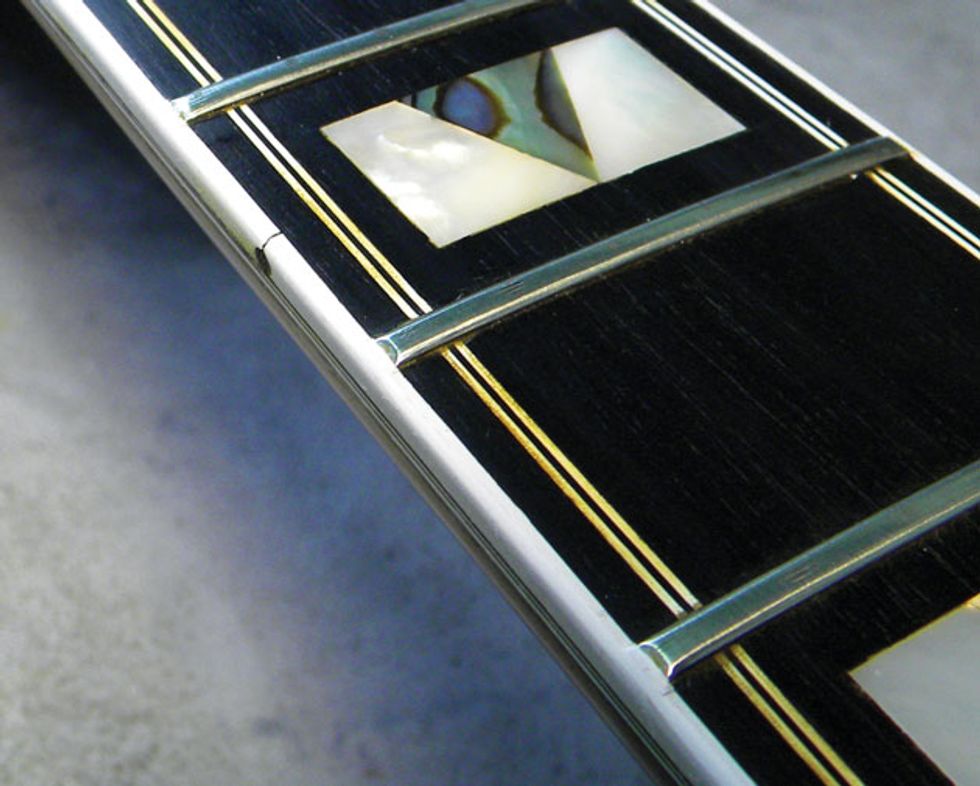
Using sandpaper on a glossy finish. You can sand a neck's hard, high-gloss surface, but before you get too enthusiastic with your sandpaper, be sure to choose the right grit! For most glossy necks, 600-grit paper will do the trick (Photo 4). A more aggressive 400-grit paper will also work, but be cautious. Too often I've seen necks that someone sanded with 220-grit paper and created a big mess. When the grit is too coarse, you'll go right through the finish down to the wood, and if that happens, the neck will look and feel inconsistent. The only way to correct this is to sand off the remaining finish and apply a new one. Don't go there.
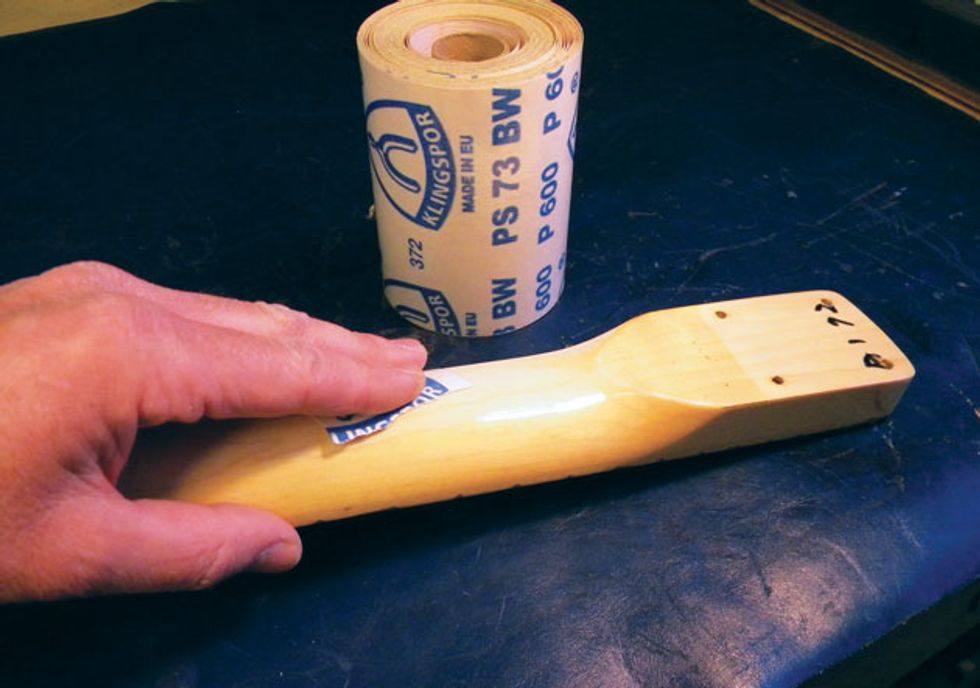
Photo 4
My favorite brand of sandpaper is Klingspor—it's very durable and inexpensive—and 3M sandpaper also works great.
As with a satin finish, gently rub the sandpaper in one direction, following the wood grain. And as you sand, run your fingers along the back of the neck to check its feel. You're only aiming to remove the glossy surface, not the finish itself, so be gentle and intentional when sanding a neck.
And that's all there is to it. Now that your neck has a smooth, “played-in" feel, only two things are required to maintain it: Wash your hands before you play your guitar and periodically clean the back of its neck as described earlier. Prevention is more than half the battle, so get in the habit of cleaning your neck each time you change strings.