
Image 1 — Image courtesy singlecoil.com
Hello and welcome back to Mod Garage. After receiving a lot of emails about installing humbucker pickups, this month I will show you how to do this in a pickup ring or a pickguard. This is one of the daily shop challenges I like to call “alien tasks"—the situations where you wish you had at least one additional hand—and there are a lot of them in guitar electronics. Sure, there are a lot of available “third hand" devices with two or more clips to hold something in place, small pony vices, clamps, and whatever else. But, often enough, none of these tools will work for a certain operation. So, there are only two ways: look for a specialized tool for doing the job or make your own.
If you've ever physically installed a humbucker in a pickup ring (Les Paul, SG, 335, PRS) or in a pickguard (Strats, etc.), you know this can be a frustrating pain in the ass. You need a minimum of three arms and hands for doing this, and usually you need several attempts until you succeed, with the springs flying off several times while you're fumbling to hold everything together. With a little luck, you'll find the springs again on the floor, but often they dissolve in the Bermuda Triangle of lost guitar parts and will never be seen again. If you've ever done this procedure, you instantly know what I mean.
This may be acceptable if you have iron nerves and only do this once a decade, but if you change humbucker pickups regularly or run a guitar store or repair shop, it's time to look for a professional solution to save a lot of time, springs, curses, and neural pathways.
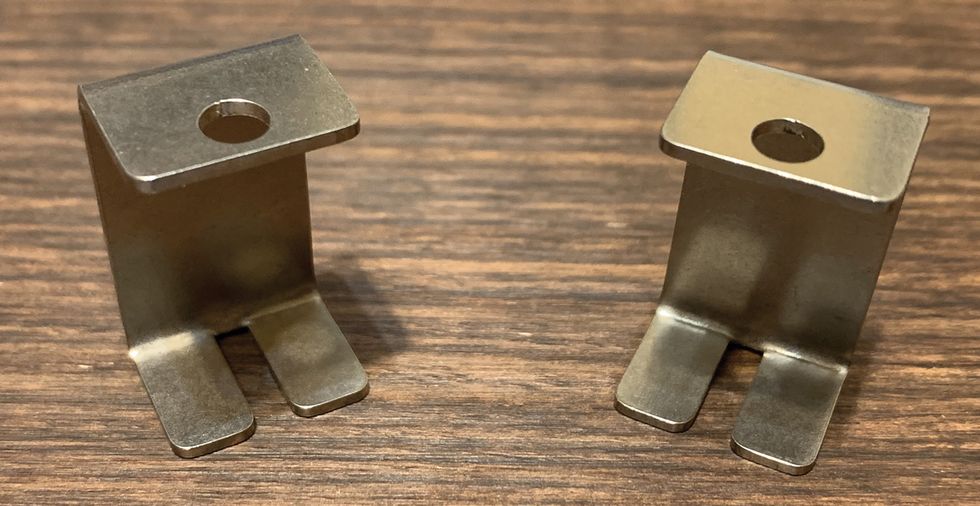
Commonly used for this job are tools called “Humbucker Helpers," which are two metal clips (Image 1) that hold the springs, screws, and mounting ring together in one piece so you can use your screwdriver to fasten the humbucker. Just set it over the pickup, turn the screws into the pickup-mounting tabs, and pull away the clips. You need a little practice to use the clips the right way, so don't throw in the towel if you can't figure it out the first time you try. I think our friend Dan Erlewine from the Ohio-based Stewmac company came up with this simple and small solution around 15 years ago, and I bet it's still a bestseller for them.
But while Humbucker Helpers can make this operation much easier, there are some downsides to be aware of:
1. It's easy to scratch the surface of the guitar and the pickup ring with the metal clips, especially when you perform this with the pickups already installed, leaving you with no room to move around. Always protect the finish of the guitar with a cloth, wool felt, or whatever you have available. It's also a good idea to cover the contact surface of the metal clips with some tape or thin self-adhesive felt.
2. The clips aren't adjustable and won't work with certain lengths of humbucker-mounting legs. Shorter mounting legs like those of PRS humbuckers simply won't work with this tool, because it's too long. You can bend the clips to a certain degree, but it won't always fit. The same problem can show up with import humbuckers, which usually have shorter screws.

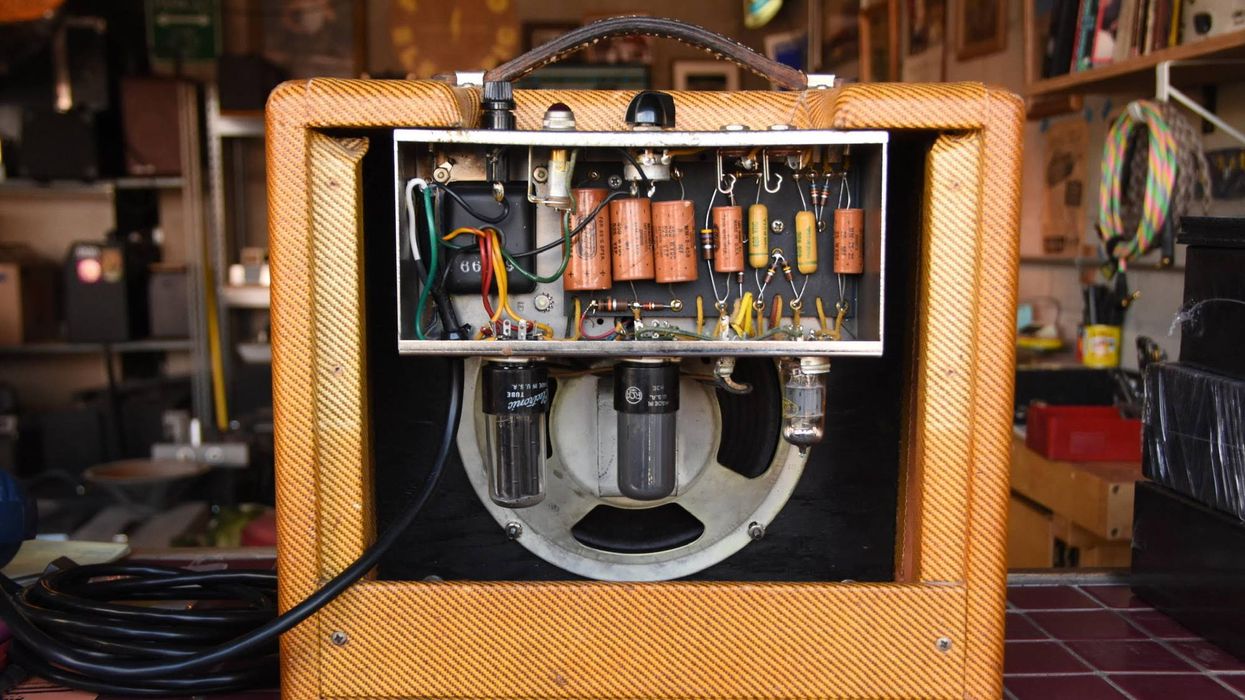
Image 2 — Image courtesy singlecoil.com
3. Sometimes the physical dimensions of the screw head and the diameter of the screw itself doesn't match the dimensions of the hole and the slot in the clips. You can make it work by drilling the hole out bigger or make it a slot, too. If the slot is too small, use a small metal file and widen it.
4. If you want to install humbuckers in a pickguard, you can't use the clips because the two legs aren't long enough to place the tool where you need it.
So, the Humbucker Helper can be a great little tool, but it's not the cure-all weapon when installing humbucker pickups. I used these clips for years and bought several sets of them to modify and to have one for each task. Finding the perfect tool for this happened years later by accident.
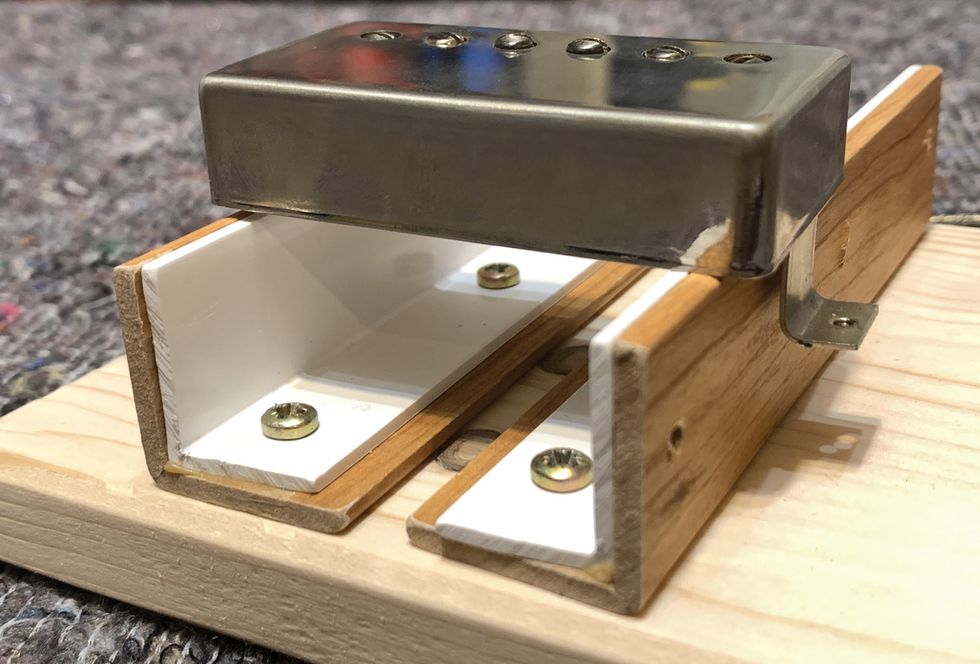
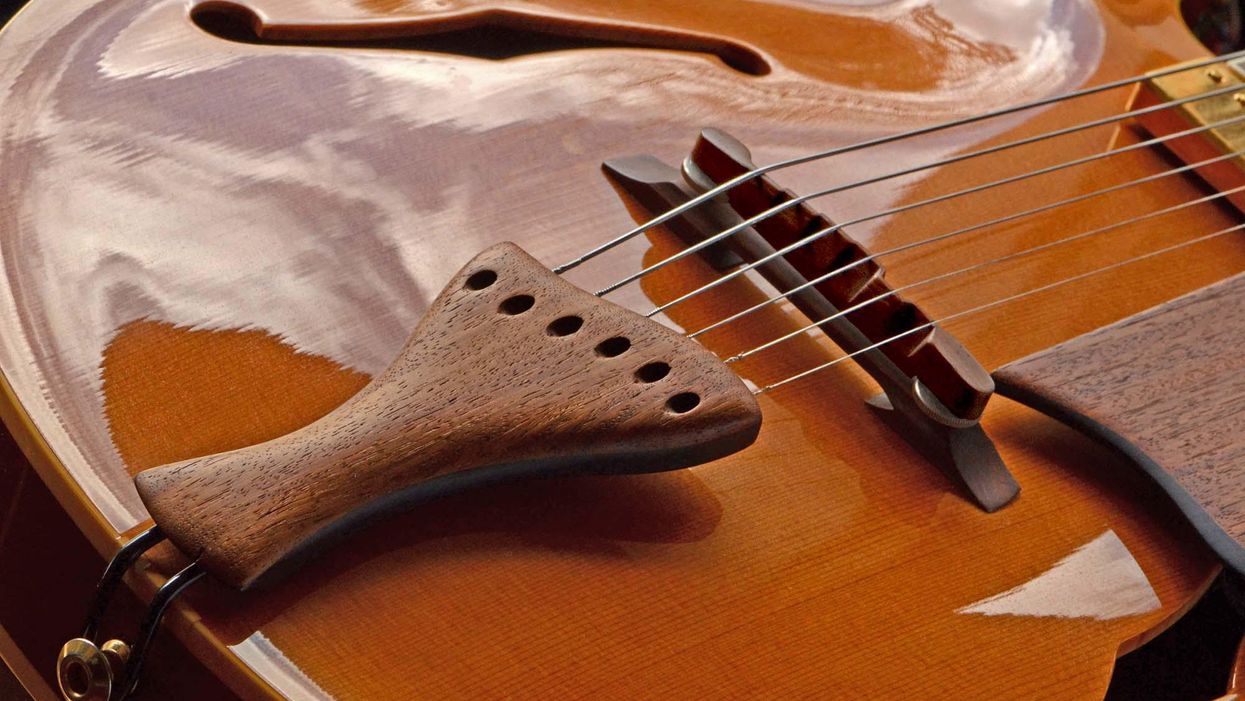
Image 3 — Image courtesy singlecoil.com
While visiting the Gibson factory in Memphis in 2011, I asked our tour guide if it was possible to see the electronic assembly area, because I was very interested to see how they worked there. I'd never given a thought to how they might install the humbuckers into the pickup rings. Our tour guide was very polite and friendly and brought me to this area where I had the chance to speak with the guy in charge. When I saw how they install the humbuckers I was instantly speechless, with an unbelieving expression on my face, followed by a good laugh. They use a super simple tool you can easily build for only a few bucks that works perfectly for installing humbucker pickups into pickup rings and pickguards. The only downside is that you can't use this tool with the pickups already installed into the guitar. It only works when installing the pickups outside the guitar. But how often do you have to change a pickup ring with the humbuckers installed in the guitar?
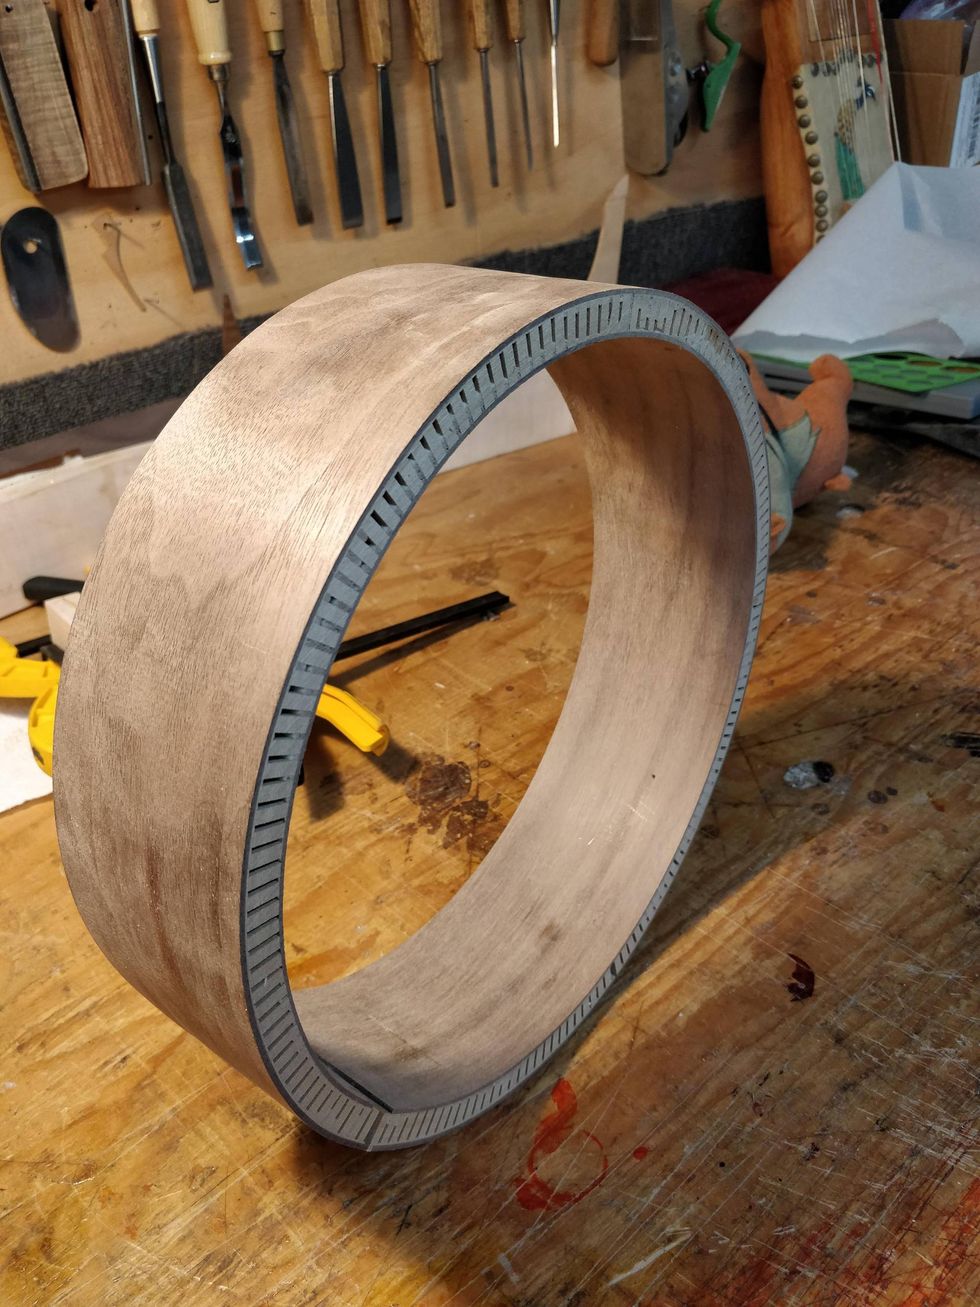
So here it is: my homemade version of Gibson's factory humbucker pickup installation tool, as seen in Image 2.
It's basically just a wooden base with two angle sections screwed to it. Inside the Gibson factory, it seemed that every worker made their own and most of them used a very thick and heavy wooden base with metal angle sections where one could clearly see toolmarks of rounding and smoothing out all surfaces with a file and sandpaper. Most tools were also very long, so they could put up to 10 humbuckers at once on them. I decided to use a scrap piece of pinewood that we use for amp cabinets, and wooden angle bars that I reinforced by gluing two slightly smaller plastic angle bars inside. I had all the materials lying around, and the wooden angle bars are perfect to prevent the pickups from scratches that could easily happen with metal on metal. I didn't need the tool to be very long for several humbuckers all at once, so I decided on a length that will work for two humbuckers and a Strat pickguard without any jiggle during the installation process.
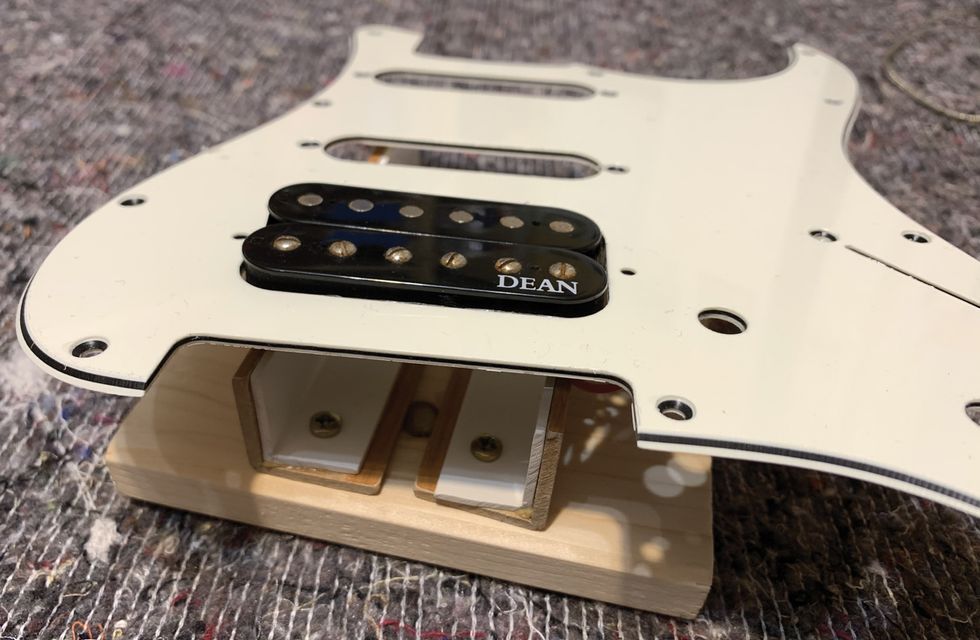
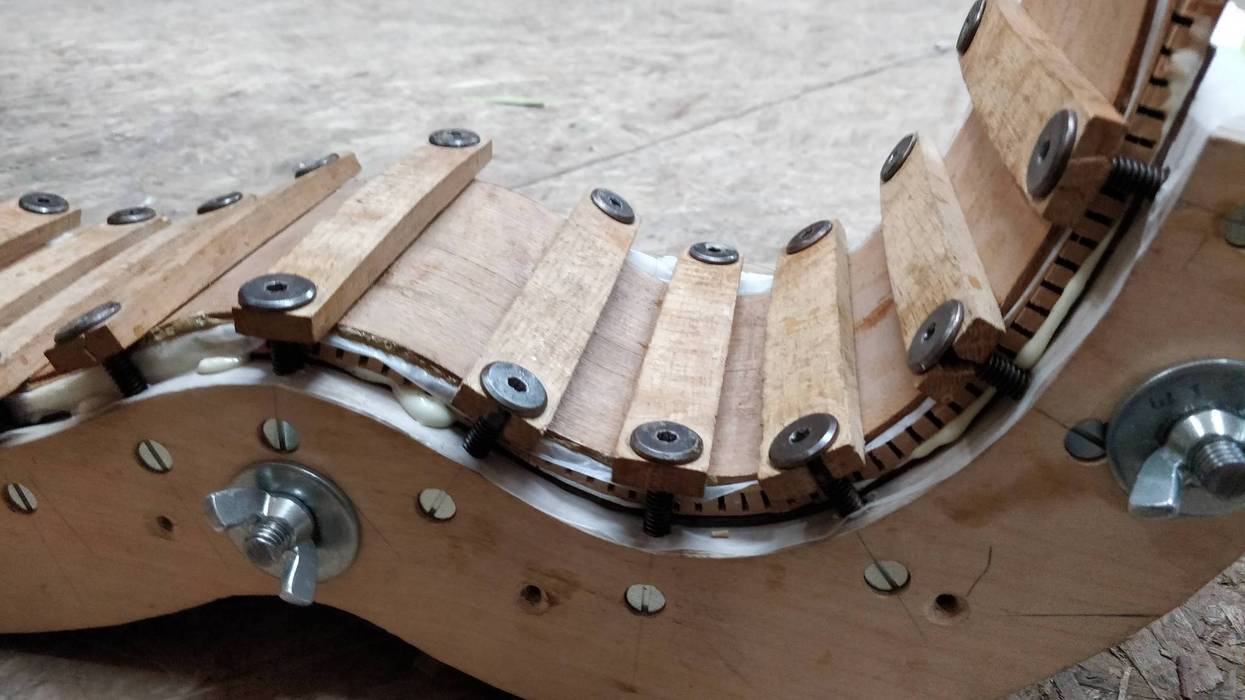
Image 4 — Image courtesy singlecoil.com
It's a super simple build. Cut your wooden base to size, cut the angle bars to match the length of the wooden base, and drill some holes into the leg that sits on the wooden base so you can fasten it with some screws. Now place the two angle bars on the wooden base so a humbucker will fit between them, mark the holes on your wooden base and pre-drill the holes for the screws. Now screw on the two angle bars and you're ready to go. You can experiment with the size of the wooden base and the height of the angle bars to match your personal preferences. Leave it as is, put some lacquer or a funny paint job on it—whatever you prefer. I simply used what was in the junk box and it works perfectly for me.
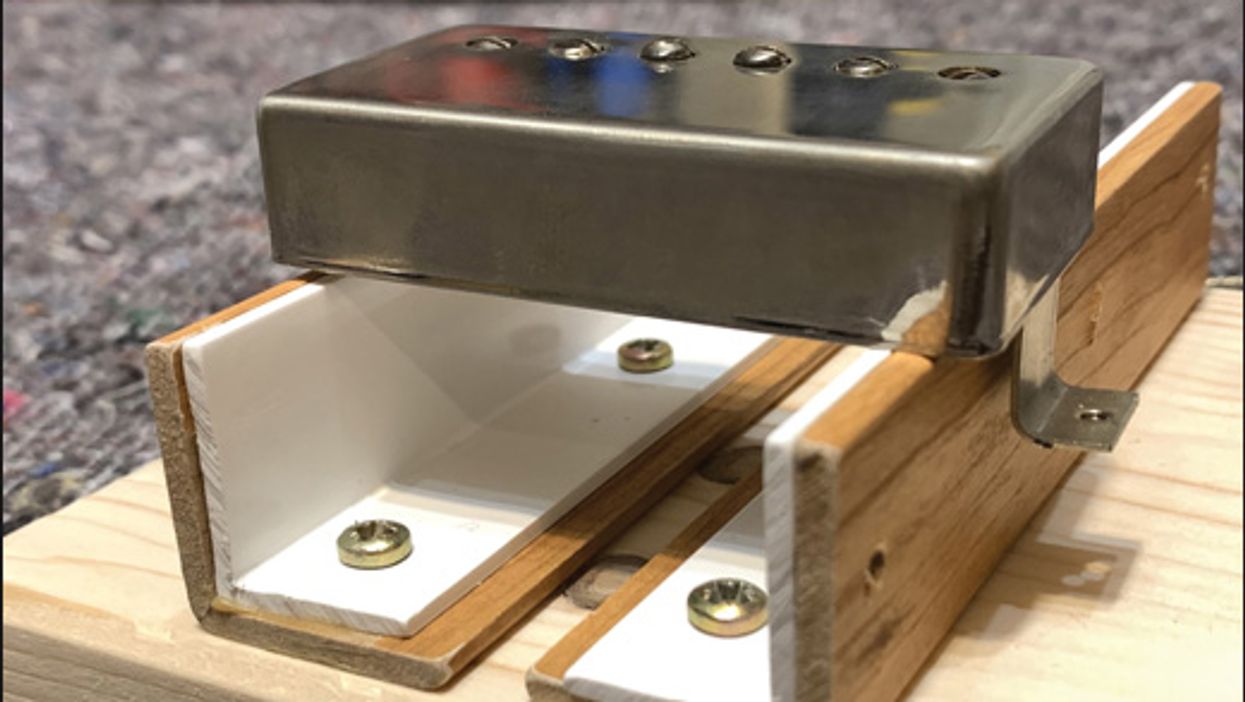
Orientate and place the humbucker on the tool in front of you (Image 3). Next, orientate and put on the pickup ring or pickguard (Image 4)—it will lay on the top of the angle bars. Now place the screw and spring by lifting the pickup ring or the pickguard (Image 5). As you can see, you have plenty of space, and while holding the screw with the spring with one hand. you can use your other hand to turn the screwdriver.
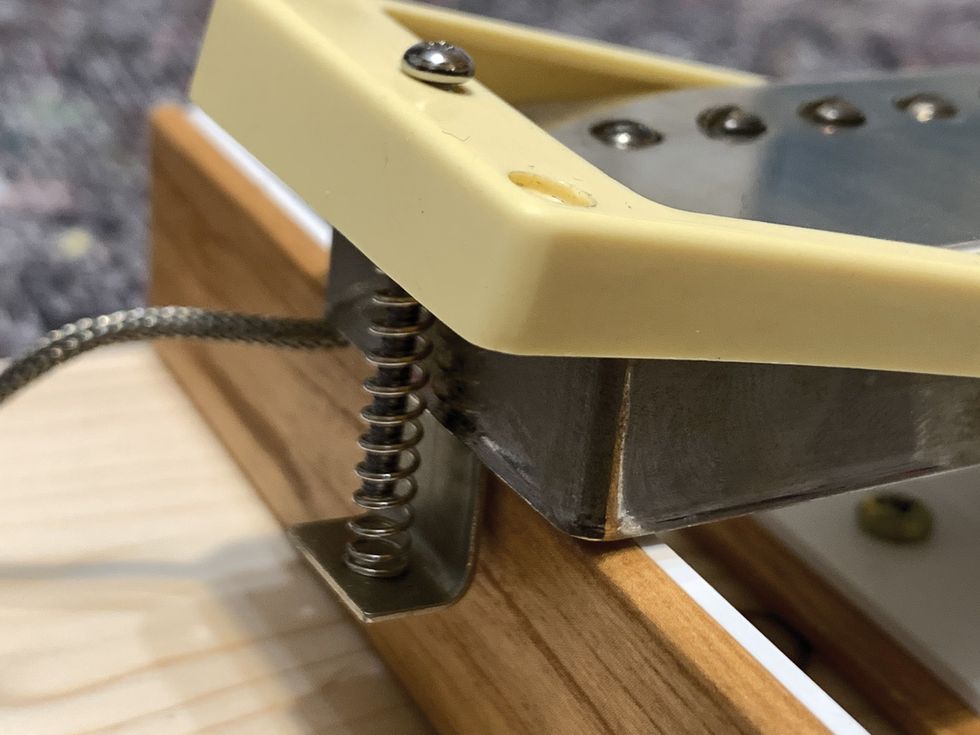
Image 5 — Image courtesy singlecoil.com
With a little practice, you can install a humbucker within a minute or less. Is that genius or what? Thanks, Gibson, for this priceless inspiration!
Sometimes it's really that easy to master an alien task like this, but often one is unable to see the forest for the trees. We'll explore more alien tasks and the DIY tools to master them in future columns.
Next month we'll combine several mods, with two single-coil pickups and a master volume/tone configuration to get the most out of it. It will work on all guitars with this configuration, whether it's a Telecaster, Duo Sonic, Danelectro, or whatever else.
Until then ... keep on modding!