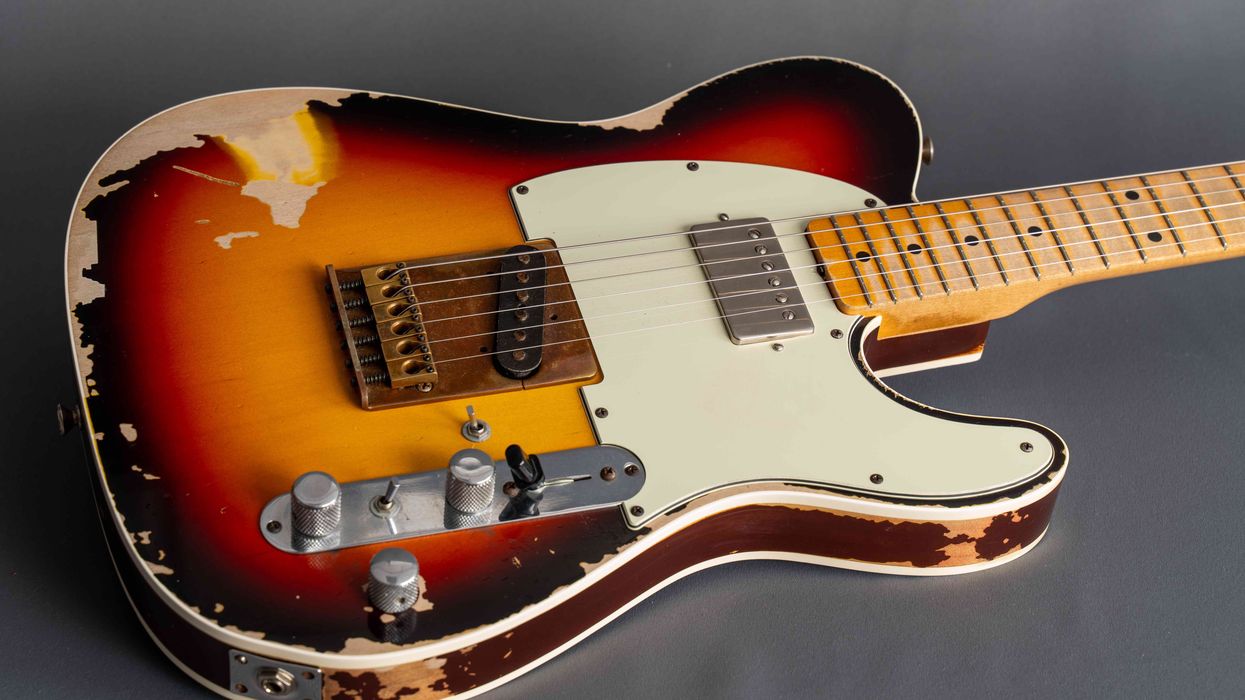
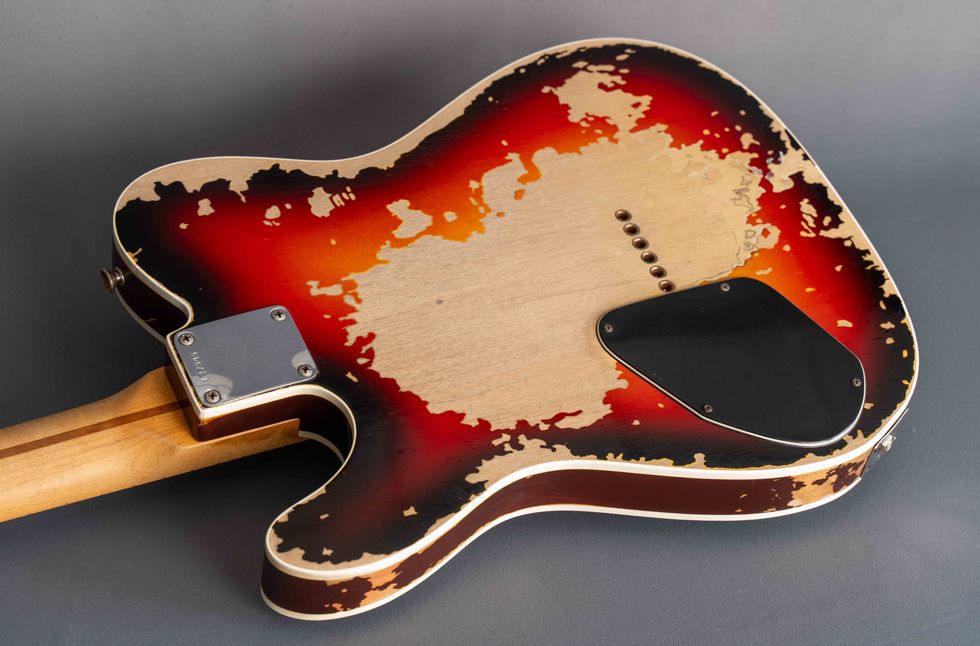
Here’s how to adapt the cool humbucker coil-splitting scheme found in Fender’s Select Carved Top Jazzmaster to your guitar.
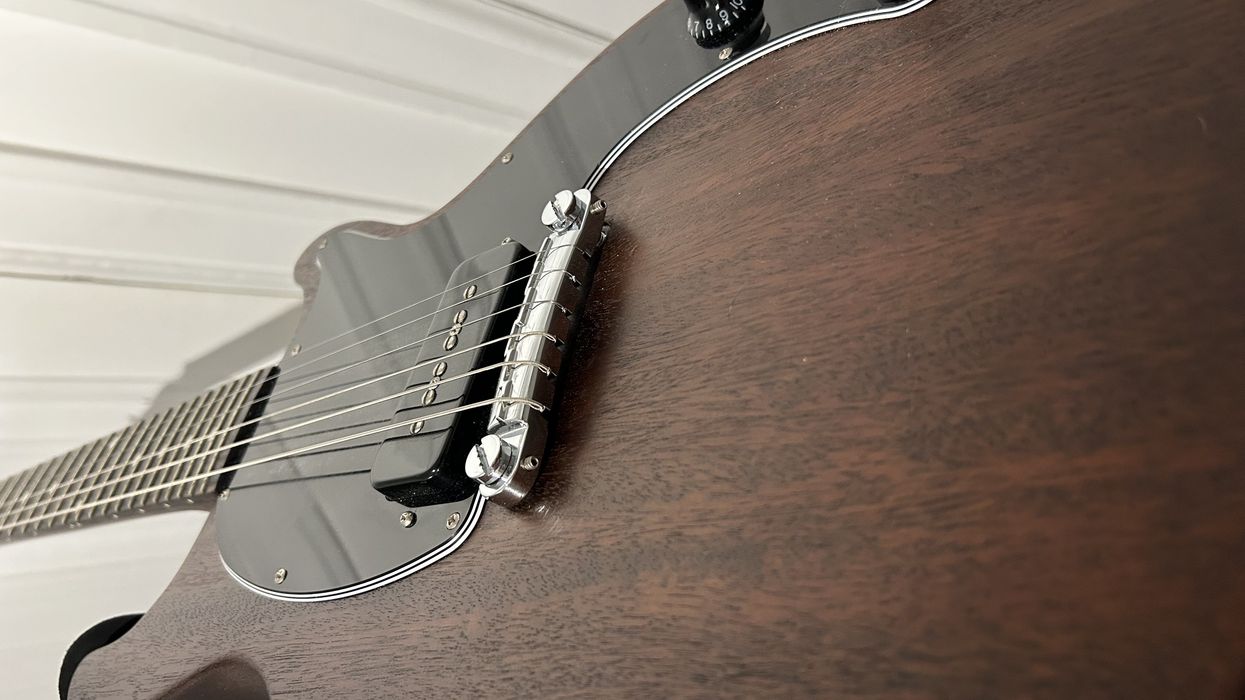
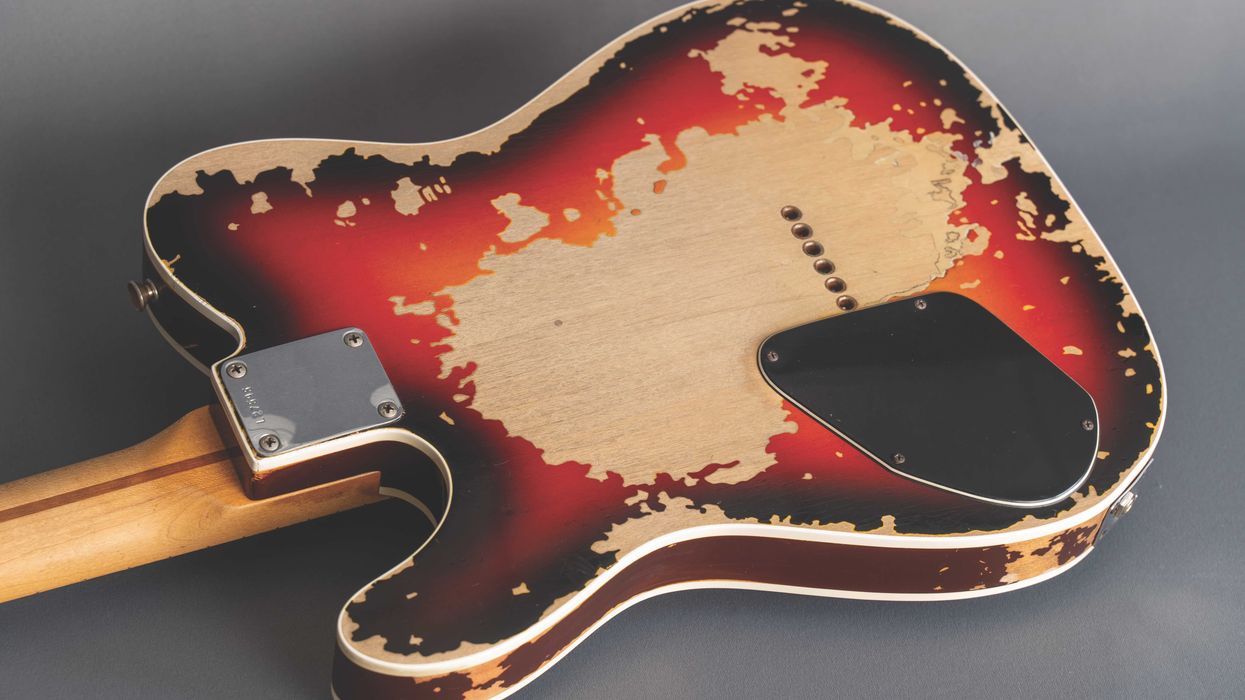
Recently a customer brought in his Fender Select Carved Top Jazzmaster to get set up for heavier strings. This model has a simple layout: two humbuckers designed to look like vintage Wide Range pickups, a Gibson-style 3-way pickup selector switch, and a classic Telecaster control layout consisting of master volume and master tone. The 3-way switch was configured like a Telecaster with the familiar switching matrix of bridge, bridge-plus-neck in parallel, and neck positions. It was a rock-solid guitar that played well.
The owner pointed out that the tone control had an additional switch to split the humbucker pickups. (This turned out to be Fender's S-1 switch.) He then requested an additional switch to flip from parallel to series in dual-pickup mode for some ultra-fat lead tones. While talking about this option, he mentioned he'd never played a humbucker guitar that offered such a cool single-coil tone when in split mode—sparkle and shimmer without hum and noise.
I became curious. My first thought was that Fender simply connected both humbucker coils in parallel, rather than shunting one coil to ground when in split mode. As you may know, when using this option, the humbucking feature is still engaged and you receive a pseudo-single-coil tone without hum and noise. Most humbuckers don't sound like real single-coils in this mode. Some say this configuration sounds more like a P-90, while others say it sounds like a cheap, thin humbucker. But I kept my customer's remarks in mind when I started working on his guitar several days later.
Because the electronic compartment of this Jazzmaster opens from the back, like on a Les Paul, I decided to do all the other work first, such as making a new nut and doing a complete setup for the heavier strings. When it came time to perform the electronic upgrade, I was surprised when I investigated the wiring.
After analyzing the wiring more closely, I realized what we had here: an adaptation of a wiring Bill Lawrence developed in the late '80s.
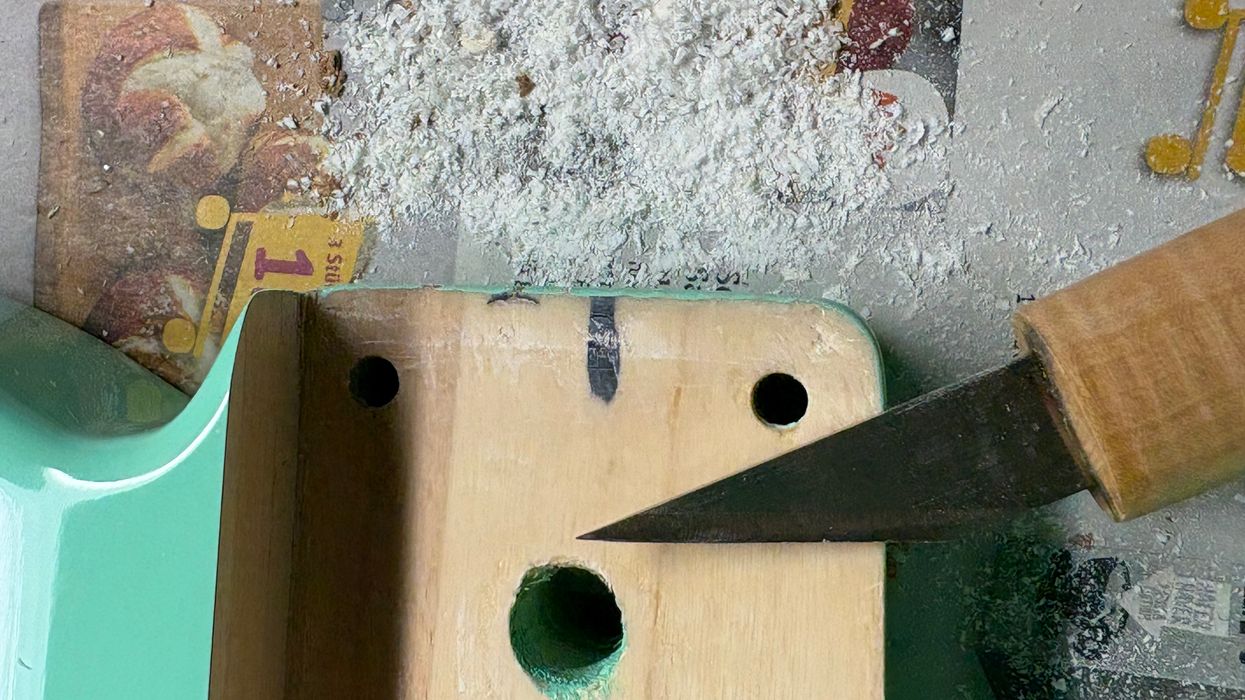
In addition to a resistor connected to the S-1 switch, I found a capacitor wired to it. Clearly, I had to dig deeper into this wiring, so I requested the schematic (Image 1) from Fender. Thanks to my friend Brett Leasure for immediately sending it over.
The 0.1 µF capacitor and standard 1.5k-ohm resistor rang a bell. After analyzing the wiring more closely, I realized what we had here: an adaptation of a wiring Bill Lawrence developed in the late '80s. Though this isn't new, it remains a very effective hum-reducing scheme. Let's see how it works and what it's doing.
When splitting a humbucker to emulate single-coil tone, one of the coils will typically be shunted to ground, leaving the other coil active with all the hum and noise that's associated with a single-coil pickup. That holds true for this specific wiring, but the two humbucker wires that are wrapped together are not directly connected to ground. Instead, they run through an additional RC network (0.1 µF C plus 1.5k R in series). In this network, the capacitor plays the most important role.
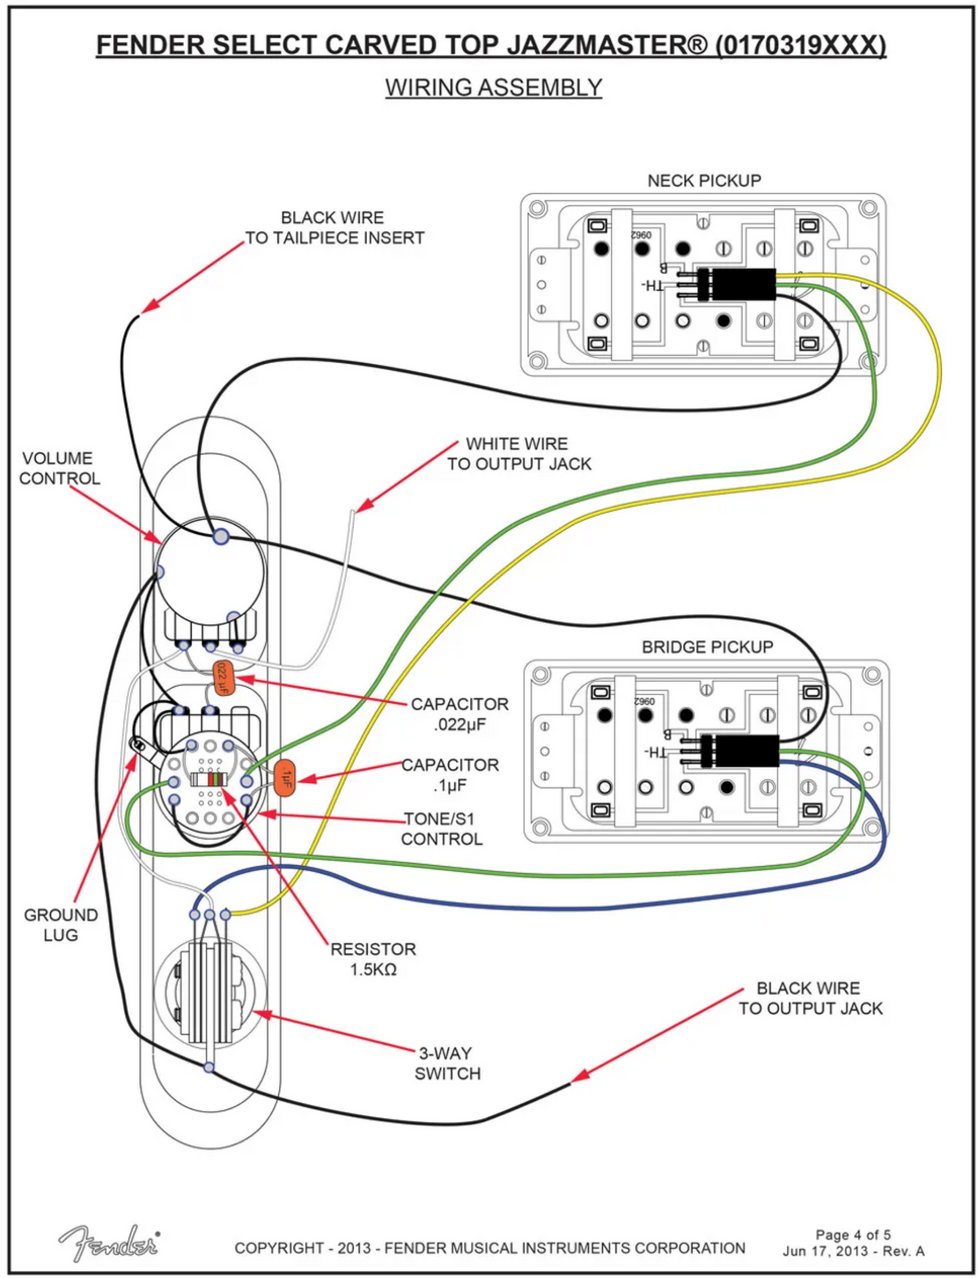
Image 1
The cap shifts the resonance frequency of the coil that's sent to ground, moving it down to near the typical 50/60 Hz hum territory. But that's not all—it also shorts out the frequencies we hear as tone. For the hum frequencies, the coil that's sent to ground is still active, but the tone frequencies—those located above the hum frequencies—no longer exist. In layman's terms: The pickup still operates like a humbucker (i.e., both coils are active) in the frequency realm of hum and noise. Yet for all tone frequencies, we're essentially in single-coil mode. The additional resistor mutes the superelevation resonance of the coil that's sent to ground. So this clever little trick works much like a "virtual dummy coil" when the humbucker is in split mode.
In a way, we can say we're abusing one of the coils by diminishing the mids and treble using a series RC network connected in parallel to the coil. The coil still "sees" the bass and hum and noise frequencies, and acts like a virtual dummy coil with the other fully active coil. This was Bill Lawrence's basic idea that Fender adapted to their wiring for this Jazzmaster.
As always with analog technology, there's no distinct separation at, say, 70 Hz. The virtual dummy coil covers the whole range of hum frequencies, but is also partly active above these frequencies, and it uncouples slowly. To create credible single-coil tone, the mids and treble must be uncoupled. The resistor is important because it allows an even transition when uncoupling the capacitor, so both components work together. This interdependence opens the door to experimentation.
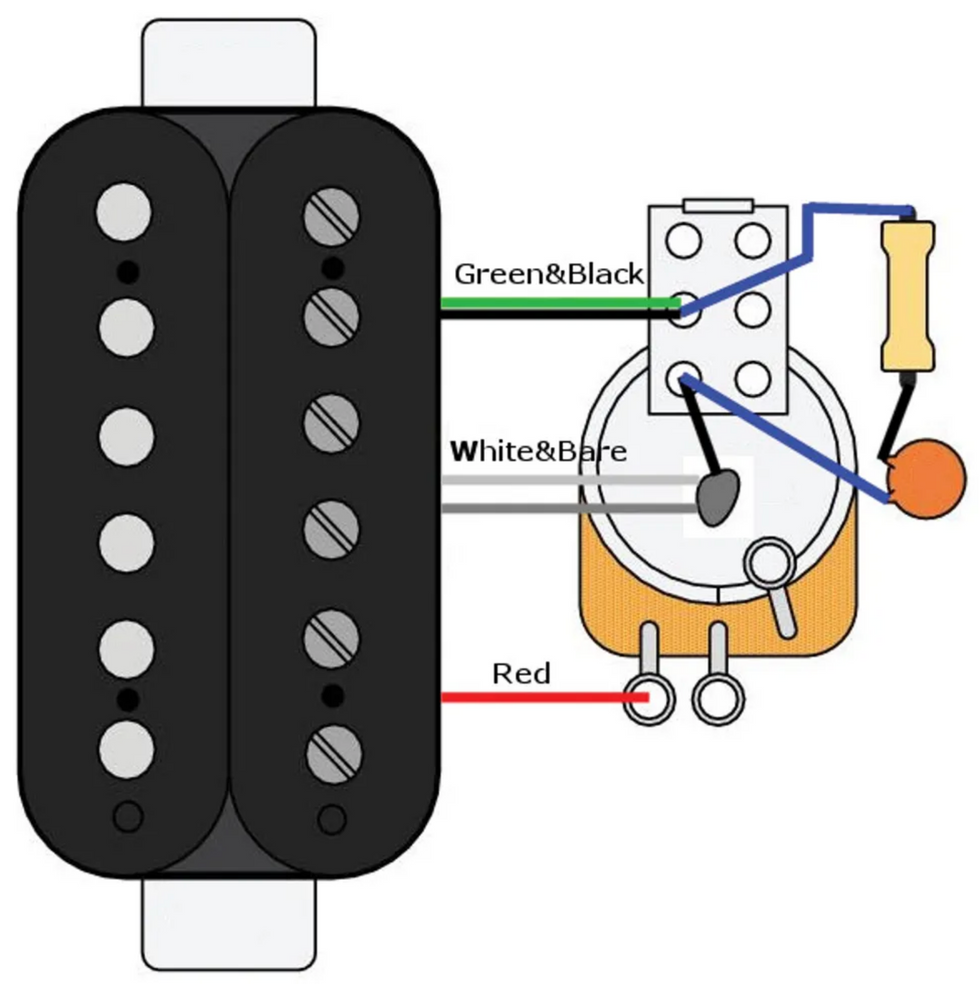
Let's see what it takes to transfer this special Jazzmaster wiring to your humbucker-equipped guitar. We'll do this by transferring the S-1 switching matrix to a push/pull or push/push volume pot with a common DPDT switch that's connected to a humbucker for splitting.
- The voicing of the single-coil emulation (governed by the cap's value).
- Hum-cancelling effectiveness (governed by the cap's value).
- Voicing of the cap's uncoupling range (governed by the resistor's value).
So as not to bore you with analog-system theory, I'll simplify some explanations that aren't critical to this mod. One common question is about the order used to connect the cap and the resistor in series. Actually, it doesn't matter, but from a theoretical point of view, electromagnetic compatibility (EMC) states the cap should be connected to ground as shown in Image 2.
I'm using the Seymour Duncan humbucker color code for this illustration. If you have a humbucker with a different color code, this should be easy to transfer. Of course, you can only split a humbucker when it has 4-conductor wiring that provides access to the start and finish of each of the two coils. If you have a humbucker with the standard 2-conductor wiring, you'll have to convert it to 4-conductor specs. Have this done by a qualified guitar tech or simply buy a new humbucker that comes stock with 4-conductor wiring. Let's see what happens when you tinker with the values of the two components.
Resistor.
Fender's 1.5k resistor creates a little hole (about -5 dB) in the mids, at around 2 kHz. Depending on the pickups and the amp, this can sound good. But when using Fender blackface amps, this isn't as desirable because of their inherent scooped midrange. Increasing the resistor value to 3.5k will eliminate the little hole in the mid frequencies. My personal favorite value is 3.9k ohm, which yields absolutely no mid hole. If you want more choices, you can wire a switch with two different resistors (for example, 1.5k and 3.9k) or use a 5k linear pot for a stepless control of this factor.
Capacitor.
The cap's capacitance lets us influence two factors, and we can deduce a relationship between them:- The smaller the capacitance, the better the hum-cancelling feature.
- The higher the capacitance, the better the single-coil emulation.
Here's a way to understand the cap's function in this wiring:
As the cap's value drops to zero, it's effectiveness is reduced. Zero capacitance is the same as using this wiring with no cap at all. With very high capacitance values, the coil will be shorted out more and more, until it is completely shorted, leaving only one coil still active.
A good range of cap values is from 0.01 µF up to 0.1 µF. You can use these—and everything in between—to balance the relationship between hum-cancelling and tone. The Fender value of 0.1 µF will result in maximum single-coil-like tone with a bit of hum cancelling—still much more than without the additional RC network. A 0.01 µF cap will result in a very high hum-cancelling ability (almost 40 dB), but with a tone that's quite fat and closer to a humbucker than a single-coil (think P-90 through a warm tube amp).
Explore these cap values, combined with resistor values from 1.5k up to 5k ohm, to dial in the midrange behavior. This will keep you busy for hours! For even more flexibility, you can implement a rotary switch with several cap values and a switch to turn the complete RC network on or off.
All this can be applied to our Fender wiring. Its stock values guarantee maximum single-coil emulation, but the downside—perhaps not for you—is less hum-cancelling and a tone that exhibits a midrange scoop. I think changing the values to a 3.9k resistor with a 0.047 µF cap will result in an authentic single-coil-like tone with no midrange cut, but with the benefit of greater resistance to hum and noise. In the end, it's about finding the right compromise, so experiment with the values of these two components to find a tone you love.
I'll be back with another project next month … until then, keep on modding!
[Updated 9/27/21]
- Mod Garage: Telecaster Series Wiring - Premier Guitar ›
- Mod Garage: The Fender Greasebucket Tone Circuit - Premier Guitar ›
- Strat Series Wiring for a New Decade - Premier Guitar ›
- Mod Garage: Telecaster Series Wiring - Premier Guitar ›
- What Does Phase and Polarity Mean for Your Guitar’s Pickups? - Premier Guitar ›
- Assessing a Pickup’s Polarity and Phase ›
- Is a Variable Dummy Coil the Solution to Single-Coil Hum? ›
Blackberry Smoke will embark on a co-headline tour with Mike Campbell & the Dirty Knobs. Lead singer Charlie Starr shares, “What could be better than summertime rock and roll shows with Blackberry Smoke and the one and only Mike Campbell & The Dirty Knobs?”
Blackberry Smoke’s fan club will have early access to tickets with pre-sale beginning tomorrow, March 11 at 10:00am local time, with the public on-sale following this Friday, March 14 at 10:00am local time. Full details and ticket information can be found at blackberrysmoke.com.
In addition to the new dates, Blackberry Smoke is currently on the road with upcoming headline shows at New Orleans’ The Fillmore, Houston’s 713 Music Hall, Austin’s ACL Live at the Moody Theater, Dallas’ Majestic Theatre and Maryville’s The Shed (three nights) among others. They will also join Lynyrd Skynyrd and The Avett Brothers for select dates later this year. See below for complete tour itinerary.
Tour Dates
March 14—Douglas, GA—The Martin Theatre*
March 15—Douglas, GA—The Martin Theatre*
March 27—New Orleans, LA—The Fillmore†
March 28—Houston, TX—713 Music Hall†
March 29—Helotes, TX—John T. Floore’s Country Store‡
April 24—Montgomery, AL—Montgomery Performing Arts Centre§
April 25—Pensacola, FL—Pensacola Saenger Theatre§
April 26—Tampa, FL—Busch Gardens Tampa - Gwazi Field
May 8—Austin, TX—ACL Live at the Moody Theater#
May 9—Dallas, TX—Majestic Theatre#
May 10—Palestine, TX—Wiggly Thump Festival
May 15—Maryville, TN—The Shed~
May 16—Maryville, TN—The Shed%
May 17—Maryville, TN—The Shed§
May 31—Virginia Beach, VA—Veterans Band Aid Music Festival
June 1—Lexington, KY—Railbird Festival
July 10—Pistoia, Italy—Pistoia Blues
July 11—Milan, Italy—Comfort Festival
July 13—Weert, Limburg—Bospop
July 15—Manchester, U.K.—AO Arena**
July 16—Birmingham, U.K.—bp pulse LIVE**
July 18—Brighton, England—The Brighton Centre**
July 19—London, UK—OVO Arena Wembley**
July 25—Nashville, TN—Ryman Auditorium††
July 26—Nashville, TN—Ryman Auditorium††
July 31—Lewiston, NY—Artpark Amphitheater††
August 1—Pittsburgh, PA—Stage AE††
August 2—Columbus, OH—KEMBA Live! Outdoor††
August 3—Roanoke, VA—Berglund Performing Arts Theatre††
August 5—North Charleston, SC—Firefly Distillery††
August 7—Raleigh, NC—Red Hat Amphitheater††
August 8—Charlotte, NC—Skyla Credit Union Amphitheatre††
August 9—Atlanta, GA—Synovus Bank Amphitheater at Chastain Park††
August 10—Asheville, NC—Asheville Yards Amphitheater††
August 21—Bonner Springs, KS—Azura Amphitheater‡‡
August 22—Rogers, AR—Walmart AMP‡‡
August 23—El Dorado, AR—Murphy Arts District Amphitheater‡‡
August 30—Charlestown, RI—Rhythm and Roots Festival
*with special guest Parker Gispert
†with special guest Zach Person
‡with special guest Brent Cobb
§with special guest Bones Owens
#with special guest Jason Scott & The High Heat
~with special guest Rob Leines
%with special guest Taylor Hunnicutt
**supporting Lynard Skynyrd
††co-headline with co-headline with Mike Campbell & The Dirty Knobs
‡‡supporting The Avett Brothers
A satin finish with serious style. Join PG contributor Tom Butwin as he dives into the PRS Standard 24 Satin—a guitar that blends classic PRS craftsmanship with modern versatility. From its D-MO pickups to its fast-playing neck, this one’s a must-see.
PRS Standard 24 Satin Electric Guitar - Satin Red Apple Metallic
Standard 24 Satin, Red App MetA reverb-based pedal for exploring the far reaches of sound.
Easy to use control set. Wide range of sounds. Crush control is fun to explore. Filter is versatile.
Works best as a stereo effect, which may limit some players.
$299
Old Blood Noise Endeavors Dark Star Stereo
oldbloodnoise.com
The Old Blood Dark Star Stereo (DSS) is one of those pedals that lives beyond simple effect categorization. Yes, it’s a digital reverb. But like other Old Blood designs, it’s such a feature-rich, creative take on that effect that to think of it as a reverb feels not only imprecise but unfair.
In this case, reverb describes how the DSS works more than how it sounds. I’ve come to think of this pedal as a reverb-based synthesizer, where reverb is the jumping-off point for sonic creation. As such, the sounds coming out of the Dark Star can be used as subtle sweetener or sound design textures, opening up worlds that might otherwise be unreachable.
Reverb and Beyond
Functionally speaking, the DSS starts with reverb and applies a high-/low-pass filter, two pitch shifters, each with a two-octave range in each direction, plus bit-crushing and distortion. Controls for lag (pre-delay), multiply (feedback), and decay follow, with mini knobs for volume, mix, and spread. Additional control features include presets, MIDI functionality, plus expression and aux control.
The DSS can be routed in mono, stereo, or mono-in/stereo-out. Both jacks are single TRS, and it’s easy to switch between settings by holding down the bypass switch and selecting via the preset button.
Although it sounds great in mono, stereo is where this iteration of the Dark Star—which follows the mono Dark Star and Dark Star V2—really comes alive. Starting with the filter, both pitch shifters, and crush knobs at noon—all have center detents—affords the most neutral settings. The result is a pad reverb, as synthetic as but less sparkly than a shimmer. The filter control is a fine way to distinguish clean and effect signals. In low-pass mode, the effect signal can easily get dark and spooky while maintaining fidelity and without getting murky. On the other end, high-pass settings are handy for refining those reverb pads and keeping them from washing out the clarity of the clean signal.
Lower fidelity is close at hand when you want it. The crush control, when turned counterclockwise, reduces the bit rate of the effect signal, evoking all kinds of digitally compromised sounds, from early samplers to cell phones, depending on how you flavor it. Counterclockwise applies distortion to the reverb signal. There’s a lot to explore within the wide ranges of the two pitch controls, too. With a four-octave range, quantized in half steps, the combinations can be extreme, and Dark Star takes on a life of its own.
Formless Reflections of Matter
The DSS is easy to get acquainted with, especially for a pedal with so many features, 10 knobs, and two footswitches. I quickly got a feel for the reverb itself at the most neutral filter and pitch settings, where I enjoyed the weight a responsive, textural pad lent to everything I played.
With just the filter and crush controls, there’s plenty to explore. Sitting in the sweet spot between a pair of vintage Fenders, I conjured a Twin Peaks-inspired hazy fog to accompany honeyed diatonic arpeggios, slowly filtering and crushing that sound into a dark, evil low-end whir as chords leaned toward dissonance. Eventually, I cranked the high-pass filter, producing an early MP3-in-a-good-way “shhh” that was fine accompaniment to sparser voicings along my fretboard. It was a true sonic journeyThe pitch controls increase possibilities for both ambience and dissonance. Simple tweaks push the boundaries of possibility in exponentially deeper directions. For more subtle thickening and accompaniment sounds, adding octaves, which are easy to tune by ear, offers precise tone sculpting, dimension, and a wider frequency range. Hearing simple harmonic ideas plucked against celeste- and organ-like reverberations kept me in the Harold Budd and Brian Eno space for long enough to consider new recording projects.
There is as much fun to be had at the highest feedback settings on the DSS. Be forewarned: Spend too much time there and you might need a name for your new ambient band. Cranking the multiply and decay knobs, I’d drop in a few notes, or maybe just a chord, and get to work scanning the pitch knobs and sculpting with the filter. Soon, I conjured bold Ligeti-inspired orchestral sounds fit for a guitar remix of 2001: A Space Odyssey.
The Verdict
The Dark Star Stereo strikes a nice balance between deep control, a wide range of sonic rewards, playability, and an always-sounds-great vibe. The controls are easy to use, so it doesn’t take long to get in the zone, and once you do, there’s plenty to explore. Throughout my time with the DSS, I was impressed with its high-fidelity clarity. I attribute that to the filter, which allows clean and reverb signals to perform dry/wet balance and EQ functions. That alone encouraged more adventurous and creative exploration. Though not every player needs this kind of tone tool, the DSS is a must-check-out effect for anyone serious about wild reverb adventures, and it’s simple and intuitive enough to be a good fit for anyone just starting exploration of those zones. However you come to the Dark Star, it’s a unique-sounding pedal that deserves attention. PG
Introducing the new Firebird Platypus, a tribute to the rare transitional models of 1965.
In early 1965, the original Firebird design transitioned through several different iterations. One of the significant transitions that occurred flipped the headstock to the Non-Reverse shape. Unlike the original Reverse Firebird headstock design, which featured a two-layered headstock with a holly veneer, the new headstock was flat, like the bill of a platypus.
Mahogany body and glued-in mahogany neck
The Firebird Platypus has a mahogany body with the appearance of a traditional neck-through Reverse Firebird body for that classic Reverse Firebird appearance, while the neck of the Firebird Platypus uses glued-in, set neck construction like the Les Paul and SG and delivers outstanding sustain and resonance.
Platypus transitional headstock design
The headstock features the flat, transitional style “platypus” design that was found only on rare models from the 1965 transitional period when the Firebird was gradually switching over from the features found on the original models that were released in 1963 to the features that were used for the later Non-Reverse Firebird models.
Firebird humbucker pickups
It’s outfitted with two Firebird humbucker pickups. These pickups are equipped with Alnico 5 magnets and have a unique sound that is not quite like any other humbucking pickup, with unmatched clarity, chime, and bite. They sound great for both clean and overdriven tones.
Exclusive Cherry Sunburst finish
This exclusive Cherry Sunburst finish is available only on Gibson.com and at the Gibson Garage.
For more information, please visit gibson.com.