This month, we'll discuss some basics about DIY aging/relic'ing and I'll explain a project I recently did. I chose a budget electric guitar that retails at €199 including shipping (about $217 USD). A guitar in this price range is perfect for a beginner relic'ing project, because if it's not perfect or you ruin something by accident, it's not the end of the world. Besides this, I was curious about the build quality of such a guitar, plus it gives us a perfect base to enhance and make more individual.
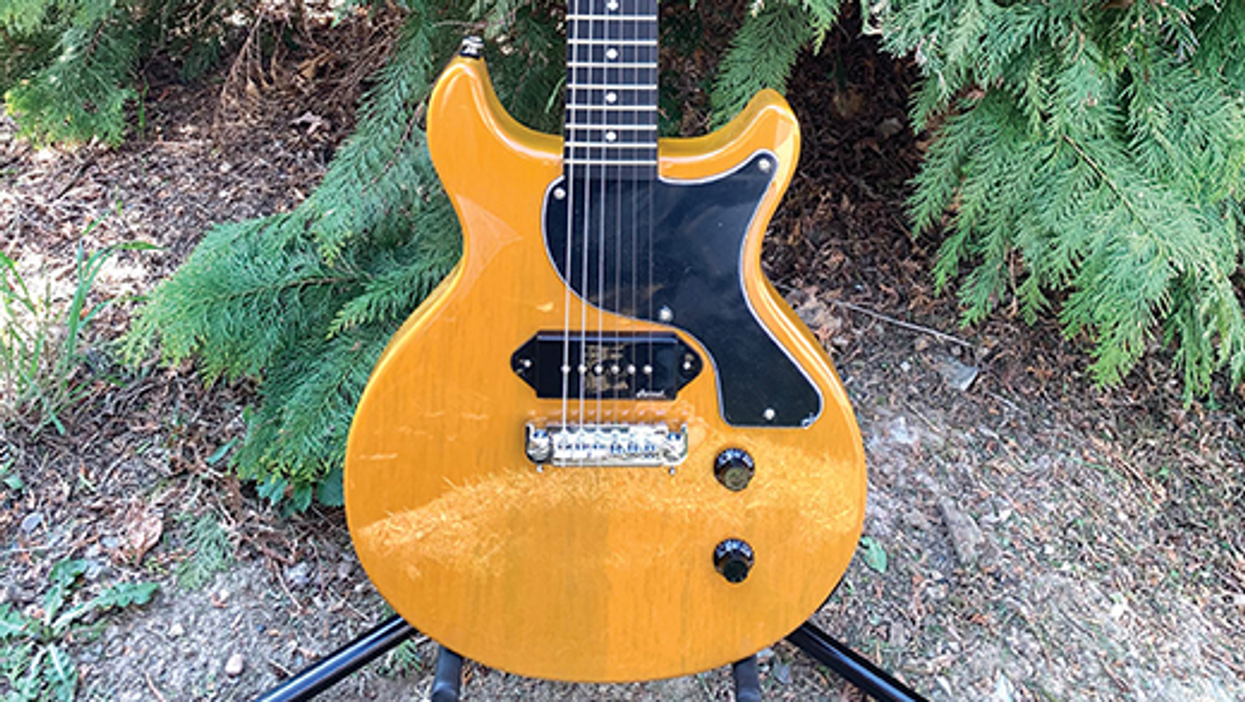
I decided on a Les Paul Junior Double Cut copy, a guitar design that Gibson released in 1958 and that's still in production today. It's a basic design: a single P-90 pickup placed above the wraparound bridge, with a Telecaster-like master volume/master tone configuration. This model is called DC-Junior TV Yellow and is made by Harley Benton, which is the home brand of the German-based Thomann company, one of the biggest guitar retailers in Europe.
A guitar in this price range is perfect for a beginner relic'ing project, because if it's not perfect or you ruin something by accident, it's not the end of the world.
The guitar offers good basic parameters: a solid mahogany body with a glued-in mahogany neck, a dark-stained amaranth (peltogyne) fretboard, aka purpleheart, instead of the classic rosewood material. The rest of the specs are close to vintage. We'll discuss single parts and aging them one by one, and replacing some of them for optical or performance reasons, as part of this project.
When the guitar arrived, I was more than surprised about the overall quality and craftsmanship. I brought it up to tune, plugged it in, and could instantly rock. Fret job, paint job, intonation, and action were excellent. The pickup sounds really good. What else could one expect for this price? Especially the fret job and the use of factory D'Addario strings (.010–.046) are remarkable in this price range.
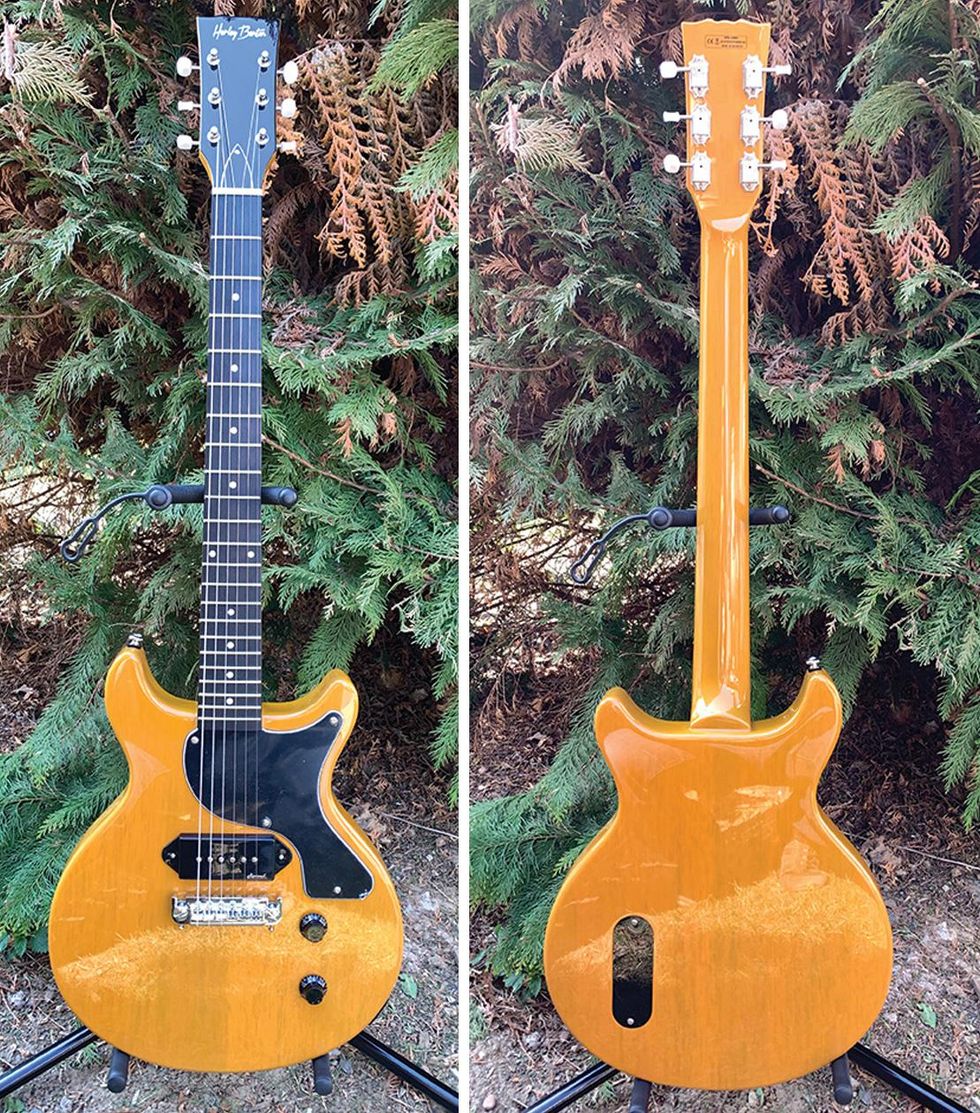
Images 1 (left) and 2 (right)
Courtesy of singlecoil.com
Images 1 and 2 show the guitar as received, so you have a first impression of what I'm talking about. It's not a real TV yellow, and more of a butterscotch/caramel/mustard color, but with a nice transparency so you can see the grain of the wood. We'll come back to this later in the project.
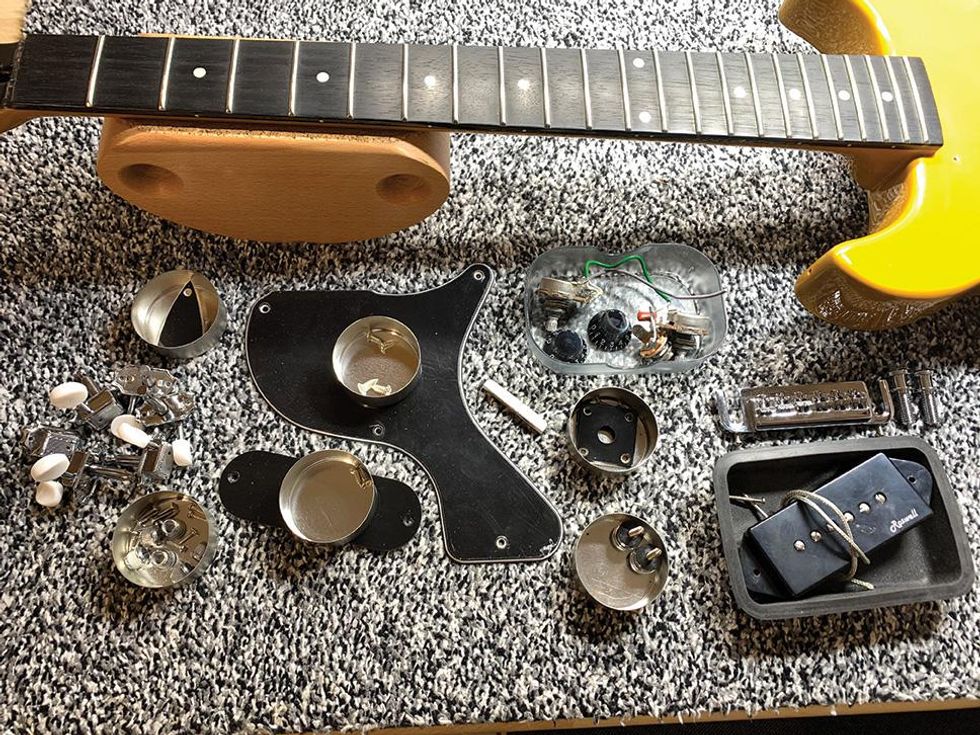
Photo 3
Courtesy of singlecoil.com
The first step is to completely disassemble your guitar, as I did, which you can see in Image 3. It's helpful to separate and label all small parts so you don't have any difficulties putting them back together. Take photos of the whole guitar and the details before you take it apart, and get some small containers (empty cans, boxes, cups, or whatever) to store all parts during the project. Store the screws together with the corresponding hardware, i.e. the screws from the pickguard taped on the back of it ... you get the idea. Also, as the proud owner of several cats and a dog, I speak from experience when I highly recommend using containers with a lid so you can close them, at least when your furry buddies have access to your working space.
The first step is to completely disassemble your guitar, as I did, which you can see in Image 3. It's helpful to separate and label all small parts so you don't have any difficulties putting them back together. Take photos of the whole guitar and the details before you take it apart, and get some small containers (empty cans, boxes, cups, or whatever) to store all parts during the project. Store the screws together with the corresponding hardware, i.e. the screws from the pickguard taped on the back of it ... you get the idea. Also, as the proud owner of several cats and a dog, I speak from experience when I highly recommend using containers with a lid so you can close them, at least when your furry buddies have access to your working space.
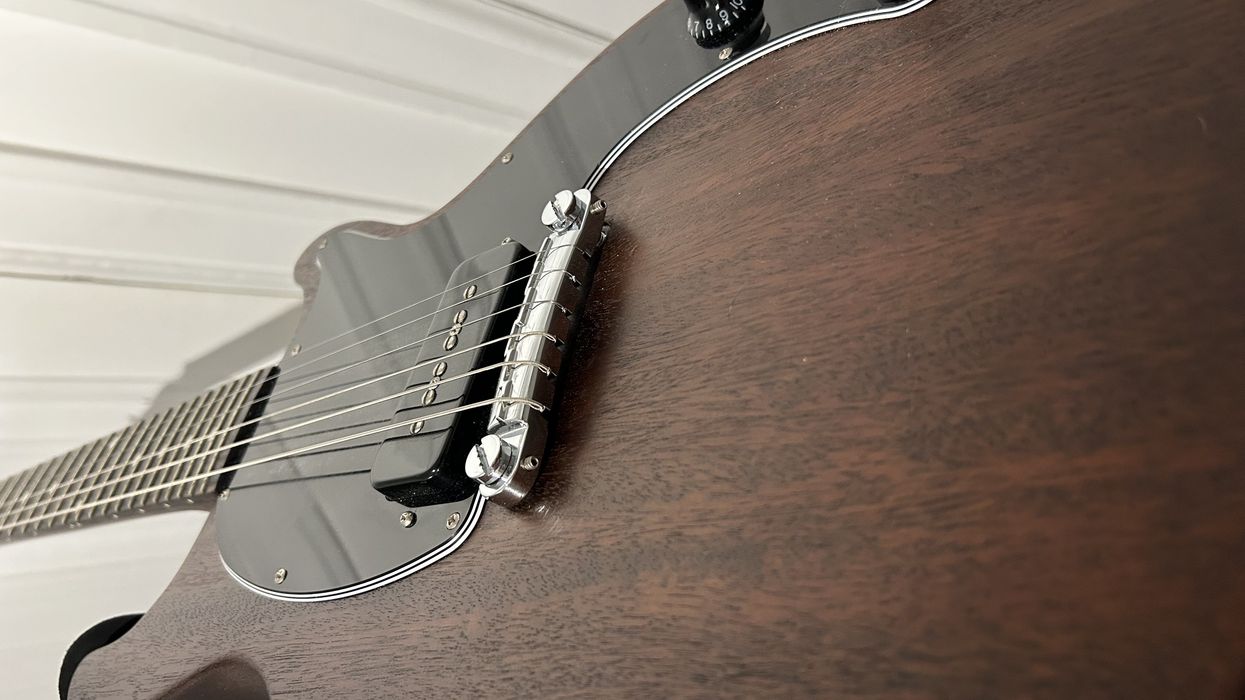
I completely took the guitar apart except the bushings (aka "inserts" or "anchors"), because it was obvious that glue was used additionally to secure them. It's not difficult to get them out with the right tools, but in the process you could end up damaging the wood, having to repair the damage by re-drilling the hole and filling it with a wooden plug. There's a lot of debate on the possible tonal influence of the bushings, but my experience is that it's very, very little (if any) as long as it sits tight and can't move. I decided to leave them alone, but it's also possible to slightly age the visible part of the bushings so they won't stand out from the rest.
Let's proceed with an easy-yet-effective aging procedure. We will start with all the screws, followed by the rest of the metal parts.
Your shopping list for this is very small. Here we go:
- Goggles, gloves, surgical mask, and a shop apron to protect yourself. (We'll need this all through this series: safety first!)
- Old newspapers to protect your working space.
- A soft piece of wood like spruce, pine, fir, etc.
- Some Q-tips and paper towels.
- An old cup filled with cold water.
- Steel wool (preferably 0000 grade) or sanding pads (e.g. Micro-Mesh).
- Iron (III) oxide (ferric oxide) liquid.
You don't need much of the ferric oxide; a small bottle will do. This chemical is often used for etching printed circuit boards, so it should be easy to find. Be careful with this stuff! Chemicals can do harm if not used properly. Only use them in well-ventilated areas, always wear goggles, gloves, apron, and a surgical mask—and don't forget to protect your working space with old newspapers.
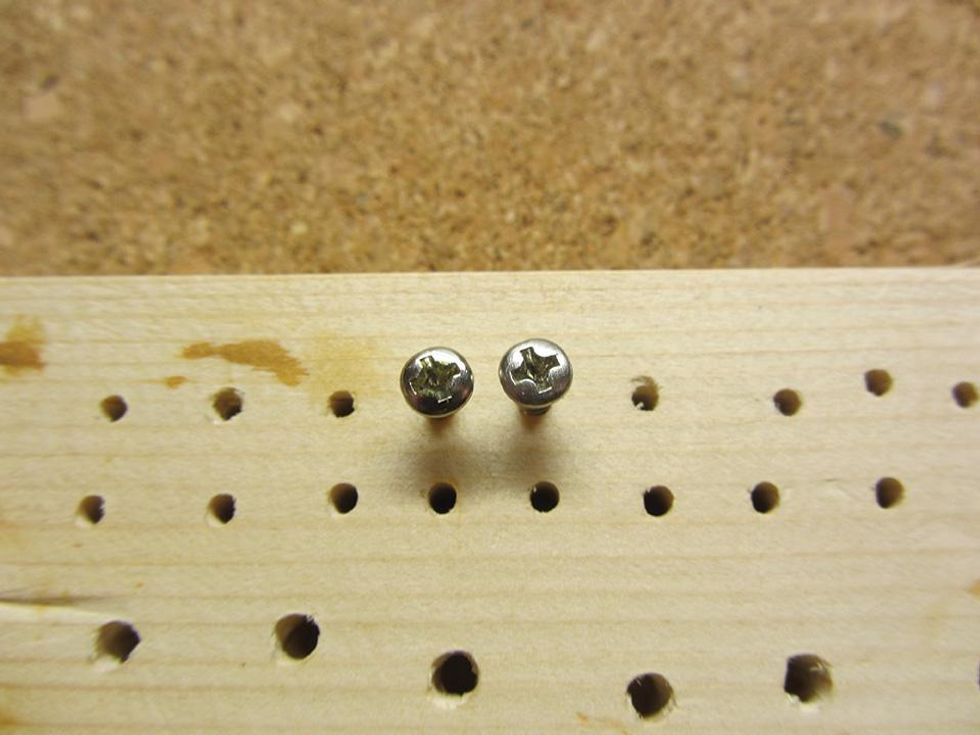
Photo 4
Courtesy of singlecoil.com
So here we go. Remember basic rule #1: break the shine! All screws on this guitar are nickel plated and very shiny. First, lightly rub them with steel wool or a fine-sanding pad until the glossy shine is gone and the color is dulled. Don't forget the edges of the screws. Image 4 is a before/after photo of this process. I used a flexible Micro-Mesh pad with 400 grid.
A lot of people are happy with the optical results after this simple treatment, but for more effect, we'll add some light signs of corrosion in the next step.
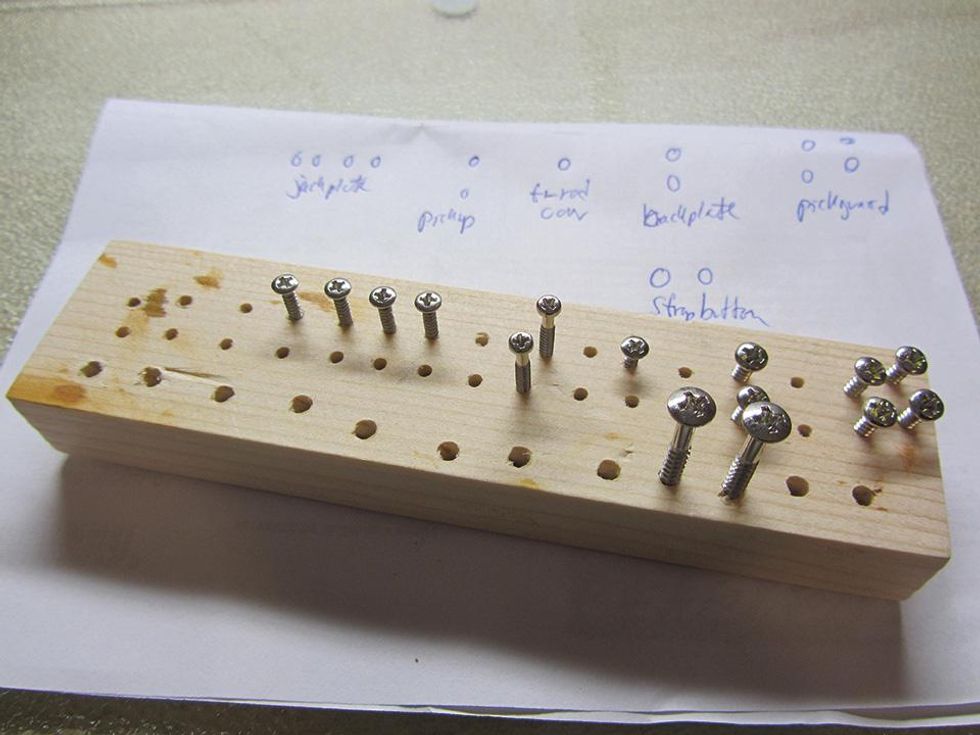
Photo 5
Courtesy of singlecoil.com
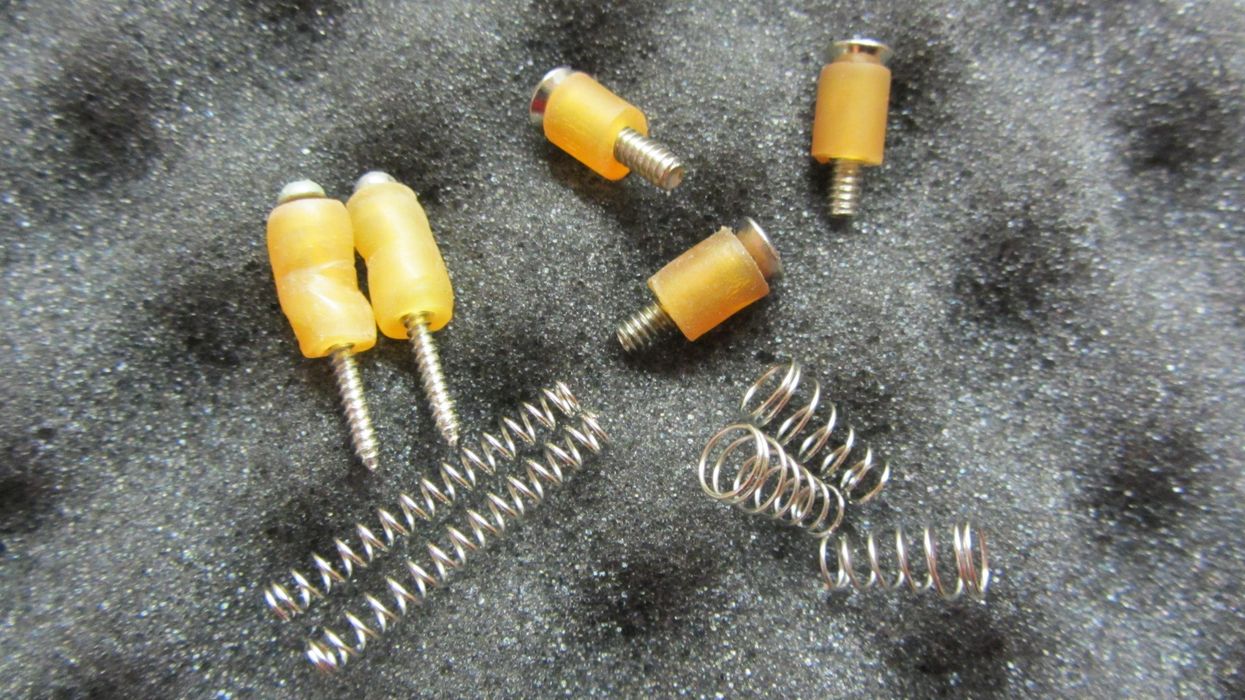
Take a piece of soft wood and screw in all of the screws with a screwdriver that matches the head type and size on your screws (Image 5). You don't need to screw them all the way in—just until they can't move or tip over. To keep the overview, arrange them in groups and make a kind of roadmap of what goes where. This way you won't mistake any of the screws as you reassemble the guitar.
Place the wooden piece with the screws on an even surface covered with old newspapers in a ventilated area. Place a cup with cold water within reach. Now dip a Q-tip into the ferric oxide liquid, but remember to use gloves, goggles, etc. to protect yourself. Place the Q-tip on the head of the screws to apply the ferric oxide. The oxidation process will start immediately. Depending on the metal of the screws and your personal taste, this process can range from seconds up to a minute, so it's a good idea to get a feeling for this by first testing it out on a few extra screws. To stop the process, simply dip the screw into the glass of cold water near you and rub it instantly with a piece of paper towel. Caution: Ferric oxide can color the coating of your sink. That's why a cup of water is advised here instead of rinsing screws with running water under a faucet.
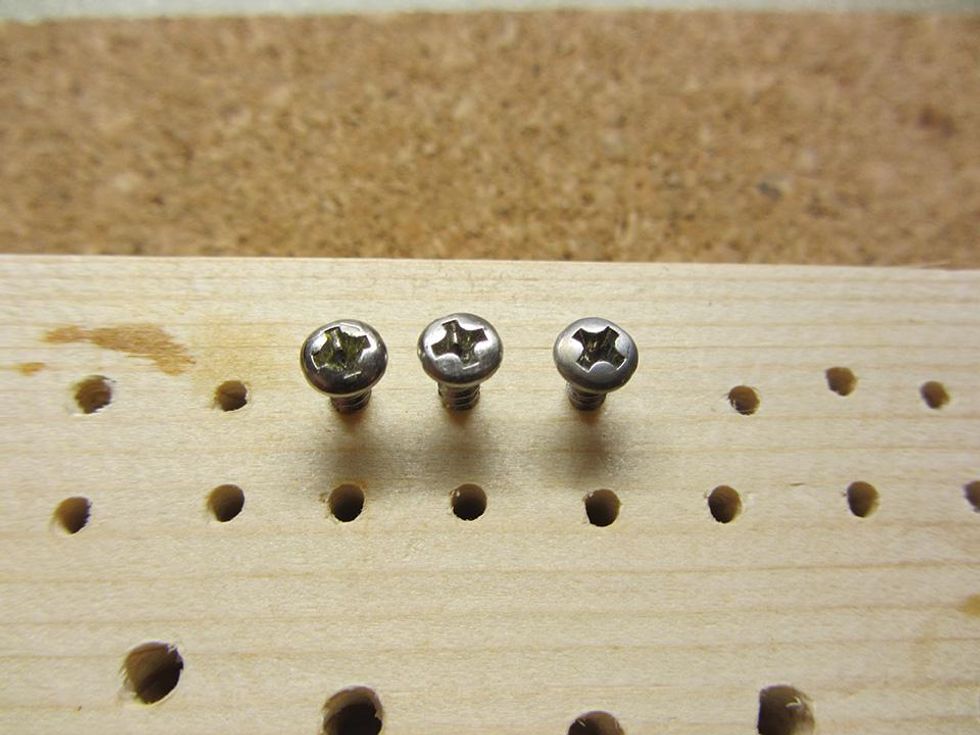
Photo 6
Courtesy of singlecoil.com
You can see the process and all three stages side by side in Image 6. If you feel the oxidation process was too much and you don't like the look, you can use steel wool or a Mesh pad to remove some of the oxidation.
Don't overdo it. I've never seen any rusty screws on a vintage guitar. They're usually a little bit dull, showing some light corrosion, if any. Perhaps breaking the shine will be enough without adding any of the ferric oxide. Simply test it on some extra screws and see what you prefer.
Next month we'll perform a different guitar mod before we return to age more metal parts: the bridge, strap buttons, and the tuners. For this, I'll leave you with a little homework to prepare: Get yourself a small bucket with a lid (larger yogurt buckets work perfectly) and collect a nice mixture of funny things like rusty nails, broken glass, gravel, sand, little stones, basalt, etc. to put in your bucket. Until then ... keep on modding!
[Updated 7/26/2021]
