[Originally published February 14, 2022]
Welcome to another Dojo! This time I’m going to show you how to reamp your guitar and explore some creative ways you can re-amps other tracks as well (soft synths, vocals, drums, etc.). In my earlier column “Why Guitarists Shouldn’t Diss DIs,” I mentioned the benefits of using a DI for creative recording. If you have a DI box, dust it off! You’ll need it when I show you how to get more out of your DI-recorded guitar and bass tracks by reamping them into your pedals and amps to capture new perspectives and even add some new reverberant spaces. Tighten up your belts, the Dojo is now open.
To begin, you’re going to need a reamp box such as the Radial JCR Studio Reamper ($229 street) and most likely a TRS-to-male XLR cable (like the Asterope Pro Studio Series TRS to XLRs, $55 street). I like passive re-amp boxes because they don’t require external power and are easy to move around. Some would argue that passive models loose signal strength, which is true, but how many boost/overdrive pedals do we guitarists have? At least one, right? Put one after the reamp box and before your amp. Boom. Problem solved, and you can drive your amp even harder. Otherwise, you’re going to shell out more dinero for active reamp boxes, which isn’t really necessary, and I like the inherent lo-fi nature of this process.
Reamping is a two-part endeavor. The first part involves using a DI box to record the guitar directly into your DAW. If you’re unsure how to do this, I recommend going online and reading my Dojo article mentioned above. It’s very easy and straightforward. The second part involves routing the DI-recorded guitar track out of your DAW and into your reamp pedal. Depending on your interface, you might need the TRS-to-male XLR cable previously mentioned.
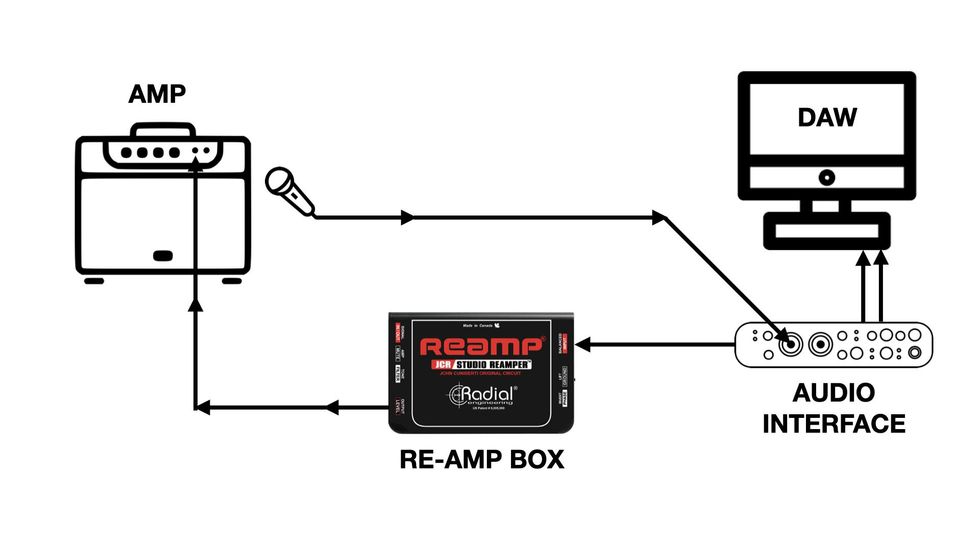
Fig. 1
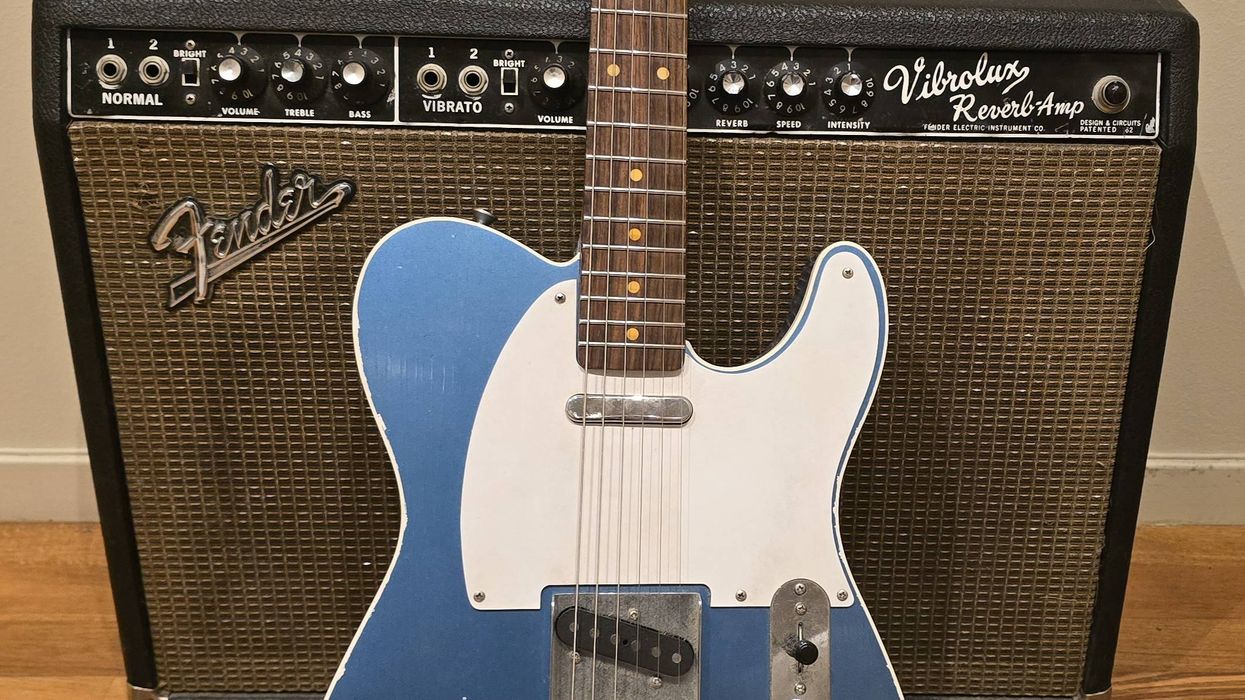
Look at Fig. 1 and do the following: Plug the XLR end of the cable from your audio interface’s out into the input of your reamp box. Now use your regular guitar cable and connect the output of your reamp box to the input of your amp. Place a microphone in front of your guitar amp, plug that into your interface, and record-enable that track. When you hit playback, the DI track will play back through your amp, and you will be recording the amp. You’re now re-amping! You can make new recordings each time you change amp settings or mic positions.
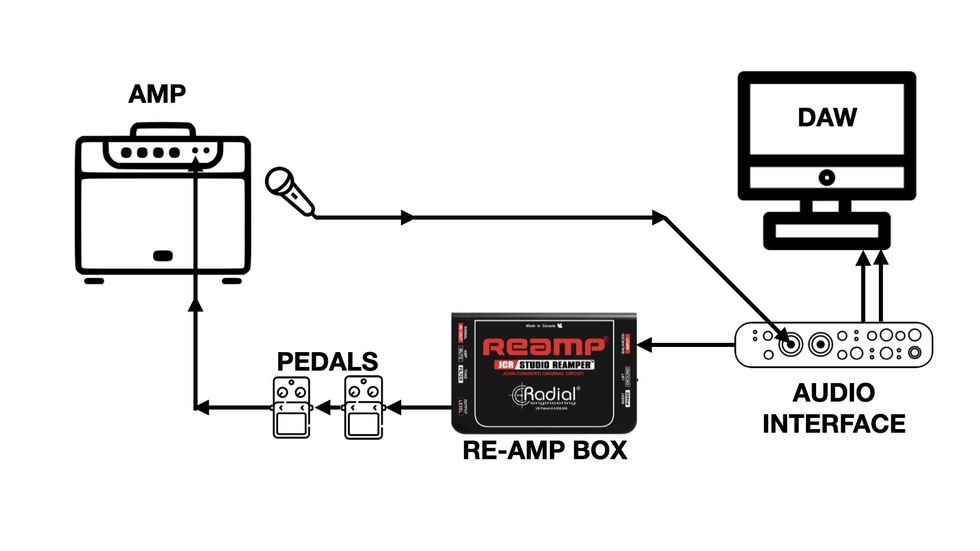
Fig. 2
For even more craziness, check out Fig. 2. You can add any (and all) pedals (even entire pedalboards) into the signal chain. Get creative. But wait, there’s more!
You can also route any track’s output in your DAW to your reamp box and really start going berserk. Try your lead vocal, the background vocals, keys, and drums (especially drum machines) and listen to how it sounds. Reamping also gives you the ability to manually tweak pedal knobs and make dynamic parts that are really changing as the track plays. Try playing with the times and feedback amount of your delays. Fun!
Finally, depending on how much you are driving your amp, you could keep it clean, move the mic further away from the speaker, and start capturing more of the sound of your room. I like to do this on drum machines. It puts them in a real space. Specifically, your space. No reverb plug-in can get that! As always, I invite you to come by my website to hear and see these concepts in action. Until next time, namaste.


