Okay, you love guitar ... some folks might claim you're obsessed with it. Maybe you're a weekend warrior or even play in a touring band. When you're not gigging, however, the big question arises: How do I parlay my passion for the instrument into an activity that can support me? Of course, one option is to teach guitar independently or through a local music store or institution. Or you can work in music retail. But for those with the requisite skills and determination, there is another path: become a professional guitar tech.
As with any serious undertaking, this takes study, patience, and a lot of experience and expertise. But if you consider how many millions of guitars are out there and the legions of owners who need their instruments set up, repaired, or restored, there's plenty of work for the qualified tech. Whether you hit the road to tech with a band or decide to open up your own shop, caring for guitars and basses can provide you with a way to stay involved with the world of music while making ends meet. And even if you don't want to turn pro, guitar repair can make a great hobby—a way to tend your own instruments and help out your friends.
If you consider how many millions of guitars are out there and the legions of owners who need their instruments set up, repaired, or restored, there's plenty of work for the qualified tech.
Is this right for you? Let's explore 12 things you'll need to understand and master as a guitar tech. After absorbing this overview, you'll be able to answer that question for yourself. I'll describe what to expect if you have a shop where customers come to you for everything from small jobs to major repairs. If you decide to tour as a tech, the basic principles remain the same, though your workbench and tools will have to be streamlined by necessity. On the road, you'd be primarily doing setups backstage before each show, rather than the repairs, mods, and restorations that are the bread-and-butter of a shop.
The Value of Training
Advancing your career as a professional guitar technician requires many different elements, but it begins with having the proper training. For many years, I've taught guitar repair and restoration classes at the Guitar Services Workshop near Nashville, with an emphasis on preparing students for the demands of professional customer service. Some technical two-year colleges offer degree and certificate programs in guitar repair, and there are a handful of private schools across the country—including the Galloup School of Guitar Building and Repair, run by PG's Acoustic Soundboard columnist Bryan Galloup—that provide valuable training. Working as a luthier's apprentice is another time-honored means of acquiring essential skills, but the shortest path to a guitar-tech career is to successfully complete a course offered by a school or workshop that focuses on repair, and in the process earn some type of recognized certification.
Keep in mind that developing your physical skills is just one part of the training: Guitar repair also requires strong analytical abilities. For example, it's critical to know what procedure to do first, based on the construction and physics of the guitar, and how this first step will affect each subsequent one. Correctly evaluating the condition of the guitar involves tuning it, taking measurements, and inspecting it for any damage or defects. For acoustic and hollowbody guitars, you must always examine the braces and other interior components, looking for cracks, separations, and other types of damage. If you find any structural problems, they must be repaired first. Again, understanding how to evaluate a guitar before you begin any work is a fundamental part of your training. A skilled instructor can show you how to do this based on decades of hands-on experience.
Essential Tools and Materials
I always encourage students to write out a "plan of action" before they begin any procedure. Once you've done this, it's time to gather the tools, materials, and supplies necessary to complete the project. Here's a list of what you'll need to have available before starting a repair:
- As you can see, that's a lot of tools, supplies, and materials. One final word of advice: Always be sure you have what you need before jumping into a project. This gives you a much better chance of success than just winging it.
Doing excellent repair work is only part of our job. Providing great customer service is one of the primary keys to success, and a top repair tech also has solid customer service skills. This requires honesty, diplomacy, and having "the heart of a teacher." It's not about scoring a sale just for the sake of a few dollars. Rather, it's about educating your customers and suggesting what is best for them and their instruments. For example, you need to explain the importance of temperature and humidity control to your clients, because they are two of the leading causes of damage to any guitar.
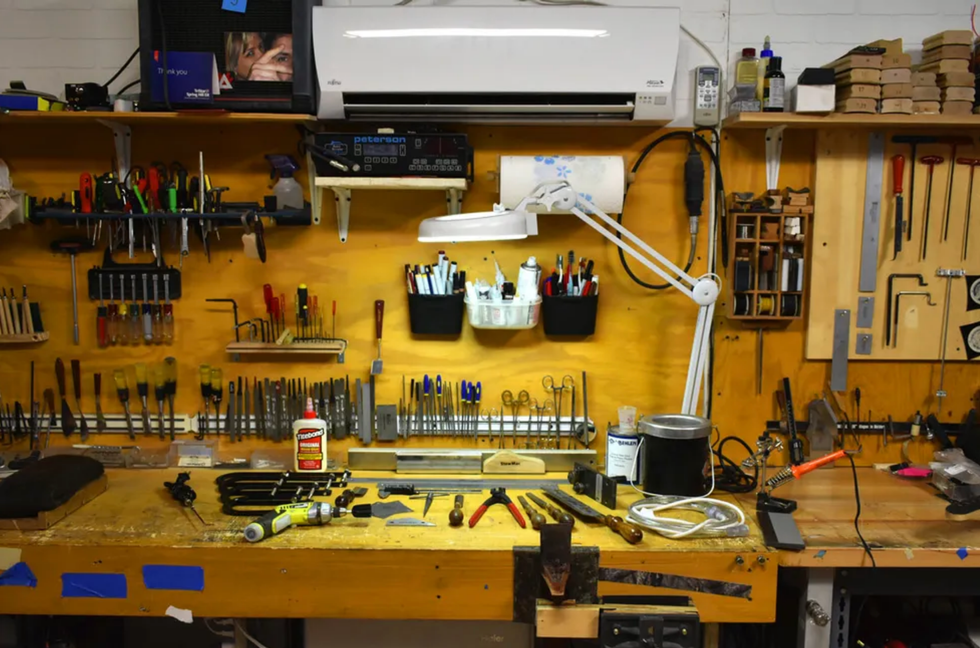
You don't need a big shop to do great work, but you need enough room to accommodate workbenches, equipment, storage, and your customers. Over the years, I've had shops sized from 80 up to 1,000 square feet, but 400 square feet is ample for a repair shop. It may sound small, but you can configure it to handle almost any project. A smaller space gives you the ability to easily control the temperature and humidity. I cannot emphasize enough how critical temperature and humidity control are to doing excellent repairs. If you ignore this in your shop, your work will suffer.
Guitar Setups
A professional guitar tech uses many tools—some common, others highly specialized. This is one of the biggest expenses associated with diving into guitar repair.
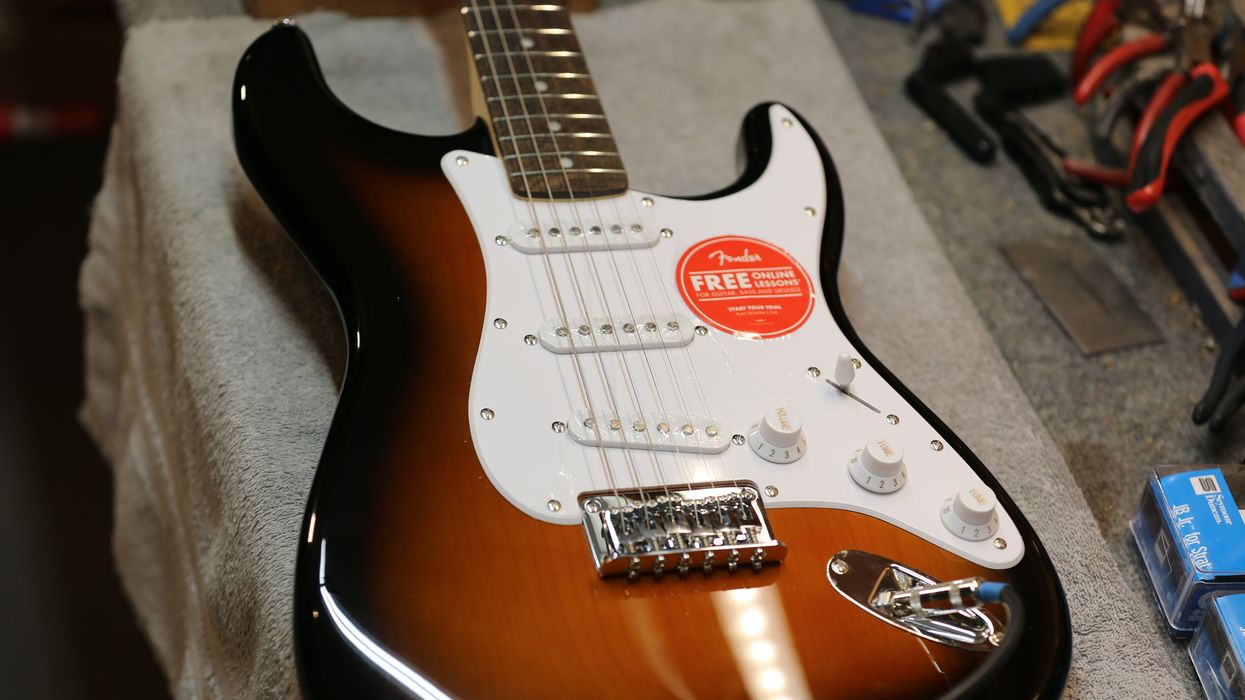
A pro setup consists of a series of adjustments to make an instrument play its best for your customer. There are five key elements to a setup:
- Adjusting the truss rod.
- Adjusting the action at the bridge.
- Adjusting the action at the string nut.
- Adjusting the pickups on electric guitars and basses.
- Adjusting the intonation.
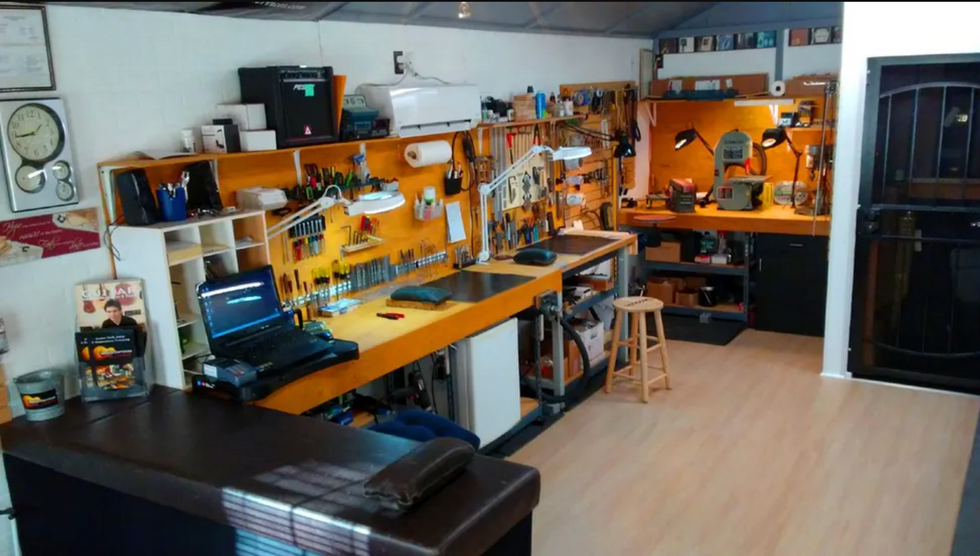
If you decide to open up a repair shop, you don't need a huge space. But a mastery of organization and workflow is crucial for success.
This is the order for setting up a guitar correctly. If you make these adjustments in the wrong order, you'll probably have to start over—and perhaps even replace some components.
A guitarist's playing style determines how you adjust the above elements. We all play differently and not all guitars are designed to play the same. To assess our customers' needs, we have to ask them many questions; their answers help us optimize each setup. Here are some of the questions to ask:
- What tuning do you play in?
- What gauge strings do you use?
- What style of music do you play?
- Do you use picks or fingers? What size pick? Fingernails or fingertips?
- Do you use a capo? What kind and how far up the fretboard?
- How do you strum?
- Do you play lead, rhythm, or both?
- Do you use a slide?
- How would you describe your touch?
- Do you control the humidity and temperature where you keep your instrument?
The more you know about an individual's playing style, the easier it is to set up or repair the guitar to match it. And it's worth the extra effort: Once you've mastered bespoke setups, your customers are likely to bring you more guitars to work on.
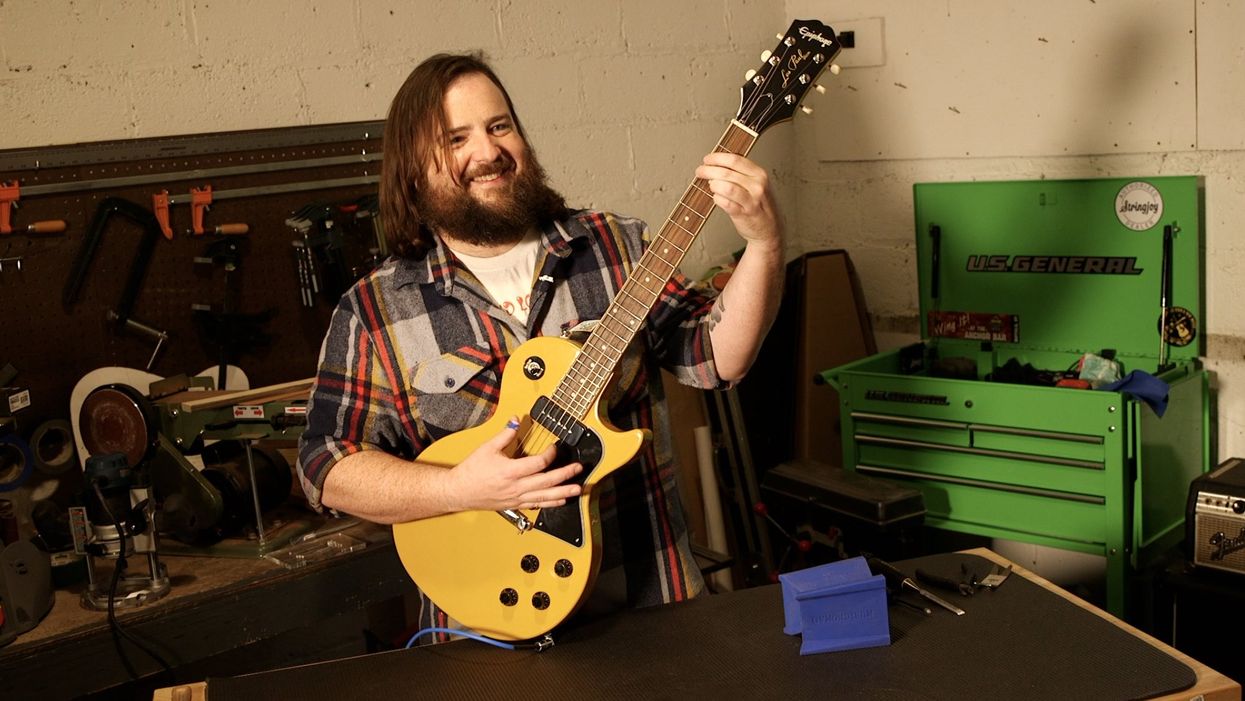
Whether you deal with the public or tour with a band, you need to be personable. No one wants to hand over their beloved instrument to a grouch.
Fretwork
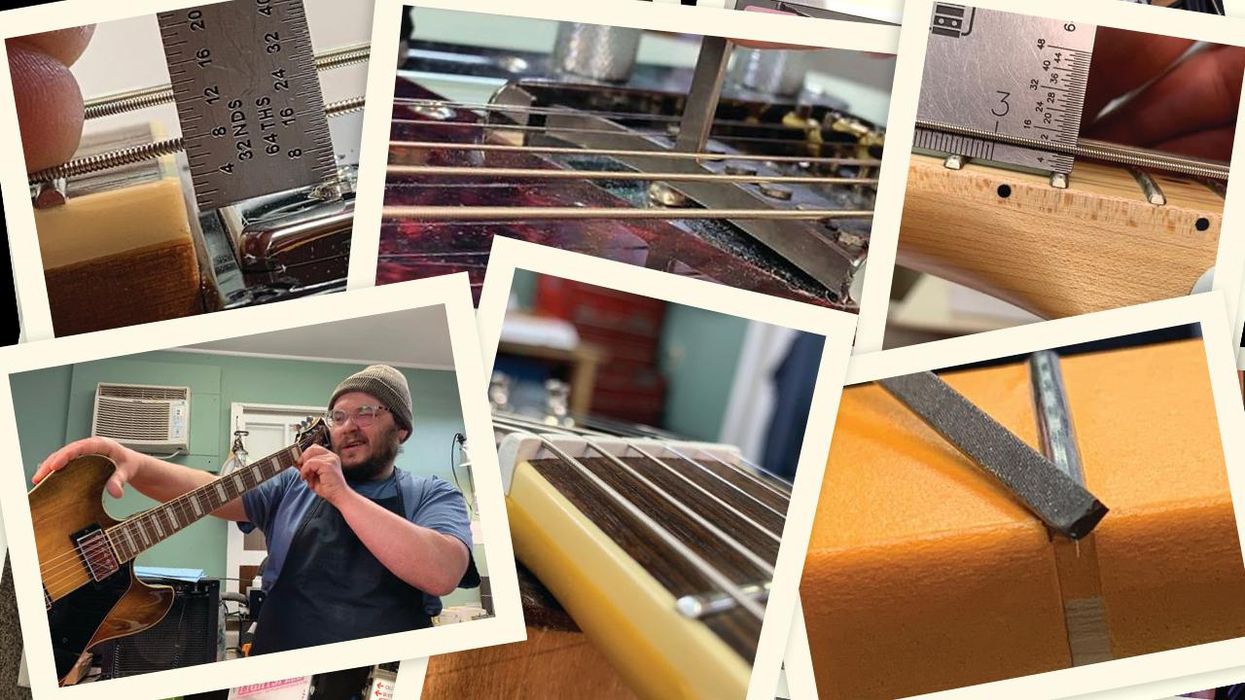
Excellent fretwork demands quality tools, steady hands, and attention to detail. Much like professional musicians rely on ear training, we guitar techs rely on "eye training." Every aspect of refretting a neck requires training your eyes to recognize fine details. A mistake of as little as 1/1000" can sour a great refret.
The first step is to identify any defects in the fretboard. I recommend evaluating the guitar both with and without string tension. Look for inconsistencies along the fretboard, such as:
- Excessive forward bow with the truss rod tightened.
- Excessive backward bow with the truss rod loose.
- A twisted fretboard with the truss rod both tight and loose.
- Separation between the fretboard and neck, especially near the string nut.
- Kick-up at the end of the fretboard, which is typically caused by the pickguard, exposure to extreme temperatures or humidity, an incorrect shim, or a manufacturing defect.
An excellent refret always begins with a true fretboard. When the fretboard is sanded correctly, it will be straight and consistent, and its radius will be accurate. If you skip this stage of the process, chances are the frets will be inconsistent.
If you know how to expertly refret a guitar and make it play like butter, you'll soon have a loyal customer base.
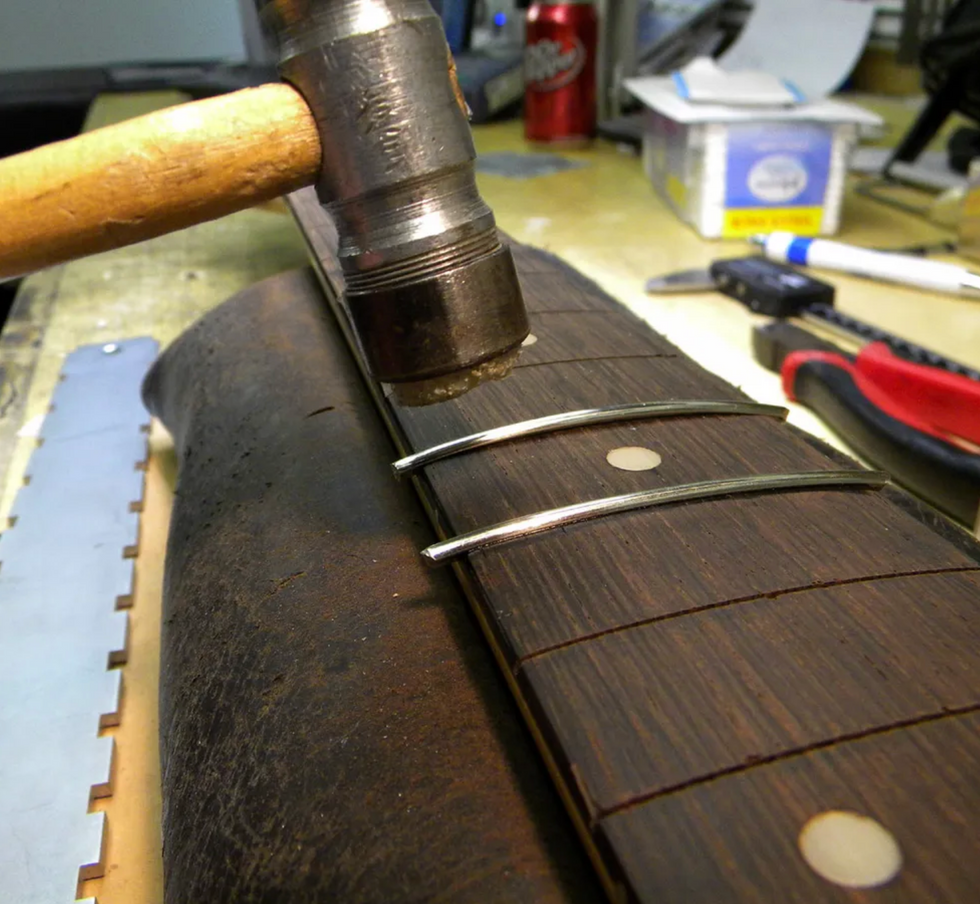
Installing the new frets correctly will also save time and materials. Always measure the tang and barbs on the new and old frets to avoid forcing a backward bow or installing loose frets. Whether you press or hammer in the frets, make sure they're seated flush to the 'board. Watch for any part of the fret popping up, either at the ends or in the middle. This will happen if the fret slots are not cut deep enough or if the tang on the new frets is too narrow. Consider sealing in the frets with ultra-thin super glue, especially if the guitar will be exposed to fluctuations in temperature and humidity.
Dressing the frets is the final stage of a refret. This is where eye training is critical: The goal is to remove the least amount of fretwire while making the frets smooth, polished, and perfectly level. Here's the process:
- Bevel the fret ends to keep them tight and flush to the end of the fretboard or binding.
- Round and corner the fret ends to eliminate any sharp edges.
- Level the frets to each other by sanding or filing them to prevent any high or low spots.
- Recrown the frets with a special file to create a very narrow point of contact between the top of the fretwire and the strings.
- Scrape the fretboard to remove any excess glue and tool marks in the wood.
- Polish the frets to remove any tool marks and make them shine.
One of the most common tasks a guitar tech will be expected to execute: correctly shaping string slots in the nut to control the height of open strings and avoid binding and buzzing.
The goal is to have frets that feel smooth and provide accurate intonation with no string rattle or dead spots. For a detailed description of fret dressing, read " Squeezing More Life Out of Worn Frets."
Guitar Electronics
Wiring guitars is an essential guitar-tech service. To qualify as a pro, you must:
- Understand how all types of pickups work, including under-saddle piezos, passive and active magnetic single-coils and humbuckers, soundboard transducers, and onboard microphone systems.
- Know the color codes for each brand of pickup and how to handle 2-, 3-, and 4-lead harnesses.
- Learn various wiring configurations for magnetic single-coil and humbucker pickups, such as coil-tap, reverse wind/reverse polarity (RWRP), in/out of phase, and series/parallel.
- Anticipate potential problems when mixing different brands of pickups, and know how to solve them.
- Be able to identify output jacks—mono, stereo, switching, and TRS.
- Know how switches work—toggle, blade, push/pull, push/push, rotary, and slide.
- Understand potentiometer types and the appropriate values for volume and tone controls.
- Know capacitor types, values, and applications.
- Have professional soldering skills and the ability to neatly organize and secure wires to prevent them from being damaged or interfering with other components.
Tip: Never blow on a hot solder joint. It's always tempting to speed up the cooling process, but the moisture in your breath can enter the joint and cause it to fail. For more details on soldering, read "Tips for Replacing a Strat-Style 5-Way Switch" and "Soldering 101: A Step-by-Step Guide."
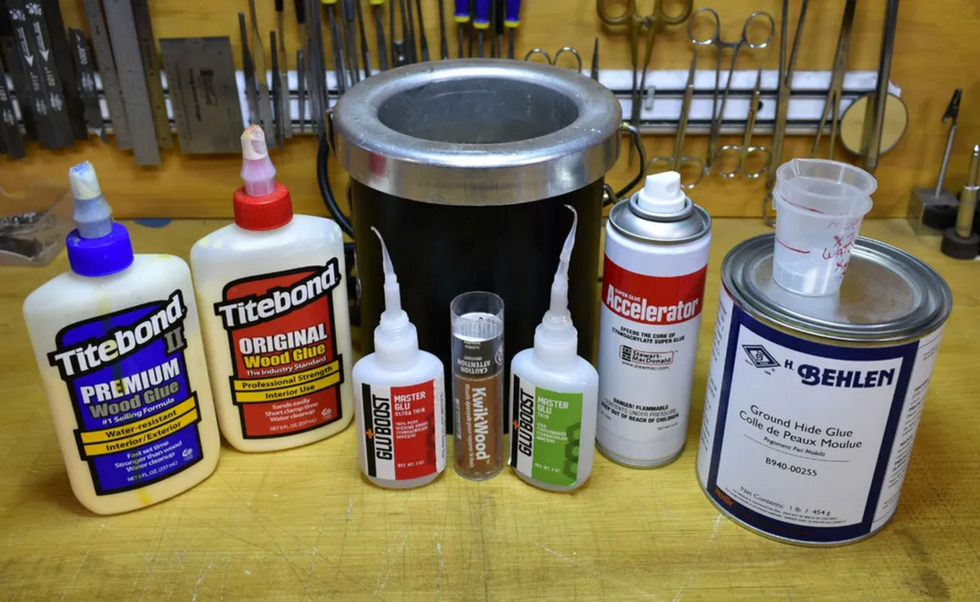
Knowing what types of glues are available—and when to use each one—is a fundamental guitar-tech skill.
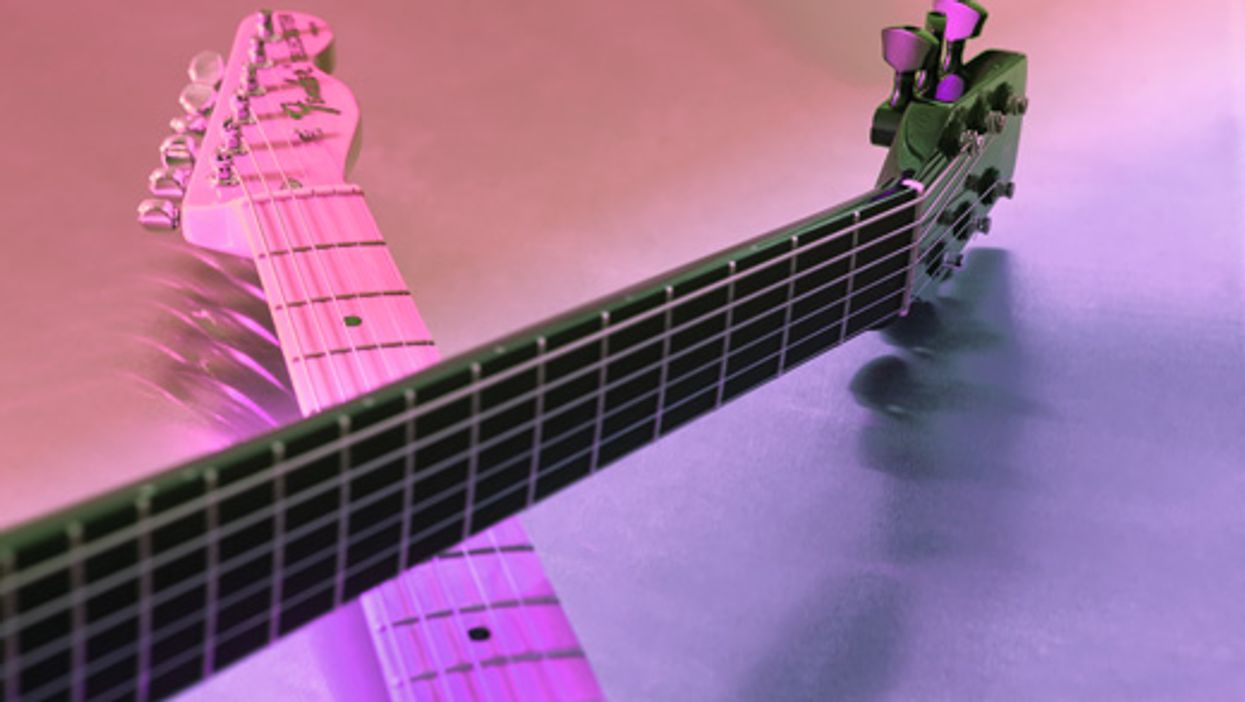
Neck Resets
Neck joints are under constant pressure, compression, and draw. As a result, eventually the angle of the neck needs to be reset for the guitar to play well. This can be as easy as changing shims on a bolt-on or as complex as removing a set neck and re-carving its heel and tenon. Understanding the physics of the guitar you're working on is the key to planning the project. There are different categories of neck joints. Here are six types you'll typically encounter:
- Bolt-on, no glue.
- Bolt-on with glued mortise and tenon.
- Glued mortise and tenon without bolts.
- Dovetail with shims and glue.
- Bayoneted with glue.
- Neck through body.
Neck resets are a common repair that all professional guitar techs should learn and master. Not only is it part of restoring a guitar, but it's a critical factor that determines whether the guitar will be playable or merely a wall hanger. To get a sense of what's involved in a basic reset, check out my Guitar Shop 101 column " How to Shim a Bolt-On Neck."
To assess our customers' needs, we have to ask them many questions; their answers help us optimize each setup.
Repairing Body Cracks
In an acoustic, body cracks are typically caused by low humidity or impact. Unfortunately, body cracks diminish an instrument's value. However, you can limit the amount it's devalued if you treat the crack correctly.
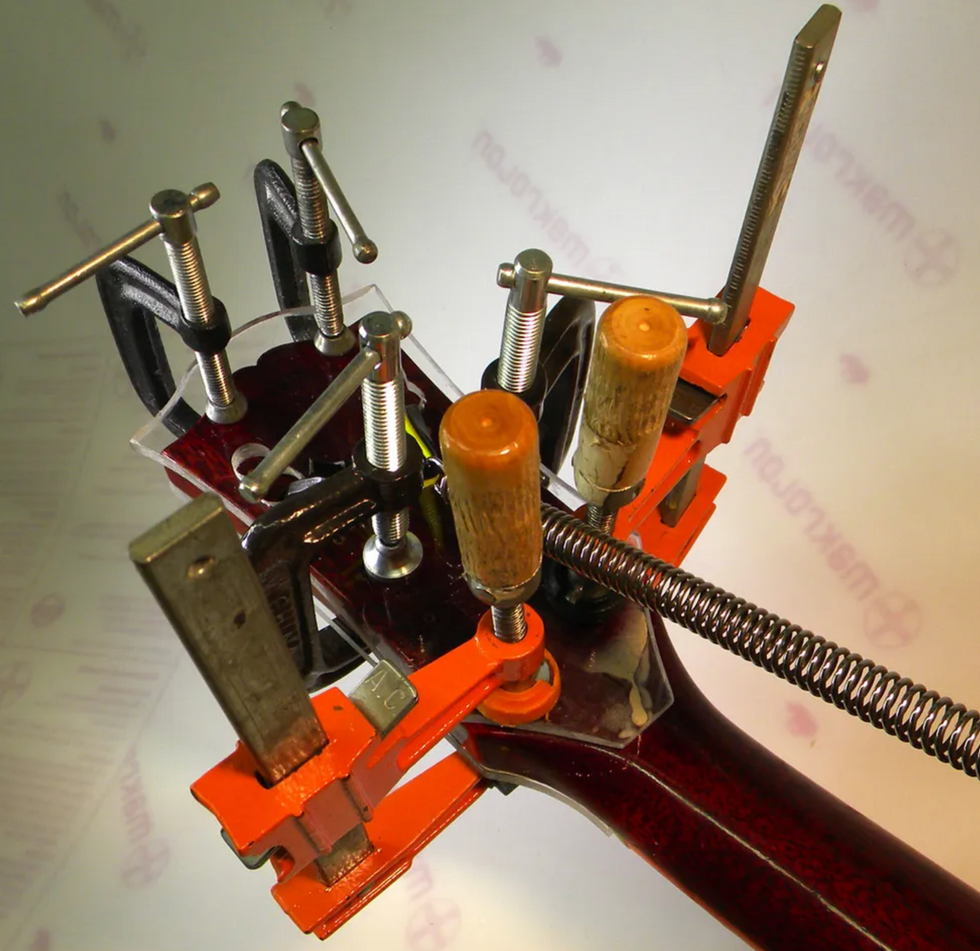
To repair top cracks, techs use deep throat clamps and specialized cauls to ensure the crack closes flush when glued. Repairing side cracks involves powerful rare-earth magnets, spool clamps, and cauls. Back cracks are little more complicated because you can't use any clamps. In this case, you'd use rare-earth magnets and cauls to close up the crack.
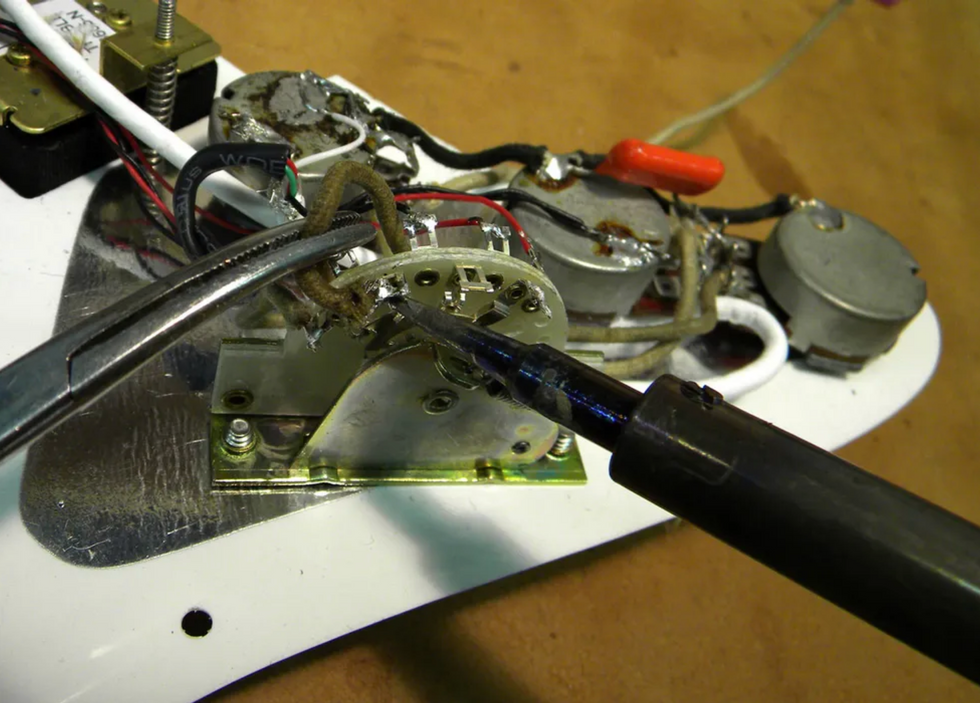
Mastering soldering is an essential skill, as is knowing how to interpret a wiring schematic.
When repairing top and back cracks, you need to be aware of the braces. If the crack crosses a brace, it's best to reglue the brace at the same time. You'll need some custom cauls to do this, especially for the back.
Tip: Never rub a bare finger on a crack. This will allow dirt, oil, and sweat to discolor the wood, which can result in poor glue joints and an ugly stain.
Bridges and Bridge Plates
Bridge repairs are another bread-and-butter job for the qualified tech. Often you can address a playability issue with a good setup, but in some cases a bridge has to be replaced. With electric guitars, this typically involves putting new saddles on a fixed or tremolo-style bridge, or replacing a Tune-o-matic-style bridge that has collapsed from years of downward pressure. I describe the latter in " How to Install a New Tune-o-matic Bridge."
For acoustic instruments, you either reglue the original bridge—if it's not cracked or warped—or carve a new one. Carving a bridge is complicated because it involves matching the height, outline, and string spacing of the original, and matching the new bridge's base to the contours of the top. This process takes several hours when you begin with a raw piece of wood. For details on this operation, read John Brown's " Replacing the Bridge on a '74 Gibson Flattop."
The bridge plate plays an important role in the structural integrity of the guitar's top. Over time it wears out and eventually cracks. If the plate is simply worn out, there are ways to restore it. However, if the plate is cracked, it must be replaced. Otherwise, it will eventually crack the bridge and cause braces to fail.
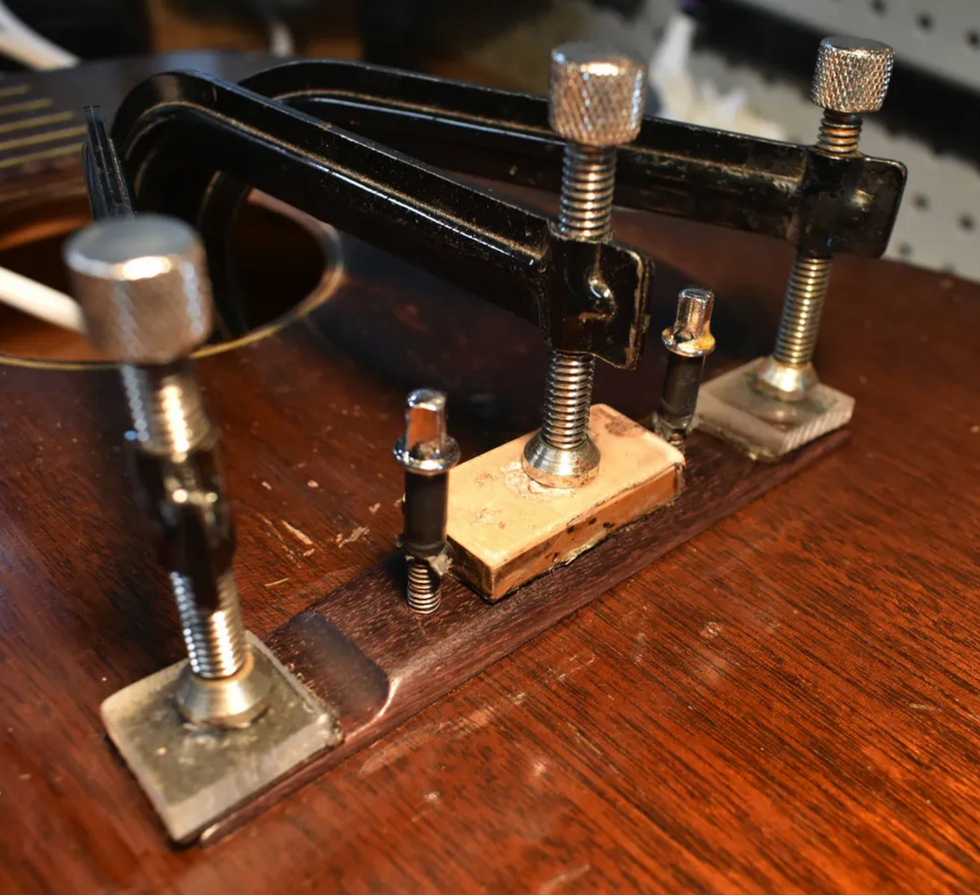
Many repairs, such as regluing a bridge that has lifted on a flattop, requires an intimate knowledge of the guitar's interior, the principles of intonation, and advanced woodworking techniques.
Replacing the bridge plate can take hours, and just removing it requires several specialized tools, cauls, and equipment. Bridges and bridge plate repairs are fairly common in vintage guitars. I recommend you practice these repairs on several inexpensive guitars to develop your skills before attempting to work on a customer's prized instrument.
Braces
When a brace fails in an acoustic guitar, it can cause significant damage. Loose or cracked braces can create body cracks, bridge and bridge plate failure, and a dramatic change in the action. In many cases, this can give the false impression that the guitar has a poor neck angle, when the real issue is brace failure that's causing the top to either collapse or belly up. A loose brace can be reglued, but a cracked brace may have to be replaced. Repairing top braces requires deep throat clamps with brace and top cauls. Never over-clamp a brace. This can damage both it and the soundboard.
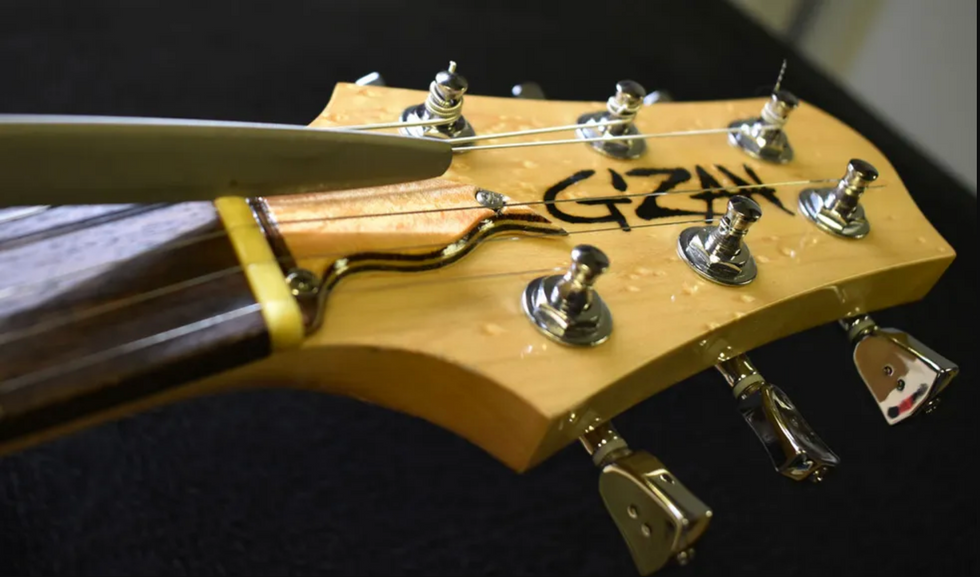
Headstock Repair
Broken headstocks are a sad reality. Usually they can be repaired, but occasionally it's a lost cause. If there's enough wood to reglue the headstock, it can be a very successful project. But if the break is too shear, the project may not be cost-effective. When repairing a broken headstock, you need to have enough wood on both the headstock and the neck to hold them together.
Guitarists have a knack for breaking headstocks. If you know how to undo the damage done, word will travel.
At my shop, we first saturate the wood with a 50/50 mix of TiteBond II and water. After cleaning up any excess, we then apply full-strength TiteBond II and clamp the two pieces together. This repair requires custom cauls to prevent damaging the finish and to ensure a solid glue joint. To let the glue completely dry, you'll need to wait 24 to 72 hours before stringing up the guitar.
Build or Repair?
I'll leave you with one final thought. In the world of lutherie, there are two directions you can follow: guitar building and guitar repair. I can tell you from personal experience that it's very difficult to do both. Building requires a lot of equipment, tools, materials, and money. Repair and restoration doesn't require nearly as much to get started. Building guitars can be very satisfying, but it's tough to make a living, especially given the competition. However, as I mentioned at the start of this article, repair and restoration are always in demand. Well-trained professional guitar technicians can make a great living if they work efficiently, effectively, and intelligently. If the idea of becoming a guitar tech resonates with you, your first step is to acquire hands-on training. Tools and materials will flow from there. Good luck!
[Updated 8/18/21]