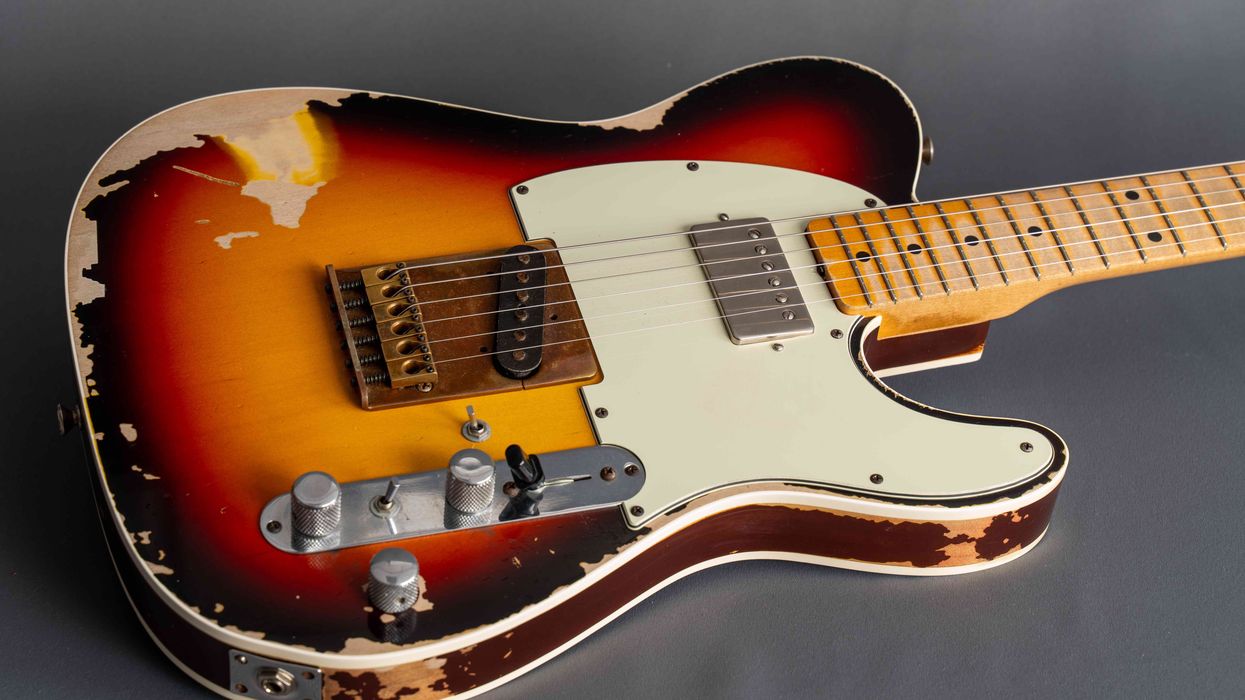
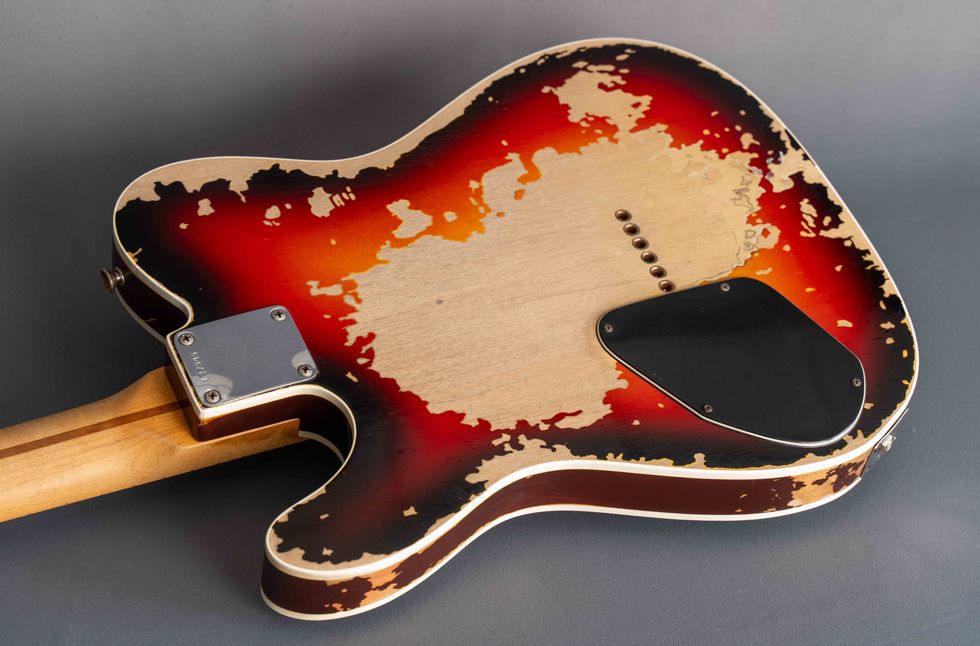
Hello and welcome back to Mod Garage. Today we'll talk about HSH wiring in general and how to get the best out of it. In general, an HSH configuration means that you have three pickups on your guitar: a bridge humbucker, a middle single-coil, and a neck humbucker. This configuration was very popular in the so-called “super-strat" era, but is still used today, even if you don't see it as often. Almost every manufacturer has at least one or more HSH models in its portfolio, from Ibanez to Suhr, Charvel, Fender, and PRS to Framus, just to name a few. So, I think it's worth taking a closer look at this special configuration, its possibilities, and its downsides.
The original HSH concept is clear and easy: combining humbucker and single-coil pickups on a guitar to enhance your tonal palette by implementing two different basic sounds. You have the power of the two humbucker pickups plus the clearness and chime of a single-coil pickup, so the possibilities to combine these three pickups is virtually unlimited. For example, you can put a really hot modern humbucker at the bridge position for fat, loud, and overdriven lead playing. A PAF-style neck humbucker will take you instantly to blues land, while an S-style middle single-coil will give you an additional archetypal sound we all love.
It came into fashion to split humbucker pickups to receive a single-coil type sound from them, usually by shutting one coil down to ground, which makes things even more complex in an HSH configuration. Playing the three pickups on their own is trouble free and the purest shape of the basic HSH concept. The problems start when you want to combine the pickups to get even more sounds out of your guitar. Usually the humbucker is way louder than your single-coil pickup, upstaging its tone when playing together. With the humbuckers in split-mode, balanced volume together with the single-coil pickup is usually not a major problem but phasing often is. You will have to take care not to end up in an out-of-phase dilemma, if it's not intended. With two splittable humbuckers, the number of possible combinations is almost slaying: You can combine all individual coils (five in total) in parallel or in series, you can have all of these combinations in phase or out of phase, you can operate the two humbuckers in normal humbucker mode (both coils in series), or in a hum-free single-coil sounding mode (both coils in parallel), or in real single-coil mode (one coil shut down to ground). You see, it's easy to get lost with all these possibilities.
Not everything that's technically doable sounds great or is useable in a musical context, so it's time to think about the combinations you really need and want from such a configuration. Almost every company came up with their own solution and combinations. What I want to show you is a wiring with two stages to get the most desirable sounds out of an HSH guitar. It's basically the combination of the standard HSH switching with auto-split wiring when combining the humbuckers with the middle single-coil on the first stage, and a normal S-style single-coil wiring by splitting the humbuckers into single-coils on the second stage. This is like having an HSH and SSS guitar in one package.
Not everything that's technically doable sounds great or is useable in a musical context, so it's time to think about the combinations you really need and want from such a configuration.
We've talked about auto-split several times before, but this means that a humbucker is automatically split into a single-coil when it's combined with a single-coil pickup, usually in an HSS or HSH configuration. With this wiring you will receive the following combinations:
Stage 1 (HSH auto-split mode):
- Bridge humbucker alone
- Bridge humbucker inside coil in parallel with the middle single-coil
- Middle single-coil alone
- Neck humbucker inside coil in parallel with the middle single-coil
- Neck humbucker alone
Stage 2 (SSS operating mode):
- Bridge humbucker inside coil
- Bridge humbucker inside coil in parallel with the middle single-coil
- Middle single-coil alone
- Neck humbucker inside coil in parallel with the middle single-coil
- Neck humbucker inside coil
If you want to squeeze more sounds out of this, you can add phase switches, series/parallel switches, humbucker multi-sound switches, etc. Keep in mind that most humbucker pickups in split mode don't sound like a real single-coil pickup—only sort of ... but, in most cases and especially in a band context, this is all you need. For me, this is the most practical HSH wiring when you don't need series and out-of-phase switching. But as mentioned, all this can be added to the circuit.
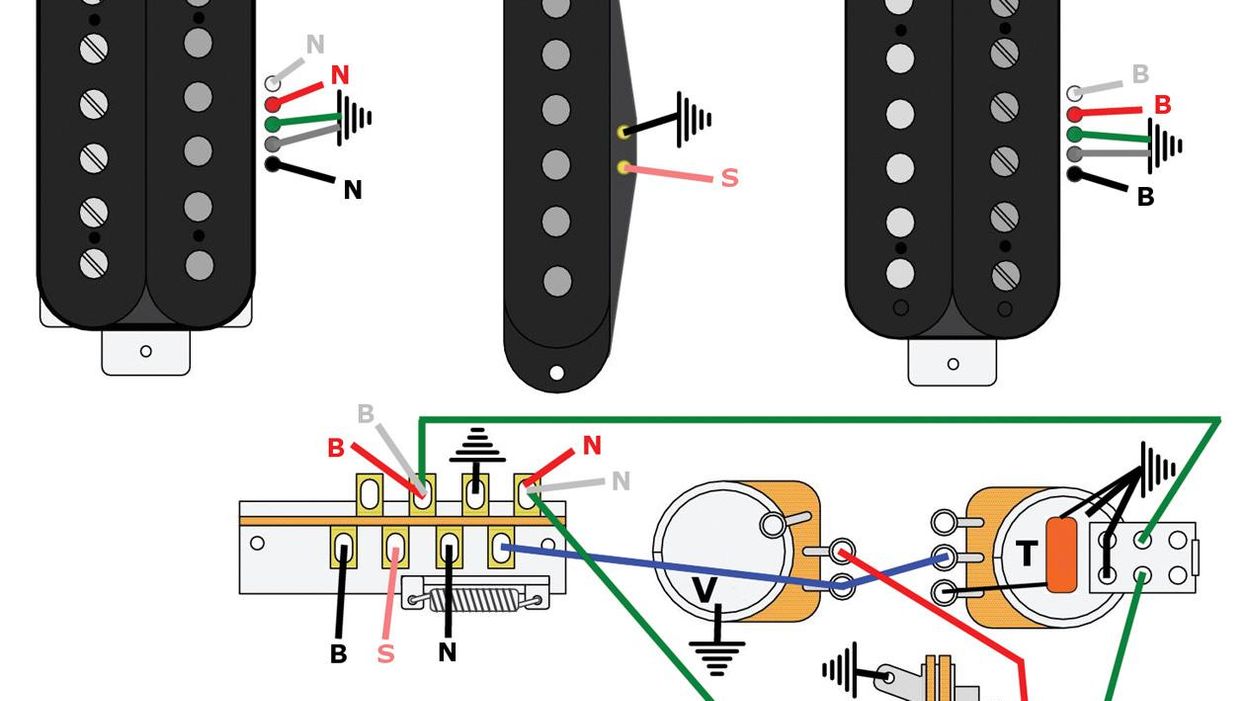
So here we go. The good news for this wiring, as seen in Image 1, is that you can leave your stock 5-way pickup selector switch (with the standard two switching stages). All you additionally need is a DPDT switch to change between the two operating modes. This can be an additional mini toggle switch or a push-pull or push-push pot. Both humbuckers need to have a 4-conductor wiring, so you have access to both coils. This wiring will not work with humbuckers sporting the traditional 2-conductor wiring. I show the version with a standard push-pull pot and, as usual, with the Seymour Duncan color code. If you use pickups from a different company, you need to transfer this color code, but you already know where and how to do this. For clarity, I left out all ground connections (there are many of them in this wiring), using the standard ground symbol instead. Simply solder these wires to the back of one of the pots and do the same with the string-grounding wire in your guitar.
That's it! Next month we return to our DIY relic series, taking care of the plastic tuner buttons, so stay tuned.
Until then, keep on modding!
[Updated 7/26/21]


![Rig Rundown: AFI [2025]](https://www.premierguitar.com/media-library/youtube.jpg?id=62064741&width=1245&height=700&quality=70&coordinates=0%2C0%2C0%2C0)
